
Are you constantly on the go and in need of a reliable internet connection for your Windows computer? Look no further – connecting your Windows computer to your iPhone hotspot is the perfect solution. With the convenience of being able to use your iPhone as a Wi-Fi hotspot, you can stay connected wherever you are. Whether you need to check your emails, browse the web, or stream your favorite content, connecting your Windows computer to your iPhone hotspot is quick and easy. In this article, we will guide you through the step-by-step process of connecting your Windows computer to your iPhone hotspot, ensuring that you have a seamless and uninterrupted internet connection at your fingertips.
Inside This Article
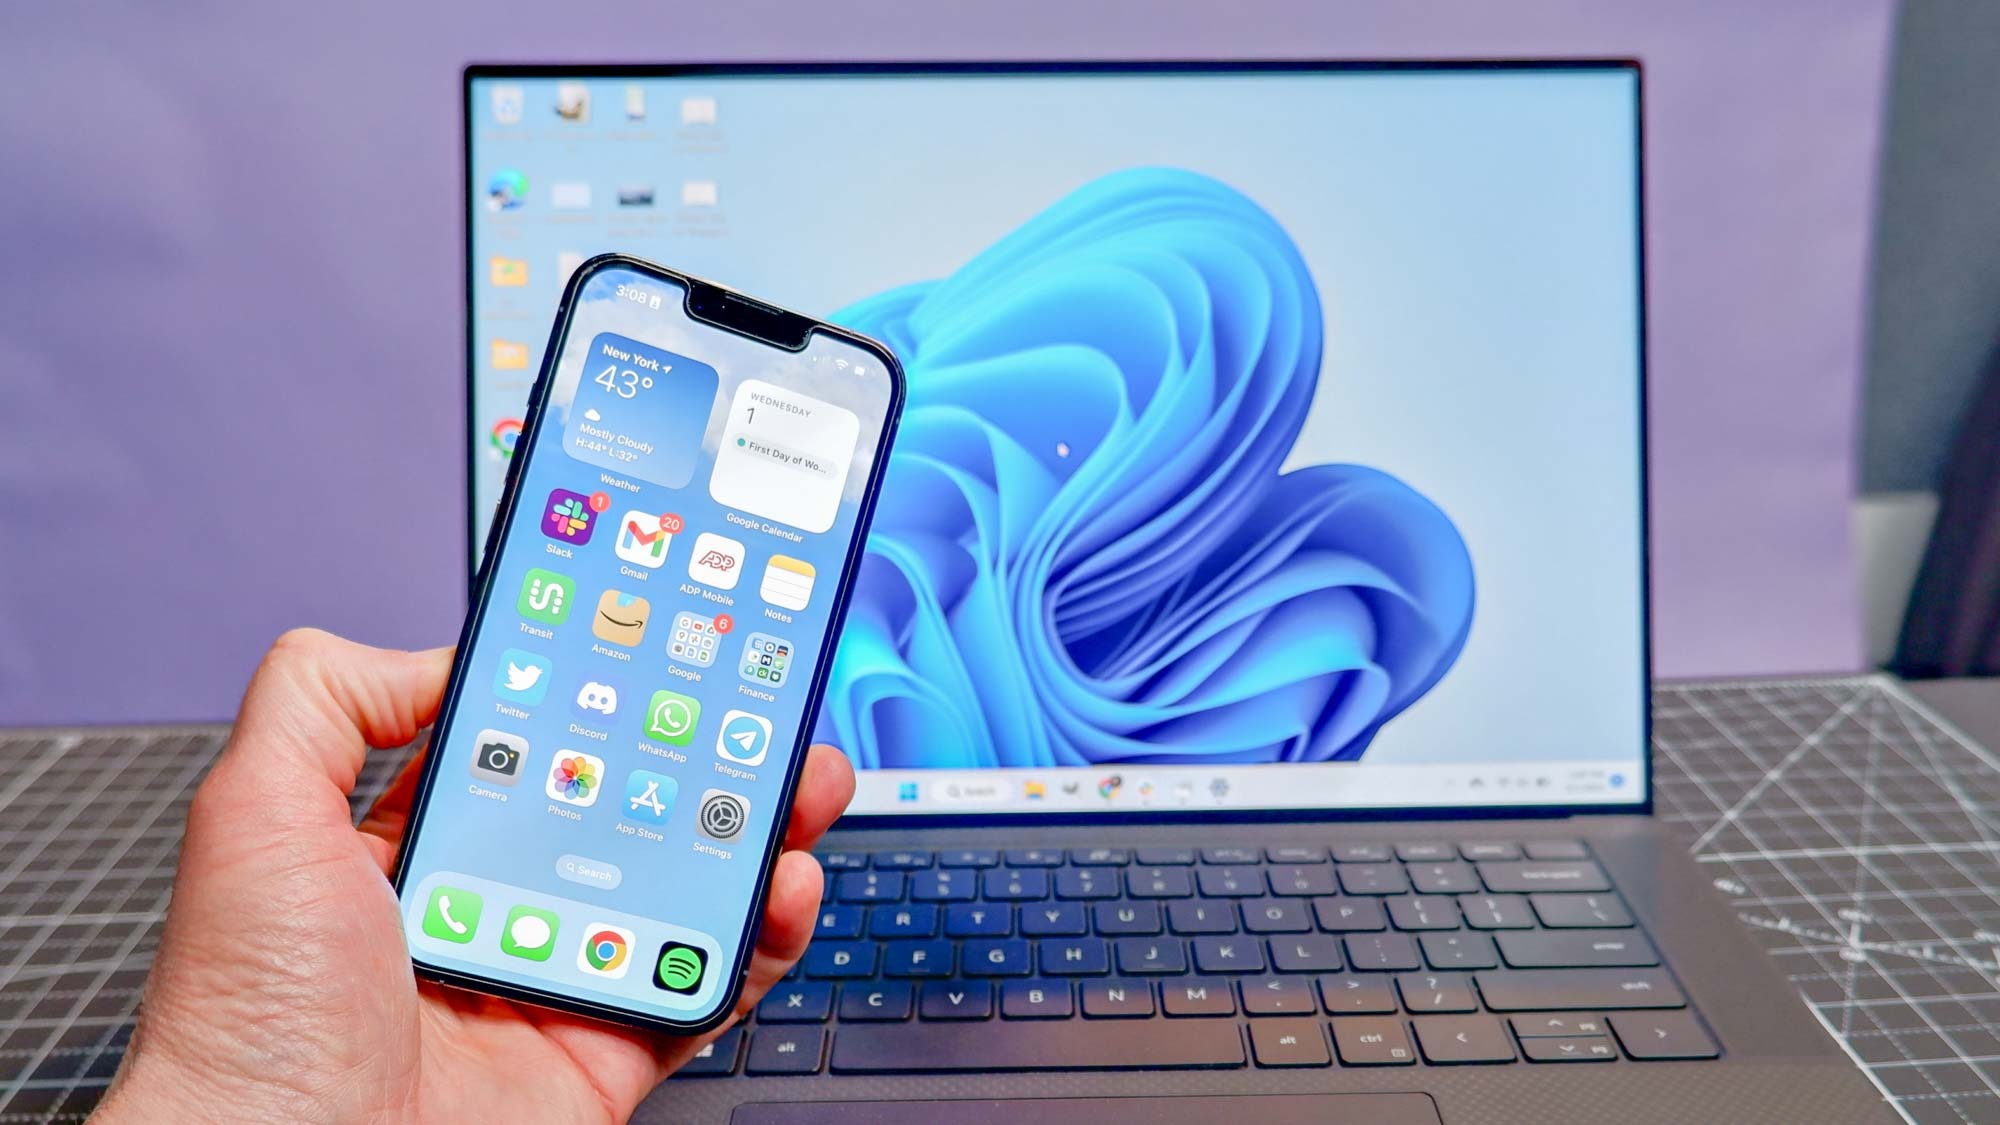
- Overview
- Step 1: Enable Personal Hotspot on your iPhone
- Step 2: Connect your Windows computer to the iPhone hotspot
- Step 3: Troubleshooting Common Connection Issues
- Conclusion
- FAQs
Overview
Connecting your Windows computer to your iPhone hotspot can provide you with a convenient and portable way to access the internet when you’re on the go. Whether you’re traveling, in an area with no Wi-Fi connection, or simply need to connect your computer to the internet quickly, the iPhone hotspot feature can be a lifesaver. In this article, we’ll guide you through the process of connecting your Windows computer to your iPhone hotspot in just a few simple steps.
To connect your Windows computer to your iPhone hotspot, you’ll first need to enable the personal hotspot feature on your iPhone. Once the hotspot is activated, you can connect your computer to it either via Wi-Fi or using a USB cable. We’ll walk you through both options to help you choose the method that works best for you.
Before we start, make sure that your iPhone has a cellular data plan and that you have Wi-Fi or USB connectivity on your Windows computer. This will ensure a smooth and uninterrupted connection between the two devices.
Step 1: Enable Personal Hotspot on your iPhone
One of the first steps to connect your Windows computer to your iPhone hotspot is to enable the Personal Hotspot feature on your iPhone. This feature allows you to use your iPhone’s cellular data connection to create a Wi-Fi network that other devices, such as your Windows computer, can connect to.
To enable Personal Hotspot on your iPhone, follow these steps:
- Open the Settings app on your iPhone. It can be found on the home screen.
- Scroll down and tap on the “Personal Hotspot” option. If you can’t find it, it might be under “Cellular” or “Mobile Data” in some versions of iOS.
- Toggle the switch to enable Personal Hotspot. You will be prompted to enable Bluetooth and Wi-Fi if they are currently turned off. You can choose to enable them or continue using just the USB connection.
- Set a password for your hotspot network. This will ensure that only authorized devices can connect to your iPhone’s hotspot.
Once you have enabled Personal Hotspot and set the password, your iPhone is ready to be used as a hotspot for your Windows computer.
Step 2: Connect your Windows computer to the iPhone hotspot
After enabling the Personal Hotspot on your iPhone, it’s time to connect your Windows computer to it. There are two ways you can do this: via Wi-Fi or using a USB cable. Let’s explore both options below:
Connecting via Wi-Fi:
To connect your Windows computer to the iPhone hotspot via Wi-Fi, follow these simple steps:
- On your Windows computer, click on the Wi-Fi icon in the taskbar to open the list of available networks.
- Select the name of your iPhone hotspot from the list of available networks.
- Click on the “Connect” button to establish the connection.
- If prompted, enter the password for the iPhone hotspot to authenticate the connection.
Connecting via USB:
If you prefer to connect your Windows computer to the iPhone hotspot using a USB cable, follow these steps:
- Connect your iPhone to your Windows computer using a USB cable.
- On your iPhone, you may see a prompt asking you to Trust This Computer. Tap “Trust” to proceed.
- On your Windows computer, open the Settings app and go to the Network & Internet section.
- Click on “Mobile hotspot” in the left sidebar.
- Toggle the “Share my Internet connection with other devices” switch to enable it.
- Under “Share my Internet connection from,” select your iPhone from the dropdown menu.
- Click on the “Edit” button to set the network name and password for the hotspot.
- Once you’ve configured the settings, click on the “Save” button.
- Your Windows computer should now be connected to the iPhone hotspot via USB.
There you have it! You have successfully connected your Windows computer to the iPhone hotspot. Now you can enjoy mobile internet connectivity on your computer wherever you go.
Step 3: Troubleshooting Common Connection Issues
While connecting your Windows computer to an iPhone hotspot is usually a straightforward process, there can be some instances where you might encounter connection issues. Don’t worry; we’ve got you covered! Here are some common problems you may face and their solutions:
1. No internet access on your computer: If you are connected to your iPhone hotspot but have no internet access on your Windows computer, try the following steps:
- Check if your iPhone has a stable internet connection.
- Ensure that you have an active cellular data plan or are connected to a Wi-Fi network on your iPhone.
- Restart your iPhone and computer to refresh the network settings.
- Disable and re-enable Personal Hotspot on your iPhone.
- Update the network drivers on your Windows computer.
- Try connecting to a different Wi-Fi network to ensure the issue is specific to your iPhone hotspot.
- Contact your service provider for further assistance.
2. Inconsistent or slow connection: If you are experiencing slow or inconsistent connection speeds, follow these steps:
- Keep the distance between your iPhone and Windows computer as short as possible to ensure a strong signal.
- Check if there are any physical obstructions, such as walls, that may be interfering with the signal.
- Move to a different location with better reception if you are in a crowded or congested area.
- Reset network settings on your iPhone by going to Settings > General > Reset > Reset Network Settings.
- Try connecting fewer devices to your iPhone hotspot to reduce network congestion.
- Update the software on your iPhone and Windows computer to the latest versions.
- Contact your service provider if the issue persists.
3. Unable to see the iPhone hotspot on your computer: If your Windows computer is not detecting the iPhone hotspot, follow these steps:
- Ensure that Personal Hotspot is enabled on your iPhone by going to Settings > Personal Hotspot.
- Restart your iPhone and computer to refresh the network settings.
- Disable and re-enable Wi-Fi on your computer.
- Update the Wi-Fi adapter drivers on your Windows computer.
- Try connecting your iPhone to a different USB port on your computer, if applicable.
- Check if other devices can connect to the iPhone hotspot to rule out any hardware issues.
- Check if your computer is in Airplane Mode, as this can disable Wi-Fi connectivity.
- Contact your service provider or computer manufacturer for further assistance.
By following these troubleshooting steps, you should be able to resolve most common connection issues between your Windows computer and iPhone hotspot. However, if the problem persists, it is advisable to reach out to your service provider or seek technical assistance for further support.
Connecting your Windows computer to your iPhone hotspot is a convenient way to get online when Wi-Fi is not available. Whether you’re traveling, working remotely, or simply need to connect multiple devices, knowing how to set up this connection can be incredibly useful.
In this article, we discussed the step-by-step process of connecting your Windows computer to your iPhone hotspot. We covered everything from enabling the hotspot on your iPhone to connecting your Windows computer via Wi-Fi or USB. With these instructions, you can easily establish a reliable and secure internet connection on your Windows computer using your iPhone.
Remember to always monitor your data usage and consider the limitations of your mobile plan. With your iPhone hotspot and Windows computer connected, you can enjoy the benefits of internet access wherever you go.
FAQs
1. Can I connect my Windows computer to my iPhone hotspot?
Yes, you can connect your Windows computer to your iPhone hotspot. This allows you to share your iPhone’s cellular data connection with your computer and access the internet on your computer when you’re on the go.
2. How do I set up a hotspot on my iPhone?
To set up a hotspot on your iPhone, go to the Settings app, tap on “Personal Hotspot,” and turn it on. You can then configure the hotspot by selecting a Wi-Fi password and choosing whether to allow other devices to join automatically.
3. Can I connect multiple devices to my iPhone hotspot?
Yes, you can connect multiple devices to your iPhone hotspot. You can share your cellular connection with other devices such as your Mac, iPad, or Windows computer by connecting them to your iPhone’s hotspot using Wi-Fi, Bluetooth, or USB.
4. Do I need a data plan to use my iPhone hotspot?
Yes, you need an active cellular data plan to use your iPhone hotspot. The data used by devices connected to your iPhone hotspot will be deducted from your cellular data plan, so it’s important to keep an eye on your data usage to avoid exceeding your plan’s limits.
5. How do I connect my Windows computer to my iPhone hotspot?
To connect your Windows computer to your iPhone hotspot, you can follow these steps:
1. On your iPhone, go to the Settings app and tap on “Personal Hotspot.”
2. Turn on the Personal Hotspot feature.
3. On your Windows computer, click on the Wi-Fi icon in the taskbar.
4. Look for your iPhone’s hotspot name and click on it to connect.
5. Enter the Wi-Fi password (if required) and click “Connect.”
Once connected, you will be able to use your iPhone’s cellular data connection on your Windows computer.