
Are you tired of seeing the same phone cases everywhere you go? Do you want to add a personal touch to your smartphone? Why not make your own phone case? Creating a custom phone case not only allows you to unleash your creativity but also gives your device a unique and personalized look. And the best part? You don’t need to be a professional artist or designer to do it. In this article, we will guide you through the step-by-step process of making your own phone case with pictures. From selecting the right materials to capturing the perfect images, we will cover everything you need to know. So, get ready to give your phone a makeover that will make heads turn wherever you go!
Inside This Article
- Materials Needed
- Step 1: Choose Your Design
- Step 2: Measure Your Phone
- Step 3: Create a Template
- Step 4: Cut Out Your Design
- Step 5: Decorate Your Case
- Step 6: Attach the Case
- Step 7: Final Touches and Cleaning
- Conclusion
- FAQs
Materials Needed
Before you get started on creating your own phone case, here are the materials you’ll need to gather:
- A clear phone case or a plain phone case in the color of your choice
- Scissors or a craft knife
- Cardstock paper or any sturdy material for creating templates
- Decorative materials such as stickers, markers, glitter, or rhinestones (optional)
- A printer (if you want to print out designs or pictures)
- Accessories like buttons, beads or lace (optional)
- Clear adhesive or glue
These materials will provide you with the basics to create your own unique phone case. You can choose to add or customize the materials based on your preferences and creativity.
Now that you have gathered all the necessary materials, it’s time to move on to the fun part – designing and creating your own phone case!
Step 1: Choose Your Design
When it comes to making your own phone case, the first and most exciting step is choosing your design. This is your chance to let your creativity shine and make a case that truly reflects your personal style and preferences.
There are several options to consider when it comes to choosing your design. You can opt for a simple and minimalist design, a vibrant and bold pattern, or even a custom image or photo. The choice is yours!
If you’re not sure where to start, take some time to browse through different design ideas online. Many websites offer a wide range of templates, patterns, and images that you can use as inspiration for your own case.
If you’re feeling extra creative, you can also try your hand at creating your own design from scratch. Grab some paper and art supplies and start sketching out your ideas. Don’t be afraid to experiment and think outside the box!
Remember, the design you choose should not only reflect your personal style but also take into consideration any specific requirements you may have. For example, if you want a case that provides extra protection, you may opt for a design that incorporates a protective bumper or a shock-absorbing material.
Once you have chosen your design, make sure to gather all the necessary materials for the next steps of the process. This may include the phone case base, adhesive or glue, scissors, and any decorations or embellishments you plan to use.
Choosing your design is just the beginning of the exciting journey of making your own phone case. So let your imagination run wild, and get ready to create a case that is uniquely yours!
Step 2: Measure Your Phone
Before you start creating your own phone case, it’s important to measure your phone accurately. This step ensures that your phone case will fit perfectly and provide the necessary protection. Here’s how you can measure your phone:
- Remove any current phone case: If you have a phone case already, take it off to get the accurate measurement of your phone’s dimensions.
- Gather the necessary tools: You will need a ruler or tape measure to measure your phone’s length, width, and thickness.
- Measure the length: Start by measuring the length of your phone from top to bottom. Align the ruler or tape measure along the side of your phone and record the measurement.
- Measure the width: Next, measure the width of your phone by aligning the ruler or tape measure across the widest part of your phone and record the measurement.
- Measure the thickness: Lastly, measure the thickness of your phone by placing the ruler or tape measure along the side of your phone and recording the measurement.
It’s important to be accurate when measuring your phone’s dimensions as even a slight difference can affect the fit of your DIY phone case. Take note of the measurements in inches or centimeters, depending on your preference.
Once you have the measurements, you can move on to the next step of creating your own phone case – creating a template.
Step 3: Create a Template
Once you have chosen your desired design and measured your phone, it’s time to create a template for your phone case. This template will serve as a guide to ensure your DIY phone case fits your device perfectly.
Here’s how you can create a template for your phone case:
- Trace the outline of your phone: Place your phone on a piece of paper or cardboard and trace around it. Make sure to be as accurate as possible.
- Add a margin: To allow for the thickness of the phone case material, add a small margin of about 0.5-1 cm around the traced outline. This will ensure that the case fits snugly on your device.
- Cut out the template: Use a pair of scissors to carefully cut along the outer edge of the traced outline, including the added margin. Double-check that the template matches the size and shape of your phone.
Alternatively, you can also find pre-made phone case templates online or purchase printable templates specifically designed for your phone model. These templates can be a convenient and time-saving option if you prefer not to create your own.
Creating a template allows you to have a precise guide when cutting out your phone case material, ensuring a customized fit for your device. Make sure to keep the template in a safe place, as you may want to use it again in the future for making additional phone cases.
Step 4: Cut Out Your Design
Now that you have your template, it’s time to cut out your design. Make sure you have a sharp pair of scissors or a craft knife ready for this step. Take your chosen material, whether it’s fabric, felt, or even a printed design, and lay it flat on a solid surface.
Place your template on top of the material and secure it in place with some tape or pins. Carefully trace the outline of the template onto the material with a pencil or fabric marker. Take your time to ensure that the lines are accurate and clean.
Once you have traced the entire design, remove the template and double-check that the lines are clear and well-defined. If needed, use a ruler or a straight edge to straighten any uneven lines.
Now, it’s time to cut out your design. Start by making small, precise cuts along the edges of the traced lines. Take your time and be cautious, especially if you’re using a craft knife. Keep your fingers away from the blade and work slowly to avoid any accidents.
As you cut, periodically check your progress to ensure that you’re staying on track and cutting along the traced lines. If you have curves or intricate details in your design, make small, careful cuts to maintain the precision of the shape.
Once you have cut out your design, set aside any leftover material for future projects. Now, you have a beautifully cut-out piece that is ready to be attached to your phone case.
Remember, precision is key in this step, so take your time and be patient. The more accurate your cuts are, the better the final result will be.
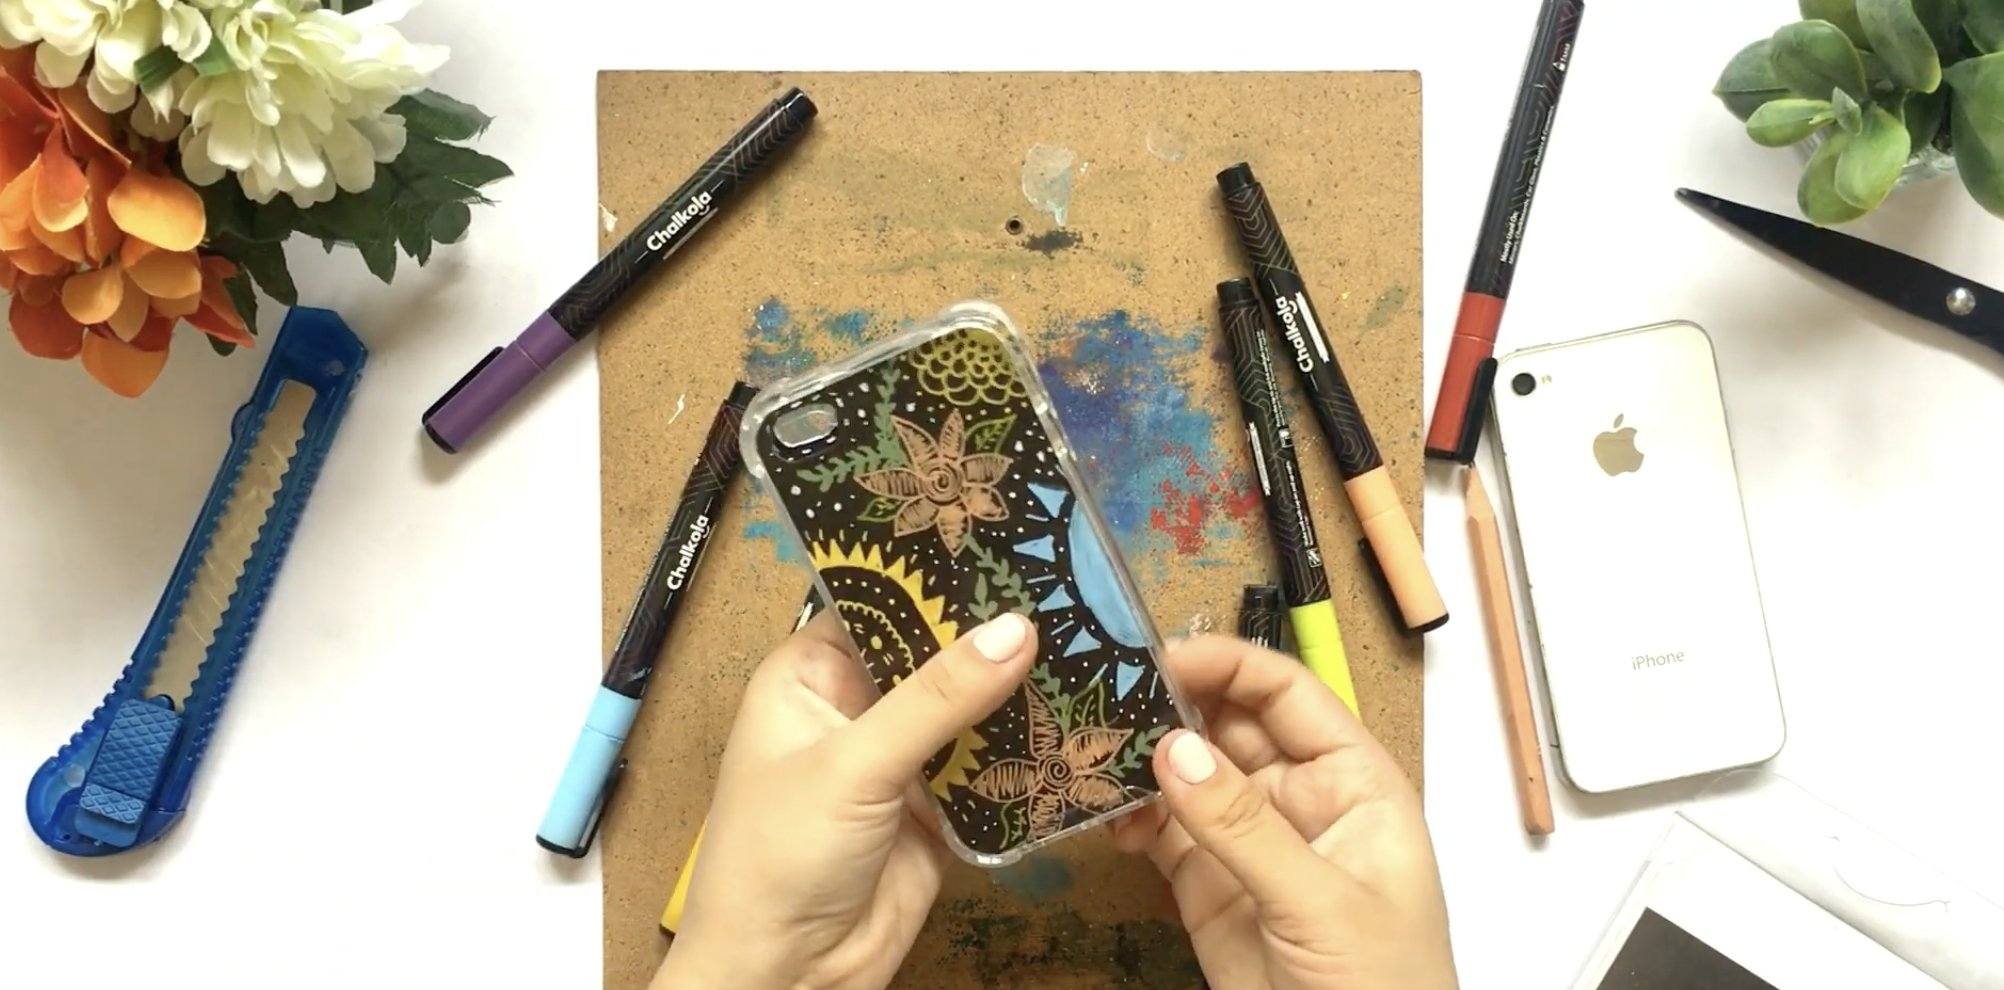
Step 5: Decorate Your Case
Now that you have your basic phone case, it’s time to add some personal touches and make it truly one-of-a-kind. Decorating your case allows you to express your creativity and style while also ensuring that it reflects your unique personality. Here are some fun and creative ways to decorate your phone case:
- Stickers and Decals: One of the easiest ways to decorate your phone case is by using stickers or decals. There are countless options available, from cute characters to trendy designs. Simply peel and stick them onto your case to instantly add a pop of color and style.
- Paint and Markers: If you enjoy painting or doodling, you can use paint or markers to create your own custom designs. Let your imagination run wild and decorate your case with patterns, illustrations, or even your favorite quotes.
- Glitter and Gems: For those who love a touch of sparkle, adding glitter or gems to your phone case can create a stunning effect. Use craft glue to adhere the glitter or gems onto your case, and make sure to let it dry completely before handling.
- Washi Tape: Washi tape is a decorative masking tape that comes in various colors and patterns. It’s easy to apply and remove, making it a versatile option for decorating your phone case. You can create geometric patterns, stripes, or even cover the entire case with your favorite washi tape.
- Fabric and Appliques: If you’re skilled with a needle and thread, you can sew or glue fabric onto your case to create a unique texture. Choose fabrics that you love and add appliques or embroidery for an extra touch of customization.
- Photos and Collages: Personalize your phone case with photos of your loved ones, your favorite memories, or even your pet. Print out the photos and cut them to fit your case, or create a collage using a mix of photos, decorative papers, and stickers.
Remember to let your creativity guide you and don’t be afraid to experiment with different materials and techniques. The goal is to create a phone case that reflects your individuality and brings you joy every time you use it.
Step 6: Attach the Case
Once you have finished decorating your case, it’s time to attach it to your phone. Here are the steps to follow:
- Remove your phone’s existing case (if applicable): Before attaching your custom case, make sure to remove any existing case that might be on your phone. This will ensure a proper fit for your new case.
- Line up the openings: Place your phone inside the custom case, aligning the openings on the case with the corresponding buttons, ports, and camera lens on your phone. Ensure a snug fit.
- Secure the case: Depending on the type of case you are using, there are different methods to secure it to your phone. Some cases snap on, while others may require you to slide your phone into the case. Follow the instructions provided with your case to properly attach it.
- Check for proper alignment and functionality: Once the case is attached, double-check that all the buttons, ports, and features of your phone are easily accessible and functional. Test the volume buttons, power button, charging port, and headphone jack to make sure they are easily accessible and responsive.
- Adjust if needed: If you find that the case is not aligned properly or obstructs any of the phone’s features, gently remove it and make any necessary adjustments. Ensure the case fits snugly and doesn’t interfere with the functionality of your phone.
- Clean the case: Use a soft cloth or a mild cleaning solution to wipe down the exterior of your custom case. This will help maintain its appearance and keep it free from dirt and grime.
By following these steps, you can safely and securely attach your custom case to your phone. Take a moment to admire your handiwork and enjoy the unique and personalized look that you have created.
Step 7: Final Touches and Cleaning
After attaching your phone case and completing the main design, it’s time to add those final touches to make it truly your own. This step allows you to add any additional embellishments or details that you desire. Here’s what you need to focus on for the final touches and cleaning:
- Inspect for any imperfections: Take a close look at your case to see if there are any rough edges, uneven cutting, or any other imperfections that need to be addressed.
- Sand and smooth: If you notice any rough edges, gently sand them down with fine-grit sandpaper. Be careful not to press too hard or scratch the surface of your case.
- Clean the case: Before applying any final decorations, make sure to clean your case to remove any debris or fingerprints. You can use a microfiber cloth or a mild cleaning solution to wipe it down.
- Add extra decorations: If desired, now is the time to add any extra decorations to your case. This could be glitter, rhinestones, stickers, or anything else that you feel will enhance the design.
- Seal your design: To protect your design and make it more durable, consider applying a clear sealant or varnish over the top. This will help prevent scratches and keep your case looking fresh.
- Let it dry: Once you have completed the final touches, set your phone case aside to allow it to fully dry. Follow the instructions on your sealant or varnish for the recommended drying time.
Remember, this step is where you can let your creativity shine and truly make your phone case unique. Whether you choose to keep it simple or go all out with the decorations, make sure the final touches align with your personal style and preferences.
Once your phone case is fully dry, give it one final inspection to ensure you are happy with the result. Clean your phone one more time to remove any dust or debris that may have accumulated during the crafting process, and then insert your phone into the case.
Now you can proudly show off your handmade phone case, knowing that it is not only functional but also reflects your individuality and creativity. Enjoy the process of designing and customizing your phone case, and don’t be afraid to experiment with different techniques and materials. With a little time and effort, you can create a phone case that is truly one-of-a-kind!
Conclusion
In conclusion, making your own phone case can be a fun and rewarding project. With just a few simple materials and some creativity, you can create a unique and personalized case that reflects your personal style. Whether you want to showcase your favorite photos, express your artistic side, or simply protect your phone in style, making your own phone case allows you to customize every detail.
Not only does DIY phone case crafting provide a creative outlet, but it also offers the opportunity to save money compared to purchasing pre-made cases. Plus, the satisfaction of using a phone case that you made yourself is unparalleled.
So, next time you find yourself wanting to change up the look of your phone or protect it in a stylish way, consider making your own phone case with pictures. Unleash your creativity, show off your unique style, and enjoy the DIY process of crafting a phone case that is truly one-of-a-kind. Happy crafting!
FAQs
1. Can I make my own phone case even if I have no prior experience in crafting?
Absolutely! Making your own phone case doesn’t require any specific crafting skills or experience. There are plenty of DIY tutorials available online that provide step-by-step instructions for creating phone cases with various materials.
2. What materials do I need to make a phone case?
The materials needed to make a phone case can vary depending on the design and style you want to create. Generally, you will need a clear phone case as the base, along with craft materials like glitter, fabric, beads, or even recycled materials like old magazines or cardboard. Additionally, you will need a craft knife, glue, and other embellishments.
3. How long does it take to make a phone case?
The time it takes to make a phone case depends on the complexity of the design and your crafting skills. Simple designs can be completed in just a few minutes, while more intricate designs might require several hours. It’s a fun and creative process, so take your time and enjoy the crafting experience.
4. Are DIY phone cases durable enough to protect my phone?
DIY phone cases can provide a decent level of protection for your phone, depending on the materials and construction. If you use sturdy materials and ensure a secure fit, your DIY phone case can help protect your device from scratches, minor drops, and everyday wear and tear. However, keep in mind that they may not offer the same level of protection as commercially manufactured phone cases.
5. Can I personalize my phone case with pictures?
Yes, you can definitely personalize your phone case with pictures! There are several methods you can use to add pictures to your DIY phone case, such as printing your favorite photos and adhering them to the case with glue or creating custom designs with markers or paints. Get creative and make your phone case truly unique with your favorite images.