
Are you having trouble with the magnifier tool being pinned to your taskbar in Windows 10? If so, you’ve come to the right place. In this article, we will guide you on how to unpin the magnifier from your taskbar, giving you more control over your desktop space. Windows 10 introduced many new features, and the magnifier tool is one of them. While it can be useful for zooming in on certain elements, having it permanently pinned to the taskbar can become cumbersome. We understand the need for a clean and organized desktop, and that’s why we are here to help you solve this issue. So, let’s dive in and learn how to unpin the magnifier from the taskbar in Windows 10.
Inside This Article
- Method 1: Using the “Unpin from taskbar” option
- Method 2: Using the taskbar settings
- Method 3: Using the Registry Editor
- Method 4: Using the Group Policy Editor
- Conclusion
- FAQs
Method 1: Using the “Unpin from taskbar” option
One of the simplest ways to unpin the Magnifier from the taskbar in Windows 10 is by using the “Unpin from taskbar” option. Here’s how you can do it:
- First, locate the Magnifier icon on your taskbar. It’s usually found on the right side of the taskbar, near the system tray.
- Once you’ve found the Magnifier icon, right-click on it to open the context menu.
- In the context menu, you’ll see the option “Unpin from taskbar.” Click on it to remove the Magnifier icon from the taskbar.
After completing these steps, the Magnifier icon will no longer be pinned to the taskbar. You can still access the Magnifier by searching for it in the Start menu or using the Windows key + Plus (+) keyboard shortcut.
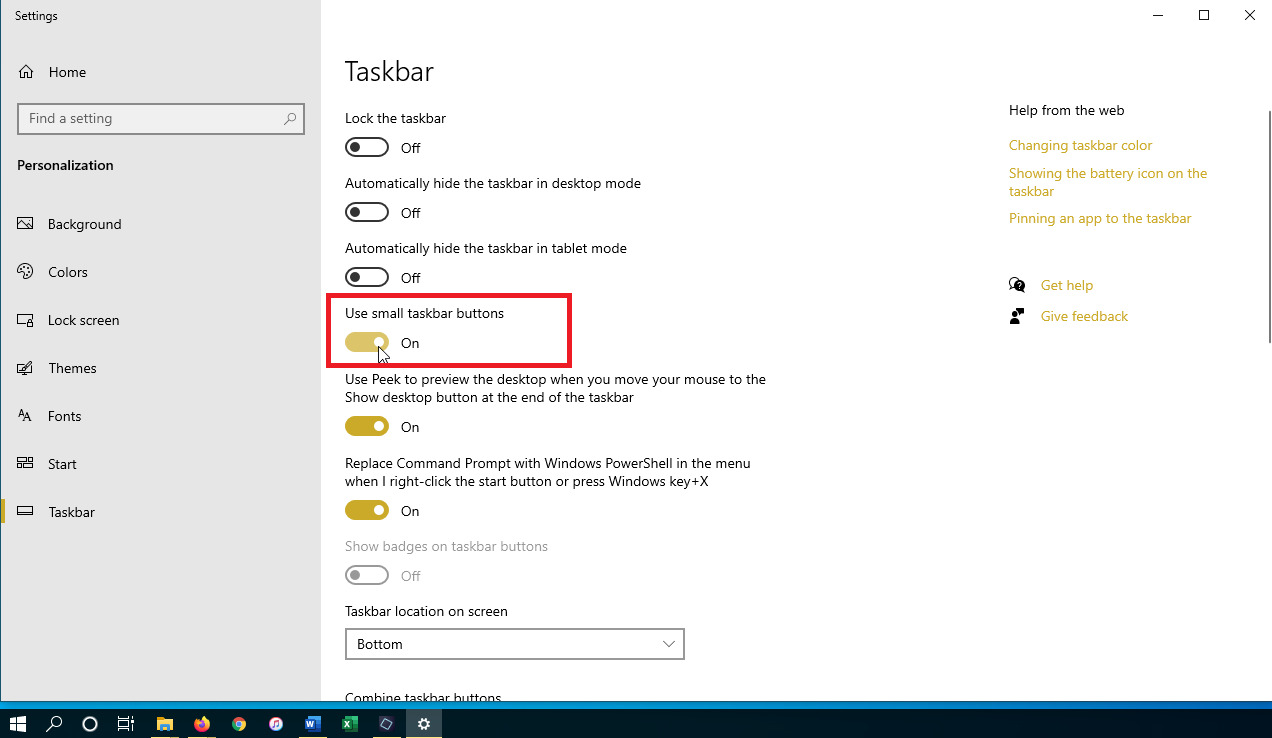
Method 2: Using the taskbar settings
If you are looking for a simple and straightforward way to unpin the Magnifier from your taskbar in Windows 10, using the taskbar settings is your go-to method. Follow these easy steps to get the job done:
- Right-click on an empty space on the taskbar. This will bring up a context menu.
- From the context menu, hover your mouse over the “Toolbars” option. This will display another menu.
- In the sub-menu, you will see the “Magnifier” option. If a checkmark is present next to it, it means that the Magnifier is currently pinned to the taskbar.
- To unpin the Magnifier, simply click on the “Magnifier” option. This will remove the checkmark.
And that’s it! The Magnifier will no longer be pinned to your taskbar.
This method is perfect for those who prefer a more visual and intuitive approach to managing their taskbar icons. By accessing the taskbar settings, you have complete control over which icons are pinned and displayed on your taskbar.
Using the taskbar settings method is not only easy and efficient, but it also allows you to customize your taskbar to suit your preferences. You can pin or unpin various applications and tools, allowing you to declutter your taskbar and improve your productivity.
Now that you know how to unpin the Magnifier from the taskbar using the taskbar settings, you can easily remove any other unwanted icons or applications from your taskbar with just a few clicks.
Method 3: Using the Registry Editor
If the previous methods didn’t work for you, you can try using the Registry Editor to unpin Magnifier from the taskbar. However, it’s important to note that making changes in the Registry Editor can impact the stability and functionality of your system. Therefore, it’s recommended to create a backup of your registry before proceeding with this method.
Follow these steps to unpin Magnifier using the Registry Editor:
- Press the Windows key + R on your keyboard to open the Run dialog box.
- Type “regedit” in the Run dialog box and click on OK. This will open the Registry Editor.
- In the Registry Editor, navigate to the following location:
HKEY_CURRENT_USER\Software\Microsoft\Windows\CurrentVersion\Explorer\Advanced
- On the right-hand side, look for a DWORD value named “EnablePinnedTaskbar.”
- Double-click on “EnablePinnedTaskbar” to modify its value.
- Change the value from “1” to “0” and click on OK.
- Close the Registry Editor.
- Restart your computer for the changes to take effect.
Once your system has restarted, Magnifier should no longer be pinned to the taskbar.
Keep in mind that modifying the registry can have unintended consequences, so it’s crucial to proceed with caution and ensure that you follow the steps correctly. If you’re uncertain or uncomfortable with making changes in the Registry Editor, it’s advisable to seek assistance from a knowledgeable expert or consult Microsoft’s official support documentation.
Method 4: Using the Group Policy Editor
If you’re looking for a more advanced and centralized way to remove the Magnifier from the Taskbar in Windows 10, you can utilize the Group Policy Editor. However, it’s important to note that this method is only applicable to Windows 10 Pro, Enterprise, or Education editions.
Here’s how you can remove the Magnifier using the Group Policy Editor:
- Press the Windows key + R to open the Run dialog box.
- Type “gpedit.msc” and press Enter. This will open the Group Policy Editor.
- In the Group Policy Editor window, navigate to “User Configuration” > “Administrative Templates” > “Start Menu and Taskbar”.
- On the right-hand side, locate the setting “Remove Magnifier from the taskbar” and double-click on it.
- Select the “Enabled” option and click on “OK” to save the changes.
Once you have completed these steps, the Magnifier will be removed from the Taskbar on your Windows 10 device. This method ensures that the Magnifier is disabled for all users on the system, providing a centralized solution if you manage multiple devices in an organization or educational institution.
It’s worth noting that the Group Policy Editor is a powerful tool, and making changes without proper knowledge can have unintended consequences. It’s always recommended to create a system backup or consult with an IT professional before making any modifications using the Group Policy Editor.
By following this method, you can effectively remove the Magnifier from the Taskbar in Windows 10 using the Group Policy Editor, providing a streamlined user experience for your organization or educational institution.
In conclusion, learning how to unpin the Magnifier from the Taskbar in Windows 10 is a valuable skill that can enhance your user experience and help you customize your desktop. By following the simple steps outlined in this article, you can easily remove the Magnifier icon from your Taskbar and regain valuable space for other frequently used applications or shortcuts.
Remember that the process may vary slightly depending on your specific system configuration, but the general steps provided should be applicable to most Windows 10 installations. Don’t hesitate to explore other customization options within the Taskbar settings to further personalize your desktop.
We hope this article has been helpful in guiding you through the process of unpinning the Magnifier from the Taskbar in Windows 10. Now you can enjoy a clutter-free and tailored desktop experience that suits your needs and preferences.
FAQs
Q: What is the purpose of pinning the Magnifier to the taskbar in Windows 10?
A: Pinning the Magnifier to the taskbar in Windows 10 provides quick access to the Magnifier tool, allowing users to easily zoom in and magnify parts of their screen for better visibility.
Q: How do I unpin the Magnifier from the taskbar in Windows 10?
A: To unpin the Magnifier from the taskbar, right-click on the Magnifier icon on the taskbar and select “Unpin from taskbar” from the context menu. This will remove the Magnifier icon from the taskbar.
Q: Can I re-pin the Magnifier to the taskbar after unpinning it?
A: Yes, you can re-pin the Magnifier to the taskbar in Windows 10. To do this, open the Start menu, search for “Magnifier,” right-click on the Magnifier app, and select “Pin to taskbar” from the context menu. The Magnifier icon will then be added back to the taskbar for easy access.
Q: Are there any keyboard shortcuts to launch the Magnifier tool in Windows 10?
A: Yes, there are keyboard shortcuts to launch the Magnifier tool in Windows 10. Press the Windows key and the “+” key together to open the Magnifier tool. You can also press the Windows key and the Esc key together to exit the Magnifier.
Q: Can I customize the settings of the Magnifier tool in Windows 10?
A: Yes, you can customize the settings of the Magnifier tool in Windows 10. Open the Magnifier tool, then click on the gear icon to open the Magnifier settings. From there, you can adjust the magnification level, choose different views (full screen, lens, or docked), and customize other options to fit your needs.