
Have you ever wondered where photos are stored when you use the magnifier app on your cell phone? It’s a common question, as many people are not familiar with the behind-the-scenes workings of their mobile devices. When using the magnifier app, it’s important to understand where these photos are saved, as it can help you easily access and manage them. In this article, we will explore the storage location of photos while utilizing the magnifier app on different cell phone platforms, such as iOS and Android. We will also provide some useful tips on how to organize and maintain your magnifier app photos. So, if you’re curious about the inner workings of your device’s magnifier app, keep reading to discover where your photos are stored.
Inside This Article
- Overview
- How Does the Magnifier App Work?
- Default Storage Location of Photos
- Locating Saved Photos on the Magnifier App
- Conclusion
- FAQs
Overview
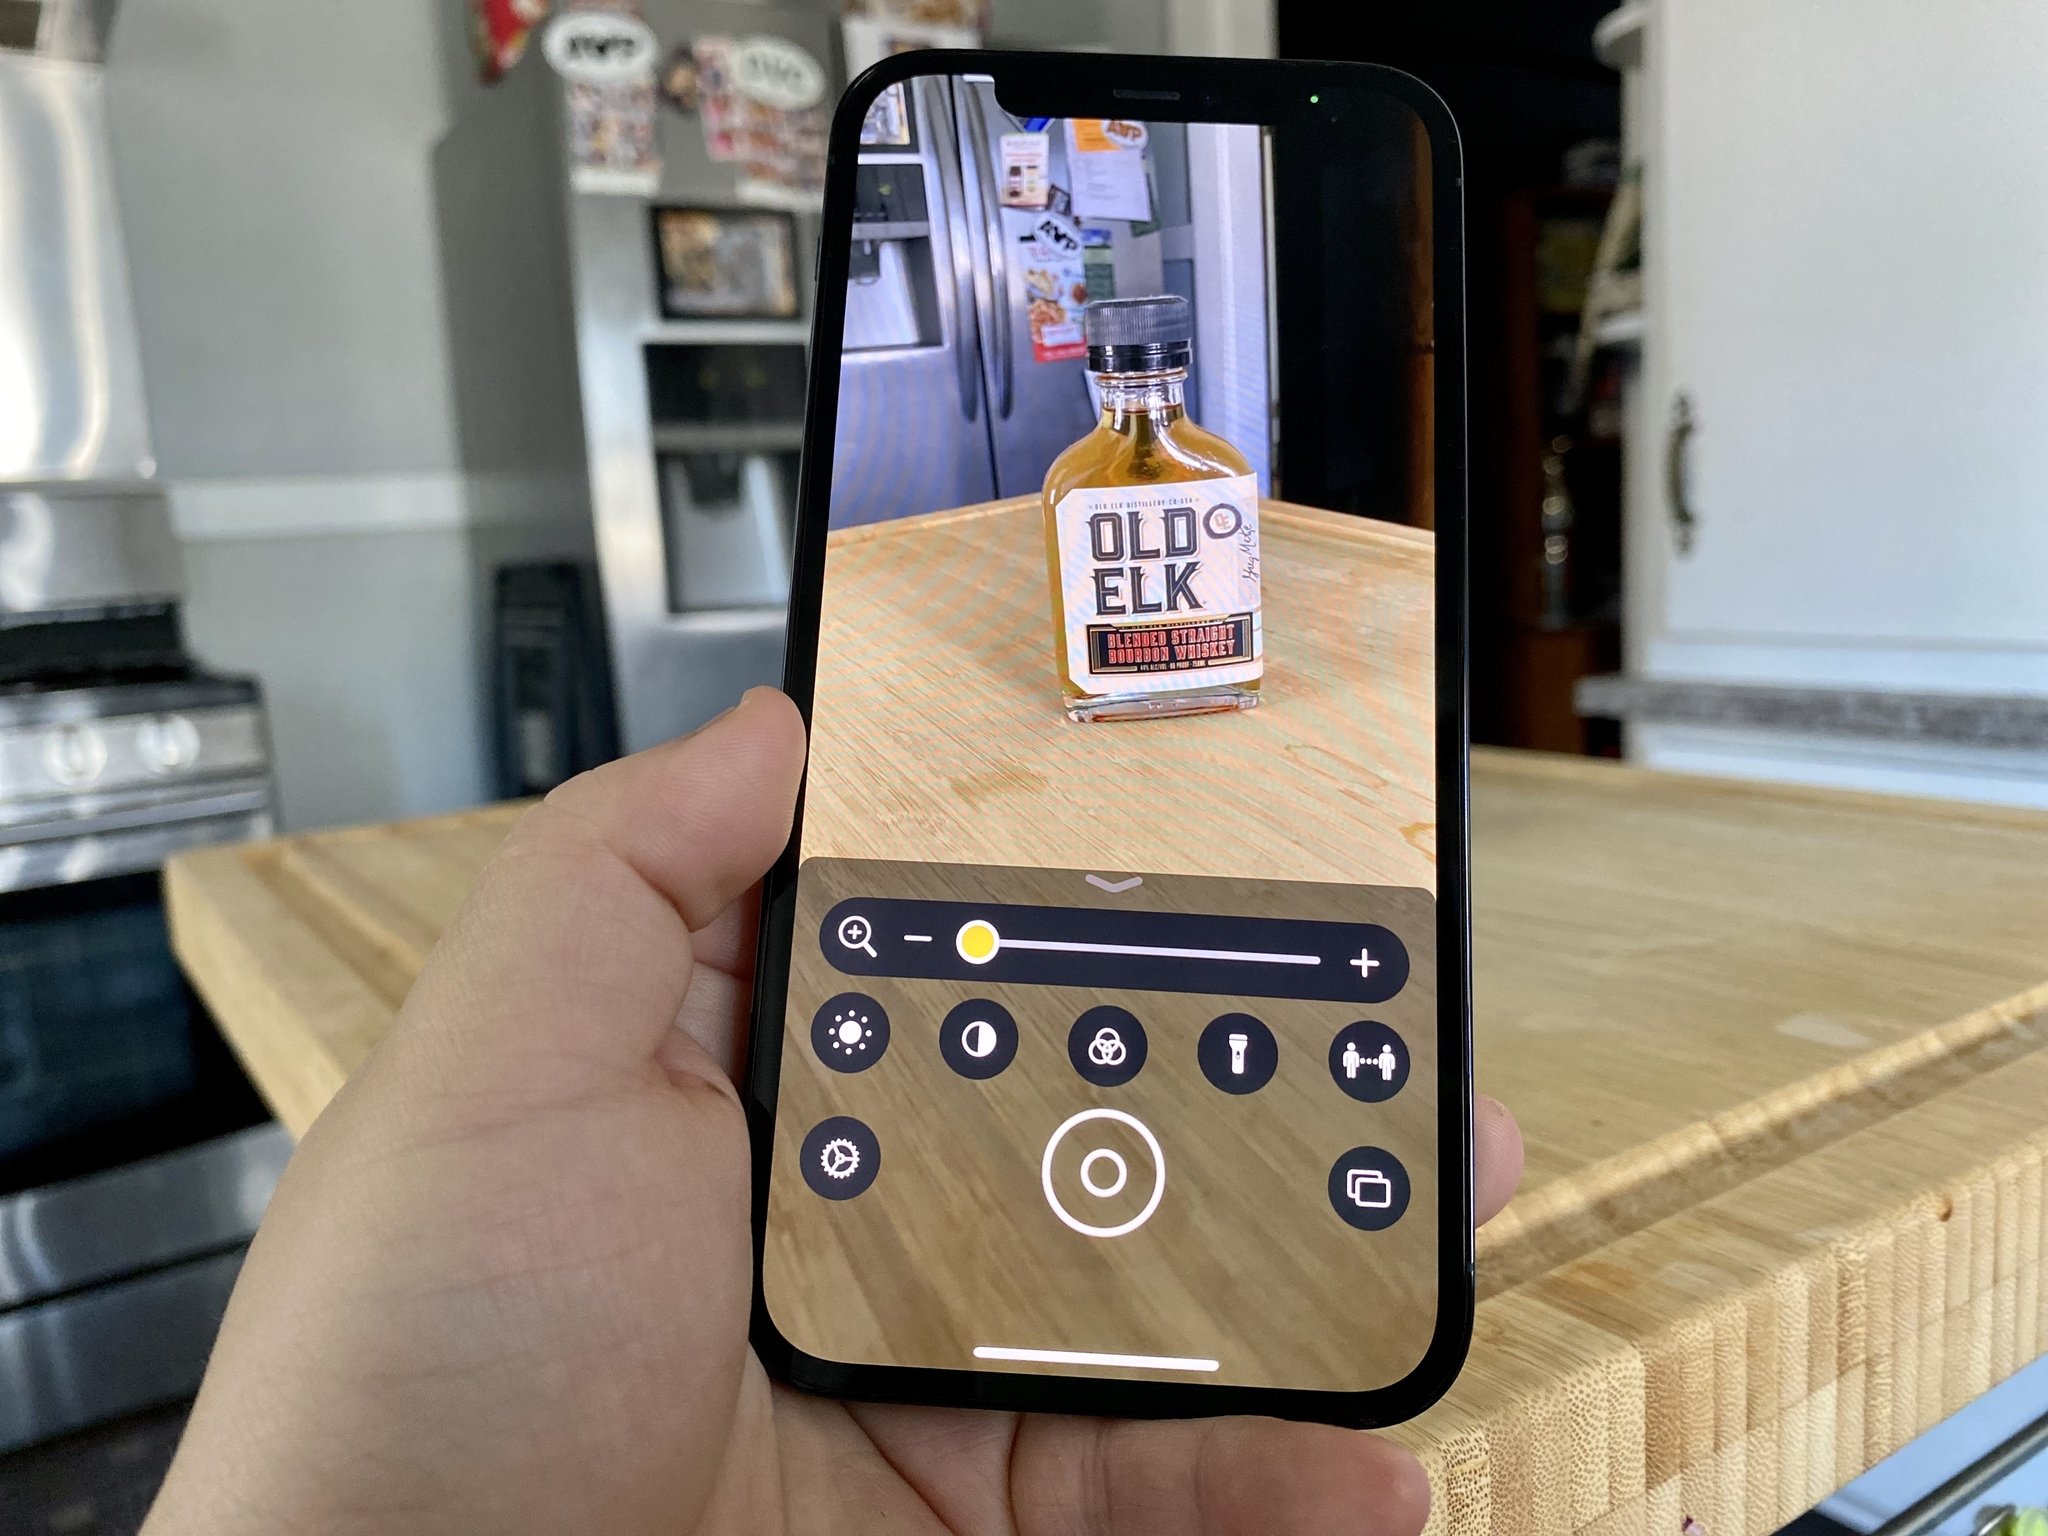
The Magnifier app is a handy tool that enables users to capture and zoom into small details in photographs using their cell phones. It works by utilizing the high-resolution cameras found in modern smartphones, allowing users to examine and analyze images with precision and clarity. With the Magnifier app, users can uncover hidden details, zoom in on specific areas of interest, and even take snapshots for future reference, making it a valuable utility for various purposes.
Whether you’re a professional photographer, a hobbyist, or simply someone who enjoys capturing memorable moments, the Magnifier app can enhance your mobile photography experience. By bringing attention to intricate details, patterns, or delicate textures, this app allows you to appreciate the artistry and beauty that may go unnoticed by the naked eye. It opens up a whole new world of possibilities for creative expression and exploration.
With its user-friendly interface and intuitive controls, the Magnifier app is accessible to users of all levels of expertise. Even if you’re new to mobile photography or unfamiliar with advanced editing tools, you can easily navigate through the app’s features and utilize its functionalities. Whether you want to examine a magnified image in real-time or capture a high-resolution snapshot, the Magnifier app provides a seamless and user-friendly experience.
The Magnifier app is compatible with a wide range of mobile devices, ensuring that users can enjoy its benefits regardless of their cell phone brand or model. From iOS to Android, the app can be easily downloaded from the respective app stores, offering a versatile solution for those seeking to enhance their mobile photography capabilities. So, whether you’re using the latest iPhone or a budget-friendly Android device, you can take advantage of the Magnifier app and its powerful features.
How Does the Magnifier App Work?
The Magnifier app is a handy tool that allows users to magnify objects or text using the camera on their cell phones. This app uses the phone’s camera to capture real-time images and provides various visual enhancements to improve visibility and clarity.
One of the key features of the Magnifier app is its ability to adjust magnification levels. Users can zoom in or out to get a closer or wider view of the subject they are trying to magnify. This is particularly useful for individuals with visual impairments or for anyone who needs to examine tiny details.
In addition to the zoom feature, the Magnifier app also offers different color filters to enhance visibility. Users can choose from a range of options such as grayscale, inverted colors, or high contrast, depending on their specific needs. These visual enhancements can greatly improve the visibility and readability of objects or text that may otherwise be difficult to see.
Furthermore, the Magnifier app also provides the option to freeze the magnified image. This means that users can capture a still image of the magnified object or text, allowing them to examine it more closely at their own convenience. This feature comes in handy when needing to read small print or analyze intricate details.
Another useful feature of the Magnifier app is the ability to use the flashlight on the phone to illuminate the subject. This can be extremely helpful in low-light situations or when examining objects in dimly lit areas. By combining the flashlight with the magnification and visual enhancement features, users can get a clear and well-illuminated view of the object or text they are trying to magnify.
To use the Magnifier app, simply open the app on your cell phone and point the camera at the object or text you want to magnify. Then, adjust the zoom level, select the desired visual filter if needed, and use the flashlight if necessary. The app also allows users to capture and save images for future reference.
Default Storage Location of Photos
When using the Magnifier app on your mobile device, you may be wondering where the photos you capture are stored. By default, the Magnifier app automatically saves the photos in the internal storage of your device. This means that the photos are stored in a designated folder within the device’s file system.
The specific location of the default storage folder may vary depending on the operating system of your device. For example, on Android devices, the photos taken with the Magnifier app are typically stored in the “Pictures” or “Camera” folder in the internal storage. On iOS devices, the photos are usually saved in the “Photos” or “Camera Roll” album within the Photos app.
It is important to note that the default storage location may be customizable or can be changed by the user depending on the settings of the Magnifier app or the device’s operating system. Some users may prefer to store the photos in an external SD card or a specific folder of their choice.
If you want to check the default storage location of the photos captured with the Magnifier app on your device, you can follow these steps:
- Open the file manager or gallery app on your device.
- Navigate to the internal storage or the designated storage location for photos.
- Look for a folder named “Magnifier” or something similar.
- Open the folder to access the photos captured using the Magnifier app.
Alternatively, you can also use a file explorer app to search for the “Magnifier” folder directly within the internal storage of your device.
Keep in mind that if you have changed the default storage location or have enabled cloud backup for your photos, they may not be stored in the default folder. In such cases, you may need to refer to the settings of the Magnifier app or the device’s operating system to locate the appropriate storage location for your photos.
Locating Saved Photos on the Magnifier App
Once you have captured images using the Magnifier app, you may wonder where these photos are saved on your device. Rest assured, finding your saved photos is a straightforward process.
By default, the Magnifier app stores all captured photos in the device’s internal storage. The exact location may vary depending on the operating system and device model you are using.
If you are using an iPhone, the Magnifier app stores photos in the Photos app, which is the default photos management application on iOS devices. To access your saved photos, simply open the Photos app and look for the “Magnifier” album. All images captured through the Magnifier app will be available in this album.
For Android users, the Magnifier app saves photos in the default gallery app, which is often labeled “Gallery” or “Photos” depending on your device manufacturer. To locate your saved photos, open the gallery app and navigate to the “Magnifier” folder or album. Here, you will find all the photos you captured using the Magnifier app.
If you are unable to find the “Magnifier” album or folder in your default photos app, don’t worry. Some devices or customized versions of the operating system may have slightly different file organization. In such cases, you can try searching for the photos using the device’s built-in file manager. Look for a folder named “Magnifier” within the internal storage, and you should find your captured images there.
Remember, it’s always a good practice to back up your important photos regularly, including those captured using the Magnifier app. By saving your photos to a cloud storage service or transferring them to a computer, you can keep your precious memories safe even if your device is lost or damaged.
Now that you know where to find your saved photos, you can easily access and manage them whenever you want. Whether you want to delete unwanted images, share them with friends and family, or simply reminisce about special moments, locating your photos is the first step towards effortless photo management.
Conclusion
In conclusion, the Magnifier app is a powerful tool that can be used to enhance and enlarge photos on your mobile device. With its intuitive interface and advanced features, it provides a convenient way to zoom in and examine details that may have otherwise been difficult to see.
Whether you are a photographer, a hobbyist, or simply someone who wants to get a closer look at an image, the Magnifier app is a must-have accessory for your smartphone. It can unlock a whole new level of photo viewing and exploration, allowing you to appreciate the finer details and nuances in your pictures.
So, don’t miss out on the opportunity to take your mobile phone photography and image viewing experience to the next level with the Magnifier app. Give it a try and discover a whole new world of visual possibilities right at your fingertips!
FAQs
1. Where are photos stored when using the Magnifier app?
When you use the Magnifier app on your cell phone, the photos you capture are typically stored in the default photo album or gallery of your device. However, the specific location may vary depending on the operating system and settings of your phone. It’s recommended to check your phone’s photo gallery or albums to locate the photos captured using the Magnifier app.
2. How can I access the photos taken with the Magnifier app?
To access the photos taken with the Magnifier app, you can follow these general steps:
- Open the photo gallery or album app on your cell phone.
- Look for a folder or album named “Magnifier” or similar.
- Tap on the folder or album to view the photos captured using the Magnifier app.
If you cannot find a specific folder or album related to the Magnifier app, try checking the general camera roll or the default photo storage location of your phone.
3. Can I change the storage location of photos taken with the Magnifier app?
The storage location of photos taken with the Magnifier app is typically determined by the default settings of your cell phone’s camera app. In most cases, you cannot directly change the storage location for photos taken with the Magnifier app alone. However, you may be able to change the default storage location for all photos taken by your phone’s camera app. This can usually be done through the settings menu of your phone’s camera app or in the general settings of your phone’s operating system.
4. Are the photos taken with the Magnifier app automatically backed up?
The automatic backup of photos taken with the Magnifier app depends on the backup settings of your cell phone. If you have enabled a cloud backup service like Google Photos or iCloud, the photos taken with the Magnifier app may be automatically backed up to the cloud storage associated with the backup service. It’s advisable to check the backup settings of your phone and ensure that the Magnifier app photos are included in the backup process.
5. Can I transfer Magnifier app photos to a computer?
Yes, you can transfer photos taken with the Magnifier app to a computer. There are several methods to do this, including:
- Connecting your phone to the computer using a USB cable and transferring the photos manually.
- Using a cloud storage service to upload the Magnifier app photos from your phone and then downloading them onto your computer.
- Transferring the photos via email or messaging apps by sending them to yourself and accessing them on your computer.
The specific method may vary depending on the operating system and software you are using on your computer.