
Adobe Lightroom is a cloud-based application that allows you to edit, organize, store, and share your photos using any device, anywhere. It has easy-to-use tools such as filters to create photos that looks like they were taken by a professional. After editing your photos, you can directly share them to your social media accounts or post them directly to Adobe Portfolio where you can showcase your work. So, how to blur background using Lightroom, you ask?
What’s exciting about Lightroom is you can explore and learn from tutorials and sample photos of professional photographers. For now, let me walk you through on how you can do so.
To start, you need to choose a photo that you want to edit.
How To Blur Background Using Lightroom
There are two major steps to follow on how to blur background using Lightroom:
STEP 1. Choose Your Blur Tools
The first step on how to blur background using Lightroom is to choose from three tools:
- Brushes
- Radial Filters
- Graduated Filters
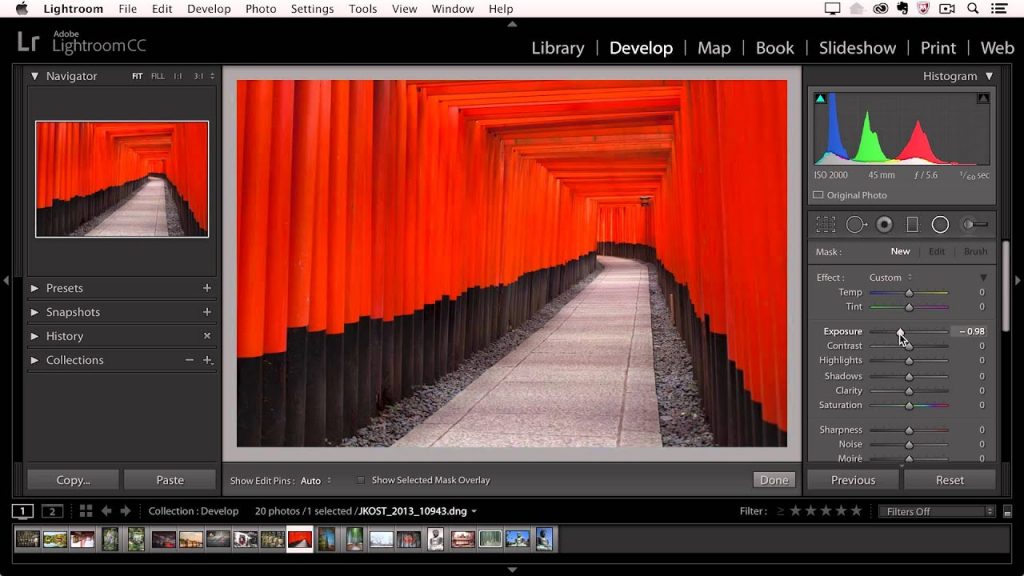
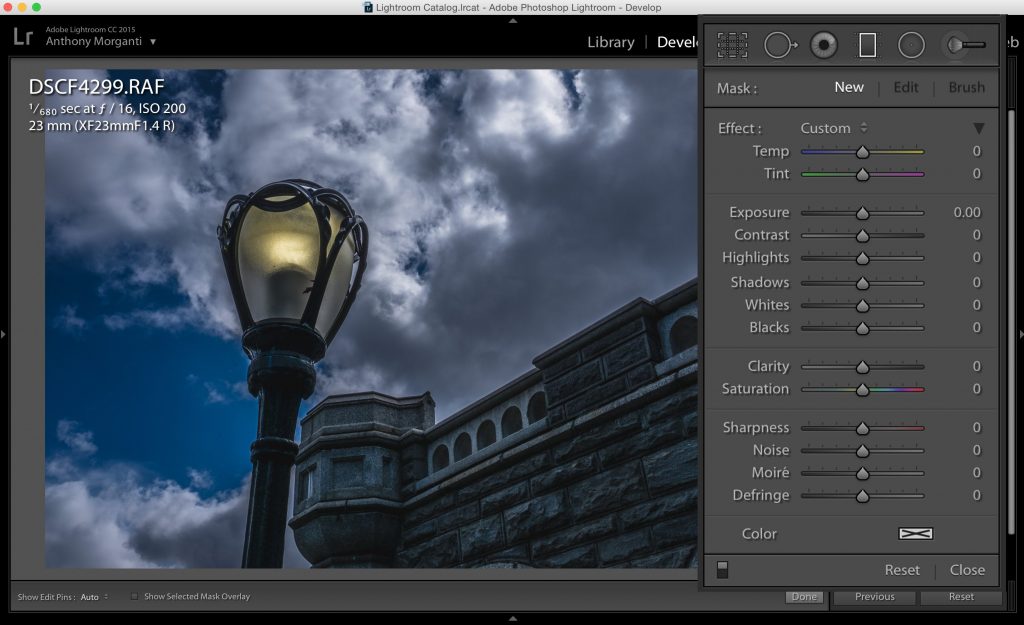
You can either click on the Brush, Radial filter, or Graduated filter icon just below your Lightroom histogram (the graph of different tonal values in your image). Then, click on New and click on the arrow to open up the menu of your chosen tool.
STEP 2. Adjust Sharpness, Clarity, and Exposure
Next on how to blur background using Lightroom is adjusting the sharpness, clarity, and exposure for your chosen blur tool. These options are similar to Brush, Radial filter, and Graduated filter tools.
You can start with Sharpness by default. Just drag the slider to the left, all the way up to -100. (You can also click on the number on the right side and manually type the value -100.) Next is to move the Clarity slider to -100, then adjust until it gives you the blur that you want. Lastly, move the Exposure to the left, half way. This is important because when you are using sharpness and clarity on how to blur background using Lightroom, they tend to increase the brightness of your photo since you’re removing the contrast. Note that all other items on the menu are set to zero.
Blur Tool 1: Brushes
Brushes offer the most directed control on how to blur background using Lightroom. You can just paint to blur specific parts of your photo.
STEP 3. Adjust Feather and Flow
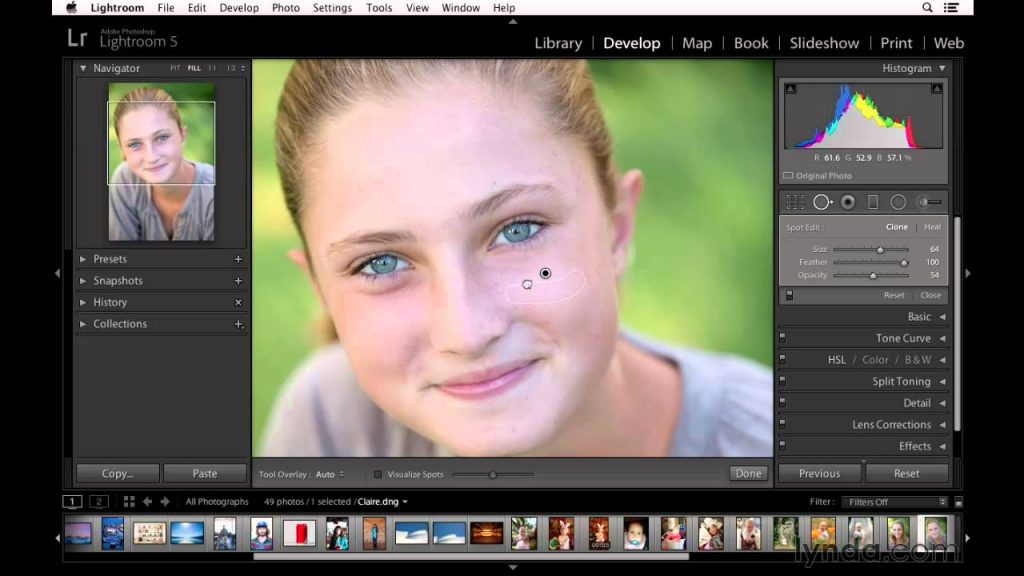
To continue on how to blur background using Lightroom, adjust the sliders of Feather and Flow based on the effect that you want. The Feather sets how soft or hard the brush is while Flow sets the strength for the brush (values lower than 100 lets you slowly build up the blur effect within the same area).
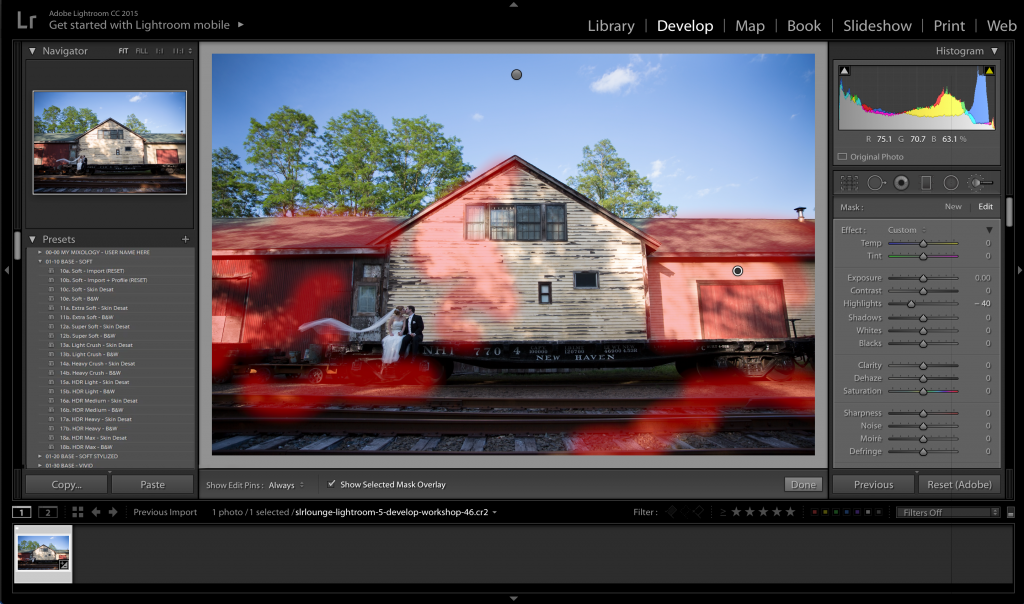
STEP 4. Brush on the Blur
Paint the blur effect on your photo using the adjustment brush. To see a colored overlay or mask (displayed in red) of where the blur effect is being applied, hit the O key. The more opaque the color, the stronger the blur effect.
You can always duplicate your adjustment brush by right-clicking on the brush marker and selecting Duplicate to accentuate the blur or until your done on how to blur background using Lightroom.
If you accidentally blur an area within the photo, you may select the Erase brush to remove blur from the areas.
After you’re done with how to blur background using Lightroom brushes, and you’re happy with your final image, you can now export your photo and can directly share your masterpiece.
Blur Tool 2: Radial Filters
For radial filter, your options on how to blur background using Lightroom is limited because it can only be applied to some areas of an oval shape or round. However, it applies blur evenly within the background.
STEP 3. Adjust Feather
Adjust feather by starting with 50, allowing a smooth transition from sharp to blur.
STEP 4. Move and Adjust the Radial Filter
To use radial filters on how to blur background using Lightroom, choose an area within the photo where you want to apply the blur. Then, click and drag your filter into the size and shape that you desire.
STEP 5. Adjust Clarity
To continue on how to blur background using Lightroom radial filters, move the Clarity slider to the right, if needed, to lessen the blur effect.
STEP 6. Invert Mask (Optional)
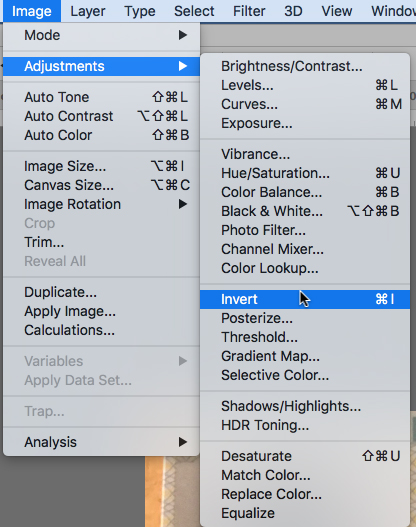
If you choose on how to blur background using Lightroom within the oval or circle, click on Invert Mask.
In case you want to remove the blur in an area, use the Erase brush.
Blur Tool 3: Graduated Filters
Using graduated filters, you can have more control on how to blur background using Lightroom than in brushes and radial filters.
STEP 3. Drag and Place Graduated Filters
To continue on how to blur background using Lightroom, you can adjust the graduated filters (vertical, horizontal, or diagonal) by dragging them from the edge of the frame toward the center.
STEP 4. Adjust the Effect Transition
The next step on how to blur background using Lightroom is adjusting the effect transition. After you position your graduated filter, you will notice three distinct lines. (Note that you have the option to hide these lines by pressing the H key.) The closer the lines, the more immediate the transition of the effects will be.
STEP 5. Duplicate Graduated Filters
You can always add extra graduated filters by clicking on the circular filter dot to duplicate filter. This saves you more time in doing the same steps.
As always, you can remove the blur effect using the Erase brush.
Save Your Work as Customized Blur Preset
When you’re done using one of the blur tools on how to blur background using Lightroom, you can click on the + icon located in the upper right side of the Presets module (left hand side of Lightroom) to save your new custom preset on how to blur your photos.
For a detailed tutorial on taking expert photos using your smartphone, check out our guide here.