
In this digital age, capturing and sharing memories through photos has become an integral part of our lives. And with the abundance of high-quality cameras in our pockets, thanks to smartphones like the iPhone, it’s easier than ever to take stunning pictures on the go. However, sometimes we want to do more with our photos than just store them on our devices. We want to share them with friends and family, or maybe even send them to our own email for later use.
In this article, we will explore the various methods and techniques to seamlessly email pictures from your iPhone. Whether you want to send a single photo or multiple ones, we will guide you through the step-by-step process of attaching and composing emails with your precious memories. So, if you’re ready to learn how to share your iPhone pictures via email, let’s get started!
Inside This Article
- Method 1: Using the Mail App- Add Attachments- Compress Images- Send the Email
- Method 2: Using the Photos App – Select the Photos – Share via Mail – Send the Email
- Method 3: Using Third-Party Apps- Install a Third-Party App- Select and Attach the Photos- Send the Email
- Method 4: Using iCloud Mail- Enable iCloud Mail on Your iPhone- Compose a New Email- Attach and Send the Photos
- Conclusion
- FAQs
Method 1: Using the Mail App- Add Attachments- Compress Images- Send the Email
Sending pictures from your iPhone via email is a quick and efficient way to share memories with friends, family, or colleagues. The built-in Mail app on your iPhone makes this process incredibly easy, allowing you to add attachments, compress images, and send the email right from your device.
To get started, open the Mail app on your iPhone and create a new email by clicking on the compose button. Now, follow these simple steps to add attachments, compress the images, and send the email:
- Add Attachments: Tap on the body of the email to bring up the editing menu. Then, tap the right arrow button and select “Insert Photo or Video.” This will open your Photos app, allowing you to select the pictures you want to attach to the email. Tap on the desired images, and they will be added as attachments to your email.
- Compress Images: If you want to reduce the file size of the pictures to make them more suitable for email, you can compress them before sending. To do this, tap on one of the attached images in the email you are composing. A menu will appear with various options; tap on “Choose Size.” Now, select the desired size – Small, Medium, Large, or Actual Size. Choosing a smaller size will reduce the file size, but keep in mind that it may decrease the image quality slightly.
- Send the Email: Once you have added the attachments and possibly compressed the images, it’s time to send the email. Double-check that all the necessary pictures are attached and that the email is composed as desired. Finally, tap the send button – usually represented by a paper airplane icon – to send the email with the pictures attached.
And voila! Your email with the attached images has been sent successfully from your iPhone using the Mail app. Now you can easily share your favorite photos with others and keep those special memories alive.
Method 2: Using the Photos App – Select the Photos – Share via Mail – Send the Email
If you prefer a more intuitive method to email pictures from your iPhone, you can make use of the built-in Photos app. This method allows you to select the desired photos and quickly share them through an email. Here’s a step-by-step guide on how to do it:
1. Open the Photos app on your iPhone. This app is represented by a colorful flower icon.
2. Navigate to the album or folder where your desired photos are located. You can find your photos in the “Photos” tab or within specific albums, such as “Favorites” or “Camera Roll”.
3. Once you’ve found the photos you want to send, tap on the “Select” button found in the top right corner of the screen.
4. Tap on each photo you wish to include in the email. A blue checkmark will indicate which photos are selected. You can select multiple photos by tapping on each one individually.
5. After selecting the photos, tap on the sharing icon. This icon is represented by a square with an upward arrow and is located at the bottom left corner of the screen.
6. A menu of sharing options will appear. Swipe through the icons until you find the “Mail” option. Tap on it to proceed.
7. The Mail app will open with the selected photos automatically attached to a new email. At this point, you can enter the recipient’s email address, add a subject line, and write a message if desired.
8. Once you have composed your email, tap on the “Send” button to deliver the email, along with the attached photos, to the recipient.
By following these simple steps, you can easily select and share multiple photos via email using the Photos app on your iPhone. This method offers a straightforward and convenient way to send your favorite memories to friends, family, or colleagues.
Method 3: Using Third-Party Apps- Install a Third-Party App- Select and Attach the Photos- Send the Email
If you want more flexibility and advanced features when emailing pictures from your iPhone, you can use third-party apps specifically designed for this purpose. These apps offer additional options for organizing, editing, and sharing photos, making them a great choice for those who frequently send pictures via email.
The first step is to install a third-party email app from the App Store. There are several popular options available, such as Gmail, Outlook, or Spark. Choose the app that best suits your needs and follow the on-screen instructions to install it on your iPhone.
Once the app is installed, open it and set up your email account. Enter your email address and password, and the app will guide you through the setup process. Once your account is set up, you’re ready to start sending pictures.
To attach photos using a third-party app, open the app and navigate to the compose email or new message screen. Tap on the attachment icon, which is usually represented by a paperclip or a camera icon, depending on the app.
Next, you’ll be presented with different options for selecting the photos you want to attach. You can choose to browse through your iPhone’s photo library, select from recently taken photos, or even access files from other cloud storage services like Google Drive or Dropbox.
Select the photos you want to attach by tapping on them. Most apps allow you to select multiple photos at once, so you can easily attach several pictures to a single email. Once you’ve made your selections, tap on the “Attach” or “Done” button to add the photos to your email.
After attaching the photos, you can compose the rest of your email, including the recipient’s email address, subject, and any text you want to include. Take advantage of any additional editing features offered by the app, such as resizing or cropping the photos, adding captions or filters, or organizing them into albums.
Once you’re satisfied with your email and the attached photos, you can send it by tapping on the “Send” button. The app will take care of delivering the email along with the attached pictures to the recipient’s inbox.
Using third-party apps not only provides a seamless way to email pictures from your iPhone but also offers a host of additional features to enhance your email experience. Whether it’s adding filters and effects to your photos or easily accessing files from cloud storage services, these apps provide a convenient and versatile solution for sending pictures via email.
Method 4: Using iCloud Mail- Enable iCloud Mail on Your iPhone- Compose a New Email- Attach and Send the Photos
If you have an iCloud Mail account, you can easily email pictures from your iPhone using the built-in iCloud Mail app. Here’s how to do it:
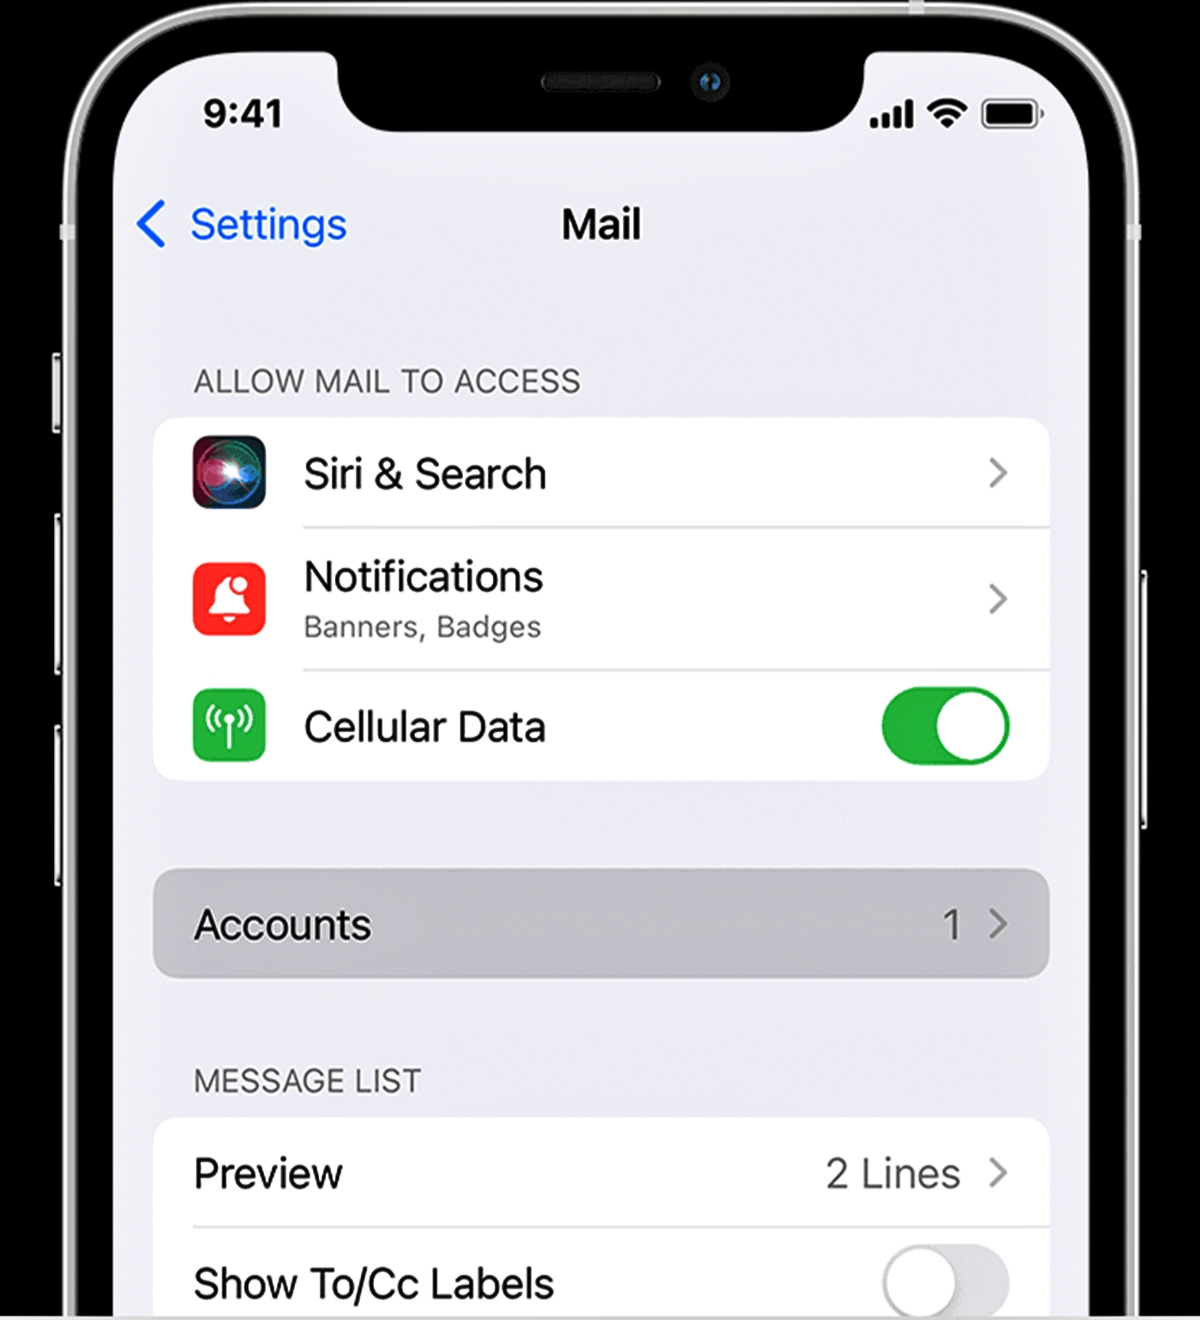
To start, you need to enable iCloud Mail on your iPhone. Go to Settings, select your Apple ID at the top, and then tap on iCloud. Make sure the Mail toggle is turned on. If it is already on, you’re good to go. If it’s off, toggle it on and follow the on-screen instructions to set up your iCloud Mail account.
Once you have enabled iCloud Mail, you can now start composing a new email. Open the Mail app on your iPhone and tap on the compose button, usually represented by a pencil and paper icon.
In the new email composition screen, you will see a “To” field, a subject field, and a body field. Enter the recipient’s email address in the “To” field, add a subject if desired, and start writing your email in the body field.
Now it’s time to attach and send the photos. Tap on the body of the email, and a menu will appear. Select “Insert Photo or Video.” This will open your Photos app, where you can choose the pictures you want to attach.
Browse through your photo library or albums, and select the pictures you want to email. Tap on each image to add them to the email. You can attach multiple photos by selecting them one by one or using the selection feature to choose multiple photos at once.
After attaching the photos to the email, you can add any additional text or comments if needed. Once you are satisfied with the email content and attachments, tap on the send button, usually represented by a paper plane icon, to send the email with the attached photos.
That’s it! Your email with the attached photos will now be sent through iCloud Mail from your iPhone.
Using iCloud Mail provides a seamless and convenient way to send pictures from your iPhone. With these simple steps, you can share your favorite memories with friends and family in just a few taps.
Conclusion
In conclusion, sending pictures from your iPhone via email is a simple and convenient way to share your memories with others. With just a few taps, you can attach and send your favorite photos to family, friends, or even colleagues. Whether you’re using the default Mail app or a third-party email client, the process is generally straightforward and user-friendly. Remember to optimize the image size and format for faster uploading and downloading speeds. Additionally, double-check the recipient’s email address and the email’s subject and body before hitting the send button. By following these steps, you can ensure that your pictures reach their intended recipients with ease. So, go ahead and start sharing those special moments captured on your iPhone!
FAQs
1. How do I email pictures from my iPhone?
To email pictures from your iPhone, follow these steps:
- Open the Photos app on your iPhone.
- Navigate to the specific album or folder where the pictures you want to email are located.
- Select the pictures by tapping on them. You can select multiple pictures by tapping on each one individually, or you can tap “Select” and then choose multiple pictures at once.
- After selecting the pictures, tap on the share icon (a square with an arrow pointing upwards).
- Choose the “Mail” option from the sharing menu.
- A new email compose window will open with the selected pictures attached. Enter the recipient’s email address, add a subject, and compose your message if desired.
- Finally, tap “Send” to email the pictures.
2. Can I send pictures via email without using the Photos app?
Yes, you can also send pictures via email without using the Photos app by following these steps:
- Open the Mail app on your iPhone.
- Compose a new email by tapping on the “Compose” button (usually a pencil icon).
- In the email compose window, tap and hold in the body of the email until the contextual menu appears.
- Tap on the right arrow in the contextual menu to access more options.
- Choose the “Insert Photo or Video” option.
- Select the desired pictures from your iPhone’s photo library.
- Once you’ve selected the pictures, tap “Choose” or “Insert” to add them to the email.
- Complete the email by entering the recipient’s email address, subject, and message.
- Finally, tap “Send” to send the pictures via email.
3. What is the maximum number of pictures I can attach to an email from my iPhone?
The maximum number of pictures you can attach to an email from your iPhone may vary depending on email service providers and email client limitations. However, in general, many email services have a limit of 25 MB per email, which means you may need to consider the file size of your pictures. If the total file size exceeds the email attachment limit, you may need to reduce the number of pictures or compress them to reduce the overall file size.
4. Can I resize pictures before emailing them from my iPhone?
Yes, you can resize pictures before emailing them from your iPhone by following these steps:
- Open the Photos app on your iPhone.
- Select the pictures you want to resize by tapping on them.
- Tap on the share icon (a square with an arrow pointing upwards).
- Scroll through the sharing options and select “Markup” (you may need to tap the “More” icon to find it).
- On the Markup screen, tap on the “+” icon and then choose “Text” from the options.
- Adjust the size of the text box to cover the entire picture.
- Tap on the color palette icon and select white or a color that matches the background of your picture.
- Tap “Done” to apply the text box.
- Tap “Done” again to return to the sharing menu.
- Choose the “Mail” option from the sharing menu to compose a new email with the resized pictures attached.
5. How can I compress pictures before sending them via email from my iPhone?
To compress pictures before sending them via email from your iPhone, you can:
- Download a third-party image compression app from the App Store, such as “JPEGmini” or “Photo Compress – Shrink Pics.
- Launch the image compression app and select the pictures you want to compress.
- Follow the on-screen instructions provided by the app to reduce the file size of the pictures.
- Once the pictures are compressed, use either the Photos app or the Mail app to attach and send them via email.