
Are you constantly switching between your iPhone, Mac, and iPad devices and find it inconvenient to start an email on one device and finish it on another? Well, you’re not alone. Many people struggle with this issue, but there’s good news – you can seamlessly transition your email drafts across devices, allowing you to start composing on your iPhone and finish it effortlessly on your Mac or iPad.
In this article, we’ll explore how you can make use of the built-in features and settings on your Apple devices to simplify the email composition process. Whether you’re on the go, at your desk, or lounging on your couch, you’ll be able to effortlessly continue your emails right where you left off, regardless of the device you’re using. So let’s dive in and learn how to streamline your email workflow between your iPhone, Mac, and iPad!
Inside This Article
- Starting an Email on Your iPhone
- Finishing an Email on Your Mac
- Finishing an Email on Your iPad
- Syncing Your Email Drafts Across Devices
- Conclusion
- FAQs
Starting an Email on Your iPhone
When it comes to starting an email on your iPhone, the process is quick and straightforward. Follow these simple steps to compose a new email:
- Unlock your iPhone by entering your passcode or using Touch ID or Face ID.
- Navigate to the home screen and locate the Mail app. The Mail app icon is a blue and white envelope.
- Tap on the Mail app icon to open it.
- In the bottom right corner of the screen, you will see a red ‘Compose’ icon. Tap on it to create a new email.
- A blank email template will appear with fields to enter the recipient’s email address, subject line, and your message.
- Start by entering the recipient’s email address in the ‘To’ field. You can manually type the email address or choose from your contacts list.
- Next, enter a concise and descriptive subject line that gives the recipient an idea of the email’s topic.
- Once you’ve filled out the necessary fields, you can now start composing your email message. Tap on the body of the email to bring up the on-screen keyboard and begin typing.
- When you have finished composing your email, you can choose to add attachments, format the text, or use other features available in the email editor.
Follow these steps, and you’ll be well on your way to starting an email on your iPhone effortlessly.
Finishing an Email on Your Mac
When it comes to finishing an email on your Mac, you have a wide range of options to ensure a polished and professional message. Here are some tips to help you make the most of your email composition on Mac:
1. Use the Mail App: The Mail app on your Mac offers a seamless and user-friendly experience for composing emails. It provides a range of formatting options, including font styles, text alignment, and bulleted or numbered lists. You can access it by clicking on the Mail app icon in your dock or searching for it using Spotlight.
2. Customize Your Signature: Your email signature is an important part of your professional communication. In the Mail app, you can customize your signature by going to Preferences > Signatures. You can create multiple signatures for different accounts or occasions and even include images or links.
3. Spell Check: Before sending out your email, ensure that it is free from any spelling or grammar errors. The Mail app has built-in spell check functionality that automatically underlines misspelled words. Simply right-click on the word to select the correct spelling suggestion.
4. Attachments: If you need to attach files or documents to your email, the Mail app makes it easy to do so. Simply click on the paperclip icon or go to the “Edit” menu and select “Attach Files…”. You can then browse your computer for the desired file and add it to your email.
5. Save as Draft: If you’re not ready to send your email immediately, you can save it as a draft and come back to it later. To do this, click on the “File” menu and select “Save as Draft” or use the keyboard shortcut Command + S. Your email will be saved in the Drafts folder, allowing you to access it from any device synced to your email account.
6. Use Templates: If you frequently send similar types of emails, consider creating templates to save time and ensure consistency. In the Mail app, you can create a new email, format it according to your needs, and then save it as a template. To use a template, simply open it, make necessary edits, and send it out.
7. Proofread and Preview: Before hitting the send button, take a moment to proofread your email. Read it aloud or ask a colleague for a second pair of eyes. Additionally, you can preview your email by clicking on the “Eye” icon in the Mail app. This allows you to see how your message will appear to the recipient.
By utilizing the features and functionalities of the Mail app on your Mac, you can ensure that your email is professional, error-free, and perfectly tailored to your needs. Whether it’s for work, personal, or any other purpose, taking the time to craft a well-composed email can make a lasting impression on the recipient.
Finishing an Email on Your iPad
With the advancement of technology, it has become easier than ever to stay connected and productive on the go. One of the most convenient tools for this purpose is the iPad. Not only does it offer portability and a user-friendly interface, but it also allows you to finish composing emails with ease. Whether you’re replying to an important business email or sending a personal message, follow these simple steps to finish an email on your iPad:
1. Open the Email App: The first step is to open the email app on your iPad. You can find it on the home screen or in the dock.
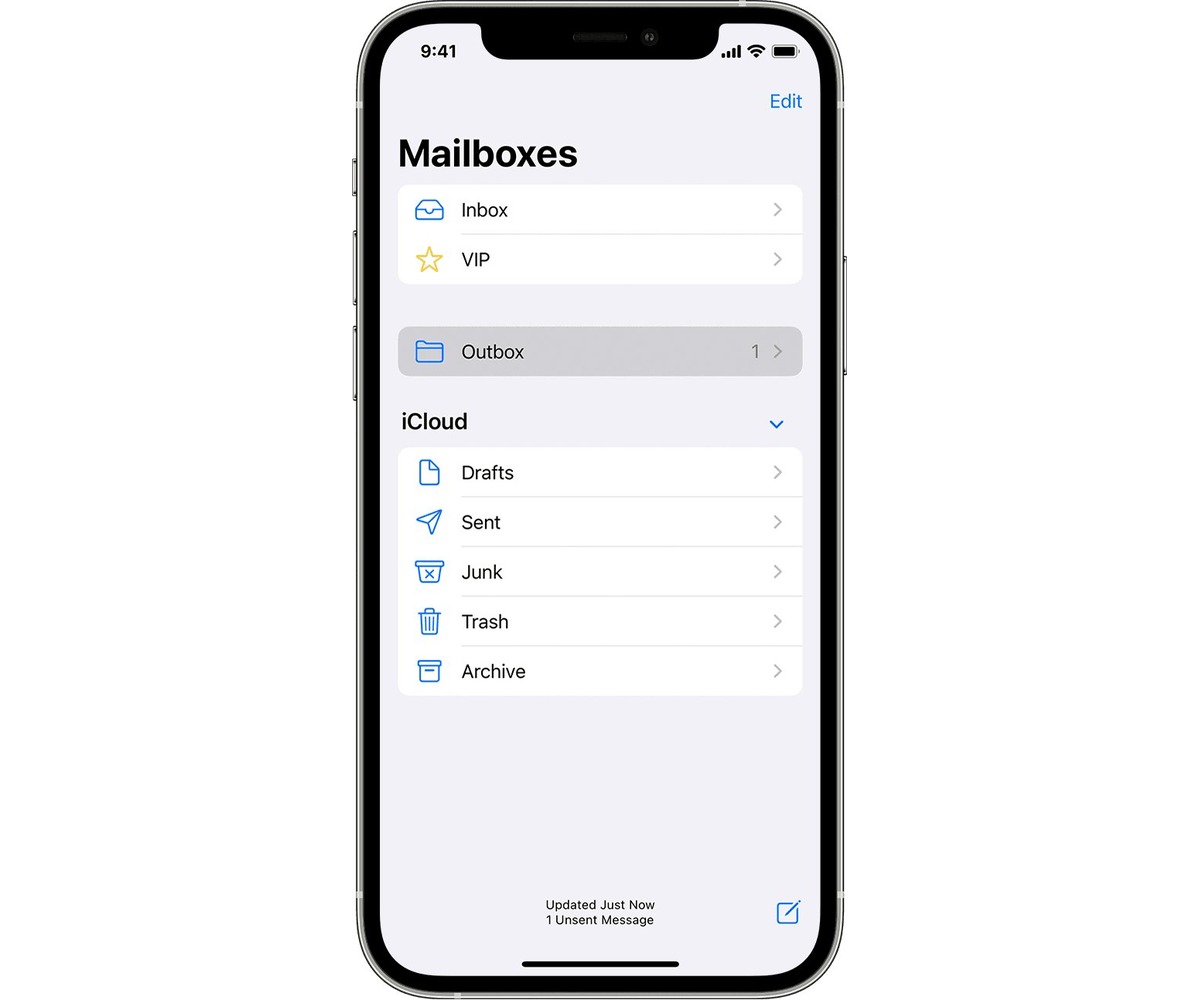
2. Access your Email Drafts: Once you’re in the email app, look for the “Drafts” folder to access any emails that you’ve previously saved as drafts.
3. Select the Draft Email: Tap on the email draft that you want to finish and send. This will open the draft in the email editor.
4. Complete your Message: Now, it’s time to finish writing your email. Use the on-screen keyboard to add any additional text, make edits, or include attachments as needed.
5. Review and Edit: Before sending the email, take a moment to review and edit your message. You can make any necessary changes to ensure the content is clear, concise, and error-free.
6. Add Recipients: If you haven’t added recipients already, tap the “To” field and enter the email addresses of the people you want to send the email to. You can also use the “CC” and “BCC” fields if necessary.
7. Proofread and Finalize: Give your email one final look to check for any typos or mistakes. It’s always a good idea to proofread your message before sending it.
8. Send the Email: Once you’re satisfied with your email, tap the “Send” button to send it off to the intended recipients. The email will be delivered from your iPad to the recipients’ inbox.
By following these eight simple steps, you can easily finish composing and sending emails on your iPad. Whether you’re using it for work, school, or personal purposes, the iPad provides a convenient and efficient way to stay connected and stay productive.
Syncing Your Email Drafts Across Devices
Sending emails often requires multiple devices, such as an iPhone, Mac, or iPad. It can be frustrating to start composing an email on one device and then have to switch to another device to finish and send it. However, with the right settings and apps, you can seamlessly sync your email drafts across your devices, ensuring a smooth and continuous email composition experience.
One way to sync your email drafts across devices is to use cloud-based email services like iCloud, Gmail, or Outlook. These services store your emails and drafts in the cloud, allowing you to access them from any device with an internet connection. To enable draft syncing, you’ll need to set up your email account on all your devices using the same email service. This ensures that your drafts are stored in the cloud and can be accessed from any device.
Another option is to use email apps that support draft syncing. For example, the native Mail app on iPhone, Mac, and iPad syncs drafts automatically as long as you’re signed in to the same email account on all your devices. This means that you can start composing an email on your iPhone and then pick up where you left off on your Mac or iPad. The drafts will be synced and accessible across all your devices.
When using email apps that support draft syncing, it’s crucial to ensure that the app settings are configured correctly. Make sure that the “Drafts” folder is selected for syncing in the app settings. This way, any draft you save on one device will be automatically synced to the “Drafts” folder of your email account and will be available for editing and sending on your other devices.
It’s also important to keep your devices updated with the latest software versions. Updates often include bug fixes and improvements to the sync functionality of apps, ensuring a more stable and reliable experience when syncing your email drafts.
Lastly, if you frequently switch between devices and want a more seamless experience, you can consider using productivity apps like Evernote or Microsoft OneNote. These note-taking apps allow you to create and sync notes across devices, including email drafts. Simply create a new note for your email draft and save it in the app. The note will be available on all your devices, allowing you to continue composing and editing the email without any hassle.
Syncing your email drafts across devices provides convenience and flexibility, allowing you to work on your emails from anywhere and at any time. By utilizing cloud-based services, email apps with syncing capabilities, and productivity apps, you can ensure a consistent and efficient email composition process across all your devices.
Conclusion
In conclusion, being able to start an email on your iPhone and finish it on your Mac or iPad offers a seamless and efficient workflow for email communication. With the native Mail app and the use of iCloud, you can easily access and sync your emails across all your Apple devices. This not only saves you time but also ensures that you can respond promptly to important messages, regardless of which device you’re using.
By following the steps outlined in this article, you can set up your devices to seamlessly transition between composing emails on your iPhone and finishing them on your Mac or iPad. Whether you’re on the go or at your desk, this convenient feature allows you to stay connected and productive. So give it a try, and enjoy the flexibility and convenience of starting an email on one device and finishing it on another!
FAQs
Q: Can I start an email on my iPhone and finish it on my Mac or iPad?
Yes, you can easily start composing an email on your iPhone and continue working on it later on your Mac or iPad. Apple’s ecosystem provides seamless integration between devices, allowing you to access and edit your drafts across multiple devices.
Q: How do I start an email on my iPhone?
To start an email on your iPhone, simply open the Mail app and tap on the compose button (usually depicted by a pencil and paper icon). From there, you can enter the recipient’s email address, subject line, and compose the body of your email.
Q: How do I save a draft email on my iPhone?
Saving a draft email on your iPhone is straightforward. While composing your email, you can simply tap on the “Cancel” button, and you will be prompted with options to either “Delete Draft” or “Save Draft”. By selecting “Save Draft”, your email will be saved in the Drafts folder of your Mail app, ready for further editing or sending.
Q: How do I access my saved draft email on my Mac or iPad?
To access your saved draft email on your Mac or iPad, make sure you are signed into the same Apple ID on all devices. Open the Mail app on your Mac or iPad, and you will find the Drafts folder. Tap on the Drafts folder, and you should see your saved draft email listed there. Simply select the draft you want to continue working on, and you can start editing or completing it.
Q: Can I access my email drafts offline?
Yes, you can access your email drafts offline on your iPhone, Mac, or iPad. The Mail app stores your drafts locally on each device, allowing you to access and edit them even without an internet connection. Once you regain an internet connection, any changes made to your drafts will automatically sync across your devices.