
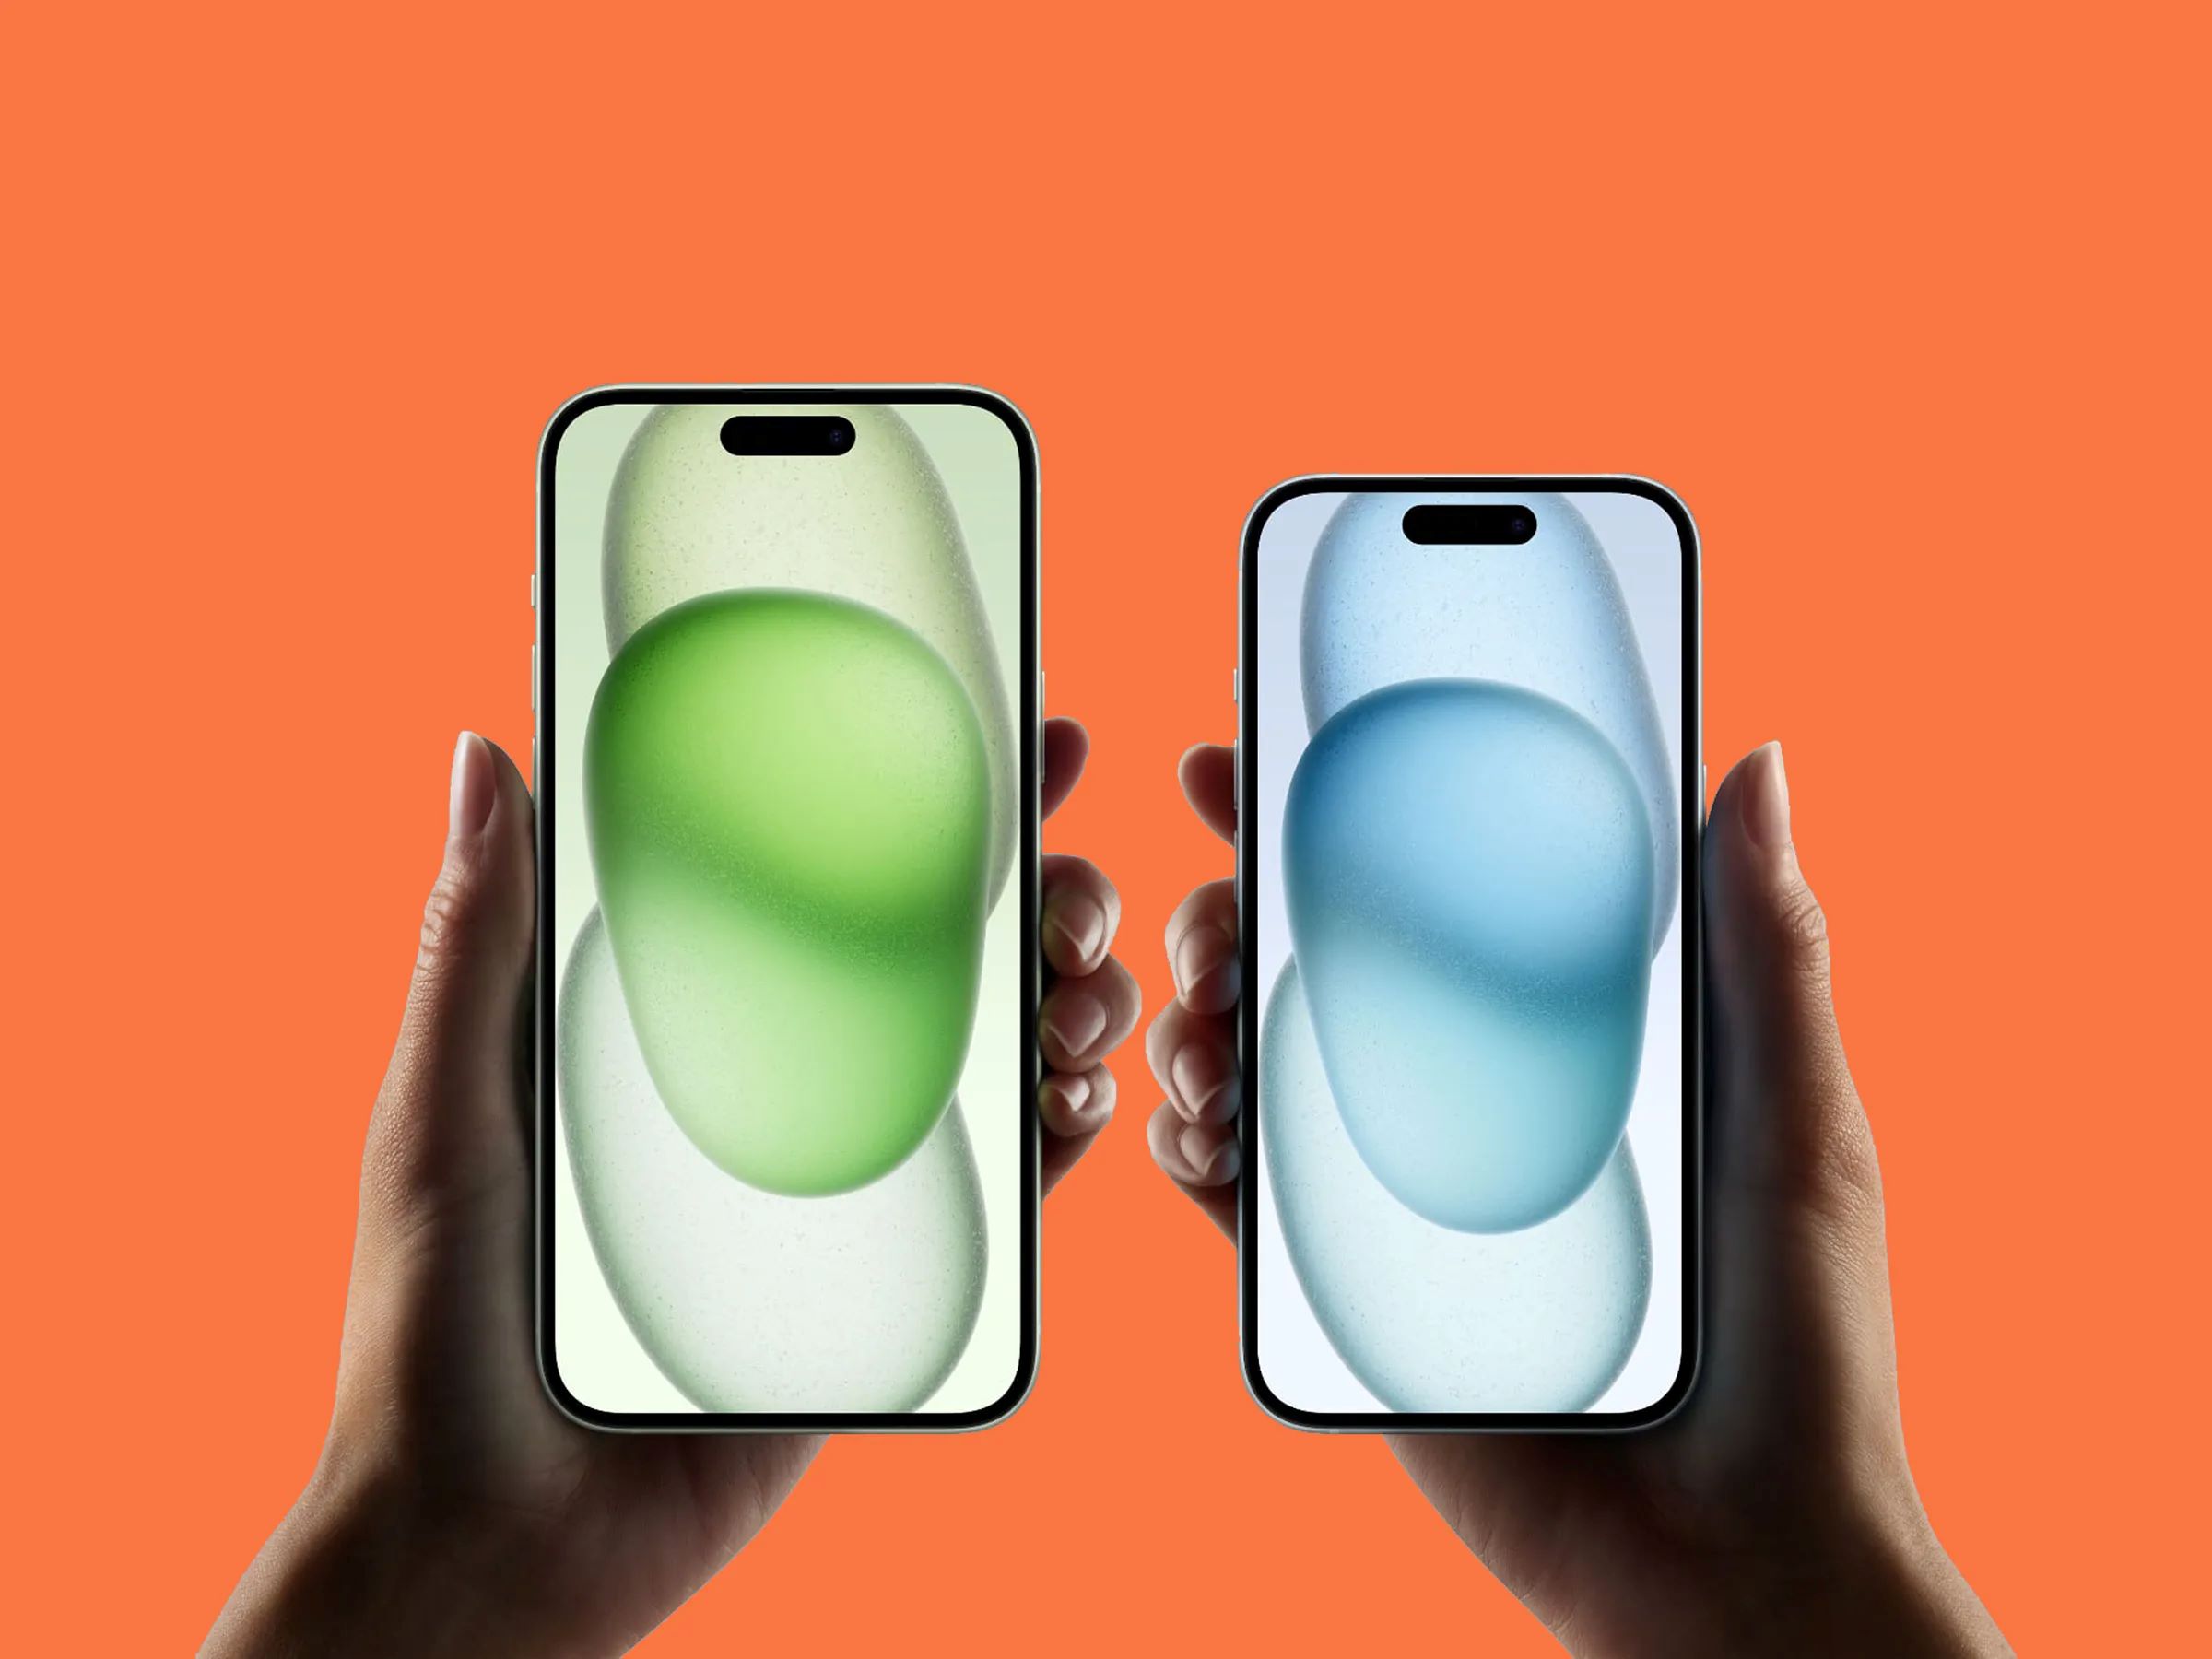
Are you getting a new iPhone and want to transfer all your data from your old iPhone without using iCloud? You’ve come to the right place! Transferring data from one iPhone to another can be a hassle, especially if you have a lot of important files, photos, contacts, and apps that you don’t want to lose. While iCloud is commonly used for data transfer, not everyone wants to rely on cloud services or may have limited iCloud storage. Fortunately, there are alternative methods to transfer data directly between iPhones, without the need for iCloud. In this article, we will guide you through the steps to transfer your data without iCloud, ensuring a seamless and secure transition to your new iPhone. So, let’s dive in and explore the methods that can help you make the switch effortlessly!
Inside This Article
- Overview
- Method 1: Transfer Data using Quick Start
- Method 2: Transfer Data using iTunes
- Method 3: Transfer Data using a Third-Party Tool
- Conclusion
- FAQs
Overview
Transferring data from one iPhone to another is a common need for many iOS users. Whether you’re upgrading to a new iPhone model or simply replacing an old device, transferring your data, such as contacts, messages, photos, and apps, is essential to ensure a seamless transition. While iCloud is the go-to method for many, there are other options available that allow you to transfer data without relying on iCloud.
In this article, we will explore three methods to transfer data from iPhone to iPhone without using iCloud. These methods offer different approaches, catering to various preferences and situations. From utilizing Apple’s Quick Start feature to leveraging iTunes or using a third-party tool, you’ll have the flexibility to choose the method that suits you best.
So, whether you’re looking for a fast and wireless solution or prefer a more traditional approach, we’ve got you covered with step-by-step instructions and insights on each method.
Method 1: Transfer Data using Quick Start
Transferring data from one iPhone to another can be a seamless process when utilizing the Quick Start feature. Introduced in iOS 11, this feature allows you to transfer your data wirelessly from your old iPhone to your new one, making it incredibly convenient and time-saving.
The first step is to ensure that both iPhones are running on iOS 11 or later and are in close proximity to each other. Make sure that Wi-Fi and Bluetooth are enabled on both devices.
To begin the data transfer, follow these steps:
- Power on your new iPhone and place it next to your current iPhone.
- A “Quick Start” screen will appear on your current iPhone. Tap on the “Continue” option.
- An animation will display on your new iPhone. Use your current iPhone to scan it.
- Follow the instructions that appear on both devices.
- You will be prompted to enter your current iPhone’s passcode on the new iPhone.
- Next, you will be asked to set up Touch ID or Face ID on the new iPhone, similar to your current iPhone.
- An “Transfer Your Data” screen will appear on your current iPhone. Choose the data you want to transfer to the new iPhone, such as apps, contacts, messages, photos, and more.
- Tap on the “Transfer” button to initiate the data transfer process.
- Depending on the amount of data being transferred, the process may take some time. It is recommended to keep both iPhones connected to a power source during this time.
- Once the transfer is complete, you will see a message on both devices indicating the transfer was successful.
- You can now disconnect your old iPhone and start using your new iPhone with all your transferred data.
Using the Quick Start feature provides a hassle-free way to transfer your data from your old iPhone to your new one. It ensures that all your important information, settings, and content seamlessly transition to your new device, allowing you to pick up where you left off without any disruptions.
Method 2: Transfer Data using iTunes
If you prefer using iTunes to transfer your data from one iPhone to another, it can be an effective and reliable method. Follow the steps below to transfer your data seamlessly:
Step 1: Backup your old iPhone using iTunes
Connect your old iPhone to your computer and launch iTunes. Once your device is recognized, click on the device icon in the iTunes interface. From there, navigate to the “Summary” tab and select “This computer” under the “Automatically Back Up” section. Finally, click on the “Back Up Now” button and wait for the backup process to complete.
Step 2: Restore the backup on your new iPhone
Now it’s time to transfer the data to your new iPhone. Connect the new iPhone to your computer and open iTunes. In the iTunes interface, click on the device icon and go to the “Summary” tab. Look for the “Restore Backup” option and choose the backup you created in Step 1. Click on the “Restore” button and wait for the process to finish. Your new iPhone will restart and soon you will have all your data transferred.
Step 3: Sync your data
After the restore is complete, you can further sync your data between your new iPhone and iTunes, ensuring that any changes or additions are reflected on both devices. Simply connect your new iPhone to your computer and select the desired syncing options for apps, music, photos, and more. Click on the “Apply” or “Sync” button, and iTunes will update your new iPhone with the selected data.
Note: It’s important to have the latest version of iTunes installed on your computer to ensure compatibility and a smooth transfer process. Additionally, keep in mind that the iTunes method requires a physical connection between your iPhone and computer, so make sure you have a lightning or USB-C cable handy.
Using iTunes to transfer your data from one iPhone to another is a reliable and straightforward method. It allows you to backup and restore your complete device, ensuring that all your important data, including contacts, messages, photos, and apps, are seamlessly transferred to your new iPhone. Give it a try and enjoy a hassle-free data transfer experience!
Method 3: Transfer Data using a Third-Party Tool
In addition to using Quick Start or iTunes, another option for transferring data from your old iPhone to a new one is by utilizing a third-party tool. These tools provide a convenient and efficient way to securely transfer your valuable data. Here, we will explore the steps involved in using a third-party tool for this purpose.
The first step is to choose a reliable and reputable third-party tool that is compatible with iOS devices. There are several options available in the market, such as iMazing, AnyTrans, and Dr.Fone. Research and read reviews to identify the tool that best suits your needs.
Once you have selected the tool, download and install it on your computer. Make sure to choose the version that is compatible with your operating system. Launch the tool and connect both your old and new iPhones to your computer using USB cables.
Next, follow the on-screen instructions provided by the third-party tool to establish a connection between your iPhones and the tool. This usually involves granting permission on your devices and enabling necessary settings for data transfer.
Once the connection is established, the third-party tool will display a list of data categories that can be transferred, such as contacts, messages, photos, videos, and more. Select the data categories you want to transfer to your new iPhone.
Before initiating the transfer process, ensure that there is sufficient storage space on your new iPhone to accommodate the transferred data. If needed, free up space by deleting unnecessary files or apps.
Once you have confirmed the data categories and ensured storage availability, you can begin the transfer process by clicking on the “Start Transfer” or similar button in the third-party tool. The tool will then initiate the transfer and display a progress bar to keep you informed about the process.
Please note that the transfer speed may vary depending on the size of the data being transferred and the speed of your computer’s USB ports. It is recommended to keep both your old and new iPhones connected to the computer until the transfer is completed.
After the transfer is finished, disconnect your iPhones from the computer and check your new iPhone to ensure that the transferred data is successfully present. You may need to sign in to your accounts, such as iCloud or email, to sync certain data like contacts and calendars.
Using a third-party tool to transfer data from your old iPhone to a new one offers flexibility and additional features compared to the native options provided by Apple. However, it is essential to choose a reputable tool and follow all instructions carefully to ensure a smooth and secure transfer process.
In conclusion, transferring data from one iPhone to another without iCloud is a straightforward process that ensures you can seamlessly transition to a new device while preserving all your important files and settings. Utilizing methods such as using a data transfer tool, creating an iTunes backup, or using AirDrop allows you to transfer data with ease, regardless of whether you have access to iCloud or not.
By following the steps outlined in this article, you can migrate your contacts, photos, apps, and more, ensuring that your new iPhone is set up exactly how you want it. Remember to back up your data regularly to avoid any potential data loss and to keep your information safe and secure.
With these methods at your disposal, you no longer have to rely solely on iCloud for data transfers. Enjoy the convenience of transferring your files directly between iPhones and experience a seamless transition to a new device.
FAQs
1. Can I transfer data from one iPhone to another without using iCloud?
Yes, you can transfer data between iPhones without using iCloud. There are several methods you can use, such as using iTunes, Quick Start, or third-party apps like iMobie AnyTrans or Dr.Fone. These methods allow you to transfer various types of data, including contacts, photos, videos, messages, and more.
2. How do I transfer data from my old iPhone to my new iPhone using iTunes?
To transfer data using iTunes, first, make sure you have the latest version installed on your computer. Connect your old iPhone to the computer, open iTunes, and select your device. Click on the “Summary” tab and then click on “Back Up Now” to create a backup of your old iPhone. Once the backup is complete, disconnect the old iPhone and connect the new iPhone. On the new iPhone, follow the setup process until you reach the “Apps & Data” screen. Choose the option to restore from iTunes backup and select the backup you created earlier.
3. What is the Quick Start feature and how can I use it to transfer data between iPhones?
Quick Start is a feature introduced in iOS 11 and later versions that allows you to easily transfer data from your old iPhone to your new iPhone. To use Quick Start, make sure both iPhones are running the latest iOS version and are in close proximity to each other. Turn on your new iPhone and place it next to your old iPhone. You will see an option to set up your new iPhone using your Apple ID. Follow the on-screen instructions and authenticate with your Apple ID to begin the transfer process. Quick Start transfers your data, settings, and preferences wirelessly, making it a convenient method for transferring data between iPhones.
4. Are there any third-party apps that can help me transfer data between iPhones?
Yes, there are several third-party apps available that can assist you in transferring data between iPhones. iMobie AnyTrans and Dr.Fone are popular options that offer comprehensive data transfer capabilities. These apps allow you to transfer various types of data, including contacts, messages, photos, music, videos, and more. They provide a user-friendly interface and guide you through the transfer process step by step. Additionally, they offer additional features like device management, data backup, and file conversion, which can be useful for managing your iPhones.
5. Can I transfer data between iPhones of different iOS versions?
Yes, you can transfer data between iPhones of different iOS versions, but there may be limitations depending on the versions involved. It is generally recommended to ensure both iPhones are running the latest iOS version available to minimize compatibility issues. Some data types, such as app-specific data, may not transfer between different iOS versions due to differences in app versions or data formats. In such cases, it is advisable to manually transfer the data using alternative methods like email, messaging apps, or cloud storage services.