
Are you tired of your text message inbox getting cluttered with old conversations and notifications? Well, we have good news for you! In this article, we will show you how to auto-delete text messages (SMS) on both Android and iPhone devices. With this handy feature, you can set your device to automatically delete old messages, keeping your inbox organized and making sure you never run out of storage space. Whether you’re using an Android phone or an iPhone, we’ve got you covered with step-by-step instructions on how to enable this feature and customize the settings to suit your preferences. Say goodbye to manual message management and say hello to a clutter-free messaging experience on your mobile device. Let’s dive in and discover how to easily automate the deletion of text messages on your Android or iPhone!
Inside This Article
- How to Auto-Delete Text Messages (SMS) on Android, iPhone
- Set up Automatic Message Deletion on Android
- Enable Auto-Delete Feature on iPhone: Accessing the message settings on iPhone, Enabling the message expiration feature, Setting the duration for automatic deletion
- Use Third-Party Apps for Auto-Deleting Messages
- Considerations and Tips for Auto-Deleting Text Messages
- Conclusion
- FAQs
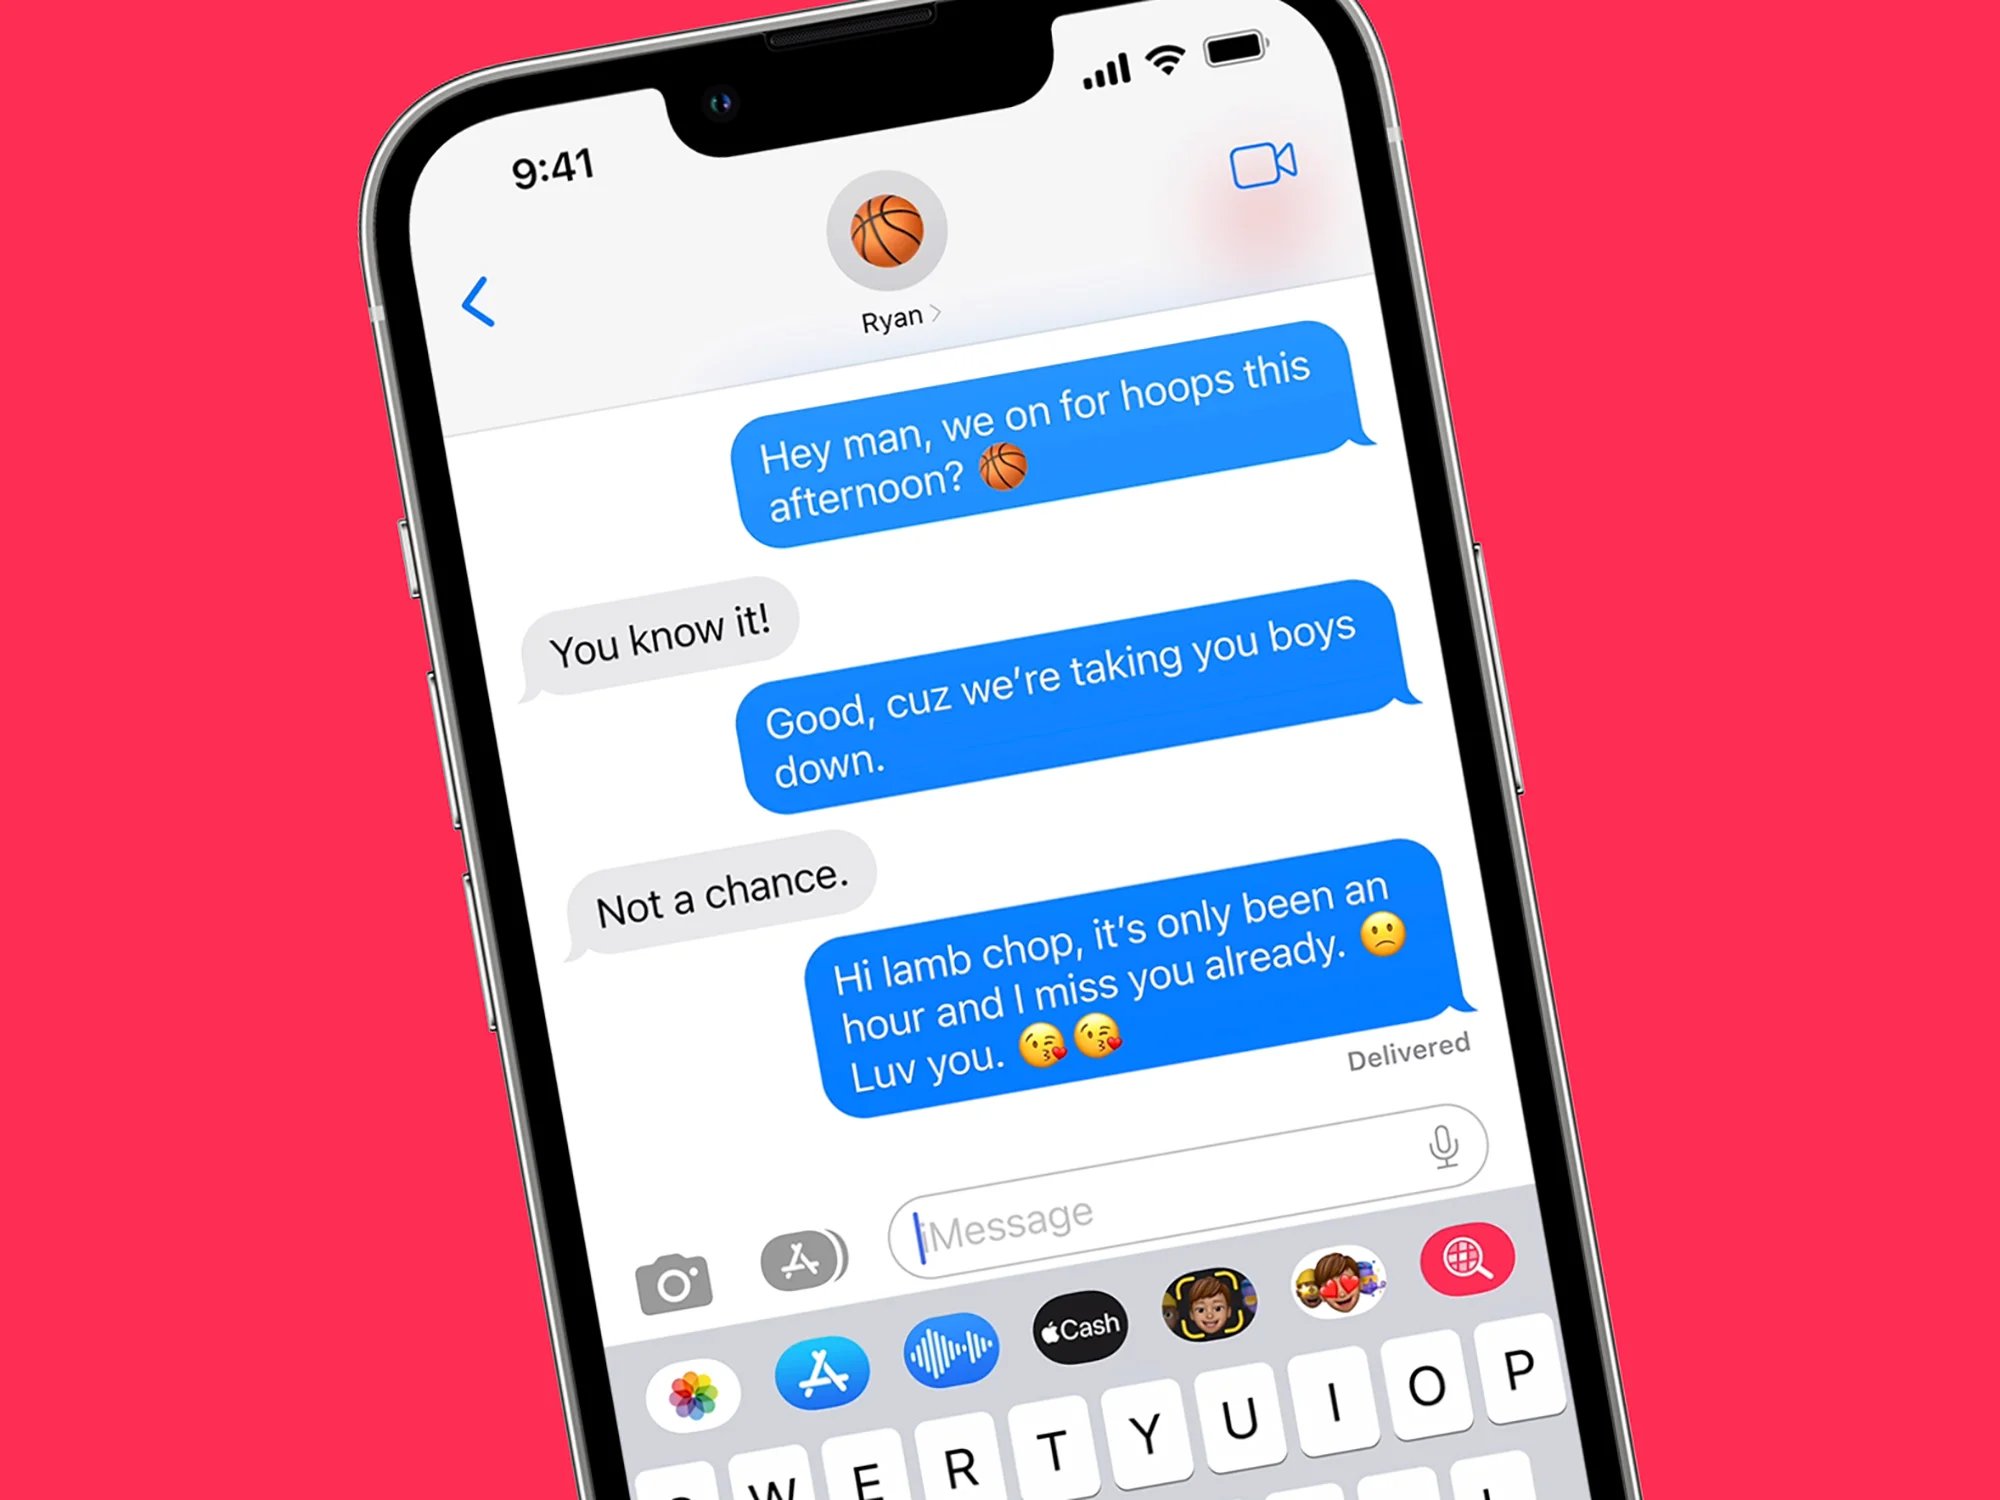
How to Auto-Delete Text Messages (SMS) on Android, iPhone
Text messages are an essential part of our communication, but they can quickly accumulate in our devices and take up valuable storage space. To help manage this, both Android and iPhone devices offer the option to automatically delete text messages after a certain period of time. In this article, we will guide you through the steps to enable the auto-delete feature on Android and iPhone, as well as explore third-party apps that can assist with this task.
1. Set up Automatic Message Deletion on Android
If you own an Android device, you can easily enable the auto-delete feature for text messages. Here’s how:
- Enabling message deletion settings: Go to the messaging app on your Android device and tap on the three-dot menu icon. From there, navigate to Settings and look for the option to enable message deletion.
- Choosing the time frame for automatic deletion: Once you’ve enabled the message deletion settings, you can select the time period after which messages will be automatically deleted. Choose from options like 30 days, 60 days, or even immediately after being read.
- Customizing additional deletion preferences: Some Android devices allow you to customize additional deletion preferences. For example, you may have the option to exclude specific contacts or conversations from being auto-deleted.
2. Enable Auto-Delete Feature on iPhone
iPhone users can also take advantage of the auto-delete feature for text messages. The steps to enable it are as follows:
- Accessing the message settings on iPhone: Open the Settings app on your iPhone and scroll down to find the Messages option. Tap on it to access the message settings.
- Enabling the message expiration feature: Within the message settings, look for the option called “Keep Messages” or “Message Expiration.” Toggle this feature to enable automatic message deletion.
- Setting the duration for automatic deletion: After enabling the message expiration feature, you can specify the duration for automatic deletion. Choose from options like 30 days, 1 year, or “Never” if you prefer to keep messages indefinitely.
3. Use Third-Party Apps for Auto-Deleting Messages
If you’re looking for additional features or customization options, you can explore third-party apps specifically designed for auto-deleting text messages. Here’s what you need to do:
- Exploring popular SMS auto-delete apps for Android: Visit the Google Play Store and search for SMS auto-delete apps. Some popular options include “Auto Message Delete” and “SMS Auto Delete.”
- Installing and configuring the preferred app: Once you’ve chosen an app, install it on your Android device and follow the provided instructions to configure the auto-delete settings according to your preferences.
- Managing auto-delete settings and preferences: With third-party apps, you may have more control over the auto-delete settings, such as specifying different time frames for individual contacts or conversations.
4. Considerations and Tips for Auto-Deleting Text Messages
While auto-deleting text messages can be a convenient way to manage storage space, there are a few things to keep in mind:
- Understanding the impact of message deletion on storage space: Deleting messages is essential for freeing up storage space, but be aware that if you don’t have regular backups, you may lose important conversations.
- Backing up important messages before enabling auto-delete: If there are specific conversations or messages you want to keep, make sure to back them up before enabling auto-delete.
- Managing exceptions and whitelisting certain conversations: In some cases, you may want to exclude specific contacts or conversations from being auto-deleted. Check the settings on your device or the third-party app to manage exceptions.
By following the steps outlined in this article, you can easily enable the auto-delete feature for text messages on your Android or iPhone device. This will not only help you save storage space but also keep your messaging apps clutter-free. Just be sure to consider the tips and suggestions provided to ensure you don’t accidentally delete important conversations.
Remember, managing text messages is an important part of device maintenance and data management. Stay organized with auto-delete and enjoy a seamless messaging experience on your mobile device!
Set up Automatic Message Deletion on Android
Do you find yourself constantly running out of storage space on your Android device due to a flood of accumulated text messages? Fortunately, there’s a way to free up space and keep your messaging app clutter-free by setting up automatic message deletion. Here’s how you can do it:
Enabling message deletion settings: To get started, open the messaging app on your Android device. Look for the settings menu, which is usually represented by three vertical dots or a gear icon. Tap on it to access the settings options.
Choosing the time frame for automatic deletion: Once you’re in the settings menu, look for the option related to message deletion. The exact wording may vary depending on the device and messaging app you are using. Here, you can choose the time frame after which messages will be automatically deleted. Common options include 30 days, 60 days, or even 90 days. Select the option that suits your preferences.
Customizing additional deletion preferences: Some messaging apps provide additional features to further customize automatic deletion settings. For example, you may have the option to exclude specific contacts or conversations from being deleted. You can also choose to keep certain types of media attachments while deleting the text messages. Explore these options to tailor the automatic deletion process to your liking.
Enable Auto-Delete Feature on iPhone: Accessing the message settings on iPhone, Enabling the message expiration feature, Setting the duration for automatic deletion
Auto-deleting messages on your iPhone can help you manage your inbox and free up storage space. Here’s how you can enable the Auto-Delete feature on your iPhone:
1. Accessing the message settings on iPhone:
To access the message settings on your iPhone, follow these steps:
- Open the Settings app on your iPhone’s home screen.
- Scroll down and tap on “Messages” to open the messaging settings.
2. Enabling the message expiration feature:
Once you’re in the messaging settings, you need to enable the message expiration feature. Here’s how:
- Under the Message History section, you will see an option called “Keep Messages.” Tap on it.
- You will be presented with several options to choose from: 30 Days, 1 Year, or Forever. Select your preferred duration for message expiration.
3. Setting the duration for automatic deletion:
After enabling the message expiration feature, the chosen duration will determine how long the messages will be stored on your iPhone. Here’s how to set the duration:
- Go back to the main Messages settings page.
- Scroll down and you will see another section called “Audio Messages.” Tap on it.
- Under the Expire section, you can choose to have audio messages automatically deleted after 2 Minutes or Never. Select your preferred option.
That’s it! You have successfully enabled the Auto-Delete feature on your iPhone. Now, any messages that have surpassed the chosen duration will be automatically deleted from your device, helping you keep a clutter-free inbox and optimizing your iPhone’s storage capacity.
Use Third-Party Apps for Auto-Deleting Messages
If you’re looking for more advanced features and customization options for auto-deleting text messages on your Android device, third-party apps can provide you with the solution you need. These apps are specifically designed to enhance your messaging experience and offer additional privacy and security features.
Here, we will explore some of the popular SMS auto-delete apps available for Android:
- Auto SMS Delete: This app allows you to automatically delete text messages based on various criteria, such as time, sender, and message content. It offers a user-friendly interface and customizable deletion settings.
- Message Cleaner: Message Cleaner provides automatic message deletion based on filters that you can set up. You can choose to delete messages from specific contacts or containing certain keywords.
- SMS Auto Delete: This app offers the ability to automatically delete old messages based on a time limit specified by the user. It also provides the option to exclude certain contacts or conversations from deletion.
Installing and configuring a preferred app for auto-deleting messages is a straightforward process:
- Go to the Google Play Store and search for the desired app by name.
- Tap on the app listing and select “Install” to download and install the app on your Android device.
- Once the installation is complete, open the app and follow the on-screen instructions to configure its settings.
- Depending on the app, you may be able to specify the time frame for automatic message deletion, set up filters or rules, and customize other preferences according to your needs.
It’s important to note that while these third-party apps offer advanced features for auto-deleting text messages, they may require certain permissions and access to your device’s messaging system. Be sure to read the app’s privacy policy and review the permissions it requests before installing.
Managing the auto-delete settings and preferences within the chosen app is crucial to ensure it aligns with your messaging habits and preferences. Regularly reviewing and adjusting the settings will help you maintain control over which messages are automatically deleted and which are retained.
Remember to periodically check for updates from the app developer to ensure compatibility with your device’s operating system and to take advantage of any new features or enhancements.
Considerations and Tips for Auto-Deleting Text Messages
When it comes to enabling the auto-deletion feature for text messages, there are a few important considerations and helpful tips to keep in mind. Understanding these factors will ensure a smooth experience and prevent any unintended consequences.
1. Understanding the impact of message deletion on storage space: Auto-deleting text messages can free up valuable storage space on your device. However, it’s essential to be aware that deleting messages also means losing any attached media files or important information. Consider the storage capacity of your device and the importance of the messages before enabling auto-delete.
2. Backing up important messages before enabling auto-delete: Prior to activating the auto-delete feature, it is wise to back up any crucial messages. This can be done by exporting them to your computer or using a cloud storage service. By creating a backup, you can preserve important conversations and access them if needed in the future.
3. Managing exceptions and whitelisting certain conversations: While auto-deleting messages is a convenient feature, there may be specific conversations or contacts that you want to keep. Check if your device or messaging app allows you to manage exceptions or whitelist certain conversations. This way, you can ensure that important messages are not deleted and remain accessible.
By considering these factors and following these tips, you can make the most out of the auto-delete feature for text messages. It will help you free up storage space, maintain important conversations, and streamline your messaging experience overall.
Conclusion
In conclusion, auto-deleting text messages can provide a convenient solution for managing your SMS inbox on both Android and iPhone devices. By implementing the steps outlined in this article, you can free up valuable storage space, protect your privacy, and streamline your messaging experience. Whether you need to automatically delete old messages or set specific time limits for message retention, there are various options available to meet your needs.
Remember to consider the limitations and potential risks associated with auto-deletion features. It’s crucial to weigh the pros and cons and make an informed decision based on your specific requirements and preferences. Additionally, keep in mind that while auto-deletion can help with organization, it’s always wise to back up important messages or enable a cloud backup option to ensure you don’t lose any critical information.
Ultimately, auto-deletion features provide an efficient way to manage your SMS inbox, declutter your device, and maintain optimal performance. Explore the settings and preferences on your Android or iPhone device, and take advantage of these convenient features to enhance your messaging experience.
FAQs
- Q: Can I automatically delete text messages from my Android or iPhone?
- A: Yes, both Android and iPhone devices offer the option to auto-delete text messages. You can set up specific criteria, such as the time period or number of messages, to automatically delete older messages from your inbox.
- Q: How can I enable auto-delete for text messages on my Android device?
- A: To enable auto-delete on your Android, follow these steps:
1. Open the text messaging app on your device.
2. Tap on the three-dot menu icon in the top-right corner.
3. Select “Settings” or “Options” from the menu.
4. Look for the “Message settings” or “Text message options” section.
5. Enable the “Auto-delete” or “Delete old messages” option.
6. Set your preferred time duration or message limit for auto-deletion.
7. Save the changes, and your text messages will be automatically deleted based on the specified criteria. - Q: Can I set up auto-delete for text messages on my iPhone?
- A: Yes, you can set up auto-delete for text messages on your iPhone by following these steps:
1. Open the “Settings” app on your iPhone.
2. Scroll down and tap on “Messages”.
3. Look for the “Keep Messages” or “Message History” option.
4. Choose any of the predefined time periods or customize it to your preference.
5. Once selected, your iPhone will automatically delete older messages from your device, adhering to the specified time limit. - Q: Will auto-deleting text messages free up storage space on my device?
- A: Yes, auto-deleting text messages will help free up storage space on your device. Text messages can take up a significant amount of space, especially if they contain media attachments like photos or videos. By setting up auto-delete, you can ensure that old and unnecessary messages are regularly removed, creating more space for other data on your device.
- Q: Are there any downsides to enabling auto-delete for text messages?
- A: While auto-delete can be a convenient feature to manage your text messages, it’s important to note that enabling it means that older messages will be permanently deleted. If you have any important or sentimental messages that you want to keep, make sure to back them up before enabling auto-delete. Additionally, ensure you set the time duration or message limit appropriately to avoid prematurely deleting messages you might still need.