
When it comes to managing screen time on your iPhone or iPad, Apple offers a handy feature called “Screen Time.” This feature allows you to set restrictions and limits on app usage, ensuring a balanced and controlled digital experience. One of the key elements of Screen Time is the ability to choose “Always Allowed” apps, which are exempt from any time limits or restrictions you have set.
In this article, we will delve into the process of choosing Always Allowed apps in the Screen Time settings on your iPhone or iPad. We will explore the steps involved and provide you with the necessary information to optimize your device’s settings.
If you’re tired of constantly being interrupted by time limits and restrictions for certain apps, read on to discover how to take control of your device and make the apps you deem essential available at all times!
Inside This Article
- How to Access Screen Time Settings on iPhone & iPad
- How to Choose Always Allowed Apps
- How to Customize Downtime and App Limits
- How to Use Content & Privacy Restrictions
- Conclusion
- FAQs
How to Access Screen Time Settings on iPhone & iPad
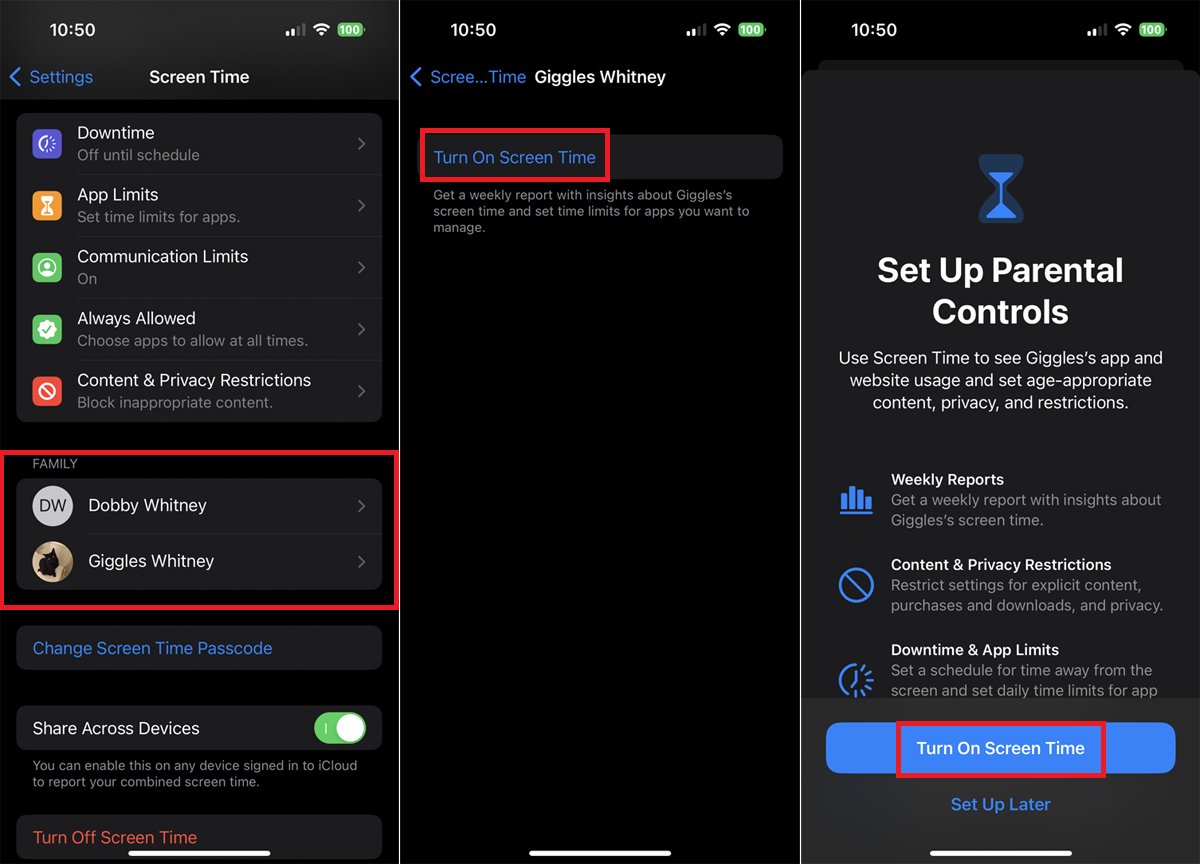
Screen Time is a valuable feature on iOS devices that provides users with information and controls over their device usage. With Screen Time settings, you can keep track of how much time you spend on various apps, set app limits, and even manage your device usage for your children. To access Screen Time settings on your iPhone or iPad, follow the steps below:
1. Open the Settings app on your device. It can be identified by the gear icon.
2. Scroll down and tap on “Screen Time”.
3. If you haven’t set up Screen Time before, tap “Turn On Screen Time”. If you have already set it up, you can skip this step.
4. On the next screen, you’ll see a detailed overview of your device usage. Scroll down and click on “See All Activity” to access even more information about your app usage.
5. To access the Screen Time settings, tap on the “Settings” option located in the top right corner of the screen.
6. Here, you’ll find various options such as “App Limits”, “Downtime”, “Always Allowed”, and more.
Now that you know how to access Screen Time settings on your iPhone or iPad, you can take control of your device usage and ensure a healthier digital life.
How to Choose Always Allowed Apps
Screen Time settings on your iPhone and iPad allow you to have control over the apps you use and the time you spend on your device. One useful feature is the ability to choose “Always Allowed” apps, which are apps that can be accessed at any time, even during scheduled app limits or downtime. This feature is particularly helpful when you want to ensure access to essential apps, such as productivity tools or communication apps, while still maintaining a healthy balance with your device usage.
Enabling the “Always Allowed” feature is a straightforward process. To begin, open the Settings app on your iPhone or iPad and tap on “Screen Time.” Next, tap on “Always Allowed,” located under the “DO NOT DISTURB” section. This screen displays a list of apps that can be accessed at any time, regardless of any restrictions you have set.
To add an app to the “Always Allowed” list, simply tap the green plus icon next to the app name. This will grant continuous access to the app even during restricted periods. You can add multiple apps to the list, allowing you to customize your device experience to suit your needs.
On the other hand, if you want to remove an app from the “Always Allowed” list, you can do so by tapping the red minus icon next to the app name. This will revoke the app’s unrestricted access, aligning it with any app limits or downtime settings you may have configured.
To rearrange the order of apps in the “Always Allowed” list, simply use the drag handle on the right side of each app and move it up or down the list. This allows you to prioritize certain apps and have them readily accessible.
By utilizing the “Always Allowed” feature in Screen Time settings, you can strike a balance between the convenience of accessing certain apps and achieving your desired level of device usage control. Take advantage of this helpful feature to enhance your productivity and make the most out of your iPhone or iPad experience.
How to Customize Downtime and App Limits
Downtime and app limits are essential features in iOS that help you manage and control how much time you or your family members spend on specific apps and overall device usage. By customizing downtime and app limits, you can strike a healthy balance between screen time and other activities. In this article, we will guide you through the steps to customize downtime and app limits on your iPhone or iPad.
1. Open the Settings app on your iPhone or iPad and tap on “Screen Time”.
2. Tap on “Downtime” to access the downtime settings.
3. Toggle the switch to enable downtime. You can specify the start and end times for the downtime period, which will restrict access to certain apps on your device.
4. To customize app limits, go back to the “Screen Time” menu and tap on “App Limits”.
5. Tap on “Add Limit” to set restrictions on specific apps or categories of apps.
6. Select the apps or categories you would like to set limits for. You can choose from default app categories such as Social Networking, Games, Entertainment, etc.
7. Set the desired time limit for each selected app or category. Once the time limit is reached, the app or category will be temporarily disabled until the next day.
8. You can also customize the days of the week on which the app limits should apply. This allows you to have more flexibility in managing your device usage on different days.
9. To remove an app limit, simply swipe left on the limit and tap “Delete”.
10. To edit an app limit, swipe left on the limit and tap “Edit”. You can change the time limit, selected apps, or categories as needed.
By customizing downtime and app limits, you can ensure a healthier and more balanced approach to device usage for yourself and your family. It’s a valuable tool to help manage screen time and encourage more productive activities.
Remember, it’s important to find the right balance that works for you. Experiment with different settings until you find a routine that promotes a healthy lifestyle and meets your personal goals.
How to Use Content & Privacy Restrictions
If you want to ensure a safe and age-appropriate browsing experience for yourself or your family members on iPhone or iPad, utilizing the Content & Privacy Restrictions feature is key. With this feature, you can control what content can be accessed, restrict certain features, and manage your privacy settings with ease.
Here’s a step-by-step guide to help you get started with Content & Privacy Restrictions:
- Open the “Settings” app on your iPhone or iPad.
- Scroll down and tap on “Screen Time.”
- Tap on “Content & Privacy Restrictions.”
- If you haven’t set up Screen Time before, you may need to tap on “Turn On Screen Time” and follow the prompts to set it up.
- Toggle the switch for “Content & Privacy Restrictions” to turn it on.
- Enter a four-digit passcode that you will use to access and modify the restrictions settings.
Now that you have enabled Content & Privacy Restrictions, here are some key features you can manage:
App Restrictions
You can restrict access to built-in and downloaded apps on your iPhone or iPad. This can be useful if you want to limit the usage of certain apps or prevent access to specific apps altogether.
To manage app restrictions:
- Go back to the “Screen Time” section in Settings.
- Tap on “App Limits.”
- Choose the app categories or individual apps you want to restrict.
- Set the desired time limit or select “Block at End of Limit” to completely prevent access.
Web Content Restrictions
You have the ability to restrict explicit content and limit access to certain websites on Safari, the default web browser on iPhone and iPad.
To manage web content restrictions:
- Go back to the “Content & Privacy Restrictions” section in Settings.
- Tap on “Content Restrictions.”
- Select the option under “Web Content” to choose the level of restrictions you want.
- You can even add specific websites under “Never Allow” to block their access completely.
Privacy Restrictions
With Content & Privacy Restrictions, you can control privacy settings, such as location services, access to photos, contacts, and more.
To manage privacy restrictions:
- Go back to the “Content & Privacy Restrictions” section in Settings.
- Tap on “Privacy.”
- Select the desired options to restrict or allow certain privacy settings.
That’s it! By following these steps, you can effectively use the Content & Privacy Restrictions feature to customize and limit the access to various apps, web content, and privacy settings on your iPhone or iPad. Take advantage of this powerful tool to create a safer and more controlled experience for yourself or your family members.
Choosing Always Allowed Apps in the Screen Time settings of your iPhone or iPad can greatly enhance your device’s user experience and productivity. By having the ability to select specific apps that are always accessible, you have greater control over the content and functionality available to you at all times.
Whether it’s important work apps, entertainment applications, or educational resources, being able to customize the Always Allowed Apps feature allows you to have the right tools at your fingertips whenever you need them.
Remember to regularly review and update your Always Allowed Apps list to ensure it aligns with your current needs and preferences. With just a few taps, you can optimize your device’s functionality and streamline your daily tasks.
So, dive into your device’s settings and unleash the power of Always Allowed Apps to make your iPhone or iPad experience even more seamless and efficient.
FAQs
1. What are Always Allowed Apps in Screen Time Settings?
Always Allowed Apps are a feature in the Screen Time settings on your iPhone or iPad that allows you to select and prioritize certain apps that can be accessed at any time, even during scheduled Downtime or when app limits are in place.
2. How do I choose Always Allowed Apps?
To choose Always Allowed Apps, follow these steps:
– Open the Settings app on your iPhone or iPad.
– Tap on “Screen Time” and then “App Limits”.
– Under the “Always Allowed” section, tap on the “+” symbol next to the app you want to add to the list.
– You can add multiple apps to the list by tapping on the “+” symbol next to each app.
– To remove an app from the list, tap on the “-” symbol next to the app.
– The apps you select will be available to use at any time, even during scheduled Downtime or when app limits are in place.
3. Can I choose different Always Allowed Apps for different days?
No, the Always Allowed Apps list applies to all days of the week. If you add an app to the list, it will be available to use at any time on all days.
4. Can I limit the amount of time I spend on Always Allowed Apps?
Yes, you can still set limits on the amount of time you spend on Always Allowed Apps. By setting app limits in the Screen Time settings, you can control the usage duration of all apps, including the ones in the Always Allowed Apps list.
5. What happens if I remove an app from the Always Allowed Apps list?
If you remove an app from the Always Allowed Apps list, it will no longer be accessible at any time, even if you had previously set it as an Always Allowed App. The app will be subject to the normal app restrictions and limitations set by the Screen Time settings.