
In today’s digital age, our smartphones have become an integral part of our lives. Whether it’s for work or personal use, our mobile phones are constantly by our side, keeping us connected and productive. But what happens when you need to connect your phone to your Mac? Configuring your phone to work seamlessly with your Mac can unlock a world of possibilities, allowing you to transfer files, sync contacts, and even use your phone as a hotspot. In this article, we will explore the step-by-step process of configuring your phone to your Mac, ensuring a smooth and hassle-free connection. Whether you’re an iPhone user or an Android aficionado, we’ve got you covered. So, let’s dive in and discover how to make your phone and Mac work together seamlessly.
Inside This Article
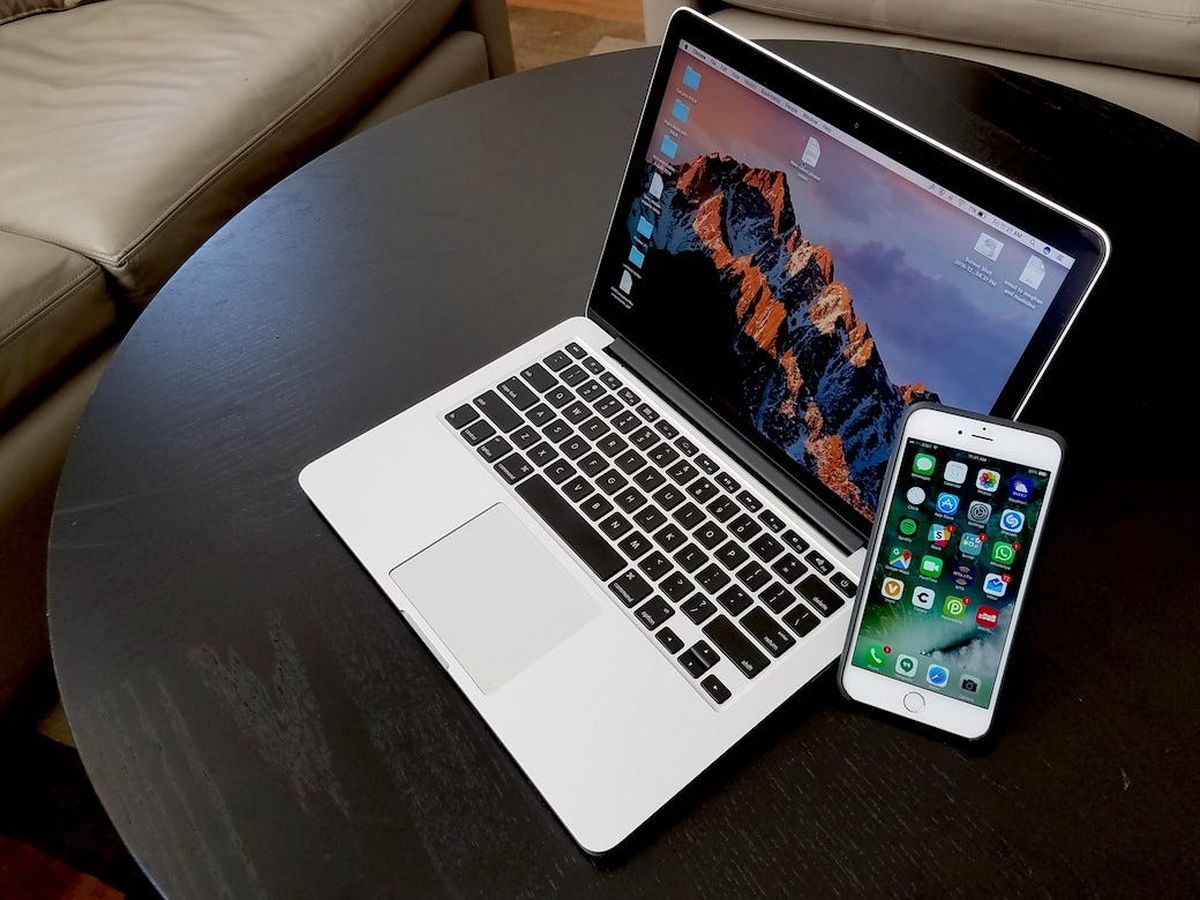
- Connecting Phone and Mac
- Enabling USB Debugging on Phone
- Configuring Android File Transfer on Mac
- Setting up Phone and Mac for File Transfer
- Conclusion
- FAQs
Connecting Phone and Mac
In today’s digital age, syncing your mobile phone with your Mac has become an essential task. Whether you want to transfer files, backup data, or simply manage your device, establishing a connection between your phone and Mac is crucial. Luckily, the process is relatively straightforward. In this article, we will guide you through the steps to connect your phone to your Mac, enabling seamless communication and data exchange.
To begin, you will need a USB cable that is compatible with your phone model. This cable will serve as the physical link between your phone and Mac. Once you have your cable ready, follow these steps:
1. Connect one end of the USB cable to your phone’s charging port.
2. Plug the other end of the USB cable into an available USB port on your Mac.
3. Your phone should now be recognized by your Mac and will appear as a device or drive in the Finder or on the desktop.
If you are unable to establish a connection between your phone and Mac using the USB cable, there are a few troubleshooting steps you can try:
? Ensure that both your phone and Mac are powered on and unlocked.
? Try using a different USB cable or port on your Mac.
? Restart your phone and Mac to refresh their connection.
? Check if there are any software updates available for your phone or Mac.
If these steps do not resolve the issue, it may be necessary to consult the user manual or support documentation for your specific phone model or contact technical support for further assistance.
Once you have successfully connected your phone to your Mac, you can now proceed to the next steps in configuring your device for seamless interaction.
Enabling USB Debugging on Phone
USB debugging is a handy feature that allows you to communicate with your Android phone from your computer, making it easier to perform advanced tasks and debugging operations. Here’s a step-by-step guide on how to enable USB debugging on your phone:
- Open the Settings app on your Android phone.
- Scroll down and select the “About phone” or “About device” option.
- Look for the “Build number” option and tap on it seven times. This will activate the Developer Options menu on your phone.
- Go back to the main settings menu and now you should see “Developer Options” listed. Tap on it.
- Scroll down and find the “USB debugging” option.
- Toggle the switch next to “USB debugging” to enable it. You may see a warning message, but go ahead and confirm that you want to enable USB debugging.
- Connect your phone to your Mac using a USB cable.
- A pop-up may appear on your phone asking for your permission to allow USB debugging on the connected computer. Tap “OK” to grant permission.
That’s it! USB debugging is now enabled on your Android phone. You can now perform various tasks, such as transferring files, running commands, and debugging your phone from your Mac.
Configuring Android File Transfer on Mac
If you’re a Mac user and you own an Android phone, you might be wondering how to transfer files between your devices seamlessly. The answer lies in configuring Android File Transfer on your Mac. Android File Transfer is a free utility that allows you to transfer files, such as photos, videos, and documents, between your Android phone and your Mac.
Here’s how you can configure Android File Transfer on your Mac:
- First, make sure you have downloaded and installed Android File Transfer on your Mac. You can find the application on the official Android website or other reputable sources. Once downloaded, locate the .dmg file and double-click it to start the installation process. Follow the on-screen instructions to complete the installation.
- Connect your Android phone to your Mac using a USB cable. Ensure that your phone is unlocked and the screen is awake.
- On your Android phone, a notification will appear indicating that it is connected to USB for charging. Swipe down on the notification panel and select “File transfer” or “Transfer files” to enable file transfer mode. This step may vary depending on the Android phone model and version of the operating system.
- On your Mac, launch the Android File Transfer application. If it doesn’t automatically open, you can find it in your Applications folder or use Spotlight search to locate it.
- A window will open displaying the folders and files on your Android phone. You can now browse, copy, and transfer files between your phone and Mac.
It’s important to note that Android File Transfer only works with devices running Android 3.0 or later. If you’re using an older version of Android, you may need to use alternative methods for file transfer, such as cloud storage or third-party apps.
With Android File Transfer configured on your Mac, you can easily transfer files between your Android phone and your Mac without any hassle. Whether it’s transferring photos from your phone to your Mac or copying important documents, Android File Transfer simplifies the process, ensuring seamless file management between your devices.
Setting up Phone and Mac for File Transfer
Transferring files between your phone and Mac can be a seamless process if you have the right settings in place. Whether you want to backup your photos, transfer documents, or sync media files, here’s how you can set up your phone and Mac for hassle-free file transfer:
1. Connect your phone to your Mac using a USB cable: The first step is to physically connect your phone to your Mac using a USB cable. Make sure the cable is in good condition and that both ends are securely plugged in.
2. Enable USB debugging on your phone: To allow your Mac to access your phone’s files, you may need to enable USB debugging on your phone. The steps for enabling this feature vary depending on the phone model and operating system, but generally, you can find it under the “Developer options” in your phone’s settings.
3. Confirm the USB connection on your phone: Once you’ve enabled USB debugging, a prompt will appear on your phone’s screen asking you to confirm the USB connection. Tap on “Allow” or “OK” to grant your Mac access to your phone’s files.
4. Install Android File Transfer on your Mac: To facilitate file transfer between your phone and Mac, you’ll need to install a software called Android File Transfer on your Mac. This software allows you to browse and transfer files between the two devices. Visit the official Android File Transfer website and follow the instructions to download and install the software.
5. Launch Android File Transfer: After installing Android File Transfer, launch the application on your Mac. You should see a window displaying the folders and files on your phone.
6. Unlock your phone: Before you can access your phone’s files on your Mac, you’ll need to unlock your phone. Enter your passcode, PIN, or use your fingerprint to unlock your phone’s screen.
7. Browse and transfer files: Once your phone is unlocked and connected to your Mac, you can browse the folders and files on your phone within the Android File Transfer window. Simply drag and drop files between your phone and Mac to transfer them. You can create new folders, delete files, or organize your files as desired.
8. Safely eject your phone: To disconnect your phone from your Mac, make sure to properly eject it. Look for the eject icon next to your phone’s name in the Android File Transfer window or use the “Eject” option in the Finder. Unplugging your phone without ejecting it first can result in data corruption.
9. Disconnect your phone: Once you’ve safely ejected your phone, you can disconnect it from your Mac by unplugging the USB cable. Your phone and Mac are now ready for future file transfers.
By following these steps, you can set up your phone and Mac to easily transfer files between the two devices. Whether you want to backup your important files or quickly share documents, this seamless file transfer process ensures that you can easily access and manage your files on both your phone and Mac.
Conclusion
Configuring your phone to your Mac can open up a world of convenience and seamless integration between your devices. Whether you need to transfer files, sync data, or simply mirror your screen, knowing how to connect your phone to your Mac is a valuable skill.
By following the steps outlined in this article, you can ensure a smooth and hassle-free process. Remember to check for compatibility between your phone and Mac, update your software, and utilize the appropriate connectivity methods. With a little effort and patience, you’ll be able to enjoy the benefits of a connected workflow.
So why wait? Connect your phone to your Mac today and embrace the power of seamless device integration. Say goodbye to clunky file transfers and hello to effortless synchronization. When your phone and Mac work together in perfect harmony, your productivity and convenience will reach new heights.
FAQs
Q: How do I configure my phone to connect to my Mac?
A: Configuring your phone to connect to your Mac is a straightforward process. Start by connecting your phone to your Mac using a USB cable. Your Mac should automatically detect the phone and prompt you to allow access. Confirm the access on your phone and follow any on-screen instructions. Once connected, you can transfer files, synchronize data, and perform various tasks between your phone and Mac.
Q: Can I sync my phone contacts with my Mac?
A: Yes, you can sync your phone contacts with your Mac. There are several methods to do this, depending on your phone’s operating system. For iPhones, you can use iCloud to sync your contacts with your Mac’s Contacts app. For Android phones, you can use third-party applications like Google Contacts Sync, which allows you to sync your contacts with your Google account, and then access them on your Mac’s web browser.
Q: Is it possible to transfer files between my phone and Mac wirelessly?
A: Yes, you can transfer files between your phone and Mac wirelessly using various methods. One common method is to use a cloud storage service such as Google Drive, Dropbox, or iCloud. Upload the files from your phone to the cloud storage, and then access them on your Mac. Another option is to use third-party apps like AirDrop (available for iPhone) or Android File Transfer (for Android devices), which allow you to transfer files wirelessly between your phone and Mac.
Q: How do I backup my phone data to my Mac?
A: To backup your phone data to your Mac, you can use Apple’s iTunes or Finder (for macOS Catalina and later), or third-party software like iMazing (for iOS devices) or MobileTrans (for both iOS and Android devices). Connect your phone to your Mac via USB, launch the backup software, and follow the steps to select the data you want to back up. Once the backup process is complete, your data will be saved on your Mac for safekeeping.
Q: Can I manage my phone’s storage and apps from my Mac?
A: Yes, you can manage your phone’s storage and apps from your Mac. For iPhone users, you can use Apple’s iTunes or Finder to view and manage your device’s storage, install or uninstall apps, and update software. Android phone users can use third-party software like Android File Transfer or Samsung Smart Switch to view and manage their device’s storage, transfer files, and manage apps. These tools provide a convenient way to organize and control your phone’s content directly from your Mac.