
Are you looking to take a break from social media and temporarily deactivate Facebook from your iPhone? Deactivating your Facebook account on your iPhone is a simple process that can help you maintain your privacy and take a step back from the hustle and bustle of virtual life. Whether you want a break from constant notifications or simply want to disconnect for a while, deactivating Facebook on your iPhone is a quick and easy solution. In this article, we will guide you through the step-by-step process of deactivating your Facebook account from your iPhone and provide some FAQs to help you along the way. So, let’s dive in and learn how to take a break from Facebook on your iPhone!
Inside This Article
How To Deactivate Facebook From iPhone
Are you looking to take a break from Facebook? If you have an iPhone, deactivating your Facebook account is a simple process. Whether you need some time away or want to safeguard your privacy, deactivating your account from your iPhone is a convenient option. In this guide, we will walk you through the step-by-step process of deactivating Facebook from your iPhone.
The first step to deactivate your Facebook account from your iPhone is to sign out of the app. This will ensure that you are no longer logged in and will prevent any accidental activity on your account. To sign out, launch the Facebook app on your iPhone and tap on the three horizontal lines in the bottom-right corner of the screen. Scroll down and tap on “Settings & Privacy”, then select “Settings”. Scroll down again and tap on “Account Settings”. Finally, tap on “Security” and select “Log Out”.
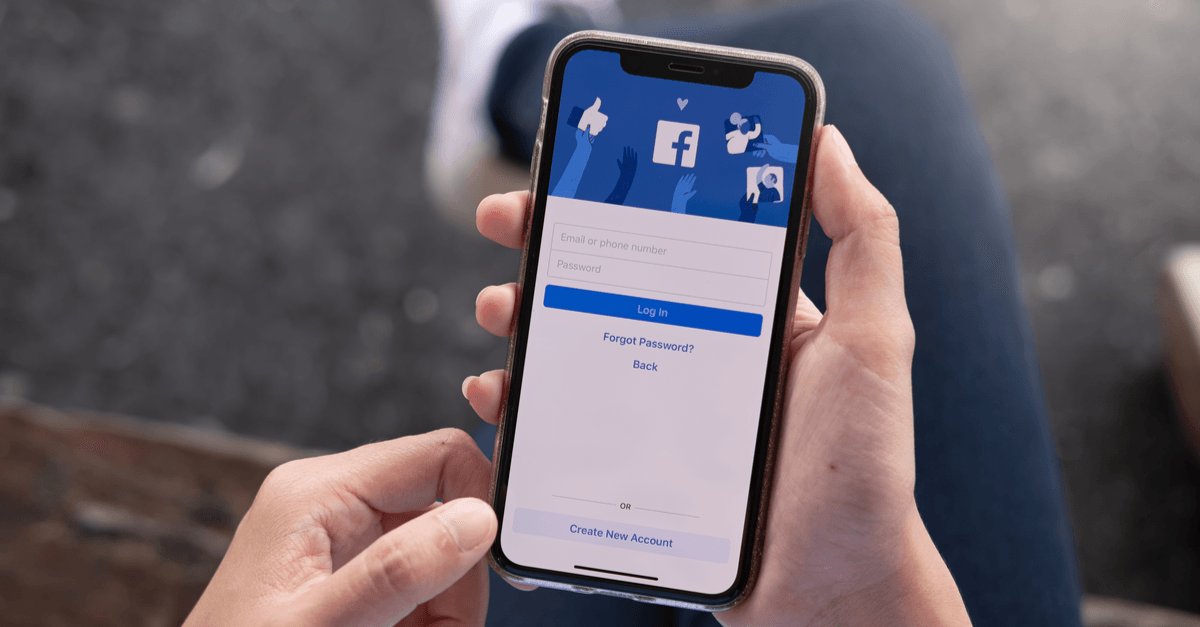
Once you have signed out of the Facebook app, you can proceed with deactivating your account. Open a web browser on your iPhone and navigate to the Facebook website. Log in to your account using your credentials. Once logged in, tap on the three horizontal lines in the bottom-right corner and scroll down to select “Settings & Privacy”. From the dropdown menu, select “Settings”.
In the settings menu, scroll down and tap on “Your Facebook Information”. From here, select “Deactivation and Deletion”. You will be presented with two options: “Deactivate Account” and “Delete Account”. Since you want to deactivate your account, tap on “Deactivate Account. Follow the on-screen instructions and confirm your decision to deactivate your account.
It’s important to note that deactivating your Facebook account will temporarily disable your profile, remove your name and photos from most things you’ve shared on Facebook, and prevent others from searching for you. Your account will no longer be visible to others on Facebook. However, some information may still be visible, such as messages you’ve sent, even after you deactivate your account.
If you decide to reactivate your account at any time, simply log back in with your credentials and your account will be restored. Keep in mind that if you choose to reactivate, all of your previous settings, friends, and photos will be restored as well.
If you no longer wish to use Facebook and want to permanently delete your account, be cautious as this action is irreversible. To delete your account, follow the same steps to access the “Deactivation and Deletion” section in your Facebook settings. This time, instead of selecting “Deactivate Account”, choose “Delete Account”. Confirm your decision and follow the additional prompts to permanently delete your Facebook account.
Now, you have the knowledge and steps to deactivate your Facebook account from your iPhone. Whether you need a temporary break or want to remove your presence from the platform permanently, you can easily take control of your Facebook account right from your iPhone. Take the necessary steps and enjoy your time away or protect your privacy – it’s all in your hands.
Conclusion
Deactivating Facebook from your iPhone is a straightforward process that can help you take a break from the social media platform or protect your privacy. By following the steps outlined in this article, you can easily deactivate your Facebook account and enjoy some digital detox time.
Remember, deactivating your account is not permanent, and you can reactivate it whenever you’re ready. It’s important to consider your reasons for deactivating and set boundaries around your social media usage to maintain a healthy relationship with technology.
Whether you’re looking for a temporary break or a long-term change, deactivating Facebook from your iPhone gives you the freedom to step away from the digital noise and focus on what truly matters in your life.
FAQs
1. How do I deactivate Facebook from my iPhone?
To deactivate Facebook from your iPhone, follow these steps:
- Open the Facebook app on your iPhone.
- Tap on the menu icon at the bottom right corner of the screen.
- Scroll down and tap on “Settings & Privacy”.
- Select “Settings”.
- Scroll down and tap on “Account Ownership and Control”.
- Tap on “Deactivation and Deletion”.
- Choose “Deactivate Account”.
- Follow the prompts to confirm the deactivation process.
2. Can I reactivate my Facebook account after deactivating it from my iPhone?
Yes, you can reactivate your Facebook account after deactivation by simply logging back in with your username and password. Once you log in, your account will be reactivated, and you will regain access to your profile and all your previous content.
3. Will deactivating Facebook from my iPhone delete my account permanently?
No, deactivating Facebook from your iPhone does not permanently delete your account. It temporarily disables your account, making your profile and content inaccessible to others. However, your data and information will still be stored on Facebook’s servers, and you can reactivate your account at any time to regain access.
4. Will deactivating Facebook from my iPhone remove all my personal information?
Deactivating Facebook from your iPhone does not remove your personal information. However, it makes your profile and content temporarily invisible to others. Your personal information, including your friends, messages, and photos, will still be associated with your account and will be accessible once you reactivate it.
5. Can I deactivate Facebook Messenger separately from my iPhone?
Yes, you can deactivate Facebook Messenger separately from your iPhone. To do so, follow these steps:
- Open the Facebook Messenger app on your iPhone.
- Tap on your profile picture at the top left corner of the screen.
- Scroll down and tap on “Account Settings”.
- Select “Personal Information”.
- Tap on “Deactivate Account”.
- Follow the prompts to confirm the deactivation process.