
Do you have a cluttered music library on your iPhone and want to know how to delete songs to free up some space? In this article, we will guide you through the process of removing songs from your iPhone, step by step. Whether you want to delete individual songs, entire albums, or even your entire music library, we’ve got you covered.
Having unnecessary songs on your iPhone not only takes up valuable storage space but can also make it difficult to find the music you actually want to listen to. By removing unwanted songs, you can organize your music collection and enjoy a clutter-free listening experience.
So, if you’re ready to clean up your music library and create more space on your iPhone, let’s dive into the different methods you can use to delete songs. Whether you prefer to do it directly on your device or through iTunes, we’ll provide you with all the necessary instructions.
Inside This Article
- Overview
- Method 1: Deleting Songs Directly on iPhone
- Method 2: Using iTunes to Remove Songs from iPhone
- Method 3: Using Third-Party Apps to Delete Songs from iPhone
- Conclusion
- FAQs
Overview
Deleting songs from your iPhone is a simple yet essential task, especially if your device’s storage is running low or if you want to remove unwanted tracks. In this article, you will learn three different methods to delete songs from your iPhone.
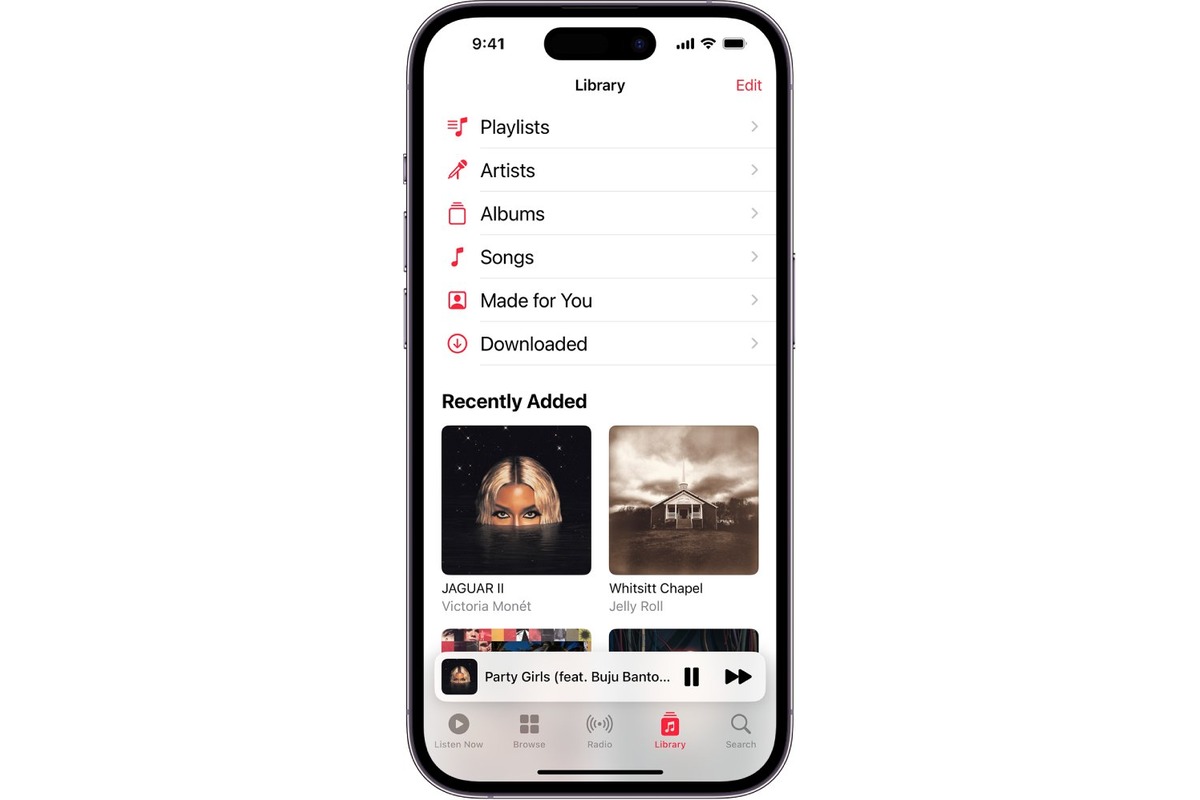
Method 1: Deleting Songs Directly on iPhone
If you prefer a quick and straightforward approach, you can delete songs directly on your iPhone without the need for a computer. Follow these steps:
- Open the “Music” app on your iPhone.
- Navigate to the playlist, album, or artist that contains the songs you want to delete.
- Swipe left on the song you want to remove and tap the “Delete” button.
- Confirm your decision by tapping “Delete Song.”
Method 2: Using iTunes to Remove Songs from iPhone
If you prefer managing your music library on a computer, you can use iTunes to delete songs from your iPhone. Here’s how:
- Connect your iPhone to your computer using the USB cable and launch iTunes.
- Select your iPhone from the list of devices in iTunes.
- Click on the “Music” tab located in the left sidebar.
- Choose the songs you want to delete by selecting them individually or using the Ctrl or Command key to select multiple songs.
- Press the Delete key on your keyboard, or right-click on the selected songs and click “Delete from Library.”
- A pop-up window will appear asking if you want to delete the selected songs from your library or move them to the trash. Choose the appropriate option based on your preference.
- Click “Remove” to confirm the deletion.
- Sync your iPhone with iTunes to apply the changes.
Method 3: Using Third-Party Apps to Delete Songs from iPhone
If you’re looking for alternative methods to delete songs from your iPhone, you can explore the wide variety of third-party apps available on the App Store. These apps offer additional features and flexibility in managing your music library. Simply search for “music manager” or “file manager” apps in the App Store, read the reviews, and choose one that suits your needs.
Deleting songs from your iPhone is a great way to free up space or declutter your music library. Whether you prefer to remove songs directly on your device, use iTunes, or explore third-party apps, these methods provide you with the flexibility to manage your music collection with ease.
Method 1: Deleting Songs Directly on iPhone
If you want to delete songs from your iPhone without the need for any external applications or software, you can do so directly on your device. Follow these simple steps to remove unwanted songs from your iPhone:
- Start by unlocking your iPhone and navigating to the Music app on your home screen.
- Once you’re in the Music app, locate the song or songs that you want to delete. You can browse through your songs by swiping or use the search bar to find specific titles.
- Once you’ve found the song(s) you want to delete, swipe left on the song or tap the “…” button next to it.
- A menu will appear with several options. Tap on the “Delete” button to remove the song from your iPhone.
- Confirm the deletion by tapping on the “Delete from Library” option.
That’s it! The selected song(s) will now be removed from your iPhone’s Music app. It’s important to note that this method only deletes the songs from your device and not from your iTunes or iCloud library. If you have synced your iPhone with iTunes or use iCloud Music Library, the songs will still be available in those locations.
If you want to permanently remove the songs from your iTunes or iCloud library, you will need to follow additional steps in iTunes or the Music app on your computer. Refer to Method 2 for instructions on using iTunes to delete songs from your iPhone.
Method 2: Using iTunes to Remove Songs from iPhone
If you prefer managing your music library on your computer, using iTunes is a convenient option to delete songs from your iPhone. iTunes allows you to sync your iPhone with your computer and gives you more control over your music collection. Follow these steps to remove songs from your iPhone using iTunes:
- Launch the iTunes application on your computer.
- Connect your iPhone to your computer using a USB cable.
- Once your iPhone is detected, click on the device icon in the iTunes interface.
- Navigate to the “Music” section within your iPhone’s settings.
- Here, you will see a list of all the songs present on your iPhone.
- To delete a specific song, simply select it and press the “Delete” key on your keyboard, or right-click on the song and choose “Delete from Library”. Confirm the deletion if prompted.
- If you want to remove multiple songs at once, hold down the “Ctrl” key (Windows) or “Command” key (Mac) and select the songs you want to delete. After selecting the songs, right-click and choose “Delete from Library”.
- To remove all the songs from your iPhone, go to the top menu, select “Edit”, and then choose “Select All”. Right-click and choose “Delete from Library”.
- Once you have deleted the songs, click on the “Apply” or “Sync” button to sync your iPhone with iTunes and complete the removal process.
Using iTunes to delete songs from your iPhone gives you the freedom to organize your music library and make changes directly from your computer. Just remember to sync your iPhone with iTunes after removing the songs to ensure the changes are reflected on your device.
Method 3: Using Third-Party Apps to Delete Songs from iPhone
If you’re looking for an alternative method to delete songs from your iPhone, using third-party apps can be a great option. These apps provide additional features and functionality for managing your music library. Here are a few popular apps that can help you delete songs from your iPhone:
- Documents by Readdle: This app not only acts as a file manager but also allows you to manage your music files. You can easily delete songs by navigating to the music folder and selecting the songs you want to remove. Documents by Readdle also supports various cloud storage services, making it convenient to manage your music library across different platforms.
- iMazing: iMazing is a comprehensive iOS management tool that enables you to transfer and delete music files from your iPhone. It offers an intuitive interface that allows you to easily select and delete individual songs or entire albums with just a few clicks.
- AnyTrans: AnyTrans is a feature-rich app that provides multiple options for managing your iPhone’s music library. It allows you to transfer, delete, and organize songs effortlessly. With AnyTrans, you can delete unwanted songs directly from your iPhone or even from your iTunes library.
- Waltr: Waltr is another popular app that simplifies the process of transferring and deleting music files on your iPhone. It supports drag-and-drop functionality, allowing you to easily add or remove songs from your device. Waltr also supports various audio formats, ensuring compatibility with a wide range of music files.
- iExplorer: iExplorer is a powerful app that not only allows you to delete songs from your iPhone but also provides advanced features like browsing the iPhone’s file system and accessing backups. With iExplorer, you can easily manage your music library, delete specific songs or folders, and maintain complete control over your iPhone’s files.
These third-party apps offer a convenient and efficient way to delete songs from your iPhone. Each app provides unique features and functionalities, so it’s worth exploring them to find the one that best meets your needs. Whether you want a simple file manager or a comprehensive iOS management tool, these apps will make it easy to keep your music library organized and clutter-free.
Conclusion
In conclusion, deleting songs from your iPhone is a simple and straightforward process. Whether you want to make space for new music or remove outdated tracks, there are multiple methods available to delete songs from your iPhone. You can use the Music app, iTunes, or even a third-party app to manage your music library and remove unwanted songs. By following the steps mentioned in this guide, you can easily free up storage space on your iPhone and keep your music collection organized and up to date.
Remember to take caution when deleting songs, as some methods may permanently remove the songs from your iPhone. It’s always a good idea to back up your music library before making any changes. With the ability to easily delete songs, you can ensure that your iPhone is filled with the music you love and enjoy a clutter-free music experience.
FAQs
1. How do I delete songs from my iPhone?
2. Will deleting songs from my iPhone also remove them from my iCloud Music Library?
3. Can I recover deleted songs from my iPhone?
4. What happens if I delete a song that I purchased from iTunes?
5. Is there a way to delete multiple songs at once from my iPhone?