
In 2014, Apple made headlines when it automatically downloaded U2’s album “Songs of Innocence” to millions of iPhones without users’ consent. While some iPhone users welcomed the gift, many were left frustrated and eager to remove the unwanted album from their devices. Fast forward to 2018, and there are still iPhone owners who are struggling to get rid of the U2 album.
If you’re one of those iPhone users who has been struggling to remove the U2 album and reclaim your storage space, you’ve come to the right place. In this article, we will guide you through the step-by-step process of removing the U2 album from your iPhone. So, let’s dive in and bid farewell to that unwanted album once and for all.
Inside This Article
- Method 1: Hide the U2 Album
- Method 2: Delete the U2 Album
- Method 3: Use iTunes to Remove the U2 Album
- Conclusion
- FAQs
Method 1: Hide the U2 Album
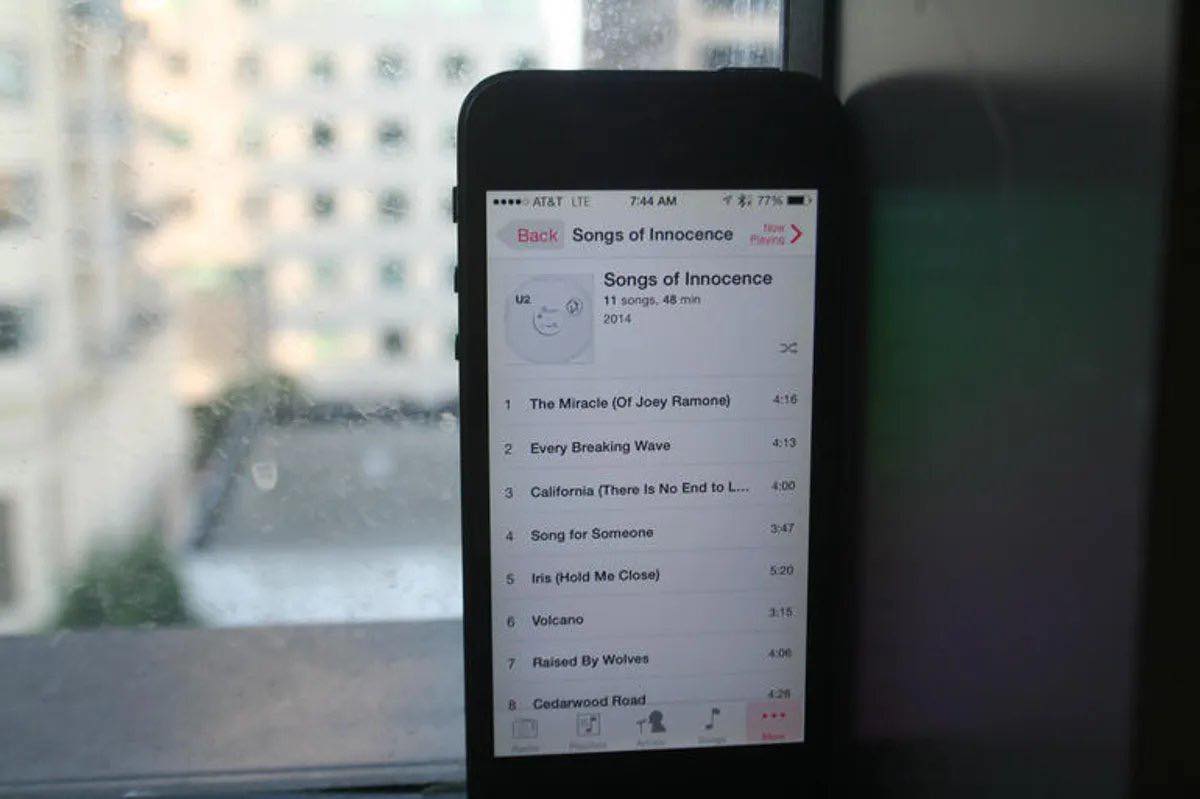
If you’re one of the many iPhone users who received the U2 album, “Songs of Innocence,” but don’t want it cluttering up your music library, don’t worry! There’s a simple solution – you can easily hide the album instead of deleting it completely. Here’s how you can do it:
1. Open the Music app on your iPhone and go to your library.
2. Find the album “Songs of Innocence” in your library. You can use the search bar at the top to quickly locate it.
3. Swipe left on the album and tap on the “Hide” button that appears. This will remove the album from your main library while keeping it hidden in the cloud.
4. If you ever change your mind and want to unhide the album, you can go to your account settings in the iTunes Store app and toggle the “Show All Music” option. This will make the hidden album reappear in your library.
By following these steps, you can easily hide the U2 album from your iPhone without permanently deleting it. This way, you can still access the album if you ever want to listen to it again, while keeping your music library organized according to your preferences.
Method 2: Delete the U2 Album
If you want to completely remove the U2 Album from your iPhone, you can follow these simple steps:
1. Open the “Music” app on your iPhone.
2. Go to the “Library” tab at the bottom of the screen.
3. Find the U2 Album in your music library. It may be listed under the “Albums” section or under the artist’s name.
4. Swipe left on the U2 Album to reveal the “Delete” option.
5. Tap “Delete” to remove the U2 Album from your iPhone.
6. A confirmation message will appear asking if you want to remove the U2 Album from your library. Tap “Delete from Library” to proceed.
7. The U2 Album will now be deleted from your iPhone and will no longer appear in your music library or on any playlists.
It’s important to note that deleting the U2 Album will permanently remove it from your iPhone, and you will not be able to recover it unless you re-download it from the iTunes Store. Keep this in mind before deleting the album.
By following these steps, you can easily delete the U2 Album from your iPhone and free up space for the music that you truly enjoy. Now you can curate your music library to your liking and have a clutter-free listening experience.
Method 3: Use iTunes to Remove the U2 Album
If you prefer a more comprehensive method to remove the U2 album from your iPhone, you can use iTunes. Here’s how:
1. Connect your iPhone to your computer using a USB cable and launch iTunes.
2. Once your device is detected by iTunes, click on the device icon to access your iPhone’s summary page.
3. In the left sidebar, under “Settings,” click on “Music.”
4. On the right side of the screen, you will see the option to sync your entire music library or selected playlists, artists, albums, and genres. Make sure the option “Sync Music” is checked.
5. Below the sync options, you will find a list of all the music content on your iPhone.
6. Scroll through the list and locate the U2 album. Uncheck the checkbox next to the U2 album to remove it from your device.
7. After unchecking the U2 album, click on the “Apply” or “Sync” button at the bottom right corner of the screen to save the changes and sync your iPhone with iTunes.
8. Wait for the sync process to complete. Once finished, disconnect your iPhone from the computer.
By using iTunes to remove the U2 album, you have complete control over the music content on your iPhone. This method allows you to selectively remove specific albums, artists, or songs from your device, ensuring that you can maintain a clutter-free music library.
Conclusion
Removing the U2 album from your iPhone in 2018 is a simple process that can be done in a few easy steps. Whether you are not a fan of the album or you simply want to free up some storage space, you have the power to remove it from your device.
By following the methods outlined in this article, you can remove the U2 album from your iPhone without any hassle. Whether you choose to delete it directly from your Music app or through iTunes, you can enjoy a clutter-free music library tailored to your preferences.
Remember, it’s important to keep your device organized and personalized. Removing unwanted albums not only gives you more control over your music collection, but it also frees up space for the songs and artists that truly resonate with you.
Now that you have learned how to remove the U2 album from your iPhone, go ahead and take control of your music library. Enjoy a seamless listening experience with the songs and albums that bring you joy.
How to Remove the U2 Album from iPhone in 2018
FAQs
Q: How did the U2 album end up on my iPhone?
A: In 2014, Apple collaborated with U2 and automatically added their album, “Songs of Innocence,” to all iTunes Store accounts. This caused the album to appear in the purchased section of users’ libraries, ready for download.
Q: I don’t want the U2 album on my iPhone. Can I remove it?
A: Yes, you can remove the U2 album from your iPhone. Apple released a tool that allows users to easily remove the album from their libraries. This can be done directly on your iPhone or through iTunes on your computer.
Q: How do I remove the U2 album from my iPhone?
A: To remove the U2 album from your iPhone, follow these steps:
- Open the Music app on your iPhone.
- Go to the Albums section and find the album “Songs of Innocence” by U2.
- Swipe left on the album and tap the “Delete” button that appears.
- The album will be removed from your iPhone.
Alternatively, you can use iTunes on your computer to remove the album by following these steps:
- Connect your iPhone to your computer and open iTunes.
- Select your device from the top left corner of the iTunes window.
- Go to the Music tab and uncheck the box next to “Sync Music.”
- Apply the changes by clicking the “Apply” button in the bottom right corner.
- The U2 album will be removed from your iPhone during the sync process.
Q: Will removing the U2 album from my iPhone delete it completely?
A: No, removing the U2 album from your iPhone will only remove it from your device. The album will still be available for redownload from your iTunes account’s purchased section. If you wish to permanently delete the album, you can do so by going to your iTunes Store account settings.
Q: Can I re-add the U2 album to my iPhone if I change my mind?
A: Yes, if you decide to re-add the U2 album to your iPhone, you can do so by going to your iTunes Store account’s purchased section and redownloading the album. It will then be available in your Music app and synced to your iPhone.