
The iPhone 13 is a powerful and versatile device that offers a multitude of features, and one of the most popular customization options is creating your own unique ringtones. With the ability to personalize and set a unique ringtone, you can add a touch of individuality to your iPhone experience. But how exactly do you go about making your own ringtone on the iPhone 13? In this article, we’ll provide you with a step-by-step guide on how to create custom ringtones on your iPhone 13. Whether you want to use a favorite song, a special sound effect, or even your own voice, we’ll show you how to make it happen. Let’s get started and learn how to make your own ringtone on the iPhone 13!
Inside This Article
- Setting Up GarageBand on Your iPhone 13
- Importing a Song into GarageBand
- Trimming and Editing the Song
- Exporting and Setting the Ringtone on Your iPhone 13
- Conclusion
- FAQs
Setting Up GarageBand on Your iPhone 13
If you’re looking to customize your iPhone 13 by creating your own unique ringtones, GarageBand is the perfect tool to do so. This powerful music creation app comes pre-installed on your iPhone 13, making it easy to access and use. Whether you want to use a popular song or your own composition, GarageBand provides all the features you need to craft a personalized ringtone. Here’s a step-by-step guide on how to set up GarageBand on your iPhone 13 and create your own custom ringtones.
1. Launch GarageBand: Locate the GarageBand app on your iPhone 13’s home screen and tap on it to open the app. If it’s your first time using GarageBand, you might need to go through a brief setup process, including agreeing to the terms and conditions.
2. Choose a Sound Library: Once you’re in GarageBand, you’ll be prompted to choose a sound library. The sound libraries contain different instruments and sounds that you can use in your projects. Select the “Keyboard Collection” or any other sound library that suits your preferences.
3. Create a New Project: After selecting a sound library, tap on the “+” button to create a new project. Then, choose “Audio Recorder” or “Empty Project” as your project type. Both options will allow you to import and edit songs for your ringtone.
4. Import a Song: To create a custom ringtone, you’ll need a song to work with. Tap on the “+” icon again and select “Import” to add a song to your project. You can choose a song from your iTunes library, iCloud Drive, or other sources. Once the song is imported, it will appear as a track in your project.
5. Trim and Edit the Song: In GarageBand, you can trim the imported song to select the desired section for your ringtone. Tap on the waveform of the song to access the editing tools. Use the yellow handles to adjust the start and end points of the song, ensuring that your chosen section is no longer than 30 seconds, the maximum duration for an iPhone ringtone.
6. Export and Set the Ringtone: Once you’re satisfied with the trimmed song, tap on the share icon in the top right corner of the screen. Choose “Ringtone” as the export option. GarageBand will automatically generate a ringtone file with the selected section of your song. You’ll be prompted to name the ringtone, and once saved, it will appear in your iPhone’s Settings under Sounds & Haptics. From there, you can select your custom ringtone as the default or assign it to specific contacts.
Now that you have the basics of setting up GarageBand on your iPhone 13 and creating your own ringtones, unleash your creativity and make your iPhone truly unique. Experiment with different songs and editing techniques to craft the perfect sound that represents your style and personality. With GarageBand, the possibilities are endless when it comes to customizing your iPhone’s ringtones.
Importing a Song into GarageBand
If you want to make your own ringtone on your iPhone 13, one of the essential steps is importing a song into GarageBand. GarageBand is a powerful and versatile app that allows you to create and customize music right on your iPhone. Follow these steps to import a song into GarageBand:
1. Launch GarageBand: Open the GarageBand app on your iPhone 13. If you don’t have it installed, you can download it from the App Store.
2. Create a new project: Tap on the “New Project” button to start a new project. Choose the “Audio Recorder” option if prompted.
3. Choose a song: Tap on the “Tracks View” icon at the top-right corner of the screen. Then tap on the “+” icon to add a new track. From the options presented, select “Audio Files” to import a song from your device.
4. Select the song: Browse through your device’s music library and choose the song you want to use as your ringtone. You can use the search bar or explore different playlists to uncover your desired track.
5. Import the song: Once you’ve found the song you want, tap on it to import it into GarageBand. The app will analyze and process the song, preparing it for editing.
6. Adjust the song settings (optional): Before you start editing the song, you have the option to adjust its settings. You can change the song’s volume, add effects, or modify it in other ways to create your desired ringtone.
7. Begin editing: Once the song is imported and the settings are adjusted, you can start editing it to create your ringtone. GarageBand offers various editing tools such as trimming, cutting, and adding loops to help you customize your ringtone to perfection.
8. Save your ringtone: After you’ve finished editing the song, tap on the “My Songs” button at the top-left corner of the screen. Tap and hold on the song you just created to reveal a menu of options. Choose “Share” and then select “Ringtone” to save your ringtone on your iPhone 13.
By following these steps, you can easily import a song into GarageBand and begin the process of creating your own custom ringtone on your iPhone 13. Get creative and have fun personalizing your device with a unique and personalized ringtone that reflects your style and personality.
Trimming and Editing the Song
Once you have imported your desired song into GarageBand on your iPhone 13, it’s time to trim and edit it to create the perfect ringtone. Follow these steps:
1. Select the song: Tap on the song’s thumbnail in the timeline at the bottom of the screen to select it. You will see yellow handles at the beginning and end of the song.
2. Trim the song: Tap and hold on the yellow handles and drag them inward to trim the song. You can preview the changes by tapping the play button.
3. Adjust the song’s duration: If the song is still too long, you can further adjust its duration by tapping on the grid icon (looks like three horizontal lines) at the top right corner of the screen. This will open the “Song Sections” panel.
4. Split and delete unnecessary parts: In the “Song Sections” panel, you can split the song into different sections by tapping on the scissor icon, and delete unnecessary sections by tapping on the trash can icon. This will help you remove any unwanted intros or outros.
5. Apply audio effects: To add some creative flair to your ringtone, you can apply audio effects. Tap on the “+” icon at the top left corner of the screen and select “Audio Recorder” or “Smart Guitar” to add additional sounds or melodies to your ringtone.
6. Fine-tune the song: Use the touch controls or the piano roll interface to fine-tune the notes and timings of the added elements, if necessary. You can also adjust the volume levels of different tracks in the mixer panel.
7. Preview and finalize: Once you’re satisfied with the edits and enhancements you’ve made, tap the play button to preview your ringtone. If everything sounds great, tap “My Songs” at the top left corner of the screen to go back to the main screen.
8. Save and set as ringtone: To save your newly created ringtone, tap and hold on the song’s thumbnail in the timeline and select “My Songs” from the options that appear. Then, tap “Share” at the top right corner of the screen and choose “Ringtone” to save it as a custom ringtone on your iPhone 13.
By following these steps, you can easily trim and edit any song in GarageBand on your iPhone 13, transforming it into a personalized ringtone that reflects your style and personality. Enjoy the process of creating a unique ringtone that will make your iPhone 13 stand out from the crowd!
Exporting and Setting the Ringtone on Your iPhone 13
Once you’ve finished editing and perfecting your custom ringtone in GarageBand on your iPhone 13, it’s time to export and set it as your default ringtone. Thankfully, the process is straightforward and can be done directly on your device. Here’s how to do it:
1. Open GarageBand and go to the song you want to export as a ringtone.
2. Tap on the three-dot menu icon in the top right corner of the screen.
3. From the menu that appears, select “Share”.
4. Next, choose “Ringtone” as the export option.
5. You will be prompted to give the ringtone a name. Enter a descriptive name that will help you easily identify it later.
6. Tap on the “Export” button to start the exporting process.
7. GarageBand will generate the ringtone file and save it to your iPhone 13’s default ringtone folder.
8. To set the custom ringtone as your default, navigate to the “Settings” app on your iPhone 13.
9. Scroll down and select “Sounds & Haptics”.
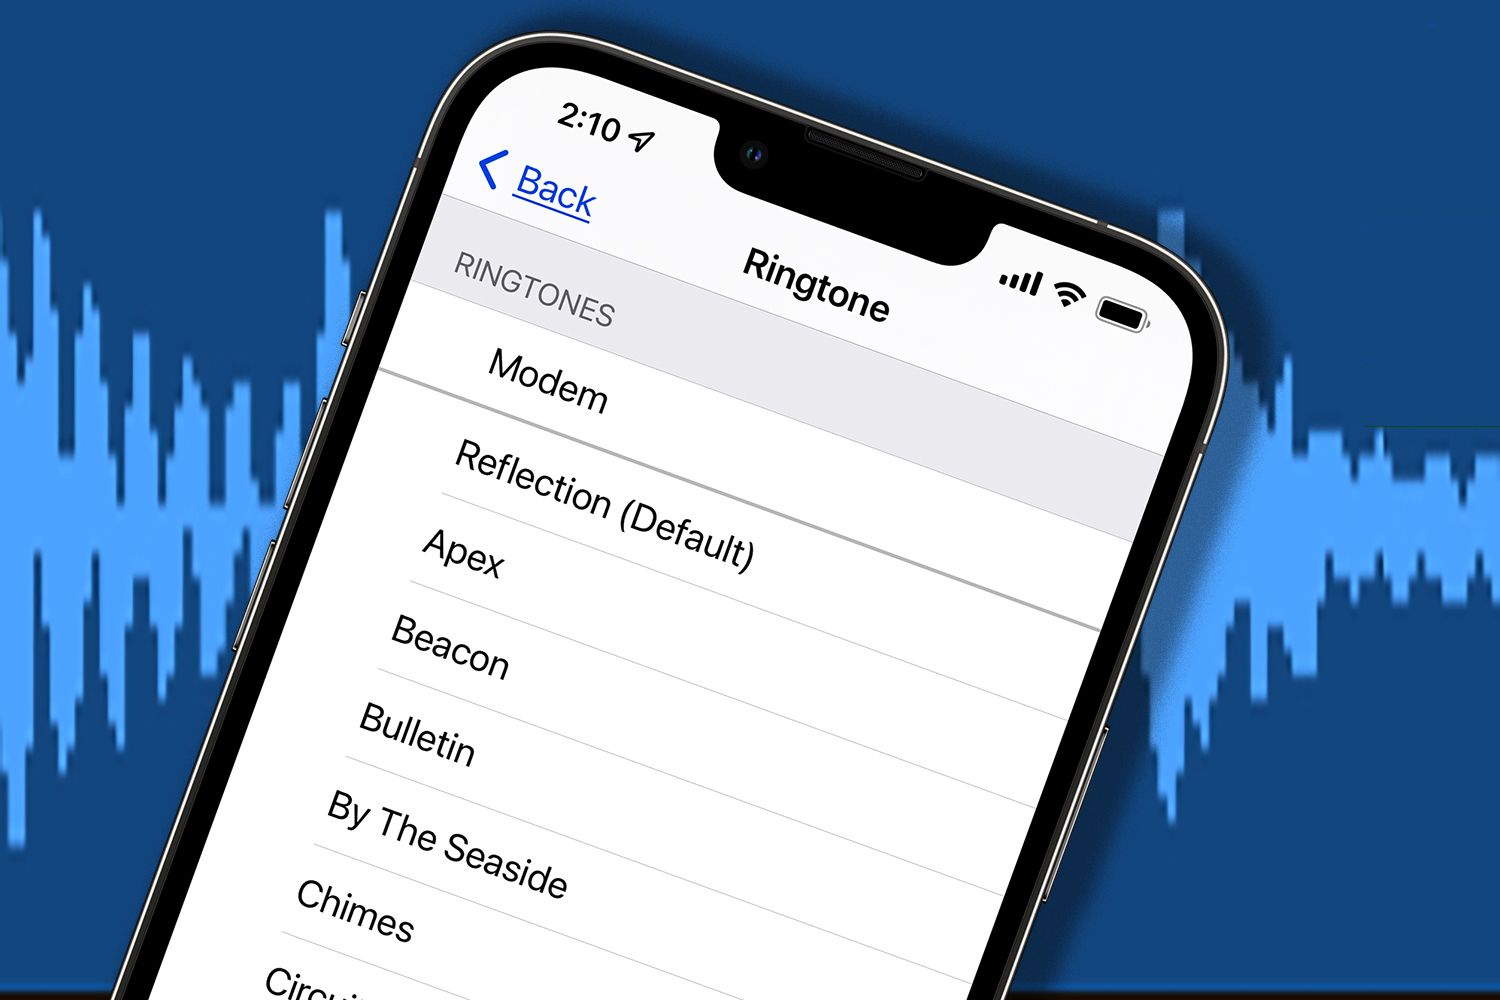
10. Tap on “Ringtone” under the “Sounds and Vibration Patterns” section.
11. In the list of available ringtones, you should see your newly exported custom ringtone. Tap on it to select it as your default ringtone.
12. Congratulations! You have successfully exported and set your custom ringtone on your iPhone 13.
Now, whenever you receive a call, your personalized ringtone will play, adding a touch of uniqueness to your device. Remember that you can also assign different ringtones to specific contacts if you want to further customize your iPhone experience.
Conclusion:
Creating your own custom ringtone on iPhone 13 is a fun and personalized way to enhance your device. With the built-in GarageBand app and the ability to purchase ringtone-making apps from the App Store, the process is simple and accessible to all iPhone users.
By following the step-by-step guide outlined in this article, you can unleash your creativity and set unique ringtones for your contacts, favorite songs, or even sound effects. Whether you want to stand out from the crowd or simply add a personal touch to your phone, making your own ringtone on iPhone 13 is a great way to do it.
So go ahead and try it out! Experiment with different sounds, melodies, and styles to create a custom ringtone that truly reflects your personality. Let your iPhone ring with a tone that is uniquely yours.
FAQs
Here are some frequently asked questions about making your own ringtone on iPhone 13:
1. Can I make my own ringtone on iPhone 13?
Yes, you can! iPhone 13 offers the flexibility to create and customize your own ringtones using built-in features and third-party apps.
2. How do I create a custom ringtone on iPhone 13?
To create a custom ringtone on iPhone 13, follow these steps:
- Choose a song or audio file you want to use as a ringtone.
- Open the GarageBand app on your iPhone.
- Create a new project and choose the “Audio Recorder” option.
- Tap the red record button and play the chosen song or audio file.
- Once recorded, trim the audio to the desired length using the editing tools.
- Tap “My Songs” and save the project as a ringtone.
- Go to Settings on your iPhone, select “Sounds & Haptics,” and choose your newly created ringtone under the “Ringtone” section.
3. Can I use third-party apps to make ringtones on iPhone 13?
Yes, there are several third-party apps available on the App Store that allow you to create custom ringtones on iPhone 13. Some popular options include Ringtone Designer, Ringtones for iPhone! (by Pixel Ripped), and Zedge.
4. What audio formats are supported for ringtones on iPhone 13?
iPhone 13 supports ringtone files in the M4R format, which is essentially an AAC audio file with a different file extension. When creating custom ringtones, make sure to convert your audio files to the M4R format to ensure compatibility.
5. Can I assign custom ringtones to specific contacts on iPhone 13?
Yes, you can assign custom ringtones to specific contacts on iPhone 13. Simply go to the Contacts app, select the desired contact, tap “Edit,” and choose “Ringtone” to select the custom ringtone you want to assign.
With these FAQs, you should now have a better understanding of how to make your own ringtone on iPhone 13. Enjoy personalizing your iPhone’s sound with unique and customized ringtones!