
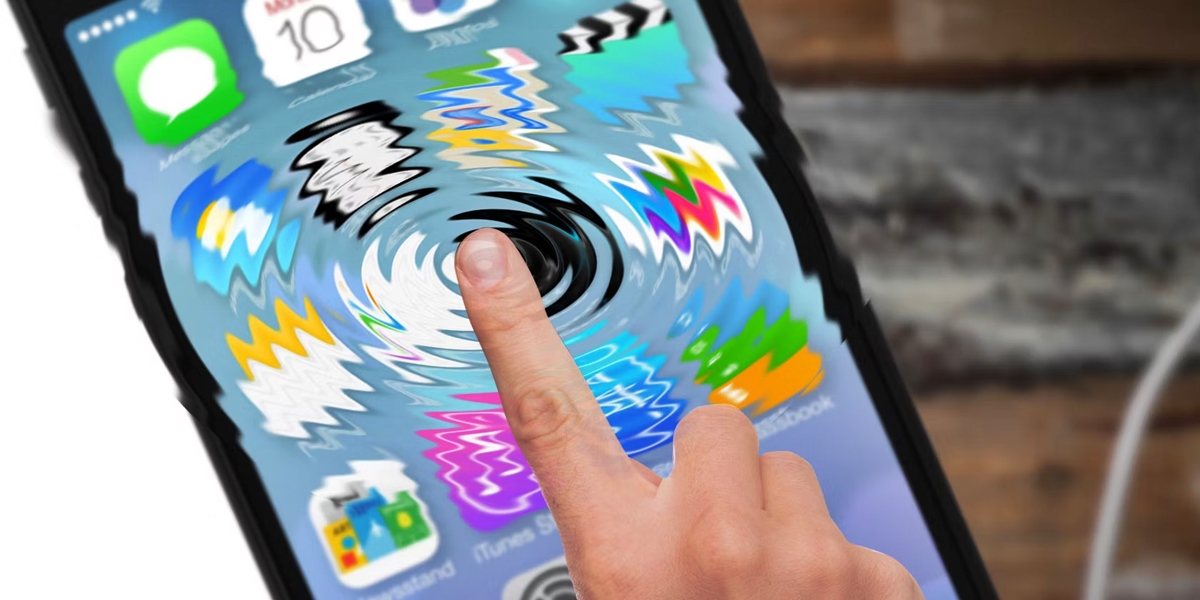
Welcome to our comprehensive guide on how to disable the touchscreen on your iPhone and iPad. While touchscreen technology has revolutionized the way we interact with our mobile devices, there may be situations where you want to temporarily or permanently disable the touchscreen functionality. Whether you need to prevent accidental touches, hand over your device to a child, or simply want to use a stylus for more precise input, we’ve got you covered. In this article, we will walk you through the step-by-step process of disabling the touchscreen on your iPhone and iPad, along with some helpful tips and FAQs. So, let’s dive in and explore the various methods you can use to disable the touchscreen on your beloved Apple devices.
Inside This Article
- Method 1: Using Accessibility Shortcut
- Method 2: Using Guided Access
- Method 3: Using Restrictions
- Method 4: Using Screen Time
- Conclusion
- FAQs
Method 1: Using Accessibility Shortcut
If you’re looking to temporarily disable the touchscreen on your iPhone or iPad, using the Accessibility Shortcut is a quick and convenient option. The Accessibility Shortcut allows you to enable or disable specific accessibility features with just a few taps.
Here’s how you can use the Accessibility Shortcut to disable the touchscreen:
- First, open the “Settings” app on your device.
- Scroll down and tap on “Accessibility.”
- In the Accessibility menu, tap on “Accessibility Shortcut” located towards the bottom of the screen.
- You will see a list of available accessibility features. Scroll down and tap on “AssistiveTouch.”
- With AssitiveTouch selected, you can now exit the Settings app by pressing on the home button once or using the swipe up gesture on newer iPhone models.
- To enable or disable the touchscreen, simply triple-click the home button (or the side button on newer iPhones). This will activate the Accessibility Shortcut and bring up the AssistiveTouch menu.
- From the AssistiveTouch menu, tap on “Device” and then select “Disable Touch Screen.”
- Your iPhone or iPad’s touchscreen will now be disabled, preventing any accidental touches or input.
To re-enable the touchscreen, simply follow the same steps and tap on “Enable Touch Screen” instead of “Disable Touch Screen” in the AssistiveTouch menu.
Using the Accessibility Shortcut to disable the touchscreen on your iPhone or iPad is a great temporary solution for instances where you may want to prevent accidental input. It gives you control over when to enable or disable the touchscreen with just a few taps.
Method 2: Using Guided Access
If you want to temporarily disable the touchscreen on your iPhone or iPad, Guided Access is a useful feature that allows you to do so. Guided Access is primarily designed to lock a device into a single app and restrict certain functions, but it can also be used to disable the touchscreen completely while keeping other device functionalities active.
Here’s how you can use Guided Access to disable the touchscreen:
- Open the “Settings” app on your iPhone or iPad.
- Tap on “Accessibility” in the menu.
- Select “Guided Access” under the “Physical and Motor” section.
- Toggle the switch to enable Guided Access.
- Tap on “Passcode Settings” to set a passcode for Guided Access. This passcode will be required to exit Guided Access mode.
- Return to the app you want to use with Guided Access.
- Triple-click the home button (or the power button on newer devices) to activate Guided Access.
- A Guided Access screen will appear, allowing you to customize certain options. To disable the touchscreen, simply disable the “Touch” option.
- Tap on “Start” in the upper-right corner to initiate Guided Access with your desired settings.
With Guided Access enabled, the touchscreen on your iPhone or iPad will be disabled, preventing any accidental or unauthorized touches. To exit Guided Access mode, simply triple-click the home button (or the power button on newer devices) and enter the passcode you set earlier.
Note that Guided Access is not a permanent solution to disable the touchscreen, as it can easily be exited with the passcode. If you’re looking for a more robust and permanent solution, consider using the other methods mentioned in this guide.
Method 3: Using Restrictions
If you want to disable the touchscreen on your iPhone or iPad, you can also utilize the Restrictions feature available in Apple’s iOS operating system. This method allows you to block access to certain functions, including the touchscreen functionality. Follow the steps below to disable the touchscreen using Restrictions:
- Open the “Settings” app on your device.
- Scroll down and tap on “Screen Time.”
- Tap on “Content & Privacy Restrictions.”
- Enable the Restrictions by tapping on the toggle button at the top of the screen.
- If prompted, create a Restrictions passcode. Make sure to choose a passcode that is different from your device passcode.
- Scroll down and tap on “Allowed Apps.”
- Find and disable the “Safari” app to restrict web browsing, which effectively disables the touchscreen for browsing purposes.
- You can further customize the restrictions by exploring the various categories and apps available in the Restrictions settings.
- When you’re done making the necessary changes, exit the Settings app.
By enabling the Restrictions feature and disabling specific apps like Safari, you effectively restrict the touchscreen’s functionality, making it inaccessible for certain actions or features on your iPhone or iPad.
It’s important to note that using Restrictions can limit access to other functions and apps on your device as well. Therefore, be cautious when enabling restrictions and make sure to review the setting changes to ensure they align with your intended purpose.
Method 4: Using Screen Time
If you have an iPhone or iPad running on iOS 12 or later, you can use the Screen Time feature to effectively disable the touchscreen. Screen Time allows you to set limits on app usage and restrict certain features, including the touchscreen functionality.
Follow these steps to disable the touchscreen using Screen Time:
- Open the Settings app on your device and tap on “Screen Time”.
- Tap on “Use Screen Time Passcode” and set a passcode if you haven’t already. This passcode will be required to make any changes to the Screen Time settings.
- Scroll down and tap on “App Limits”.
- Tap on “Add Limit” at the bottom.
- Choose the category of apps that you want to limit. You can select “All Apps & Categories” if you want to disable the touchscreen for all apps.
- Set the time limit to zero minutes by dragging the slider all the way to the left.
- Tap on “Add” in the top right corner to save the setting.
By setting a time limit of zero minutes for all apps, you effectively disable the touchscreen for those apps. This means that when you try to access an app, you will be prompted with a message indicating that the app usage is limited.
To remove the touchscreen restriction, you can simply go back to the Screen Time settings and delete the limit you have set.
Note: Keep in mind that using Screen Time to disable the touchscreen is a temporary solution. It is primarily designed to help users manage their screen time and establish healthy usage habits. If you need a more permanent solution, you may want to consider using one of the other methods mentioned in this guide.
Conclusion
Disabling the touchscreen on your iPhone or iPad can be a useful feature when you want to prevent accidental touches or if you need to use specific accessibility options. By following the steps outlined in this guide, you can easily toggle off the touchscreen functionality on your device.
Remember, it is important to enable and disable the touchscreen as per your needs and preferences. Whether you want to protect your screen during certain activities or customize your device’s accessibility settings, the option to disable the touchscreen gives you added control and flexibility.
Now that you have learned how to disable the touchscreen on your iPhone or iPad, you can enjoy a worry-free experience during gaming sessions, media playback, or any other situation where accidental touches would be a nuisance. Take advantage of this feature to enhance your device usage and make the most out of your iOS experience.
FAQs
1. Can I disable the touchscreen on my iPhone and iPad?
Yes, you can disable the touchscreen on your iPhone and iPad. This can be useful in various situations, such as when you want to clean the screen without accidentally triggering any actions, or if you want to prevent accidental taps and swipes when handing over your device to someone else.
2. How do I disable the touchscreen on my iPhone and iPad?
To disable the touchscreen on your iPhone or iPad, you can enable the Guided Access feature. Go to Settings, then Accessibility, then tap on Guided Access. Toggle the Guided Access switch to ON, set a passcode, and enable the Accessibility Shortcut if desired. Now, whenever you triple-press the Home button or side button (depending on your device model), Guided Access will be activated, temporarily disabling the touchscreen.
3. Can I disable the touchscreen on my iPhone and iPad without using Guided Access?
Yes, there is another way to disable the touchscreen on your iPhone and iPad without using Guided Access. You can simply turn on Airplane Mode. When Airplane Mode is active, your device’s touchscreen will be disabled, along with other wireless functions. Keep in mind that this method will also restrict your device from making calls, sending messages, and accessing the internet.
4. Will disabling the touchscreen affect other functionality on my iPhone and iPad?
Disabling the touchscreen using Guided Access or Airplane Mode will only affect the touchscreen functionality. All other features and functions of your iPhone and iPad will remain intact. However, it’s important to note that certain apps or features may rely heavily on touch input, so disabling the touchscreen may limit your ability to use those particular apps or features.
5. How do I re-enable the touchscreen after disabling it?
If you have used Guided Access to disable the touchscreen, you can triple-press the Home button or side button (depending on your device model) and enter the passcode you set to exit Guided Access mode. The touchscreen will be re-enabled once you exit Guided Access. If you have used Airplane Mode to disable the touchscreen, simply toggle off Airplane Mode in the Control Center or the Settings app to re-enable the touchscreen.