
The iPhone 7 is a powerful and feature-packed smartphone that offers a seamless user experience. However, there may come a time when you need to erase all the data on your iPhone 7. Whether you’re planning to sell or give away your device, or simply want a fresh start, knowing how to erase your iPhone 7 is essential.
In this article, we will guide you through the process of erasing your iPhone 7 step by step. You’ll learn how to fully wipe your device, ensuring that all personal information, settings, and apps are permanently deleted. We’ll also provide tips for backing up your data before performing the erase, and answer some frequently asked questions to help you understand the process better.
Inside This Article
- Methods to Erase iPhone 7
- Precautions Before Erasing iPhone 7
- Step-by-Step Guide to Erase iPhone 7
- How to Verify Data Erasure – Checking device settings – Using third-party data recovery software
- Conclusion
- FAQs
Methods to Erase iPhone 7
When it comes to erasing your iPhone 7, there are a few different methods you can choose from. Here are four effective ways to wipe your device clean:
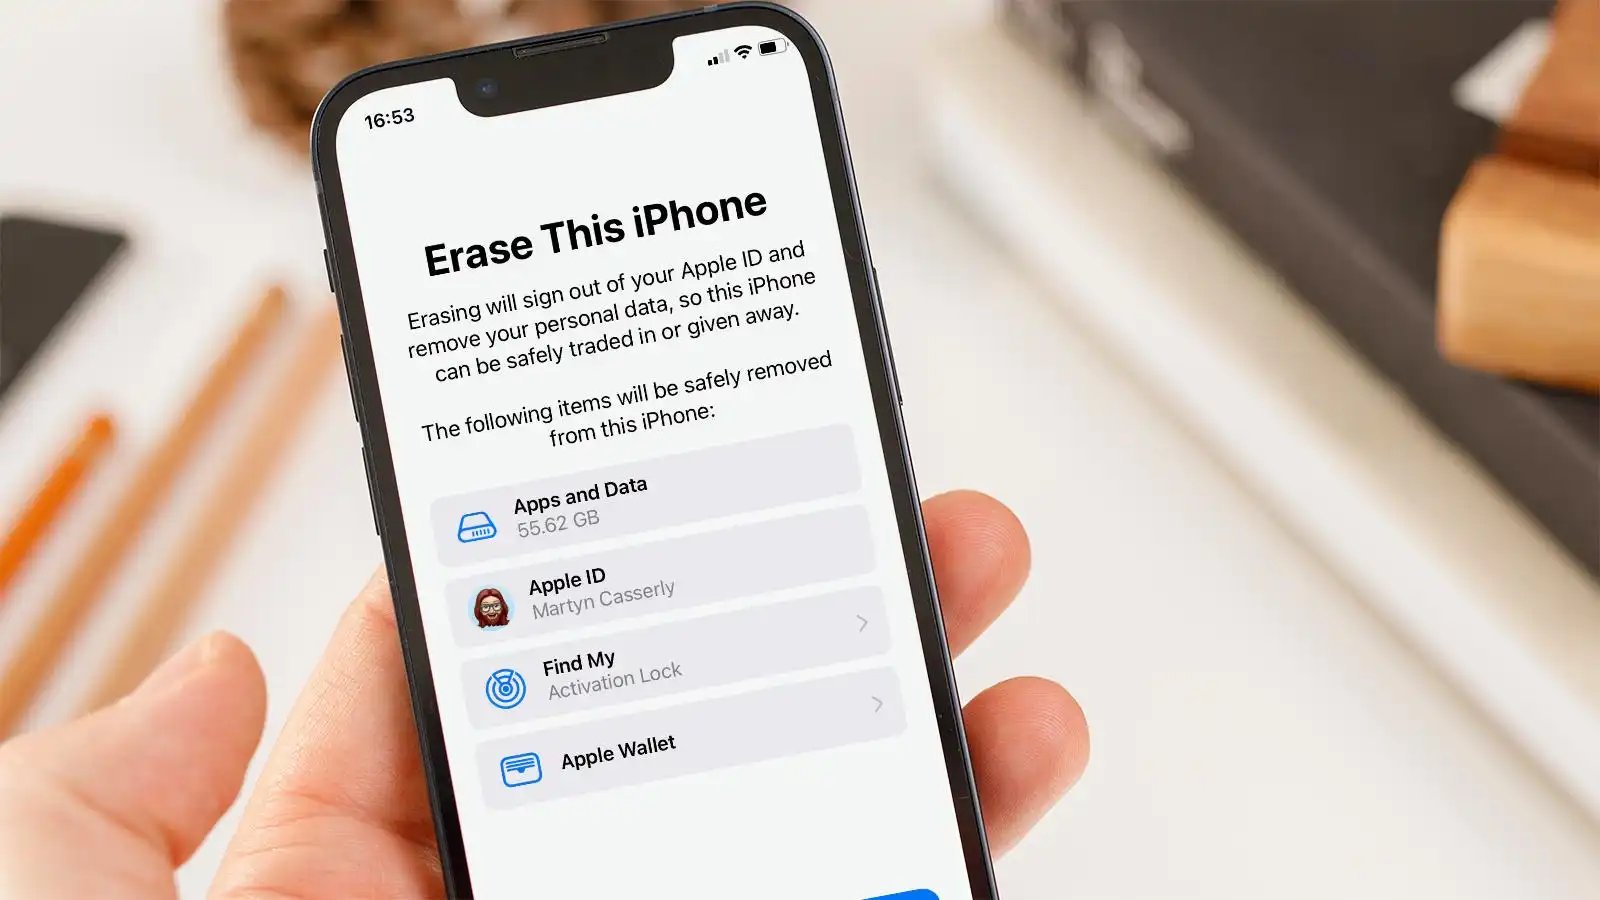
- Factory Reset: The factory reset option is the most straightforward way to erase all data on your iPhone 7. This method restores your device to its original factory settings, essentially wiping it clean of all personal data and settings. To perform a factory reset, go to the “Settings” app, select “General,” then “Reset,” and finally tap on “Erase All Content and Settings.”
- Using iTunes: Another option for erasing your iPhone 7 is to use iTunes. By connecting your device to a computer with iTunes installed, you can initiate a restore process that will erase all data and settings on your iPhone. Simply open iTunes, select your iPhone, navigate to the “Summary” tab, and click on the “Restore iPhone” button.
- Using iCloud: If you have enabled iCloud backup on your iPhone 7, you can use the “Find My iPhone” feature to remotely erase your device. This method is useful if your iPhone is lost or stolen and you want to ensure that your personal data remains secure. To erase your iPhone using iCloud, sign in to iCloud.com, click on “Find iPhone,” select your device, and choose the “Erase iPhone” option.
- Using Third-Party Apps: There are also third-party apps available that specialize in data erasure for iPhone 7 and other devices. These apps offer additional features and options for securely wiping your device, beyond what is provided by the built-in methods. Some popular third-party apps for erasing iPhones include iMyFone Umate Pro and Dr.Fone – Data Eraser.
Now that you know the different methods available, you can choose the one that best suits your needs for erasing your iPhone 7. Remember to consider factors such as convenience, security, and the ability to recover your data if needed. It’s also important to take the necessary precautions before proceeding with any method to ensure a smooth erasure process and to safeguard your data.
Precautions Before Erasing iPhone 7
Before you proceed with erasing your iPhone 7, there are a few important precautions you should take to ensure a smooth and hassle-free process. These precautions will help you protect your data and prevent any issues that may arise during the erasure process. Here are three key precautions to keep in mind:
1. Backup Your Data: It’s crucial to back up all your important data and files before erasing your iPhone 7. This includes your contacts, photos, videos, apps, and any other personal information you want to keep. You can back up your iPhone using iCloud or iTunes. By creating a backup, you’ll have a copy of your data that can be easily restored to your device later.
2. Disable Find My iPhone: Before erasing your iPhone 7, make sure to disable the “Find My iPhone” feature. This feature is designed to help you locate your device if it’s lost or stolen. However, it also prevents anyone else from erasing or using your iPhone without your permission. To disable Find My iPhone, go to your device’s Settings, tap on your Apple ID, select iCloud, and then turn off the Find My iPhone toggle.
3. Sign Out of iCloud and Other Accounts: To ensure a smooth erase process, it’s essential to sign out of your iCloud account and any other accounts linked to your iPhone 7. This includes accounts such as iTunes, App Store, and any email or social media accounts logged in on your device. By signing out, you prevent any potential issues or conflicts that may occur during the erasure process.
By taking these precautions, you can ensure that your data is safely backed up, your iPhone is ready for erasure, and any potential complications are avoided. It’s always better to be cautious and prepared when dealing with sensitive data, so don’t skip these essential steps before erasing your iPhone 7.
Step-by-Step Guide to Erase iPhone 7
If you are looking to erase your iPhone 7 to restore it to its factory settings or prepare it for sale, you have a few different options. In this step-by-step guide, we will walk you through three methods to erase your iPhone 7: factory reset, erase using iTunes, and erase using iCloud. Each method offers a different approach, so you can choose the one that works best for you.
Factory Reset
The factory reset option is the most straightforward and commonly used method to erase an iPhone 7. It will remove all data and settings on your device, essentially resetting it to its original state. Here’s how to do it:
- Go to the “Settings” menu on your iPhone 7.
- Scroll down and tap on “General”.
- Scroll further down and select “Reset”.
- Choose “Erase All Content and Settings”.
- If prompted, enter your passcode and confirm the action.
Erase using iTunes
If you prefer to use your computer to erase your iPhone 7, you can do so using iTunes. Here are the steps:
- Connect your iPhone 7 to your computer using a USB cable.
- Launch iTunes on your computer.
- Select your iPhone 7 from the list of devices in iTunes.
- Click on the “Summary” tab.
- Under the “Summary” tab, click on “Restore iPhone”.
- Confirm the action by clicking “Restore”.
- Wait for iTunes to erase your iPhone 7 and restore it to its original settings.
Erase using iCloud
If you don’t have access to a computer or prefer a wireless method, you can use iCloud to erase your iPhone 7. Follow these steps:
- Ensure that your iPhone 7 is connected to a Wi-Fi network.
- Visit the iCloud website (www.icloud.com) on any internet browser.
- Sign in to your iCloud account using your Apple ID and password.
- Click on the “Find iPhone” icon.
- On the top bar, click on “All Devices” and select your iPhone 7 from the list.
- Click on “Erase iPhone” and confirm the action.
- Wait for iCloud to erase all data and settings on your iPhone 7.
By following these step-by-step guides, you can easily erase your iPhone 7 using different methods. Remember to choose the method that suits your preferences, whether it’s a factory reset, using iTunes, or using iCloud. Each method will effectively wipe your iPhone 7 clean and restore it to its original state.
How to Verify Data Erasure – Checking device settings – Using third-party data recovery software
After erasing your iPhone 7, it’s important to verify whether the data has been successfully erased. This step is crucial to ensure that your personal information and sensitive data are completely wiped from the device. In this section, we will explore two methods to verify data erasure: checking device settings and using third-party data recovery software.
1. Checking device settings
One way to verify data erasure is by checking the device settings on your iPhone 7. Follow these steps:
- Go to the “Settings” app on your iPhone.
- Scroll down and tap on “General.”
- Tap on “About.”
- Scroll down to the bottom and look for “Carrier.”
If you see “No SIM Card Installed” or “No Service” under “Carrier,” it indicates that your iPhone 7 has been successfully erased. This means that your personal data, including contacts, messages, photos, and videos, has been wiped from the device.
2. Using third-party data recovery software
If you want to be more thorough in verifying the data erasure on your iPhone 7, you can use third-party data recovery software. These tools are specifically designed to scan and recover deleted or lost data from iOS devices. However, in this case, we will be using them to confirm that no recoverable data is found on your iPhone after the erasure.
Here is a step-by-step guide to using third-party data recovery software:
- Connect your iPhone 7 to your computer using the USB cable.
- Download and install a trusted data recovery software (ensure it is compatible with iOS devices).
- Launch the software and select the appropriate recovery option (e.g., “Recover from iOS Device”).
- Follow the on-screen instructions to initiate the scanning process.
- Once the scan is complete, the software will display a list of recoverable files.
- If the software shows no recoverable data or only random fragments of data, it means that the erasure process was successful.
By following these steps, you can use the device settings or third-party data recovery software to verify that your iPhone 7 has been successfully erased and that your personal data is no longer accessible.
It is important to note that verifying data erasure is essential for your privacy and security. If you plan to sell, donate, or recycle your iPhone 7, ensuring that all your personal information is thoroughly erased is crucial to protect yourself from potential identity theft or data breaches.
By following the steps outlined in this section, you can have peace of mind knowing that your iPhone 7 has been securely and completely erased.
Conclusion
In conclusion, erasing an iPhone 7 is a straightforward process that can be done in a few easy steps. Whether you want to clear your device before selling it, troubleshooting issues, or restoring it to factory settings, the built-in erase feature provides a convenient solution. By following the methods mentioned above, you can ensure that all your personal data is permanently removed from your device.
Remember to back up your important data before initiating the erasure process and disconnect any linked accounts for a seamless experience. Whether you choose to erase the device through the Settings menu, using iTunes, or find my device feature, the end result will be a clean slate iPhone 7 ready for its next owner or a fresh start for your personal use.
With the steps outlined in this guide, you can confidently erase your iPhone 7, protecting your privacy and ensuring a smooth transition to a new user or a fresh start for yourself.
FAQs
1. Can I erase the iPhone 7 and restore it to its factory settings?
Yes, you can easily erase your iPhone 7 and restore it to its factory settings. This can be done through the Settings app on your device or by connecting it to a computer with iTunes.
2. What happens when I erase my iPhone 7?
Erasing your iPhone 7 will remove all the data and settings from your device. This includes apps, photos, videos, contacts, messages, and any other personal information. It essentially returns your iPhone to its original state when it was first purchased.
3. Will erasing my iPhone 7 delete my iCloud data?
No, erasing your iPhone 7 will not delete your iCloud data. iCloud data, including contacts, photos, and documents, is stored in the cloud and can be accessed from any device once you sign in with your iCloud account.
4. How do I erase my iPhone 7 using the Settings app?
To erase your iPhone 7 using the Settings app, go to “Settings” > “General” > “Reset” > “Erase All Content and Settings.” You will be prompted to enter your passcode and confirm the erase process. This method is convenient and can be done directly on your device without the need for a computer.
5. Can I recover data after erasing my iPhone 7?
Once you have erased your iPhone 7, it is usually not possible to recover the data. Therefore, it is essential to create regular backups of your device to prevent the loss of important information. You can use iCloud or iTunes to back up your iPhone and restore the data to a new or erased device.