
The iPhone has become a ubiquitous device in today’s digital world, offering a multitude of features that cater to our daily needs. One of its standout functionalities is the ability to record audio and video directly on the device. Whether you want to capture special moments, create content, or simply keep a record of important conversations, the iPhone provides a convenient and easy-to-use platform for recording. In this article, we will dive into the various methods and techniques to record on an iPhone, exploring both the built-in options and third-party apps available. From recording voice memos to capturing high-quality videos, we will guide you through the process step by step, ensuring you get the most out of your iPhone’s recording capabilities. So, grab your iPhone, and let’s get started on your journey to becoming a master of recording on the go!
Inside This Article
- Overview of iPhone recording options
- Recording audio on an iPhone
- Recording video on an iPhone
- Tips for enhancing iPhone recordings
- Conclusion
- FAQs
Overview of iPhone recording options
The iPhone is a versatile device that offers various recording options for users to capture audio and video content. Whether you want to record an important meeting, a voice memo, or a memorable moment, the iPhone provides convenient and high-quality recording capabilities. Let’s explore the different ways you can record on your iPhone and make the most out of its versatile features.
1. Voice Memos: One of the simplest and most popular ways to record audio on an iPhone is through the pre-installed Voice Memos app. This app allows you to quickly capture audio recordings using the built-in microphone of your iPhone. It is perfect for recording interviews, lectures, or any other audio content you want to save for later. Plus, you can easily share your recordings via email, messages, or other compatible apps.
2. Camera App: The iPhone’s Camera app not only lets you capture stunning photos but also allows you to record high-quality videos. Simply open the Camera app, switch to the video mode, and start recording. You can choose from different video resolutions and frame rates depending on your preferences and the intended use of the video. And with features like stabilization and autofocus, you can ensure that your recordings are steady and sharp.
3. Third-Party Apps: If you need more advanced recording options or want to explore additional features, you can consider using third-party apps available on the App Store. There are numerous apps specifically designed for audio recording, such as GarageBand, Voice Record Pro, or Evernote. These apps offer more customization options, editing capabilities, and the ability to record in different formats.
4. External Microphones: While the iPhone’s built-in microphone is capable of capturing decent audio, if you want to achieve professional-grade sound quality, you can connect an external microphone to your device. There are various options available, including clip-on lapel microphones, shotgun microphones, and USB microphones. Simply plug the microphone into the iPhone’s lightning port or use an adapter, and you will have enhanced audio recording capabilities.
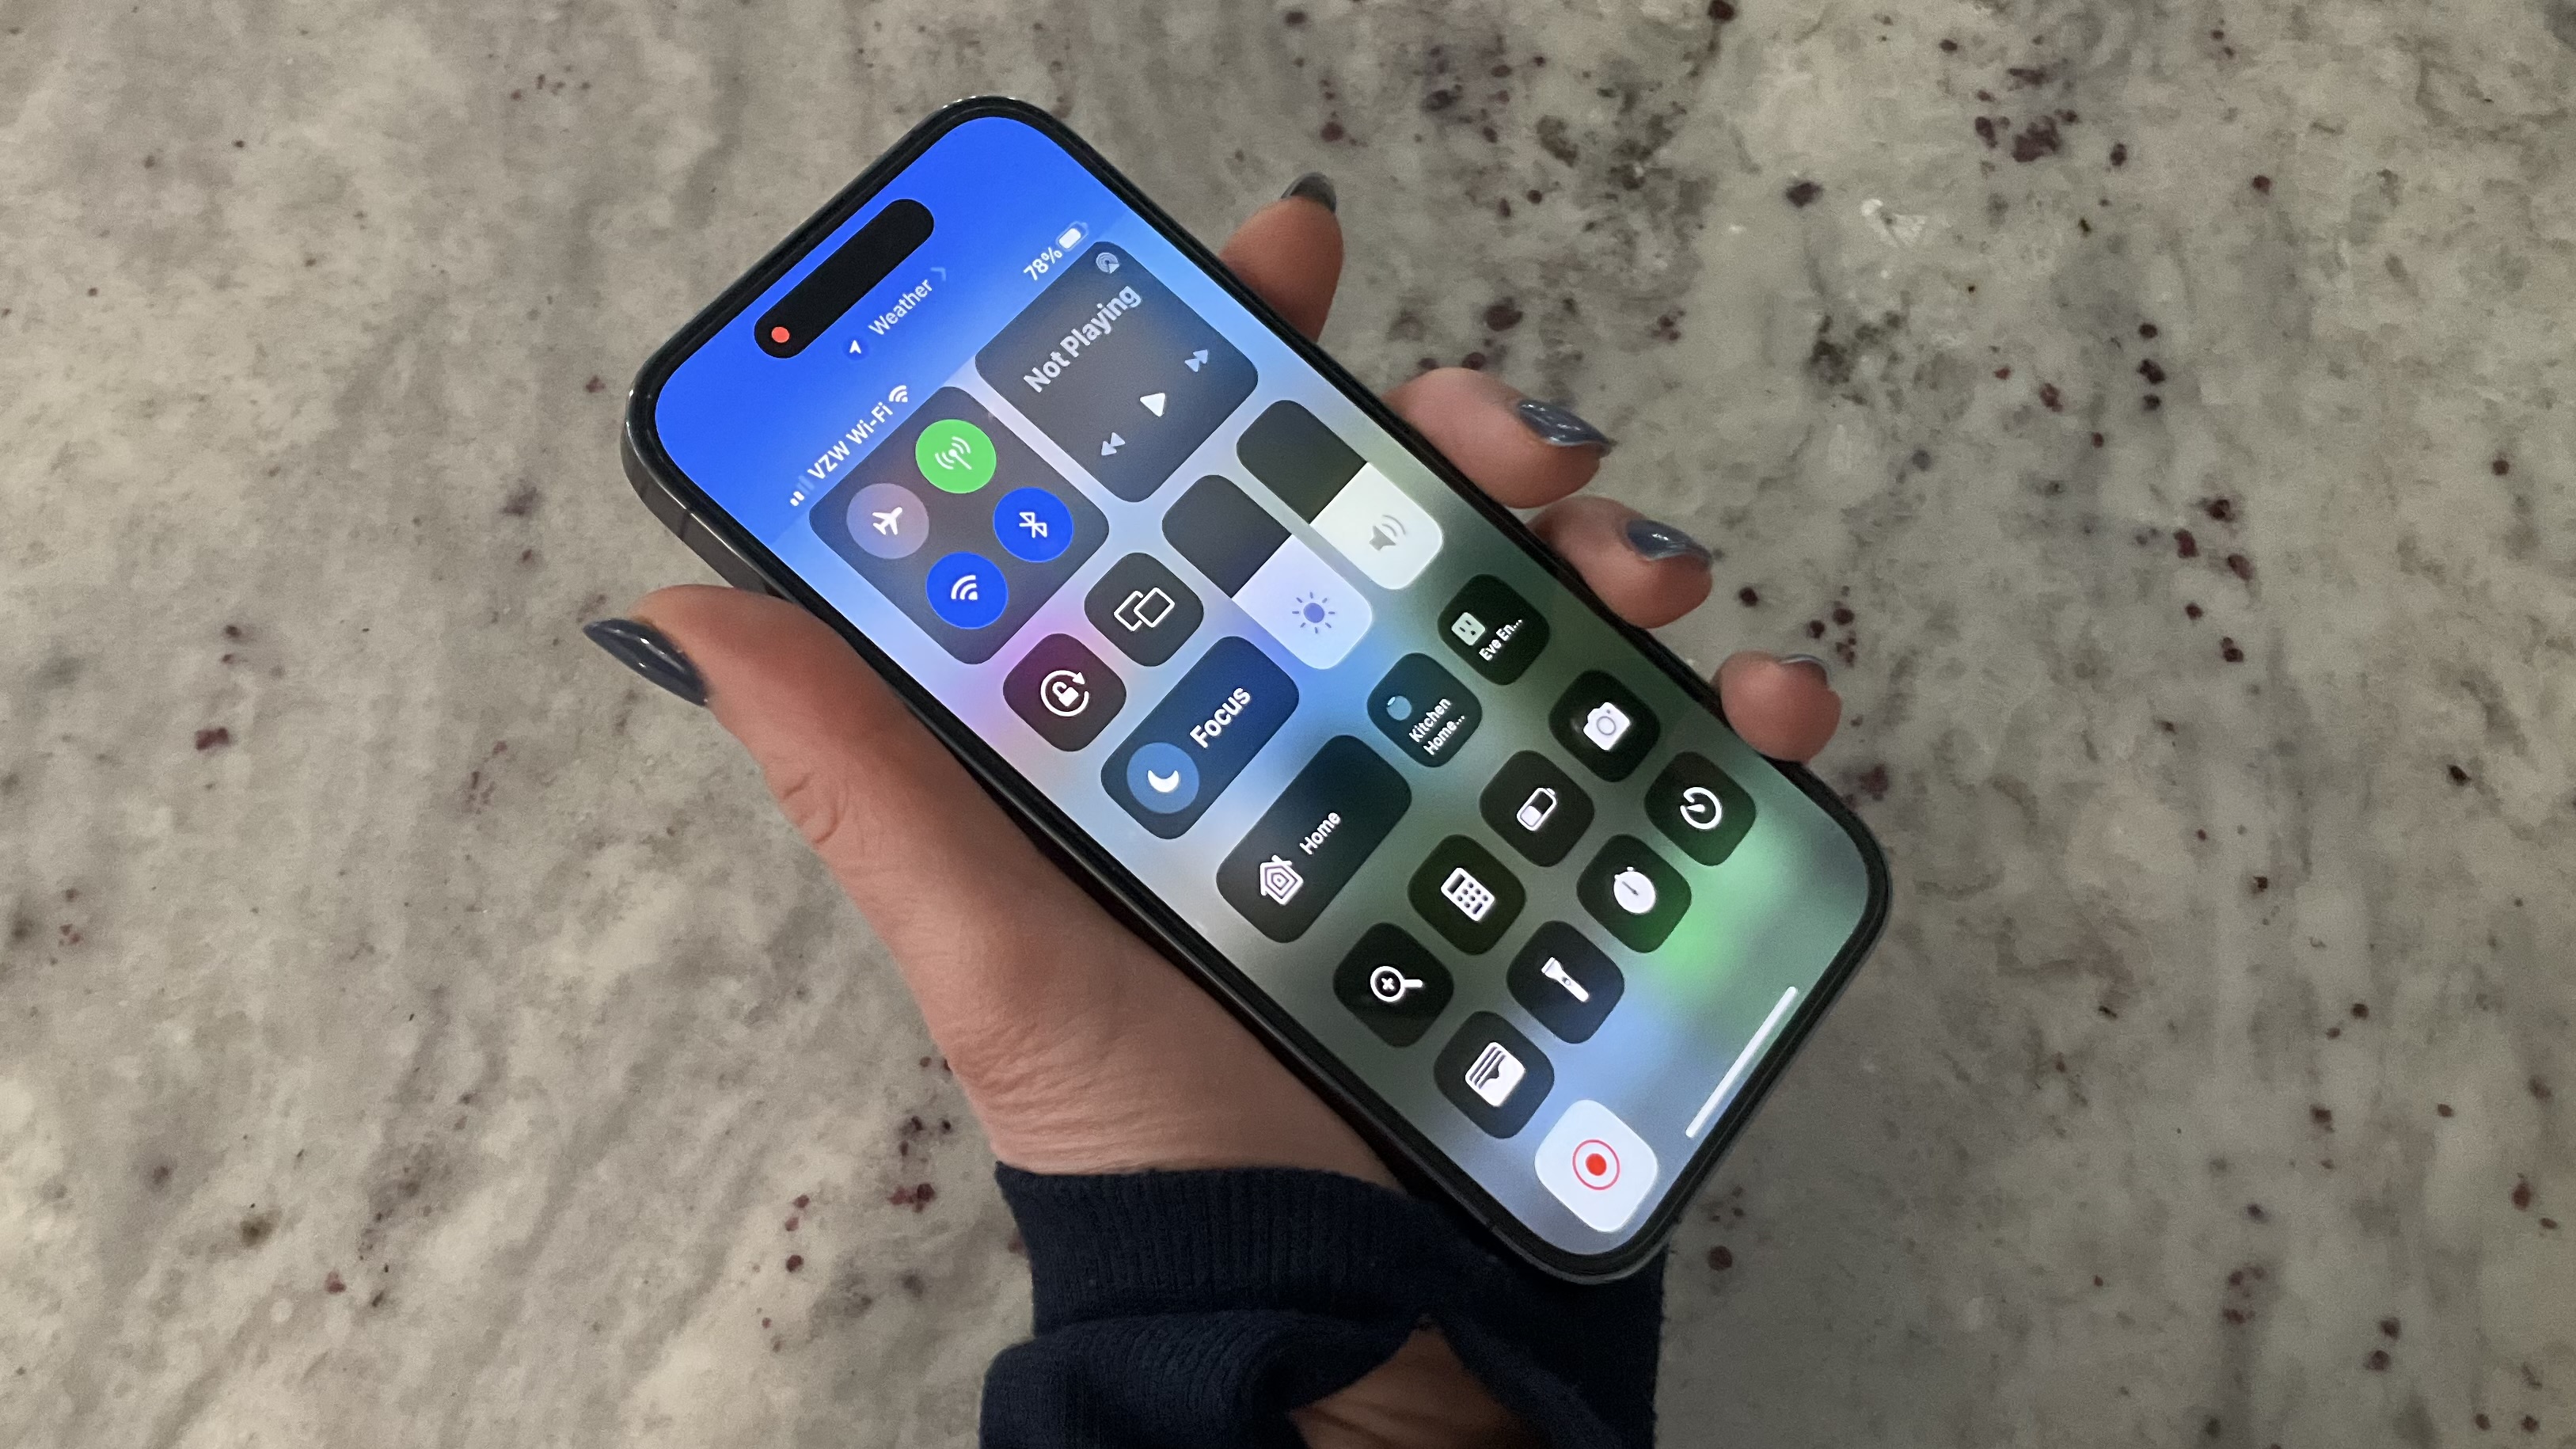
5. Screen Recording: In addition to audio and video recording, the iPhone also allows you to capture what is happening on your screen through its built-in screen recording feature. This option is useful when you want to record tutorials, gameplay, or demonstrate specific app functionalities. To start screen recording, simply add the screen recording feature to your Control Center settings and tap the screen recording button when needed.
With all these recording options at your disposal, you can easily capture and preserve important moments, create content, or make professional recordings using your iPhone. Experiment with different methods based on your specific needs and explore the wide range of apps and accessories available to enhance your recording experience. The iPhone’s recording capabilities are sure to help you unleash your creativity and capture memories that will last a lifetime.
Recording audio on an iPhone
One of the great features of an iPhone is its ability to record high-quality audio. Whether you’re looking to capture a lecture, conduct an interview, or record a podcast, the iPhone provides you with various options for recording audio.
1. Voice Memos App: The Voice Memos app comes pre-installed on all iPhones and serves as a convenient tool for recording audio. Simply open the app, tap the red record button, and start speaking. You can also edit your recordings, trim unwanted sections, and easily share them with others.
2. Third-Party Recording Apps: If you’re looking for more advanced features and customization options, there are plenty of third-party recording apps available on the App Store. Apps like GarageBand, Voice Recorder & Audio Editor, and Evernote allow you to record audio, apply effects, and even edit your recordings with ease.
3. External Microphones: To enhance your audio recording quality, you may consider using an external microphone. There are various options available, such as lavalier microphones for hands-free recording, shotgun microphones for directional recording, and USB microphones for studio-quality sound. Simply connect your preferred microphone to your iPhone through the appropriate adapter or lightning connector and start recording.
4. Wireless Bluetooth Headsets: Another option for recording audio on your iPhone is to use a wireless Bluetooth headset. Many Bluetooth headsets feature built-in microphones that allow for hands-free recording. This is particularly useful if you need to record audio while moving or conducting interviews on the go.
5. Audio Editing Apps: Once you’ve recorded your audio, you may want to edit and refine it further. Apps like Adobe Audition, Ferrite Recording Studio, and TwistedWave offer advanced audio editing capabilities on your iPhone. You can trim, fade, adjust levels, add effects, and create a polished final product.
With these options at your disposal, you can easily capture high-quality audio on your iPhone for a variety of purposes. Whether it’s for work, personal projects, or entertainment, the iPhone’s recording capabilities make it a versatile tool. Experiment with different apps and accessories to find the setup that best suits your needs and unlocks your creativity.
Recording video on an iPhone
One of the standout features of an iPhone is its ability to capture high-quality video footage. Whether you’re documenting a special moment, creating content for social media, or shooting a short film, the iPhone offers a range of options to help you capture stunning videos. Here’s a closer look at how to record video on an iPhone:
1. Open the Camera app: To start recording a video, simply open the Camera app on your iPhone. It’s usually located on the home screen or in the app drawer.
2. Choose video mode: Once the Camera app is open, swipe left or right until you reach the video mode. The icon typically looks like a camcorder or a red record button.
3. Set your preferred video settings: Before you start recording, you can customize various video settings. Tap on the options that appear on the screen to adjust the resolution, frame rate, and stabilization options according to your preferences.
4. Frame your shot: Position your iPhone to capture the desired subject or scene. Consider using the gridlines feature to align your shot properly and make use of the touch focus feature to ensure your subject is sharp and in focus.
5. Start recording: Once you’re ready, tap the red record button to start recording your video. You can record for as long as you like, but keep in mind that longer videos will occupy more storage space on your iPhone.
6. Use additional features: Take advantage of the various additional features offered by the Camera app while recording videos. These may include built-in filters, exposure adjustment, slow-motion mode, time-lapse mode, and more. Explore these features and experiment with different settings to add creativity to your videos.
7. Stop recording: To stop recording, tap the red record button again. Your video will be saved automatically to the Photos app on your iPhone.
8. Edit and enhance: After capturing your video, you can further enhance it using the built-in editing tools on your iPhone. Trim unwanted sections, add transitions, apply filters, adjust brightness, and even add music or voiceovers to make your video stand out.
With the advanced technology and capabilities of iPhones, recording high-quality videos has never been easier. Whether you’re a budding filmmaker or simply want to capture memorable moments, your iPhone can be a powerful tool in your hands.
Tips for enhancing iPhone recordings
Recording on an iPhone is convenient, but to make your recordings stand out, here are some tips to enhance the quality:
- Use a tripod or stabilizer: To avoid shaky footage, consider investing in a tripod or smartphone stabilizer. This will help you capture steady videos without any unwanted movements.
- Optimize lighting: Good lighting can have a significant impact on the quality of your recordings. Try to shoot in well-lit areas, preferably utilizing natural light whenever possible. If you’re shooting indoors, use additional lighting sources like a ring light or softbox to improve the clarity and colors in your videos.
- Keep the lens clean: Fingerprints and smudges can distort the image quality. Before recording, make sure to clean the lens of your iPhone with a microfiber cloth to ensure clear and sharp footage.
- Experiment with different angles and perspectives: Don’t be afraid to get creative with your shots. Try shooting from different angles, such as low-angle or bird’s-eye view, to add visual interest and variety to your recordings.
- Use external microphones: While the iPhone has a built-in microphone, its quality may not always be sufficient, especially in noisy environments. Consider investing in an external microphone for better audio quality. There are various options available, including lavalier microphones or directional microphones that can be connected to your iPhone via the headphone jack or lightning port.
- Adjust exposure and focus: Take control of your iPhone’s camera settings by adjusting the exposure and focus manually. Tap on the screen to set the focus point and then swipe up or down to adjust the exposure. This will ensure that your subject is properly focused and well-exposed, especially in challenging lighting conditions.
- Edit your recordings: After capturing your recordings, make use of video editing apps available on the App Store to trim and edit your videos. You can also add music, transitions, text overlays, and other effects to make your recordings more engaging and professional-looking.
- Limit background noise: To achieve clear and high-quality audio, try to minimize background noise as much as possible. Choose a quiet location for recording and avoid areas with strong winds or other disruptive sounds.
- Practice and experiment: The more you practice and experiment with your iPhone’s recording capabilities, the better you will become at capturing high-quality footage. Take the time to explore different features, settings, and shooting techniques to discover what works best for your intended recordings.
By following these tips, you can take your iPhone recordings to the next level and create impressive videos with improved audio and video quality.
Conclusion
In conclusion, recording on your iPhone is a simple and convenient feature that can be used for a variety of purposes. Whether you need to capture a memorable moment, create content for social media, or even document important information, your iPhone has all the tools you need. With the built-in camera and microphone, along with the wide range of recording apps available on the App Store, you have the power to transform your iPhone into a powerful recording device. Just remember to optimize your settings, ensure you have enough storage space, and consider using external accessories to enhance the audio and visual quality of your recordings. So, go ahead and unleash your creativity, capture those precious moments, and share your experiences with the world, all with the convenience of your iPhone! Happy recording!
FAQs
1. How do I record on iPhone?
To record on your iPhone, simply open the Camera app and switch to video mode. Then, tap the red record button to start recording. To stop recording, tap the red record button again. Your recorded video will be saved to your Photos app.
2. Can I record phone calls on iPhone?
Recording phone calls on iPhone is not a built-in feature. However, there are third-party apps available on the App Store that allow you to record phone calls. Keep in mind that recording phone calls without the consent of all parties involved may be illegal in some jurisdictions, so make sure to check the local laws before using such apps.
3. How do I record my screen on iPhone?
To record your screen on iPhone, you can use the built-in screen recording feature. First, go to the Control Center by swiping down from the top-right corner (for iPhones with Face ID) or up from the bottom (for iPhones with a Home button). Then, tap the screen recording icon (a round button with a dot inside). The recording will start after a three-second countdown. To stop recording, tap the red status bar at the top of the screen or go to the Control Center and tap the screen recording icon again.
4. How do I record a voice memo on iPhone?
To record a voice memo on iPhone, open the Voice Memos app. Tap the red record button to start recording your voice. Tap the stop button to stop recording. Your voice memo will be saved in the Voice Memos app and can be accessed anytime.
5. How do I record a slo-mo video on iPhone?
To record a slo-mo video on iPhone, open the Camera app and swipe to the “Slo-mo” mode. Then, tap the red record button to start recording. Your video will be automatically recorded in slow motion. To view the slo-mo effect, go to the Photos app and play the video.