
Are you looking for a quick and effortless way to digitize your old photographs? With the advancement in smartphone technology, you no longer need a bulky scanner or a computer to scan your photos. Thanks to the innovative features of the iPhone, you can now easily scan photos on the go.
In this article, we will guide you on how to scan a photo on your iPhone using the built-in Notes app. Whether you want to preserve cherished memories, share photos with friends and family, or simply declutter your physical photo albums, the scanning feature on your iPhone can simplify the process.
By following our step-by-step instructions, you’ll be able to effortlessly scan your photos and turn them into digital files that can be easily stored, edited, and shared. Let’s get started and unlock the hidden potential of your iPhone for photo scanning!
Inside This Article
- How To Scan A Photo On iPhone
- Enable the Notes App
- Open the Camera within the Notes App
- Position the Photo and Capture
- Adjust Scan and Save as Image
- Conclusion
- FAQs
How To Scan A Photo On iPhone
With the advancement of technology, scanning photos has become incredibly convenient, and you can now do it right from your iPhone. Whether you want to digitize your old printed photos or save a copy of a cherished memory, scanning photos on your iPhone is fast and simple. In this guide, we will walk you through the steps to scan photos using the built-in features of your iPhone.
1. Enable the Notes App: The first step is to make sure you have the Notes app enabled on your iPhone. If you don’t have it already, you can easily download it from the App Store. Once you have the app installed, open it to proceed to the next step.
2. Open the Camera within the Notes App: Launch the Notes app and create a new note by tapping on the “New Note” button. Now, you will see a camera icon at the bottom of the note. Tap on it, and the camera will open, ready for scanning.
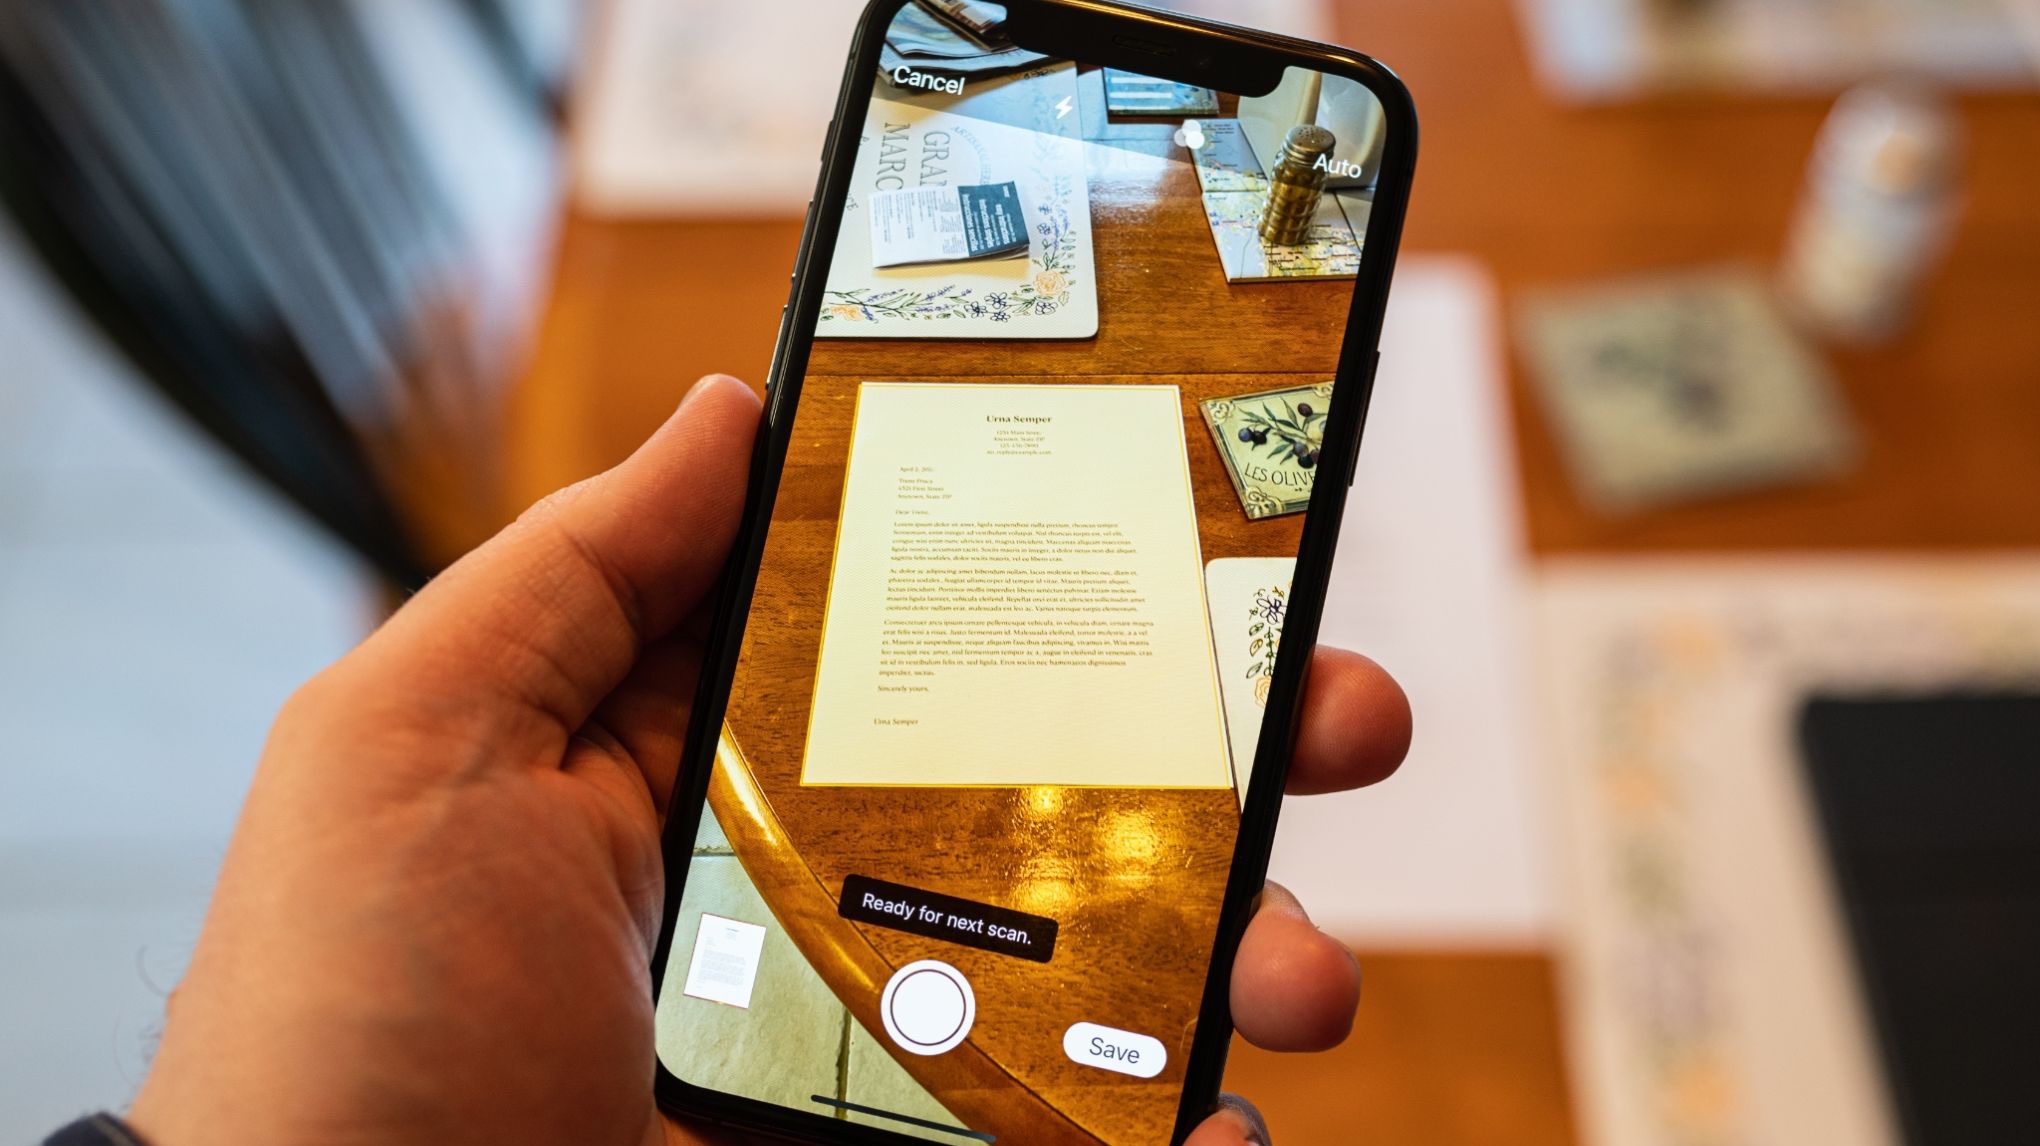
3. Position the Photo and Capture: Place the photo you want to scan on a flat surface, making sure there is adequate lighting. Position your iPhone directly above the photo so that it is parallel to the surface. The built-in document scanner will automatically detect the photo and highlight it with a yellow box. Once the photo is aligned within the frame, tap on the capture button to take the shot. You can repeat this step for multiple photos.
4. Adjust Scan and Save as Image: After capturing the photo, you can adjust the scan using the editing tools within the Notes app. You can crop the image, adjust the exposure, or even apply filters to enhance the quality. Once you are satisfied with the result, tap on “Save” to save the scanned photo as an image in the note.
That’s it! You have successfully scanned a photo on your iPhone using the Notes app. Repeat these steps for any additional photos you want to digitize. The scanned photos will be saved within the respective notes, allowing you to easily access and share them whenever you need.
Frequently Asked Questions:
- Can I scan multiple photos at once? No, the built-in document scanner within the Notes app on the iPhone scans one photo at a time. However, you can easily repeat the process for multiple photos.
- Are there any limitations to the size of photos that can be scanned? The document scanner within the Notes app can handle photos of various sizes, from smaller snapshots to larger prints. Just make sure the entire photo fits within the frame.
- Can I save the scanned photos to my camera roll? Yes, once you have saved the scanned photo as an image within a note, you can easily save it to your camera roll. Simply tap on the photo within the note, then select the “Save Image” option.
- Can I share the scanned photos with others? Absolutely! After saving the scanned photos within the notes, you can easily share them with others via email, text message, or any other messaging or social media app installed on your device.
Scanning photos on your iPhone has never been easier. With the built-in capabilities of the Notes app, you can quickly convert your printed photos into digital copies, ensuring they are preserved for years to come. So, go ahead and start digitizing your photo collection with your iPhone today!
Enable the Notes App
If you’re looking to scan a photo on your iPhone, you’ll be pleased to know that the process is simple and efficient. The first step is to ensure that the Notes app is enabled on your device. The Notes app comes pre-installed on all iPhones, so you won’t need to download anything from the App Store.
To confirm that the Notes app is enabled, simply locate the app on your home screen. If you can’t find it, you can swipe down on the screen and use the search bar to locate it. Once you’ve located the app, tap on it to open it.
If you’re using an iPhone with iOS 13 or later, it’s worth noting that the Notes app may have a slightly different appearance compared to previous versions. However, the steps to scan a photo remain the same regardless of the iOS version you’re using.
Once you’ve opened the Notes app, you’re ready to move on to the next step, which is accessing the camera within the app.
Open the Camera within the Notes App
Once you have enabled the Notes app on your iPhone, you can easily access the built-in camera within the app itself. Follow these steps to open the camera within the Notes app:
- Launch the Notes app by tapping on the icon on your iPhone’s home screen.
- Create a new note or open an existing one where you want to scan the photo.
- Tap on the “+” button located at the bottom of the screen to bring up the menu bar.
- Select the “Camera” option from the menu. This will open the camera interface within the Notes app.
By opening the camera within the Notes app, you can seamlessly capture photos and scan documents without needing to switch between different apps. This makes it convenient to scan a photo and save it directly within your notes.
Position the Photo and Capture
Once you have opened the Camera within the Notes app, it’s time to position the photo and capture it.
Begin by making sure that the photo you want to scan is in a well-lit area. Natural lighting is ideal, as it helps to capture the details and colors accurately. Avoid capturing the photo under dim or artificial lighting, as it can result in a loss of image quality.
Hold your iPhone steady and position it directly above the photo you want to scan. This will help in getting a clear and focused image. Ensure that your hands are stable to avoid any blur in the captured photo.
Use the gridlines on the camera screen to assist you in aligning the photo correctly. You can enable the gridlines by going to “Settings” > “Camera” > “Grid” and toggling it on. This feature helps in maintaining the horizontal and vertical alignment of the photo.
Once you have positioned the photo within the gridlines, tap on the capture button. It is usually represented by a circular button at the bottom-center of the screen. Alternatively, you can use the volume up button as a shutter button to capture the photo.
If you are not satisfied with the first capture, you can retake the photo by tapping on the thumbnail that appears at the bottom-left corner of the screen. This allows you to get the best possible scan of the photo.
Repeat this process for scanning multiple photos. Each photo will be saved as a separate document within the Notes app, making it easy to manage and organize your scanned photos.
Once you have captured the photo, you can make further adjustments to enhance or crop the image, as needed. The Notes app provides basic editing capabilities to help you achieve the desired results. You can crop the image, adjust the brightness, contrast, and even add filters to make the scanned photo look its best.
Once you are satisfied with the scanned photo and any adjustments you made, tap on the “Save” button to save the scanned photo as an image within the Notes app.
Remember to periodically backup your scanned photos to ensure they are not lost in case of any device issues or accidental deletions. You can backup your iPhone using iCloud or other cloud storage solutions.
By following these steps, you can easily position the photo and capture it using the camera within the Notes app on your iPhone. Whether you want to digitize old printed photos or keep a digital copy of important documents, this feature provides a convenient and efficient way to scan photos on the go.
Adjust Scan and Save as Image
Once you have captured the photo within the Notes app, you may need to adjust the scan to ensure it is properly aligned and cropped. Fortunately, the app provides easy-to-use editing tools to help you achieve the desired result.
To adjust the scan, tap on the photo within the Notes app. This will open the editing interface where you can make necessary adjustments. You will notice a square icon with four corners around the edges of the photo. This is the cropping tool that allows you to resize and reposition the scan.
If there are unwanted edges or unnecessary background visible in the scan, simply drag the corners of the square icon to crop and remove these elements. You can also pinch or zoom to adjust the size of the scan. Once you are satisfied with the adjustments, tap on the “Done” button to save the changes.
After adjusting the scan, you have the option to save it as an image. To do this, tap on the share icon (represented by an arrow pointing up) located at the top-right corner of the screen. A menu with various options will appear. Select “Save Image” to save the scanned photo to your iPhone’s photo library or “Save to Files” to store it in a specific location within the Files app.
By saving the scanned photo as an image, you can easily share it with others, print it, or access it from other applications on your iPhone.
It’s worth noting that if you need to make further edits or adjustments to the scanned photo beyond what the Notes app offers, you can also import the scan into other image editing apps available on the App Store.
Whether you need to digitize important documents, keep a record of receipts, or simply capture memories in a convenient and organized manner, the ability to scan photos directly from your iPhone can be incredibly useful. With the Notes app, scanning and saving photos becomes a quick and effortless process that allows you to have high-quality digital copies at your fingertips.
Conclusion
In conclusion, scanning a photo on your iPhone is a convenient and efficient way to digitize your memories and preserve them for future generations. With the advancements in mobile technology, the iPhone has become a powerful tool that not only allows us to make calls and send messages, but also enables us to perform various tasks, such as scanning documents and photos.
By using the built-in Notes app or downloading a dedicated scanning app from the App Store, you can easily capture a high-quality scan of your photo. The intuitive interface and smart features of these apps make the process seamless and user-friendly.
Once you have scanned your photo, you can easily edit, crop, and enhance it using the editing tools available within the app. Furthermore, you have the option to save the scanned photo to your iPhone’s camera roll or directly share it with others through email or messaging apps.
Overall, scanning a photo on your iPhone opens up a world of possibilities for preserving and sharing your cherished memories. So, don’t let your old photos fade away in forgotten albums. Grab your iPhone, start scanning, and relive those precious moments anytime, anywhere.
FAQs
1. Can I scan photos directly from my iPhone?
Yes, you can easily scan photos directly from your iPhone using the built-in Notes app or by downloading a scanning app from the App Store.
2. How do I use the Notes app to scan photos?
To use the Notes app for scanning photos, follow these steps:
- Open the Notes app on your iPhone.
- Create a new note or open an existing one.
- Tap the (+) icon at the bottom of the screen and select “Scan Documents”.
- Align the photo within the frame that appears and tap the capture button.
- Adjust the corners of the scanned photo if needed, and tap “Keep Scan” to save it.
3. Are there any recommended scanning apps for photos?
Yes, there are several highly recommended scanning apps available for iPhone users. Some popular options include Adobe Scan, CamScanner, and Microsoft Office Lens. These apps provide advanced scanning features and options to enhance the quality of your scanned photos.
4. Can I edit the scanned photos on my iPhone?
Absolutely! Once you have scanned a photo using your iPhone, you can easily edit it using various photo editing apps available on the App Store. You can adjust brightness, contrast, colors, and even crop the photo to your liking.
5. What is the benefit of scanning photos on my iPhone?
Scanning photos on your iPhone offers several benefits. It allows you to digitize your old photos, making them easily accessible and shareable. You can also enhance the quality of scanned photos and preserve them for future generations. Additionally, scanning photos on your iPhone eliminates the need for a separate scanning device, saving you time and money.