
Are you wondering how to easily send photos from your iPhone to your iPad? Look no further! In this comprehensive guide, we will walk you through the simple steps to transfer your precious memories effortlessly. Whether you want to share a beautiful landscape shot or send a family photo to your iPad for easy viewing, we’ve got you covered.
With today’s interconnected world, it’s important to have seamless integration between our devices, and Apple has made it incredibly convenient to share content across their products. So, if you’ve been struggling with how to transfer photos from your iPhone to your iPad, read on. We’ll provide you with various methods, including both wireless and cable options, so you can choose the one that best suits your needs and preferences.
Inside This Article
- Method 1: Using AirDrop
- Method 2: Using iCloud Photos
- Method 3: Using iCloud Drive
- Method 4: Using third-party apps
- Conclusion
- FAQs
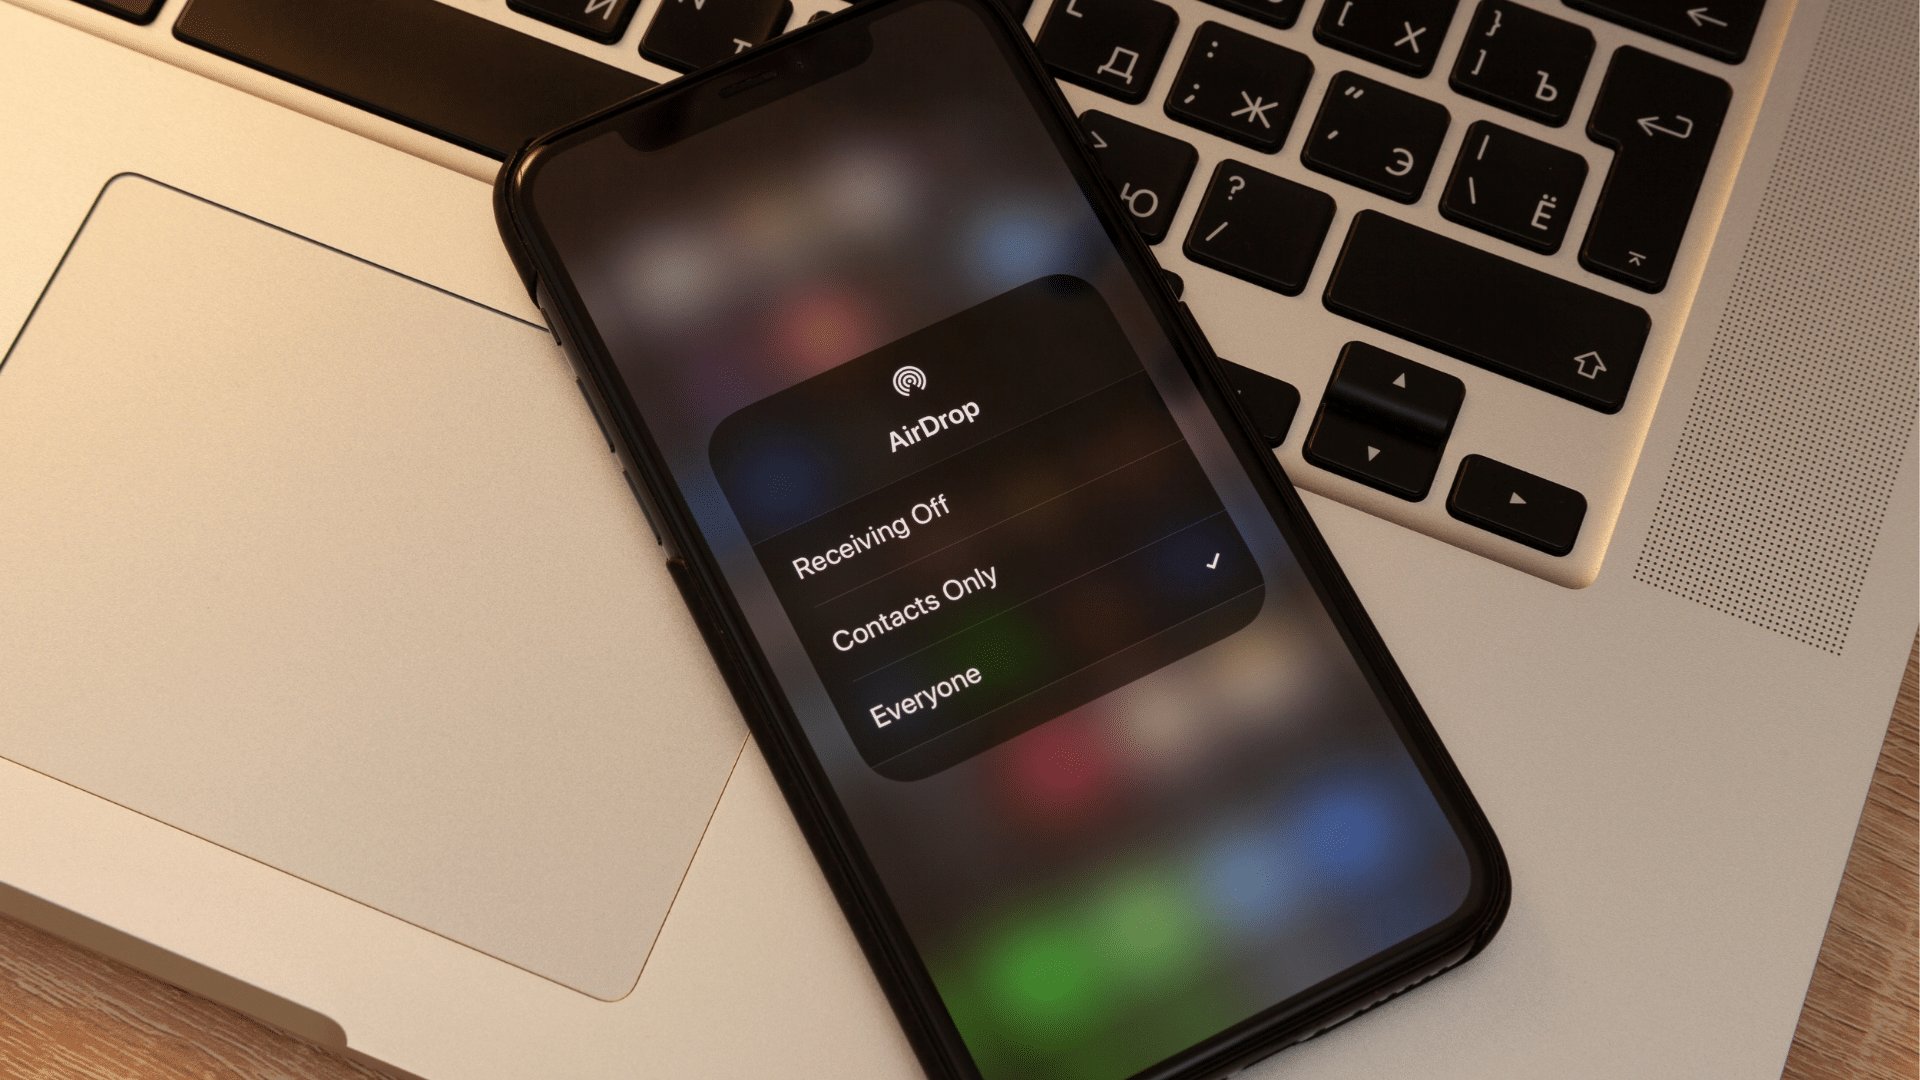
Method 1: Using AirDrop
Sending photos from your iPhone to your iPad can be easily done using AirDrop, a convenient feature available on Apple devices. AirDrop allows you to wirelessly transfer files, including photos, between compatible devices, making it a quick and hassle-free method for sharing images.
Here’s how you can use AirDrop to send photos from your iPhone to your iPad:
- Make sure that both your iPhone and iPad have Wi-Fi and Bluetooth enabled. AirDrop works through these wireless connections.
- Open the Photos app on your iPhone and locate the photos you want to send to your iPad.
- Tap the “Select” button to choose multiple photos or tap on a single photo.
- Once you’ve selected the photos, tap the “Share” button. It resembles a square with an arrow pointing out of it.
- From the sharing options, select AirDrop. You will see a list of nearby devices that are available for AirDrop.
- Choose your iPad from the list of available devices. If your iPad is not appearing, ensure that AirDrop is enabled on your iPad by going to Settings > General > AirDrop and selecting either “Contacts Only” or “Everyone”.
- On your iPad, a notification will appear asking you to accept the incoming photos from your iPhone. Tap “Accept” to start the transfer.
- Once the transfer is complete, the photos will be saved in your iPad’s Photos app, ready for you to access and view.
AirDrop provides a seamless and efficient way to transfer photos between your iPhone and iPad without the need for cables or additional software. It’s a great option for users who want to quickly share photos between their devices.
Method 2: Using iCloud Photos
If you’re looking for a seamless and convenient way to send photos from your iPhone to your iPad, using iCloud Photos is a great option. iCloud Photos allows you to sync and access your photos across all your Apple devices effortlessly.
Follow these steps to send photos from your iPhone to your iPad using iCloud Photos:
- On your iPhone, make sure iCloud Photos is enabled by going to the “Settings” app, tapping on your name, then selecting “iCloud” and “Photos”. Toggle on the “iCloud Photos” switch.
- Next, open the Photos app on your iPhone and select the photos you wish to send to your iPad. Tap on the “Share” button at the bottom-left corner of the screen.
- From the options displayed, choose “Copy iCloud Link”. This will upload the selected photos to iCloud and generate a link.
- Now, open the Safari browser on your iPhone and paste the iCloud link in the address bar. You will be directed to the iCloud website.
- Tap on the “Share” icon on the bottom toolbar of Safari and select “Add to Home Screen”. This will create a shortcut on your iPhone’s home screen.
- Switch to your iPad and open the Safari browser. Tap on the iCloud Photos shortcut on your iPhone’s home screen.
- The iCloud website will open on your iPad. Sign in with the same Apple ID you used on your iPhone and access the uploaded photos.
- Now, you can save the photos to your iPad’s camera roll by tapping on each photo and selecting the “Save Image” option.
Voila! Your photos are now successfully sent from your iPhone to your iPad using iCloud Photos. It’s a simple and efficient method that ensures your photos are accessible on both devices.
Method 3: Using iCloud Drive
If you prefer using iCloud Drive to send photos from your iPhone to your iPad, follow these steps:
- Make sure you have iCloud enabled on both your iPhone and iPad. You can do this by going to Settings > [your name] > iCloud and ensuring that the iCloud Drive option is toggled on.
- Open the Photos app on your iPhone and select the photos you want to send to your iPad. You can do this by tapping on the Select button in the top right corner and then choosing the photos you want to send.
- After selecting the photos, tap on the Share button in the bottom left corner of the screen.
- From the Share menu, select the “Save to Files” option.
- In the Save to Files menu, choose iCloud Drive as the destination folder.
- Navigate to the desired folder or create a new folder where you want to save the photos.
- Tap on the Save button to transfer the selected photos to iCloud Drive.
- Now, on your iPad, open the Files app.
- Navigate to the folder in iCloud Drive where you saved the photos.
- Tap on the photos to view and access them on your iPad.
Using iCloud Drive to send photos provides a convenient way to transfer images from your iPhone to your iPad. By storing the photos in iCloud Drive, you can access them from any device that is signed in to your iCloud account. This method also ensures that your photos are stored securely in the cloud, providing backup and protection against data loss.
However, it is worth noting that using iCloud Drive requires a stable internet connection and sufficient iCloud storage space. If you do not have enough storage on your iCloud account, you may need to upgrade your plan or consider alternative methods of transferring photos between your devices.
Overall, utilizing iCloud Drive to send photos from your iPhone to your iPad is a reliable and efficient solution, particularly if you want to access your photos across multiple devices seamlessly.
Method 4: Using third-party apps
Another convenient way to send photos from your iPhone to your iPad is by using third-party apps. These apps provide additional features and flexibility for transferring photos between devices. Here are a few popular apps that can help you accomplish this:
1. Dropbox: Dropbox is a cloud storage service that offers seamless synchronization across devices. Install the Dropbox app on your iPhone and iPad, and create an account if you don’t have one already. Upload the photos you want to transfer to Dropbox from your iPhone. Once uploaded, you can access them on your iPad by opening the Dropbox app.
2. Google Photos: Google Photos is another excellent option for transferring photos. Install the Google Photos app on both your iPhone and iPad and sign in with your Google account. Open the app on your iPhone and enable the backup and sync feature. Once the photos are backed up, open the Google Photos app on your iPad to access them.
3. Send Anywhere: Send Anywhere is a popular file transfer app that allows you to send photos and other files securely. Install the app on your iPhone and iPad, and follow the instructions to pair the devices. Select the photos you want to send from your iPhone and choose the option to send them. On your iPad, open the Send Anywhere app and enter the provided code to receive the photos.
4. PhotoSync: PhotoSync is a versatile app that enables wireless transfer of photos between your iPhone and iPad. Install the app on both devices and ensure they are connected to the same Wi-Fi network. Open the app on your iPhone and select the photos you want to transfer. Tap the “Sync” button and then open the app on your iPad to receive the photos.
These are just a few examples of third-party apps available for transferring photos between iPhone and iPad. Explore the App Store to find the one that best suits your needs and preferences. Remember to read reviews and check the app’s compatibility with your devices before installing.
Using third-party apps can provide you with additional options and flexibility when it comes to transferring photos from your iPhone to your iPad. Experiment with different apps and find the one that works best for you.
Conclusion
In conclusion, sending photos from your iPhone to your iPad is a simple and convenient process. Whether you prefer using iCloud, AirDrop, or third-party apps, there are various methods available to suit your preference and needs.
iCloud offers a seamless and wireless way to sync photos across your Apple devices. By enabling iCloud Photos, your photos will automatically be available on all your connected devices, ensuring easy access wherever you are.
If you prefer a more direct approach, AirDrop allows you to transfer photos between your iPhone and iPad with just a few taps. This method is especially useful when you’re in close proximity to the recipient device.
Lastly, third-party apps like Google Photos or Dropbox provide additional flexibility and storage options for managing and sharing your photos across multiple devices and platforms.
With these methods at your disposal, you can effortlessly transfer and enjoy your cherished memories on your iPhone and iPad. So, go ahead and start sharing those amazing photos!
FAQs
1. Can I send photos from my iPhone to my iPad?
Yes, you can easily send photos from your iPhone to your iPad. There are a couple of ways to do this. One way is to use AirDrop, which allows for easy file sharing between Apple devices. Another way is to use iCloud Photo Library, which automatically syncs your photos across all your Apple devices. I will explain both methods in detail below.
2. How do I use AirDrop to send photos from my iPhone to my iPad?
To use AirDrop, make sure that both your iPhone and iPad have Bluetooth and Wi-Fi turned on. Open the Photos app on your iPhone, select the photos you want to send, and tap the share button. From the share menu, select the option to share via AirDrop. On your iPad, you will see a prompt to accept the incoming photos. Tap accept, and the photos will be transferred to your iPad.
3. What if my iPhone or iPad doesn’t have AirDrop?
If your iPhone or iPad does not support AirDrop, you can still use iCloud Photo Library to sync your photos. Simply enable iCloud Photo Library on both devices, and your photos will automatically be synced across all your devices. This way, any photos you take with your iPhone will also be available on your iPad.
4. Can I send photos from my iPhone to my iPad using a cable?
Yes, you can also send photos from your iPhone to your iPad using a cable. You will need a Lightning to USB cable to connect your iPhone to your iPad. Once connected, open the Photos app on your iPhone, select the photos you want to transfer, and tap the share button. From the share menu, select the option to import the photos to your iPad. Follow the on-screen prompts, and the photos will be transferred.
5. Are there any third-party apps that can help me transfer photos from my iPhone to my iPad?
Yes, there are several third-party apps available on the App Store that can help you transfer photos from your iPhone to your iPad. Some popular options include Google Photos, Dropbox, and SHAREit. These apps offer additional features and flexibility in transferring photos between devices. Simply install the app on both your iPhone and iPad, follow the setup instructions, and start transferring your photos.