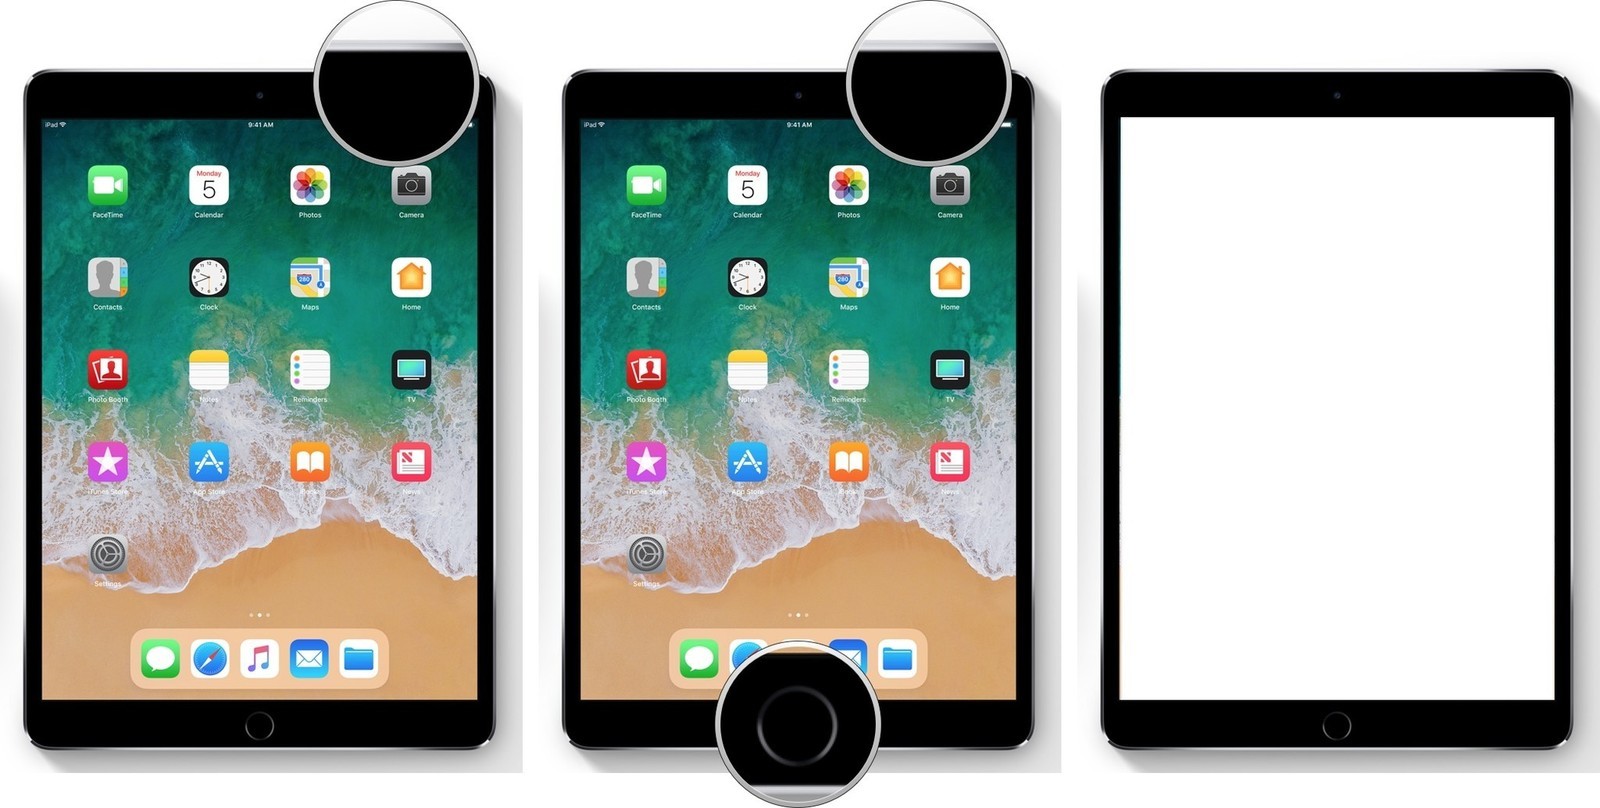
Are you wondering how to capture moments on your iPhone or iPad? Taking screenshots has become an essential feature on mobile devices, allowing you to easily save and share what’s on your screen. Whether you want to capture a funny conversation, save an important document, or share a beautiful photo, knowing how to take a screenshot on your iPhone or iPad is a must-have skill.
In this article, we will guide you through the step-by-step process of taking screenshots on different iPhone and iPad models. From the latest iPhone 12 to the older iPhone 6, and from the powerful iPad Pro to the compact iPad Mini, we will cover it all. So, grab your device and get ready to master the art of capturing screenshots in just a few simple clicks.
Inside This Article
Conclusion
Taking a screenshot on your iPhone or iPad is a useful skill that can come in handy in a variety of situations. Whether you want to capture a moment in a game, save important information, or share something interesting with others, knowing how to take a screenshot can make your life easier.
In this article, we have discussed two simple methods for taking screenshots on iPhone and iPad. The first method involves using the physical buttons, while the second method utilizes the AssistiveTouch feature. Both methods are easy to follow and can be used on various iPhone and iPad models.
Remember, screenshots can be a powerful tool for documentation, communication, and troubleshooting. Whether you are a tech-savvy user or a casual smartphone enthusiast, mastering the art of taking screenshots will undoubtedly enhance your mobile experience.
So, don’t hesitate to capture and share the moments that matter to you. Start taking screenshots on your iPhone or iPad and enjoy the benefits of this handy feature!
FAQs
1. How do I take a screenshot on an iPhone?
To take a screenshot on an iPhone, simultaneously press the power button (located on the right side) and the volume up button (located on the left side). The screen will flash momentarily, indicating that the screenshot has been captured. The screenshot can be accessed and edited from the Photos app.
2. How do I take a screenshot on an iPad?
Similar to an iPhone, taking a screenshot on an iPad involves pressing the power button and the volume up button simultaneously. The screen will flash, indicating that the screenshot has been captured. The screenshot can then be accessed and edited from the Photos app.
3. Can I take a partial screenshot on my iPhone or iPad?
Yes, you can take a partial screenshot on your iPhone or iPad. With the new iOS 14 update, you can use the “Back Tap” feature to enable a screenshot gesture. By tapping the back of your device two or three times, you can capture a partial screenshot of a specific section of the screen.
4. Where can I find my screenshots on my iPhone or iPad?
After capturing a screenshot, you can access it from the Photos app on your iPhone or iPad. Open the app, go to the “Albums” tab, and look for the “Screenshots” album. All your screenshots will be stored there, allowing you to view, edit, and share them.
5. Can I edit my screenshots on my iPhone or iPad?
Yes, you can edit your screenshots on your iPhone or iPad. Once you locate the screenshot in the Photos app, tap on it to open it. Then, tap on the “Edit” button to access various editing tools and options. You can crop, resize, add text, draw, and apply filters to your screenshot before saving or sharing it.
