
Do you own an iPad and struggle with using the keyboard? If so, you’re in luck! The iPad’s floating keyboard is a handy feature that can make typing on your device easier and more efficient. Whether you’re drafting an email, writing a document, or simply chatting with friends, the floating keyboard can enhance your overall iPad experience.
In this article, we will guide you through the process of using your iPad’s floating keyboard effectively. We’ll cover everything from enabling the feature to customizing its settings to suit your preferences. By the end, you’ll be well-equipped to take advantage of this convenient feature and type with ease on your iPad.
Inside This Article
- Understanding the Floating Keyboard
- Activating the Floating Keyboard
- Customizing the Floating Keyboard Options
- Conclusion
- FAQs
Understanding the Floating Keyboard
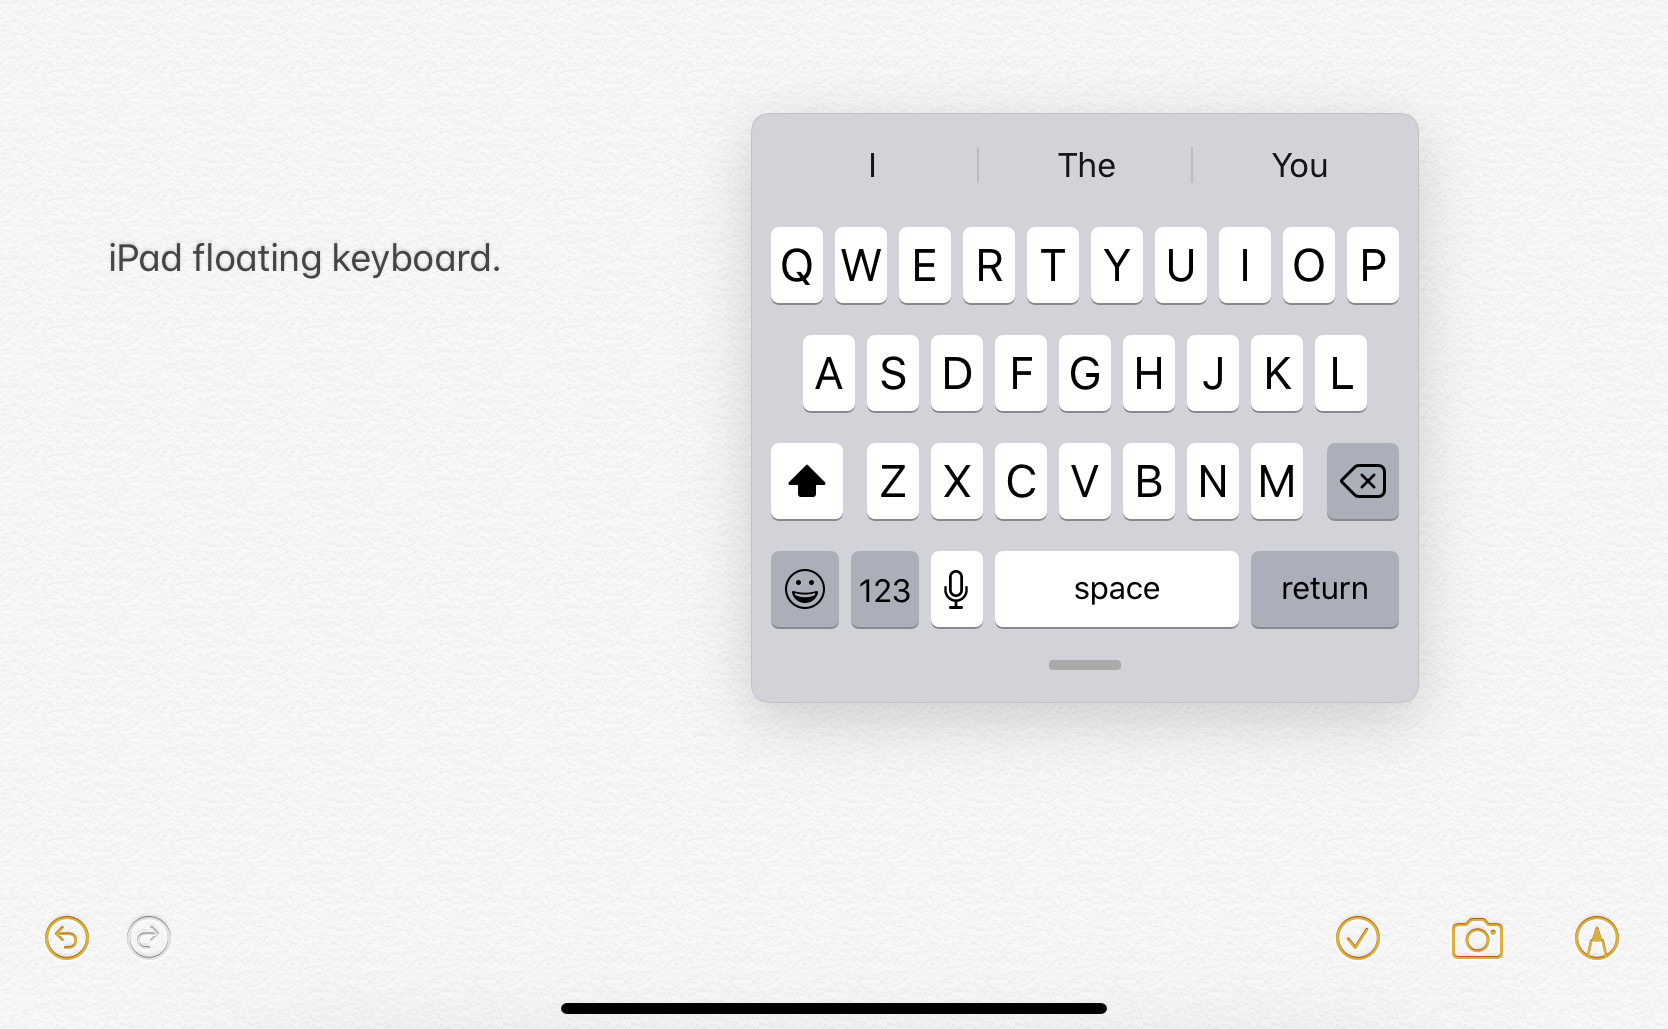
When it comes to using your iPad, the floating keyboard feature can be a game-changer. This innovative function allows you to resize and move the keyboard anywhere on the screen, providing flexibility and convenience during your typing sessions. Whether you’re composing an email, working on a document, or engaging in casual conversations, understanding how the floating keyboard works will greatly enhance your iPad experience.
The floating keyboard takes its name from the fact that it “floats” above the screen instead of being docked at the bottom. This means that you can freely drag and position the keyboard wherever you find it most comfortable or least obstructive. By having the ability to move the keyboard to different parts of the screen, you can have a better view of the content you’re working on, especially when typing in landscape mode or using apps that are split-screen enabled.
Resizing the floating keyboard is another fantastic feature that allows you to adjust its dimensions to match your preferences. Whether you have larger fingers or prefer a more compact layout, resizing the keyboard provides the flexibility to make it just right for you. You can make the keyboard larger for more accuracy, or shrink it down to make better use of the available screen real estate.
Moreover, the floating keyboard conserves valuable screen space. Traditional on-screen keyboards can take up a significant portion of the screen, making it difficult to see the content behind it. With the floating keyboard, you have the luxury of more visible screen real estate while still having access to a fully functional keyboard.
It’s important to note that not all iPads have the floating keyboard feature. The floating keyboard first made its appearance with the release of iOS 13 and iPadOS 13, so if you are using an older version of the operating system, you may not have access to this functionality. Ensure that your iPad is updated to the latest version to take advantage of the floating keyboard and its capabilities.
Activating the Floating Keyboard
Activating the floating keyboard on your iPad can greatly enhance your typing experience. Whether you’re using your iPad for work, browsing the web, or simply chatting with friends, the floating keyboard provides a convenient and flexible option for inputting text. Here’s a step-by-step guide on how to activate the floating keyboard on your iPad:
1. Start by opening an app or a text field that requires typing, such as Messages, Notes, or Safari’s search bar.
2. Once you’ve opened the desired app, tap on the text field to activate the keyboard.
3. Next, tap and hold the keyboard icon located at the bottom right corner of the keyboard. This icon resembles a small square with a line through it.
4. A menu will pop up with different options for the keyboard. From the menu, select the “Floating” option.
5. Once selected, the keyboard will transform into a smaller, more compact size and float on top of the screen. You can now freely move the keyboard around by dragging it with your finger.
6. To return the keyboard to its original position, tap and hold the keyboard icon again and select the “Docked” option from the menu.
That’s it! You have successfully activated the floating keyboard on your iPad. Enjoy the flexibility and convenience of typing with the floating keyboard, whether you’re using it in landscape or portrait mode.
Keep in mind that the floating keyboard feature is available on iPads running iOS 13 or later. If you’re using an older version of iOS, you may need to update your device’s software to access this feature.
Customizing the Floating Keyboard Options
When it comes to using the floating keyboard on your iPad, one of the great advantages is the ability to customize its options to suit your preferences and needs. In this section, we will explore the various customization features available for the floating keyboard.
1. Keyboard Size: Are you someone who prefers a larger or smaller keyboard? You can easily adjust the size of the floating keyboard to make typing more comfortable. Simply tap and hold the keyboard icon on the bottom-right corner of the screen, then select your preferred size from the options provided.
2. Keyboard Layout: Some users may find it more convenient to have the keyboard layout set to a specific language or region. If you need to type in a language other than the default, you can easily switch the keyboard layout by tapping and holding the globe icon on the keyboard and selecting your desired layout.
3. QuickType Suggestions: The floating keyboard also incorporates Apple’s QuickType feature, which provides predictive text suggestions as you type. If you find these suggestions helpful, you can choose to enable or disable them by going to the Settings app on your iPad. Navigate to “General” > “Keyboard” > “Predictive” and toggle the switch accordingly.
4. Keyboard Shortcuts: The floating keyboard supports a variety of keyboard shortcuts that allow for faster and more efficient typing. To view and customize these shortcuts, go to the Settings app on your iPad, then navigate to “General” > “Keyboard” > “Shortcuts”. Here, you can add, remove, or edit keyboard shortcuts to suit your specific needs.
5. Emoji Keyboard: If you enjoy expressing yourself with emojis, you’ll be pleased to know that the floating keyboard includes an emoji keyboard that is easily accessible. Simply tap the smiley face icon on the keyboard to bring up the emoji keyboard and choose from a wide range of emoji to enhance your messages or posts.
Whether you prefer a larger keyboard, need to switch language layouts, or want to make use of QuickType suggestions or keyboard shortcuts, the floating keyboard on your iPad offers a range of customizable options to enhance your typing experience. Take the time to explore these customization features and make the most out of your iPad’s floating keyboard.
In conclusion, the iPad floating keyboard is a convenient and versatile feature that enhances the typing experience on your device. With its ability to be resized and repositioned, it offers flexibility and adaptability to meet your individual needs. Whether you’re using your iPad for work, school, or leisure, the floating keyboard provides an intuitive and comfortable way to type.
By following the steps outlined in this article, you can easily enable and make the most of this feature. From accessing it through the on-screen keyboard settings to customizing its size and position, you can tailor the floating keyboard to suit your preferences and make your typing experience more efficient.
So, take advantage of the iPad floating keyboard and enjoy typing with ease and convenience. Whether you’re composing emails, writing documents, or engaging in social media, this feature is sure to enhance your productivity and overall user experience on your iPad.
FAQs
1. How do I activate the floating keyboard on my iPad?
To activate the floating keyboard on your iPad, simply tap and hold the keyboard icon at the bottom-right corner of the default on-screen keyboard. A menu will appear, and you can select “Floating” from the options. The floating keyboard will then be displayed on your screen, ready for use.
2. Can I use the floating keyboard in any app?
Yes, the floating keyboard on your iPad can be used in any app that requires text input. Whether you’re composing an email, typing in a messaging app, or writing notes, the floating keyboard provides a convenient way to type on your iPad without taking up the entire screen.
3. How can I move the floating keyboard around on my iPad?
To move the floating keyboard around on your iPad, you can simply tap and hold the top portion of the keyboard, and then drag it to your desired position on the screen. This allows you to place the floating keyboard wherever it’s most comfortable for you, providing a more customizable typing experience.
4. Can I resize the floating keyboard on my iPad?
Yes, you can resize the floating keyboard on your iPad to suit your preferences. With the floating keyboard displayed on your screen, you’ll notice a small grab handle at the bottom of the keyboard. Simply tap and hold the grab handle, and then drag it up or down to resize the keyboard to your desired height.
5. How do I dismiss the floating keyboard on my iPad?
To dismiss the floating keyboard on your iPad, you can simply tap the keyboard icon located at the bottom-right corner of the floating keyboard. This will collapse the floating keyboard back into the default on-screen keyboard. Alternatively, you can also tap outside of the keyboard area to dismiss it.