The Digital Art tag on CellularNews collects tutorials and guides focused on using creative applications on mobile devices, specifically the popular drawing app Procreate. This content is for anyone who uses their phone or tablet for digital illustration, design, or photo editing, and needs practical, step-by-step instructions to master their tools.

The articles here solve two main kinds of problems. The first group deals with core drawing and editing techniques: you will learn how to erase, copy a color, mirror a drawing, curve text, and make a perfect circle. Other guides show you how to move objects, change colors, use the eyedropper, pick colors, merge layers, and make a layer transparent. The second group focuses on more advanced tasks like filling in shapes, inverting colors, adding grids, coloring inside the lines, using 3D models, and performing color drops. You can also find help with shading, mixing colors, using the lasso tool, ungrouping layers, and understanding DPI settings.

Beyond the basics, the tag covers brush creation, adding reference photos, changing line colors, flipping layers, using alpha lock, and the clone tool. Whether you are a beginner trying to get new brushes or a more experienced user looking to shade and mix color effectively, these articles provide direct answers to common Procreate problems. The focus is always on helping you perform a specific action on your phone or tablet, from making an outline brush to mastering layer management.
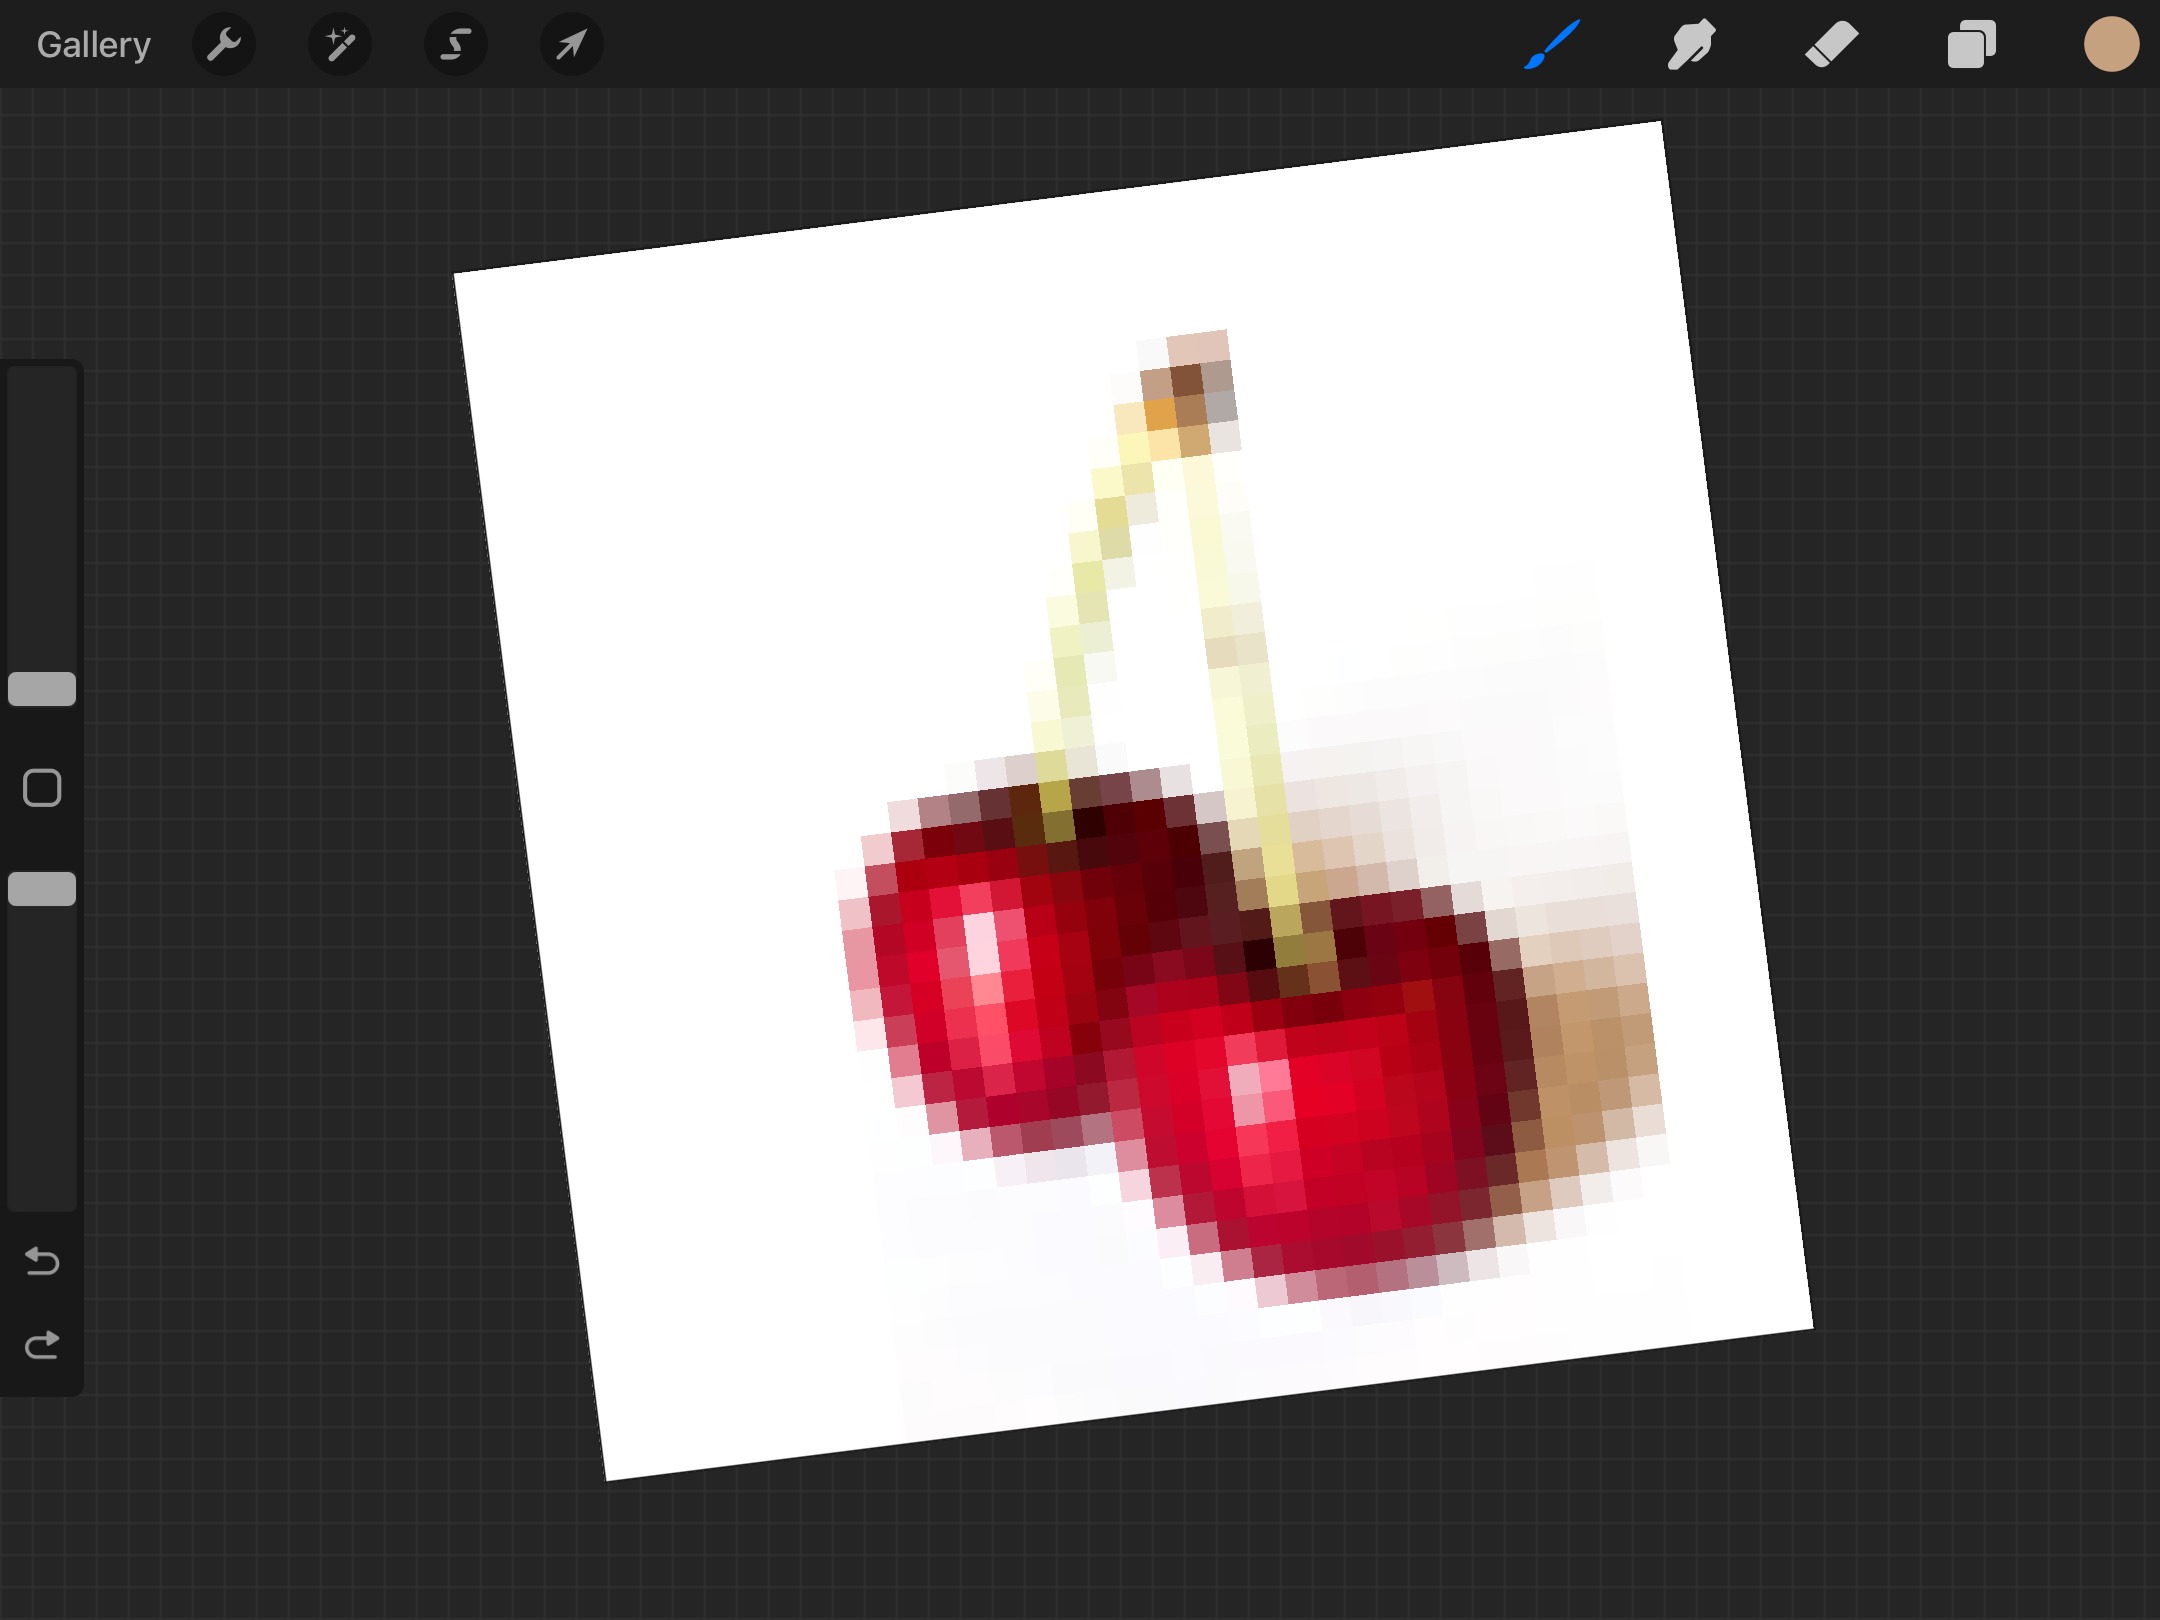
How To Pixelate In Procreate

To pixelate in Procreate, use the Glitch adjustment's Artifact option for a direct, blocky effect, or transform your artwork with Nearest Neighbor interpolation for sharp, retro-style pixelation. Both methods let...

How To Make Lines Thicker In Procreate

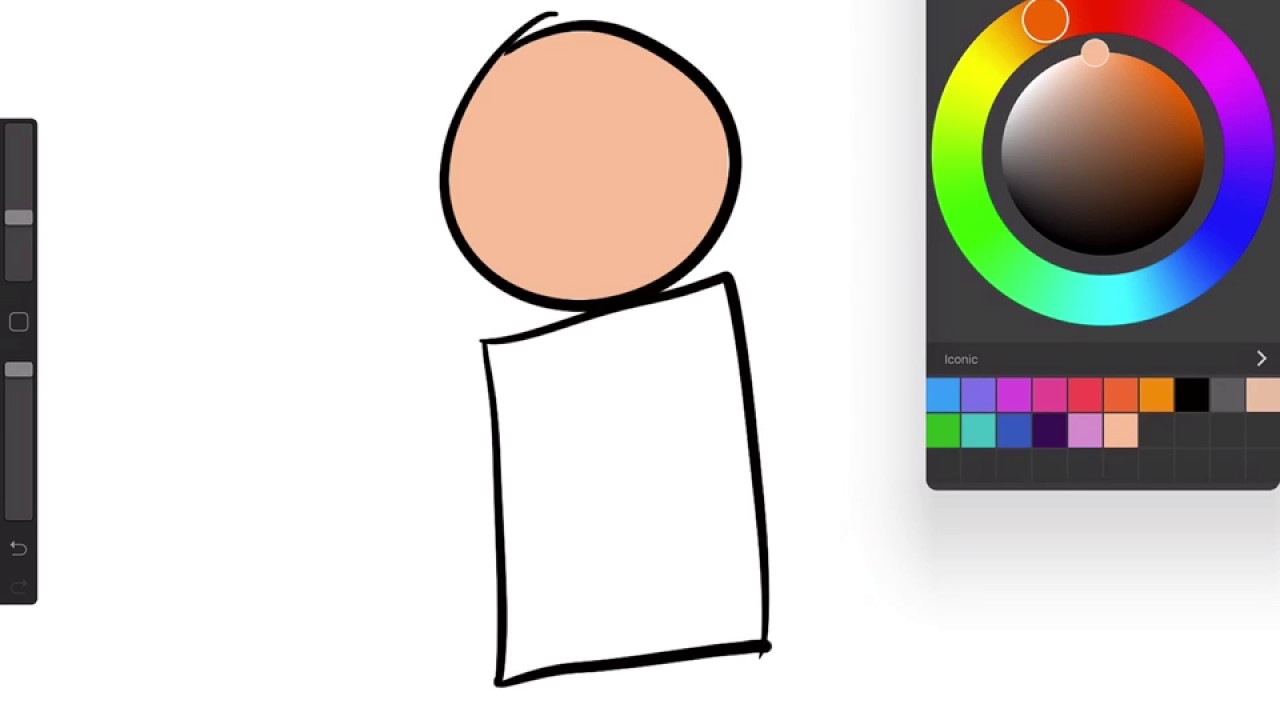
To make lines thicker in Procreate, use the upper slider on the left sidebar to increase the brush size while you draw. This is the primary documented method to make...

How To Use Bucket Tool In Procreate

ColorDrop in Procreate is the feature that works like a bucket tool, letting you fill areas with solid color by dragging your active color onto the canvas. It is not...

How To Name Art In Procreate

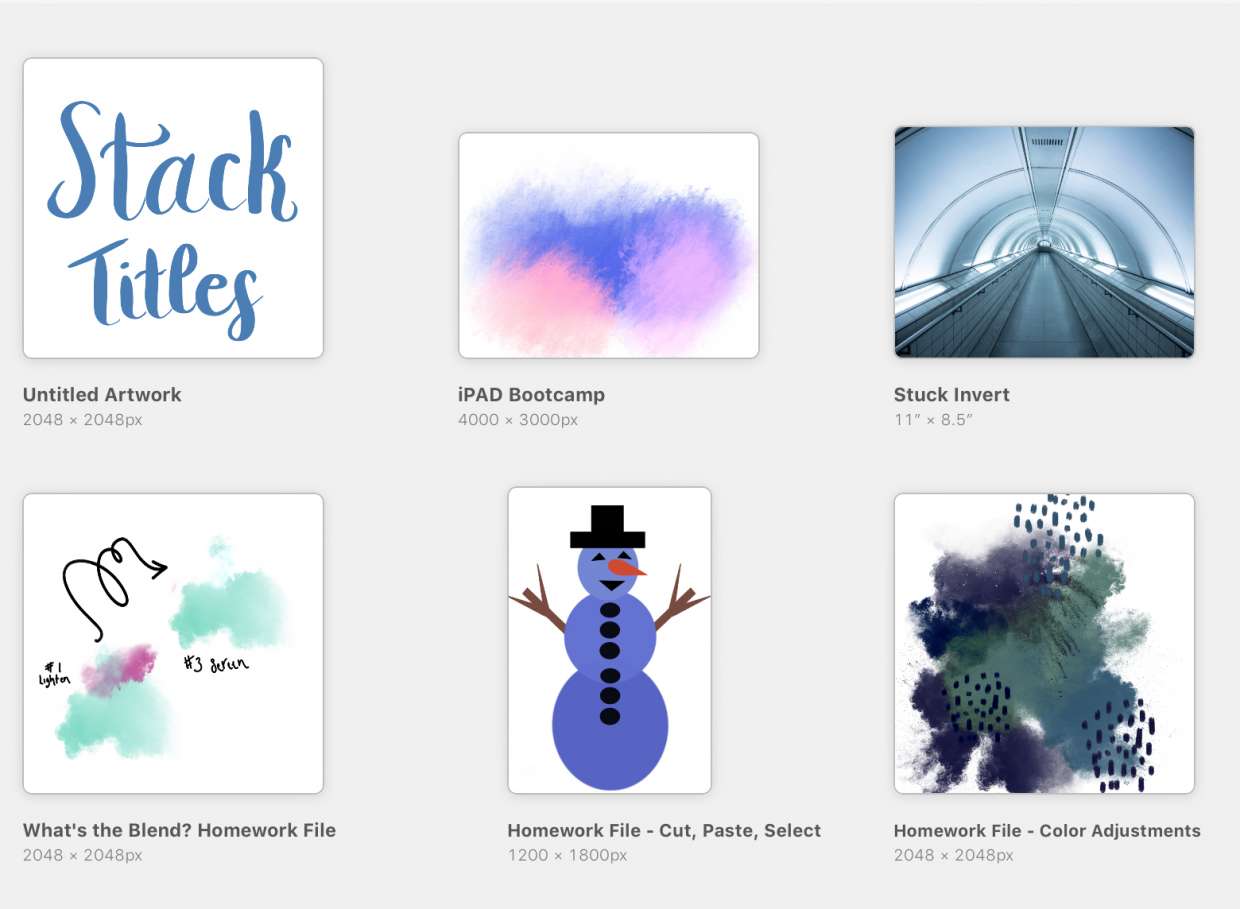
To name art in Procreate, tap the title under the artwork thumbnail in the Gallery, type a new name, and press Return. Alternatively, open the piece, go to Actions →...

How To Center Something In Procreate

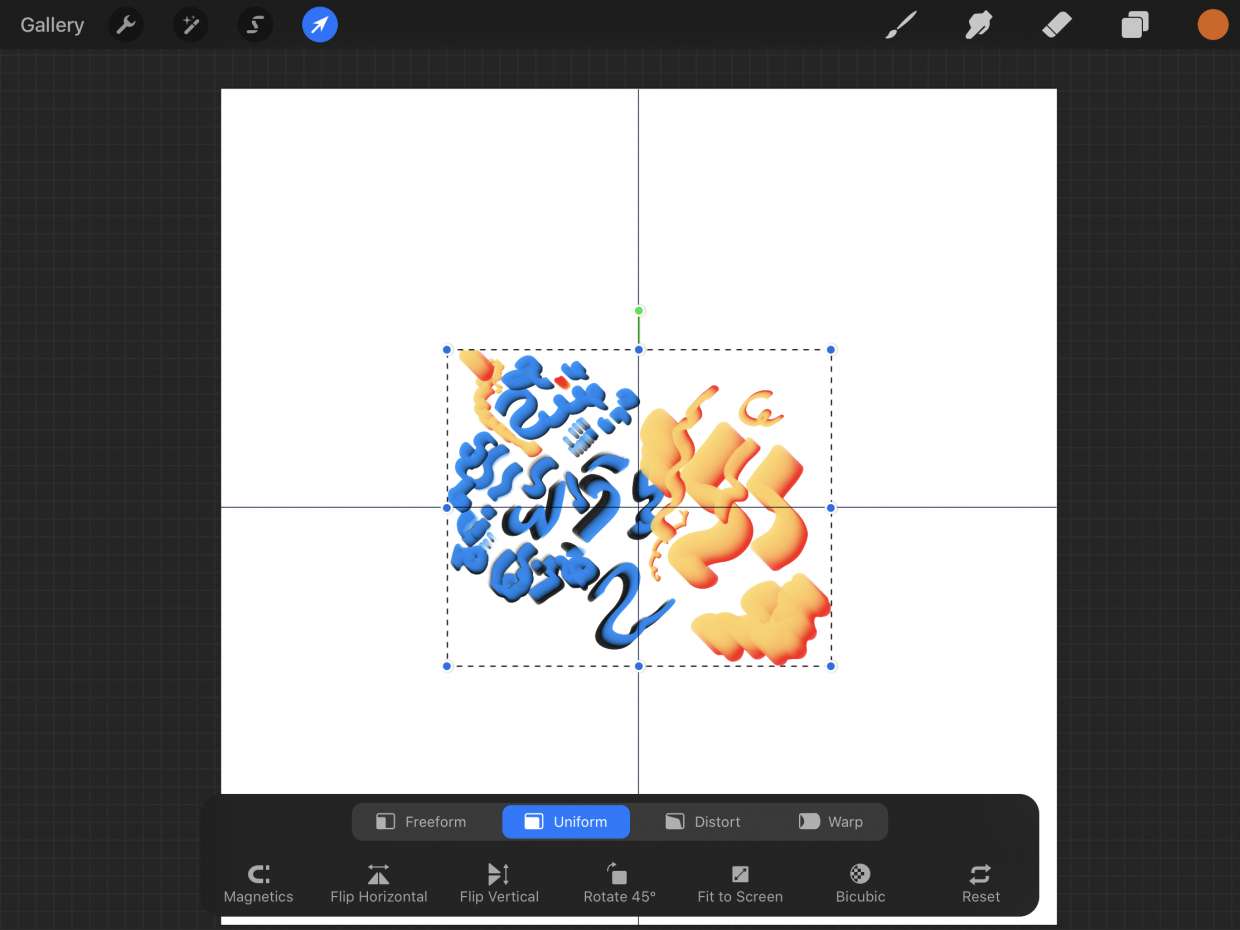
To center something in Procreate, use the Transform tool's Snapping feature to align a layer or object to the exact middle of the canvas. This is the primary method for...

How To Undo Stack In Procreate

To undo in Procreate, tap the canvas with two fingers. This reverses your last drawing action, not a Gallery stack, Procreate does not have a separate "undo stack" feature. What...

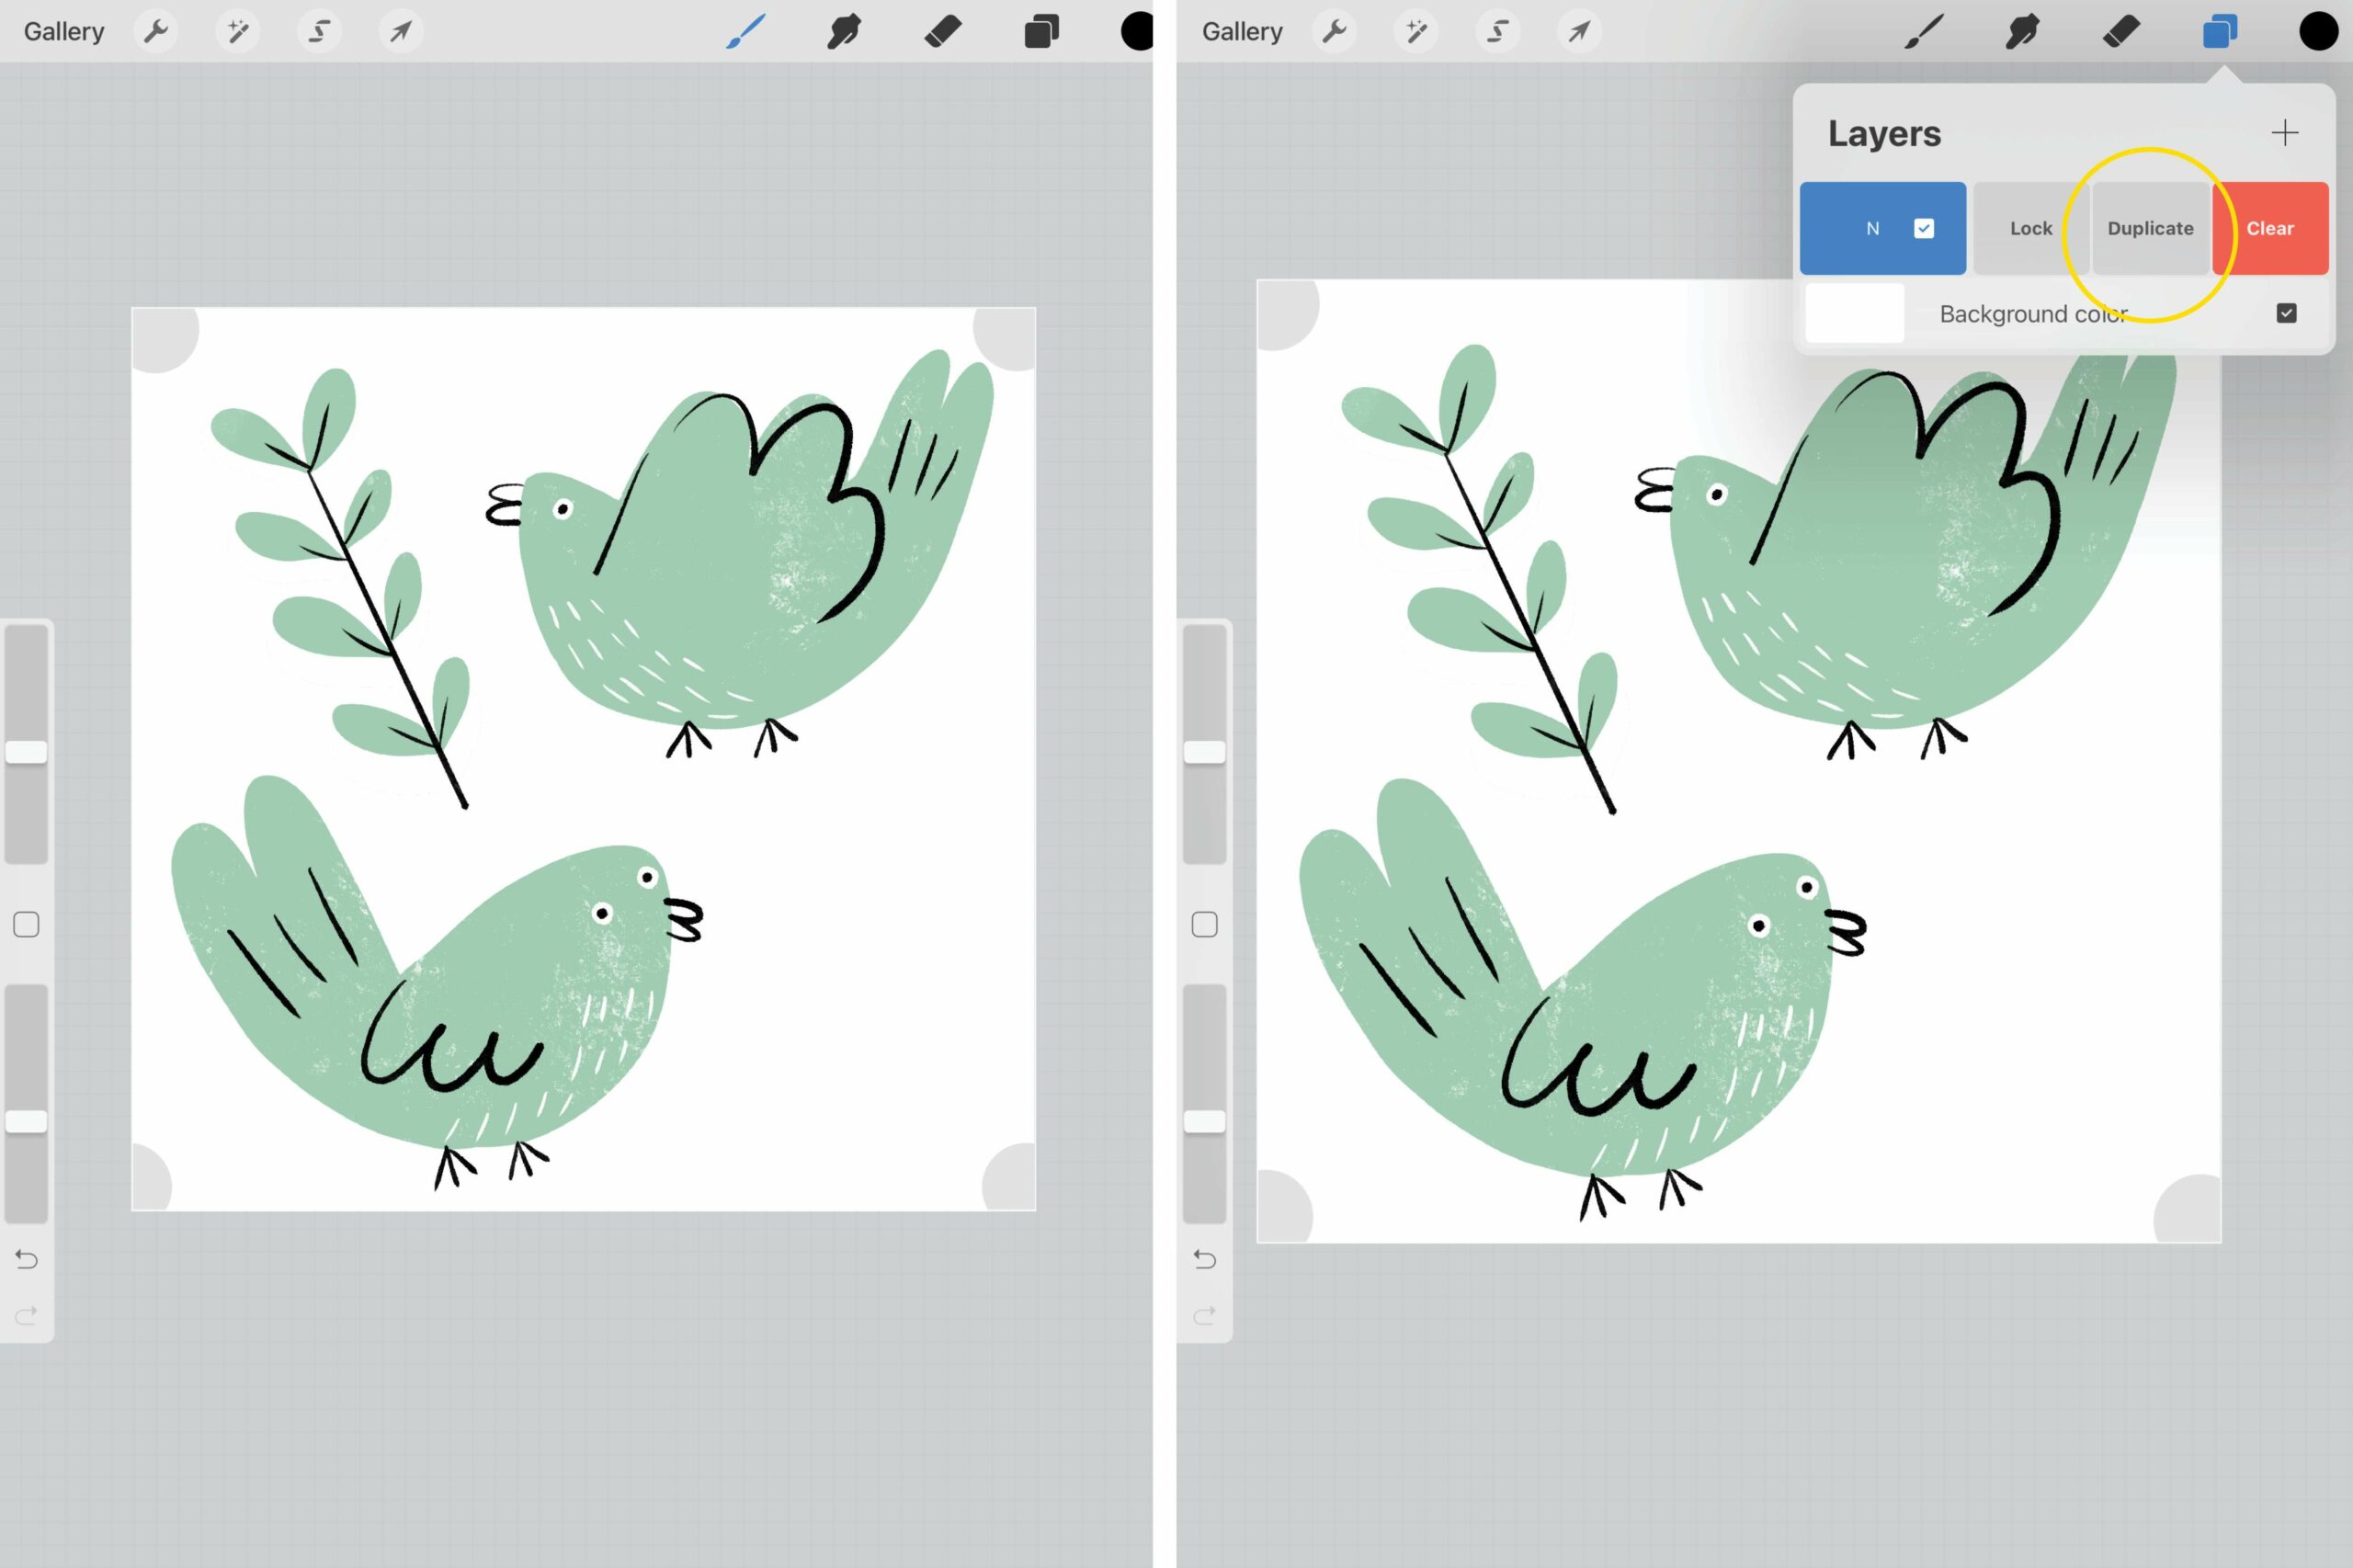
How To Duplicate Brush In Procreate

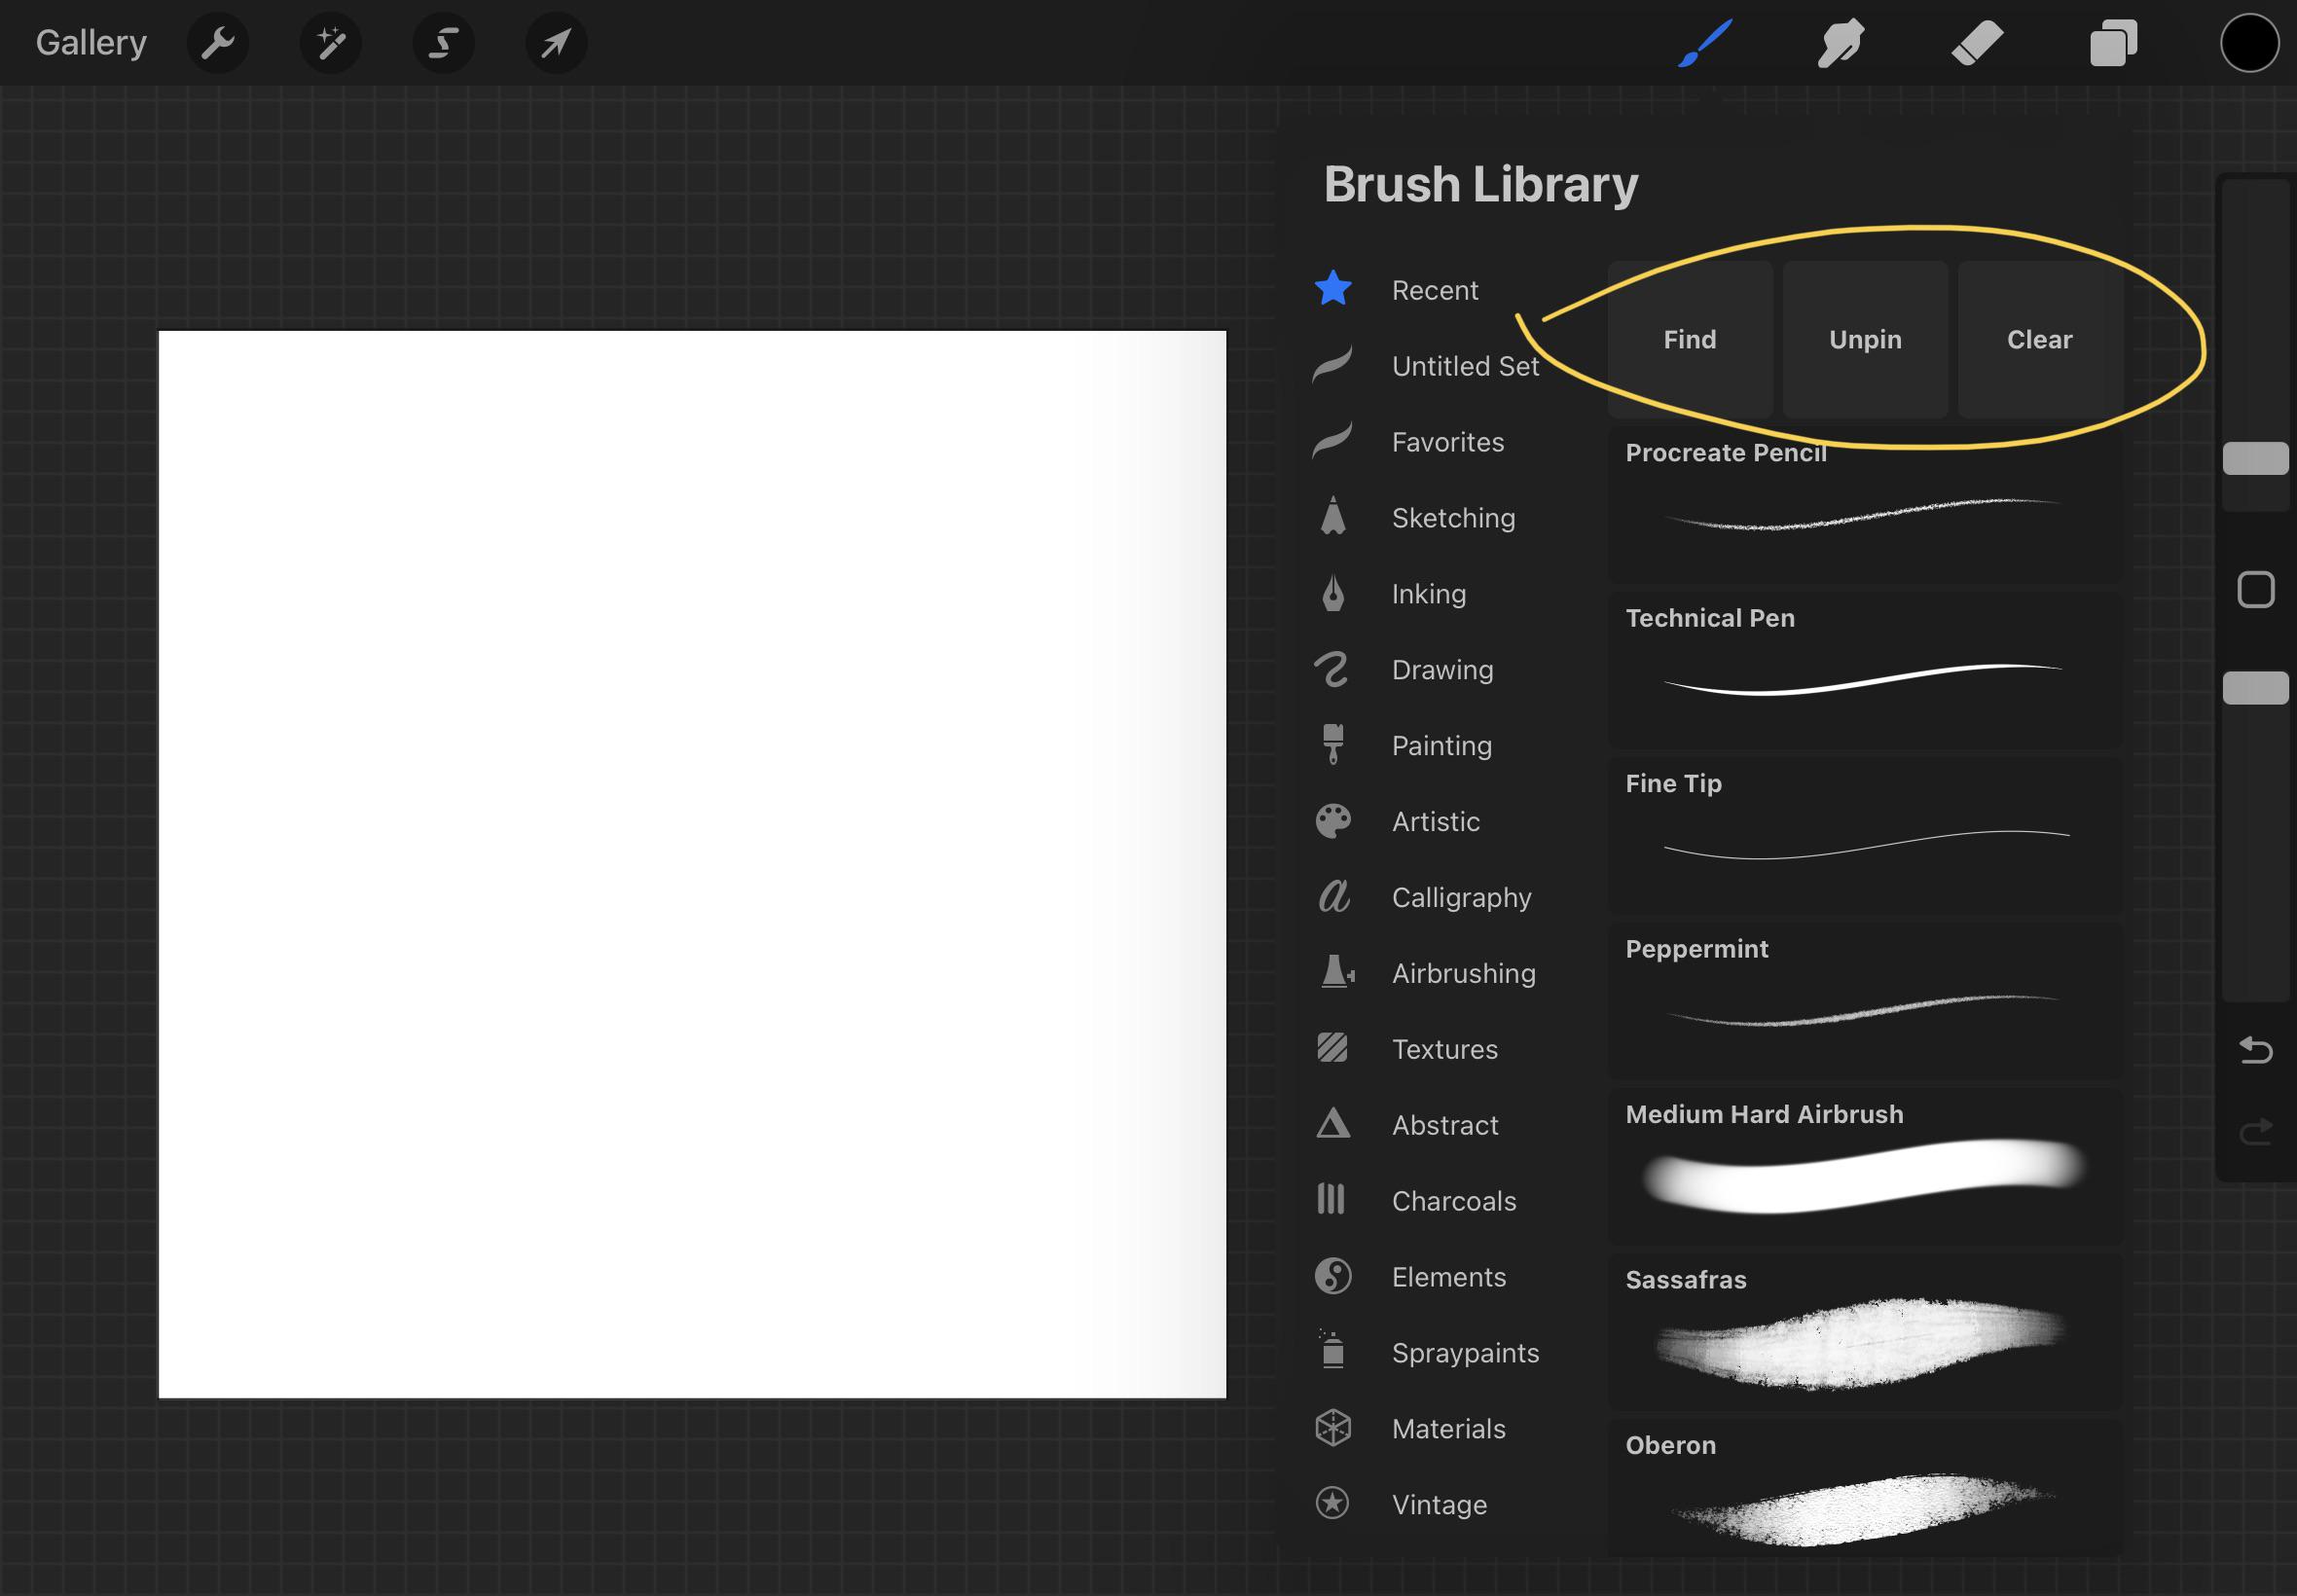
The fastest built-in way to duplicate a brush in Procreate is to swipe left on the brush in the Brush Library and tap Duplicate. You can also tap and hold...

How To Make Folder In Procreate

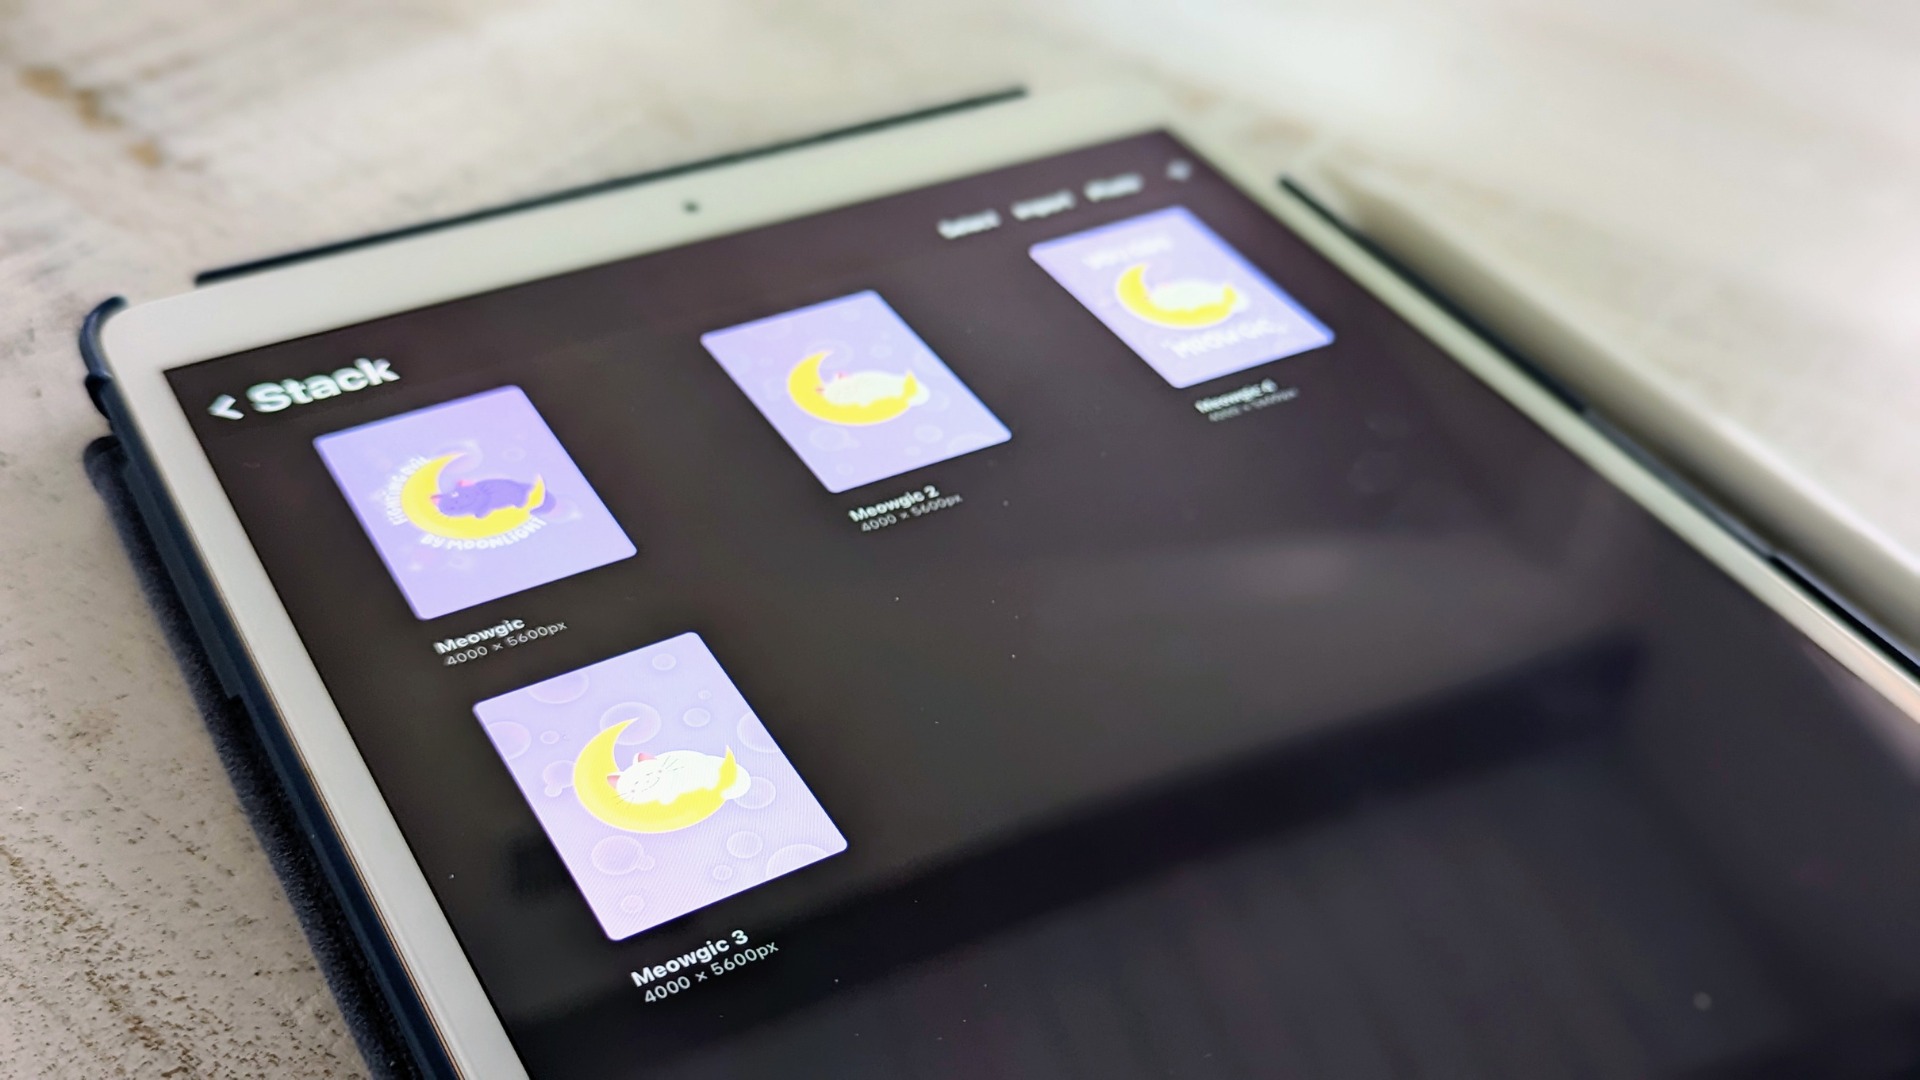
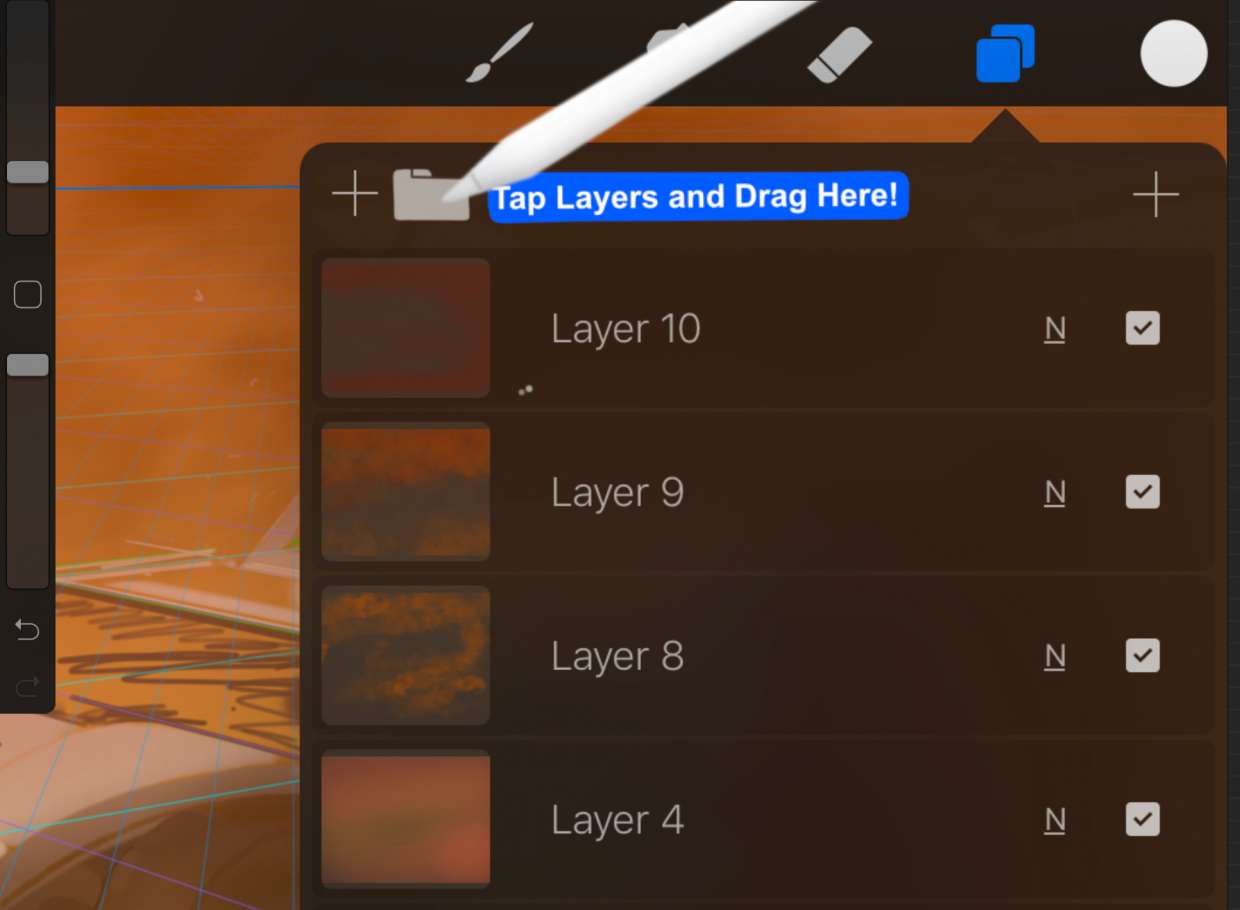
To make a folder in Procreate, you create a Stack, which is Procreate's term for a folder that groups artwork thumbnails in the Gallery view. Unlike folders inside a canvas,...

How To Turn Off Color On Procreate

To turn off color on Procreate, use the Hue, Saturation, Brightness adjustment and move the Saturation slider to 0%. This removes all color from your artwork, creating a clean grayscale...

How To Render On Procreate

To render on Procreate, you control how glazed or blended your brushstrokes appear by using the Rendering setting inside Brush Studio, and you build up depth and shading by adjusting...

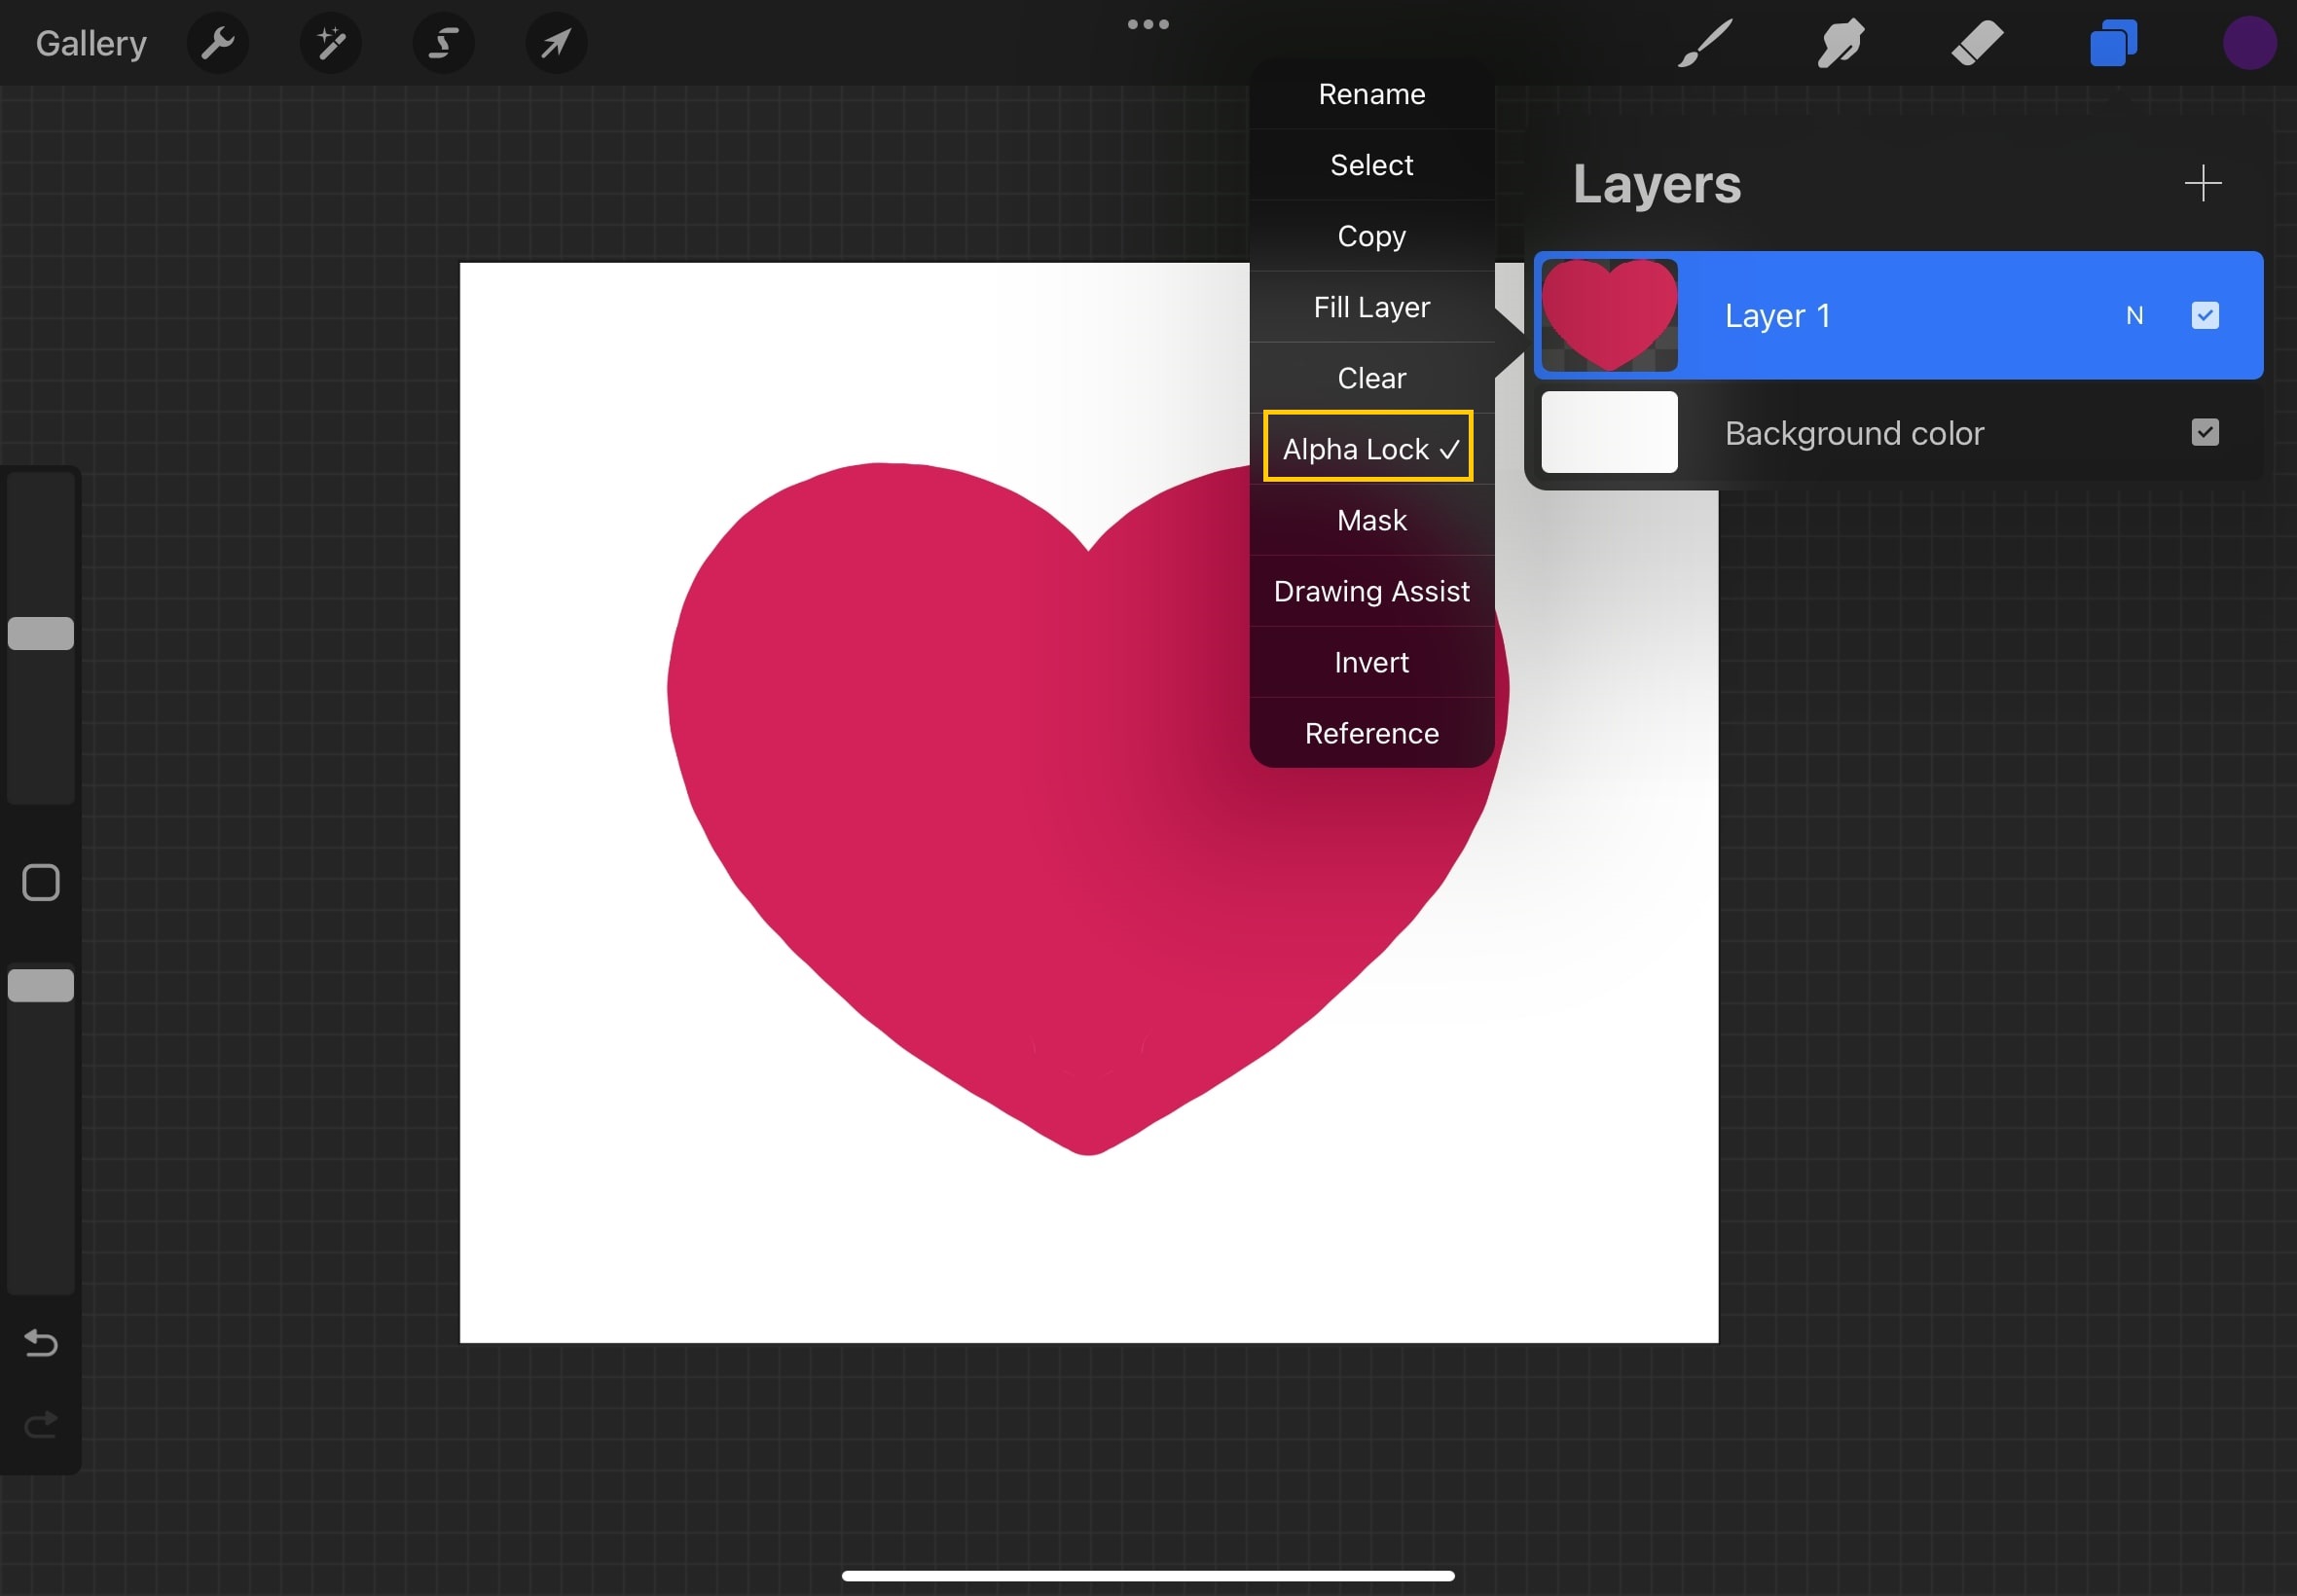
How To Alpha Lock In Procreate

To alpha lock in Procreate, activate the feature on a layer so you can only paint or edit within the existing opaque pixels, leaving transparent areas untouched. This lets you...

How To Clone In Procreate

Procreate is a powerful digital art and illustration app that has gained immense popularity among artists and designers. One of the standout features of Procreate is its ability to clone...