Procreate is a powerful digital art and illustration app that has gained immense popularity among artists and designers. One of the standout features of Procreate is its ability to clone elements within a digital artwork. With the clone tool, artists can easily replicate and manipulate specific elements to create unique compositions and effects. Whether you want to duplicate a character, replicate a pattern, or clone an object, Procreate provides intuitive and efficient tools to make the process seamless. In this article, we will explore the step-by-step process of cloning in Procreate, providing you with handy tips and tricks to enhance your artistic creations. Whether you’re a beginner or an experienced artist, mastering the art of cloning in Procreate will undoubtedly elevate your digital art game.
Inside This Article
Title: How to Clone in Procreate
If you’re a digital artist using Procreate, you’ll be pleased to know that the app offers a powerful and versatile cloning feature. Cloning allows you to duplicate and replicate elements within your artwork with ease. Whether you want to create patterns, add textures, or fix mistakes, the cloning tool in Procreate can help you achieve your desired result. In this guide, we’ll explore different methods of cloning in Procreate and how you can make the most out of this feature.
Brush Cloning
The brush cloning technique in Procreate enables you to duplicate specific brush strokes and apply them to other areas of your canvas. To start, select the brush you want to clone from the Brush Library. Once you have your desired brush selected, tap and hold on the canvas to activate the Cloning tool. Now, simply drag your finger or Apple Pencil across the canvas to clone the brush strokes. You can adjust the size, opacity, and spacing of the cloned strokes using the various settings available. This method is perfect for creating patterns or adding consistent textures to your artwork.
Layer Cloning
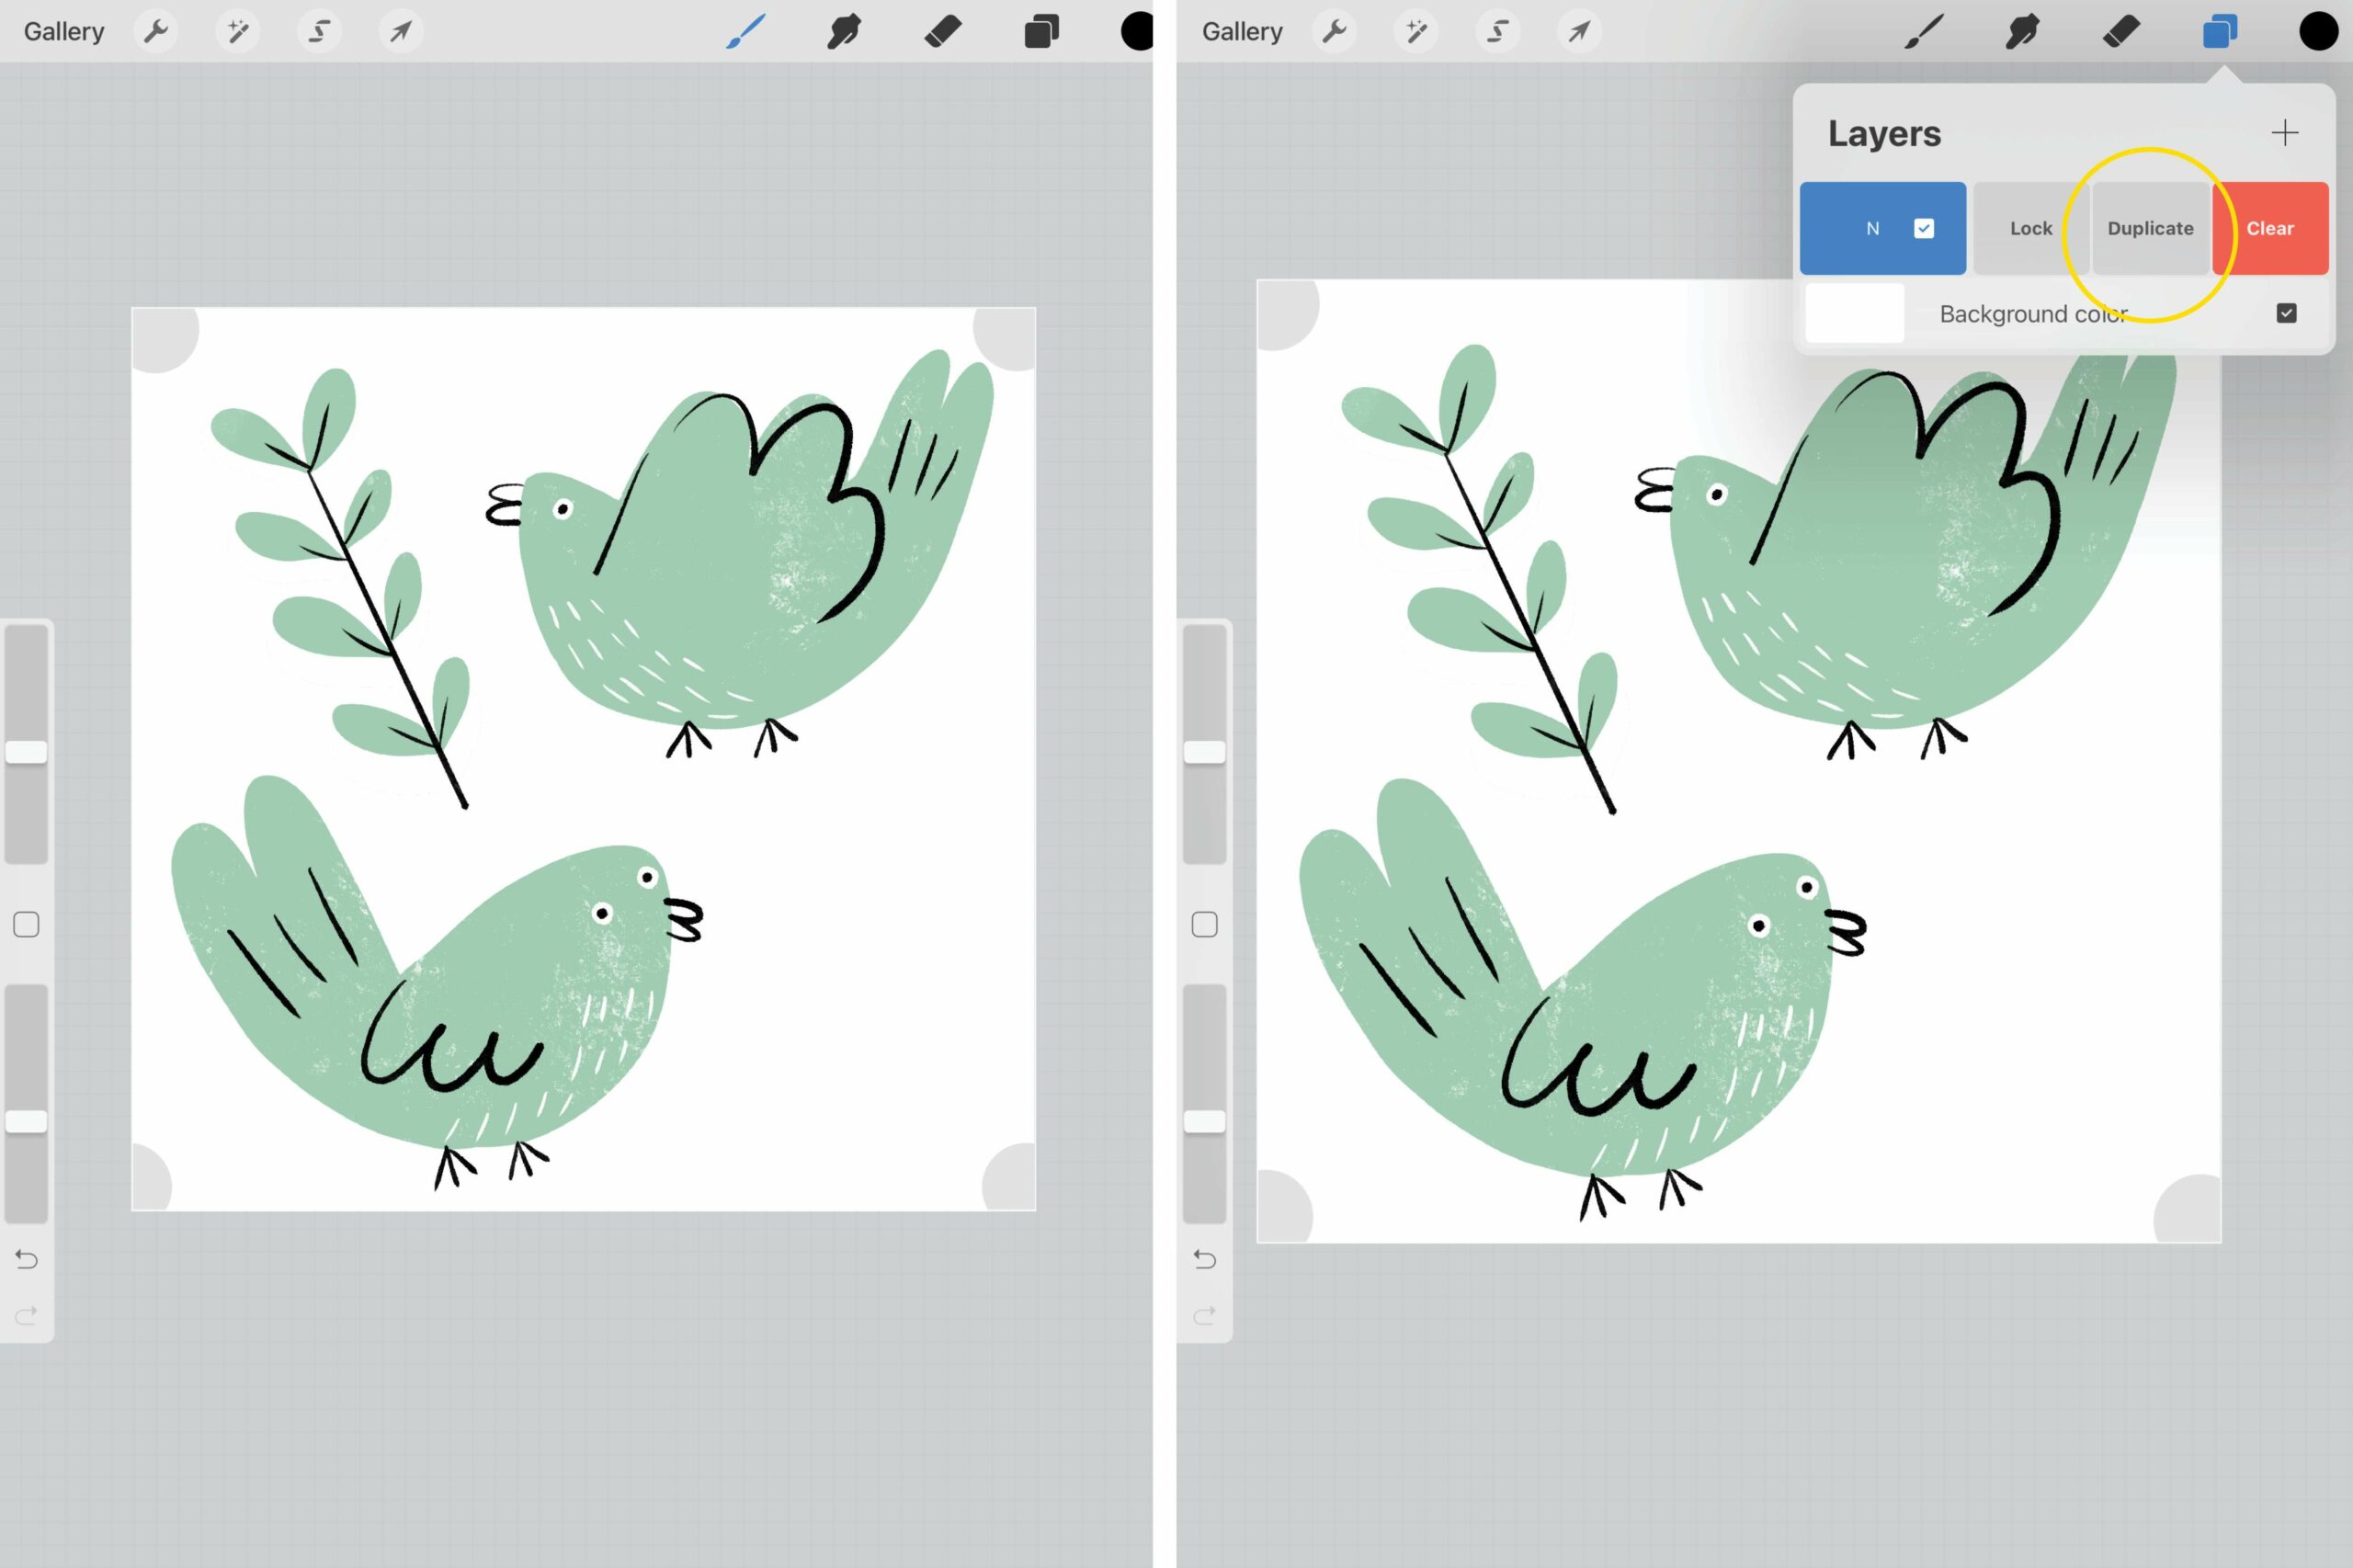
Layer cloning in Procreate allows you to duplicate an entire layer and place it in a new location or even on a different canvas. To clone a layer, select the layer you want to duplicate from the Layers panel. Swipe left on the layer to reveal additional options, and then tap “Duplicate”. The duplicate layer will appear above the original layer. You can now move, transform, or modify the duplicated layer independently. This technique is useful when you want to make variations of a specific layer or experiment with different effects without affecting the original artwork.
Cloning from Reference Image
If you have a reference image that you want to replicate within your artwork, Procreate makes it easy to do so. Simply import the reference image into a new layer, position it where you want it to be cloned, and lower the opacity of the layer. Next, you’ll need to create a new layer on top of the reference image layer. Select the Clone tool from the toolbar and choose the source of the cloning – this can be the reference image layer or another layer. Now, start cloning by tapping and dragging on the canvas. You can adjust the brush settings, opacity, and size to achieve the desired result. Cloning from a reference image allows you to accurately recreate complex shapes, textures, or even entire objects in your artwork.
Conclusion
Learning how to clone in Procreate opens up a world of creative possibilities for digital artists. With the ability to duplicate elements and effortlessly make edits, artists can save time and experiment with different compositions without fear of making irreversible changes. The cloning feature allows for greater flexibility and experimentation in creating artwork, whether it’s replicating textures, adding depth to a scene, or composing complex illustrations.
By simply selecting and duplicating elements with a few taps, artists can quickly build complex compositions, create symmetrical designs, and explore endless variations. The versatility of the cloning tool in Procreate empowers artists to push their creative boundaries and achieve stunning results.
So, don’t hesitate to explore the cloning tool in Procreate and let your imagination run wild. With this powerful feature at your fingertips, you can take your digital art to new heights.
FAQs
1. Can you clone in Procreate?
Yes, you can clone in Procreate. The cloning feature allows you to duplicate parts of your artwork and apply them elsewhere, making it a powerful tool for creating repetitive patterns or adding consistency to your design.
2. How do I access the cloning feature in Procreate?
To access the cloning feature in Procreate, follow these steps:
– Tap on the brush icon
– Select the brush you want to use for cloning
– Tap on the “+” icon to create a new layer
– Tap on the “Clone” button on the right-hand side toolbar
– Adjust the cloning options and settings as desired
3. What can I clone in Procreate?
You can clone just about anything in Procreate, including shapes, objects, textures, and even entire artworks. The cloning feature allows you to select a portion of your canvas and reproduce it in another area or layer.
4. How does the cloning feature work in Procreate?
The cloning feature in Procreate works by creating a “stamp” of the selected area that can be placed elsewhere on the canvas. You can adjust the size, opacity, rotation, and position of the clone, giving you full control over how it appears in your artwork.
5. Can I adjust the opacity of the clone in Procreate?
Yes, you can adjust the opacity of the clone in Procreate. By adjusting the opacity, you can create subtle or transparent effects, allowing the clone to seamlessly blend with the rest of your artwork.
