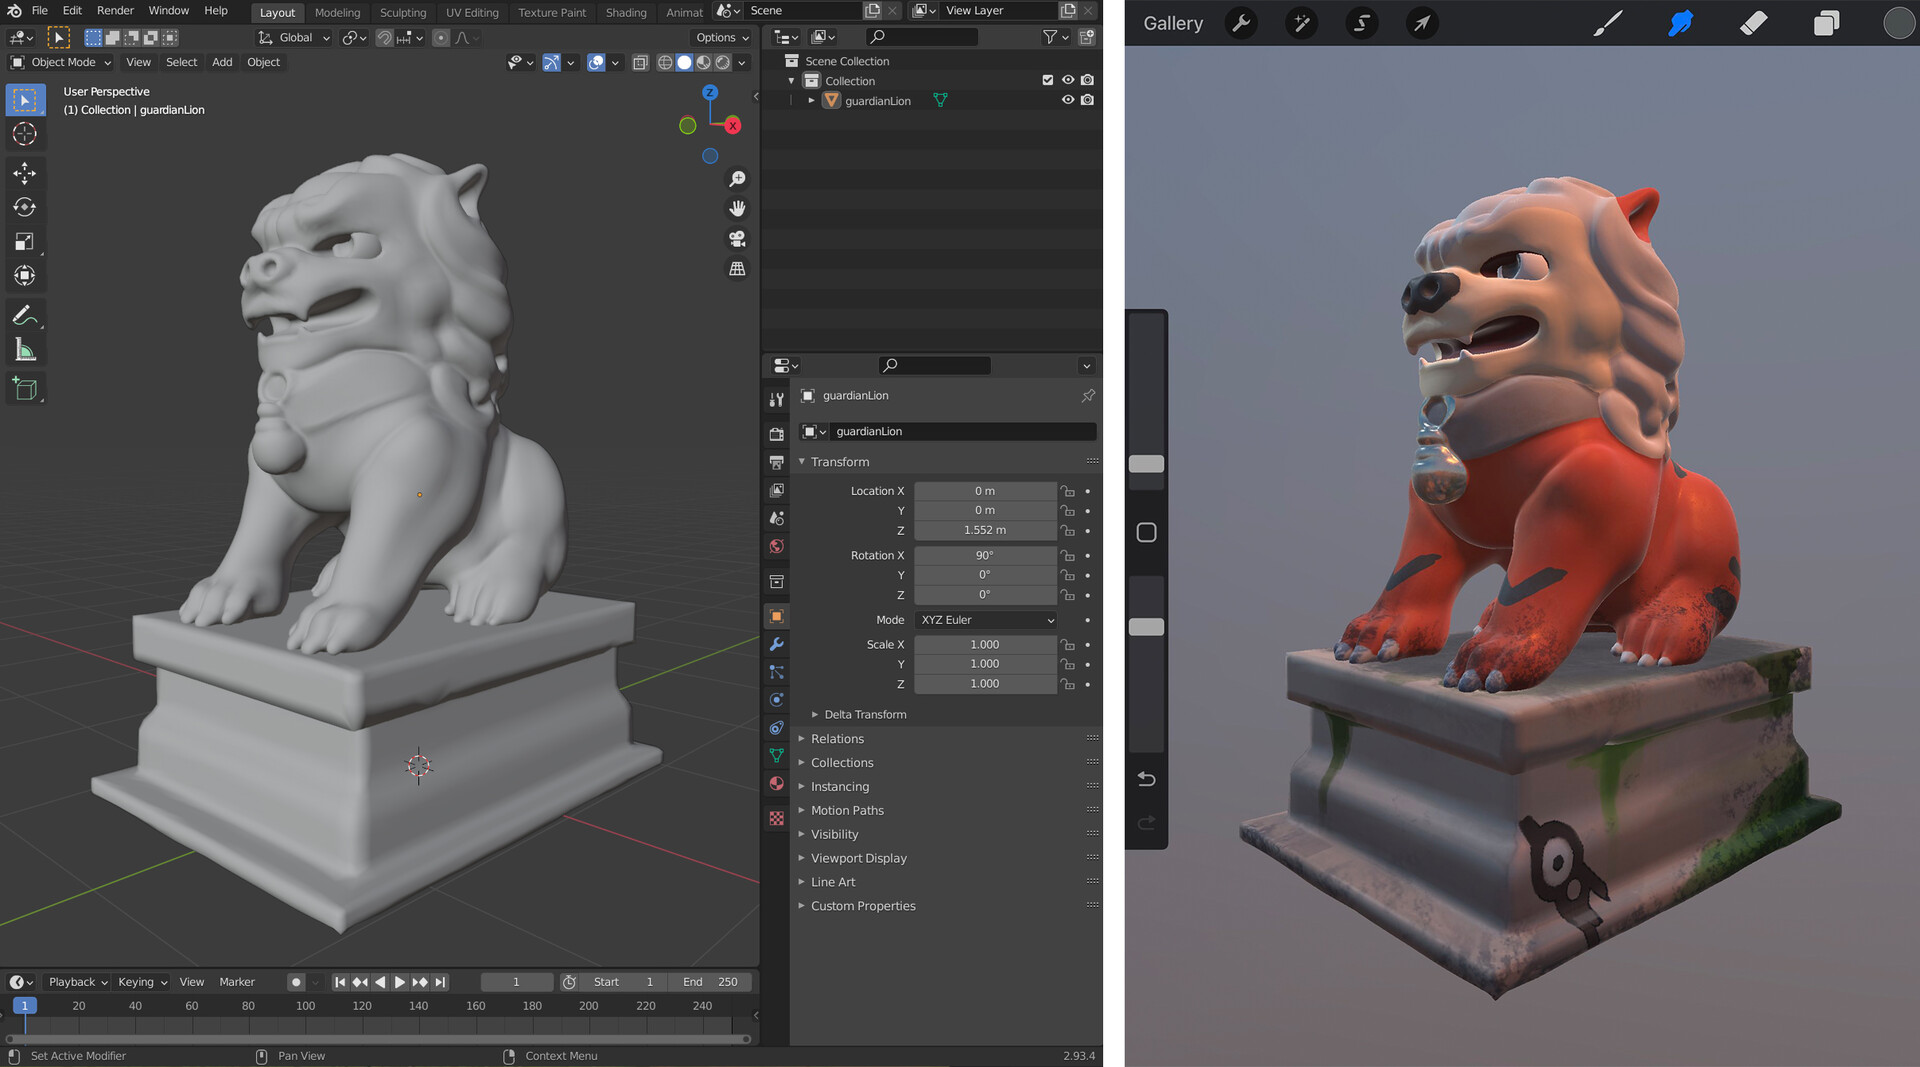
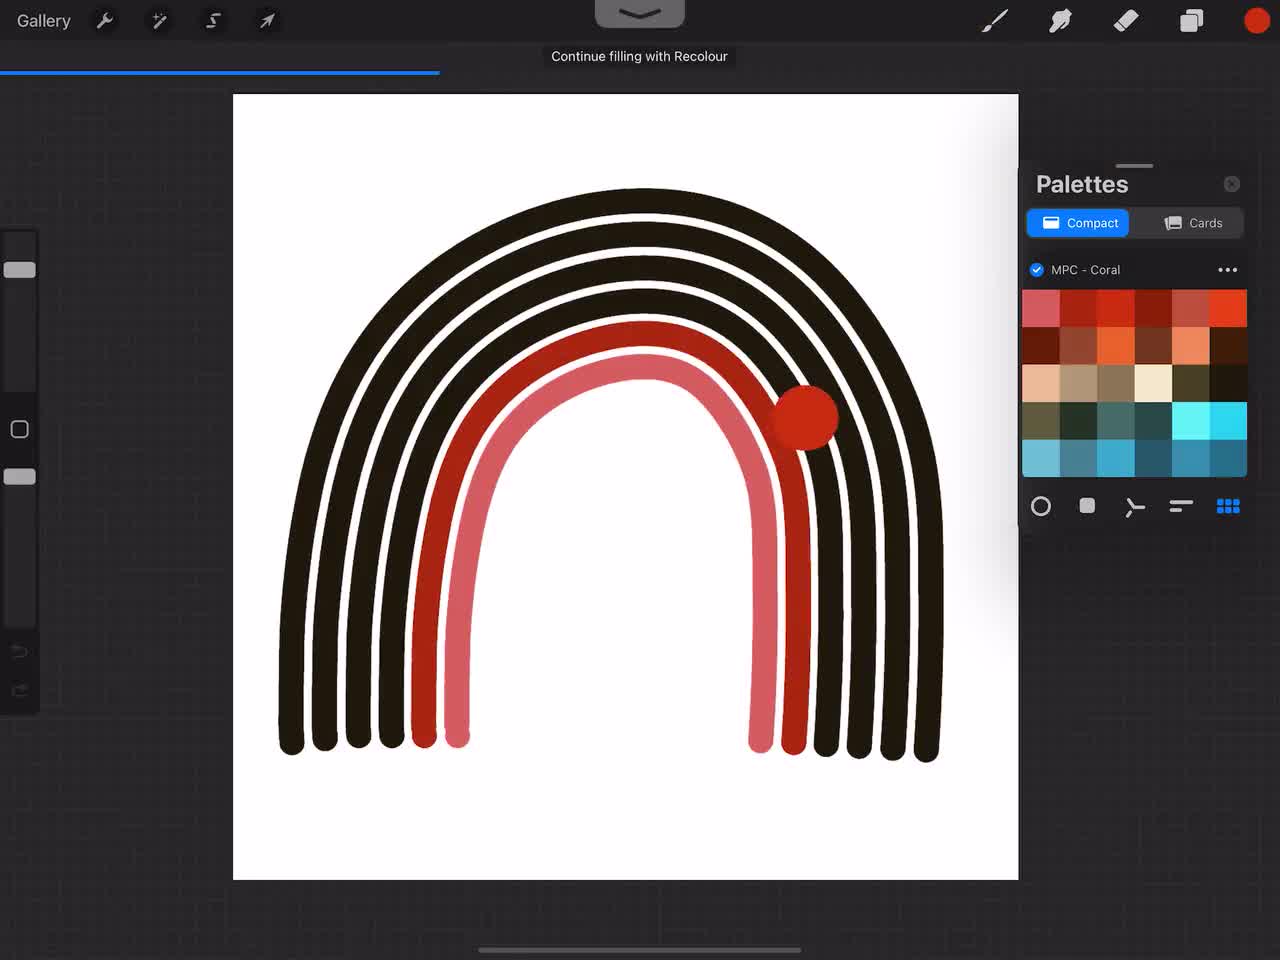
The Digital Art tag on CellularNews collects tutorials and guides focused on using creative applications on mobile devices, specifically the popular drawing app Procreate. This content is for anyone who uses their phone or tablet for digital illustration, design, or photo editing, and needs practical, step-by-step instructions to master their tools.

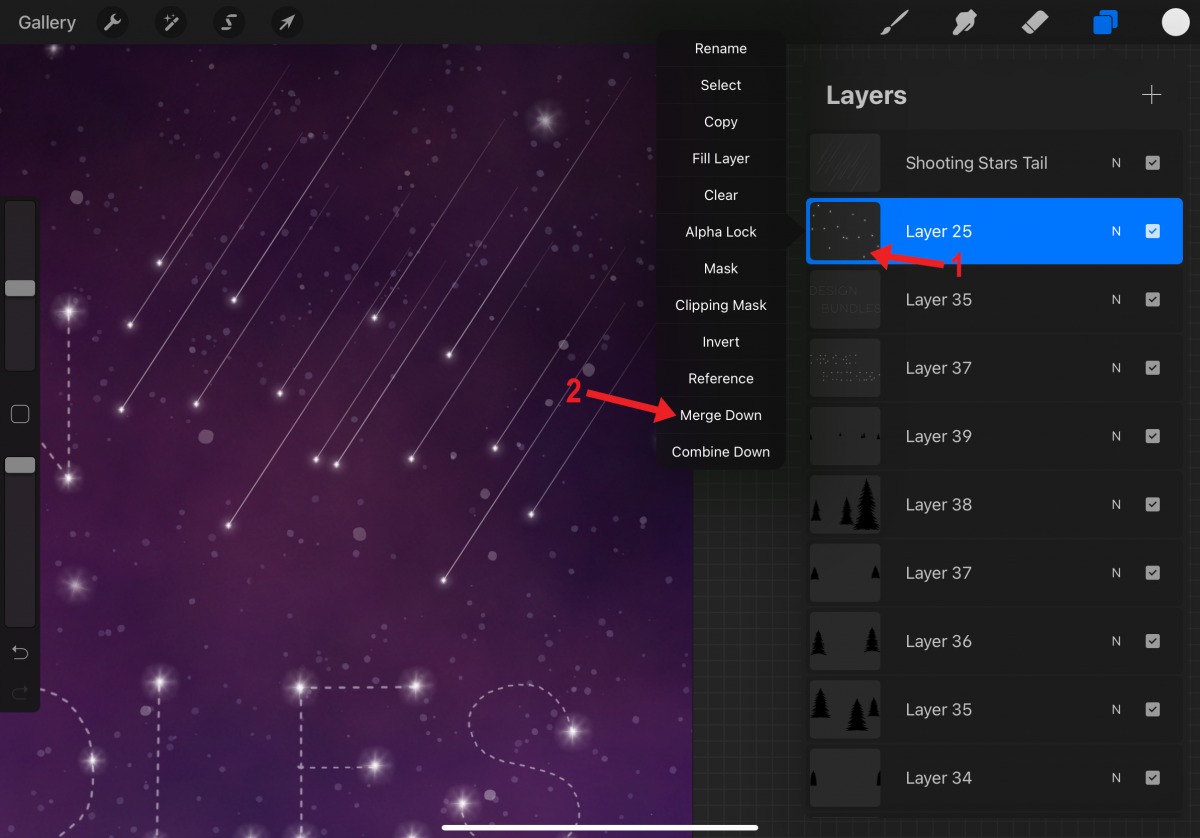
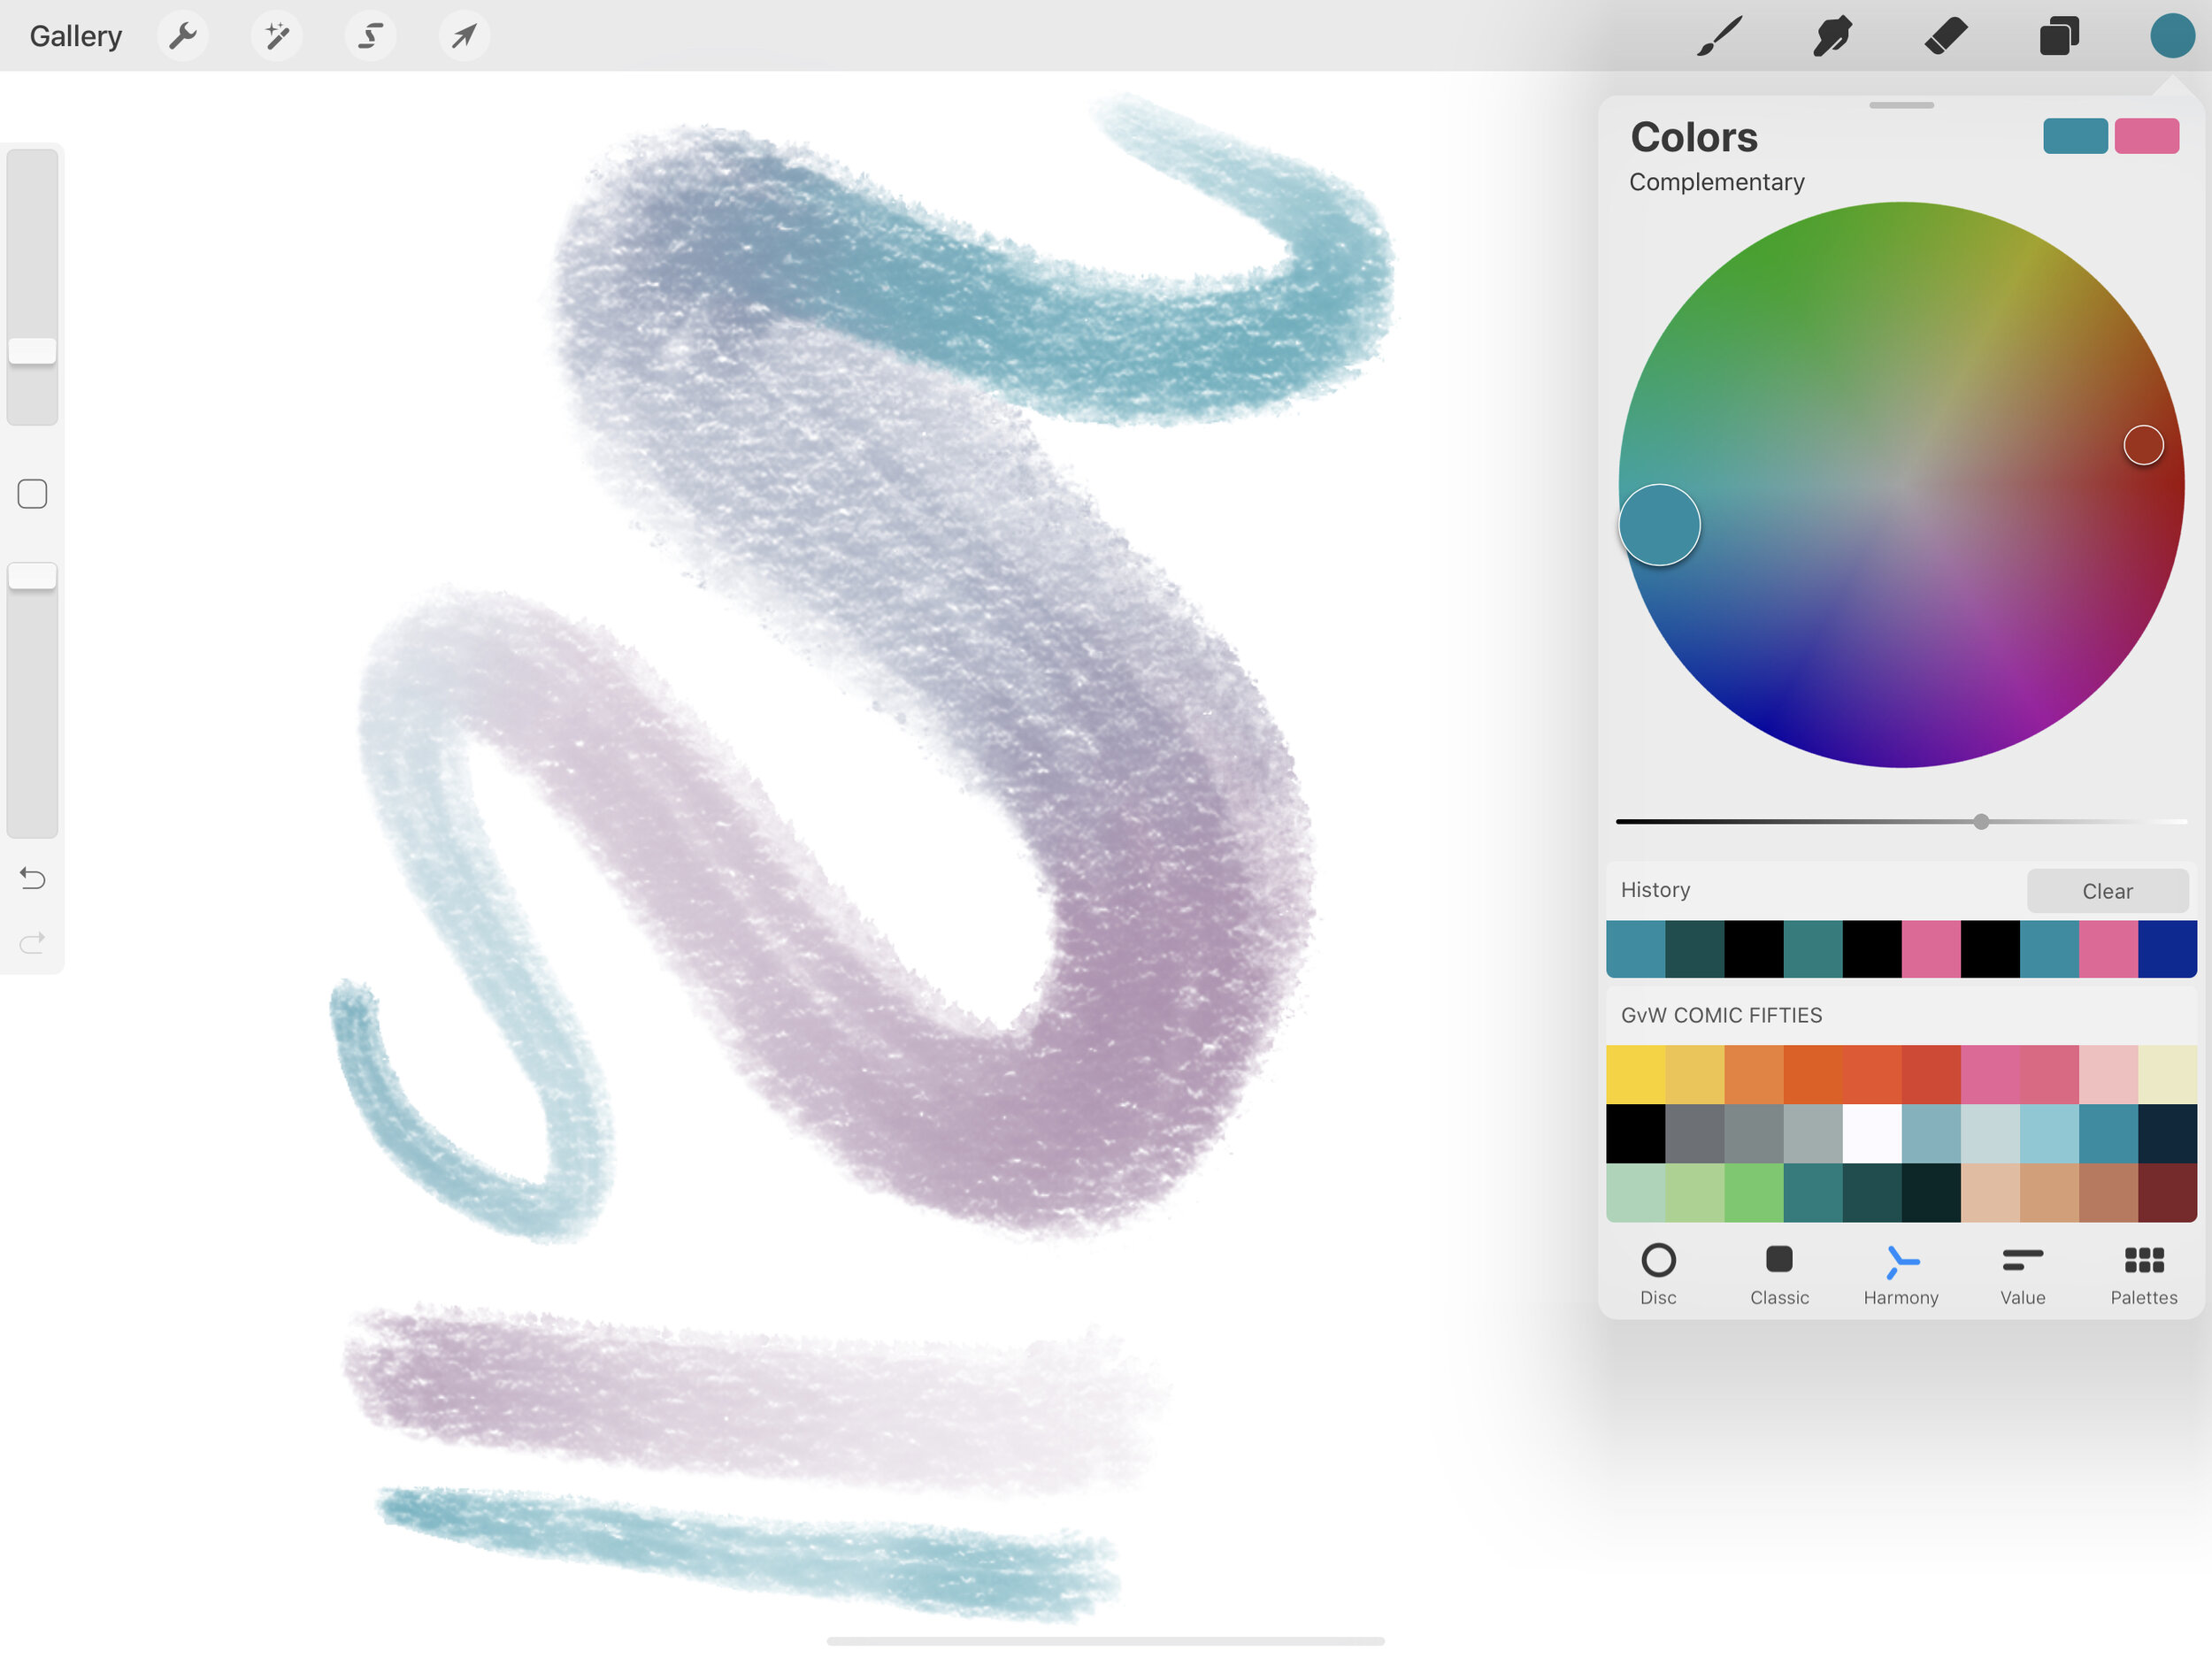
The articles here solve two main kinds of problems. The first group deals with core drawing and editing techniques: you will learn how to erase, copy a color, mirror a drawing, curve text, and make a perfect circle. Other guides show you how to move objects, change colors, use the eyedropper, pick colors, merge layers, and make a layer transparent. The second group focuses on more advanced tasks like filling in shapes, inverting colors, adding grids, coloring inside the lines, using 3D models, and performing color drops. You can also find help with shading, mixing colors, using the lasso tool, ungrouping layers, and understanding DPI settings.

Beyond the basics, the tag covers brush creation, adding reference photos, changing line colors, flipping layers, using alpha lock, and the clone tool. Whether you are a beginner trying to get new brushes or a more experienced user looking to shade and mix color effectively, these articles provide direct answers to common Procreate problems. The focus is always on helping you perform a specific action on your phone or tablet, from making an outline brush to mastering layer management.
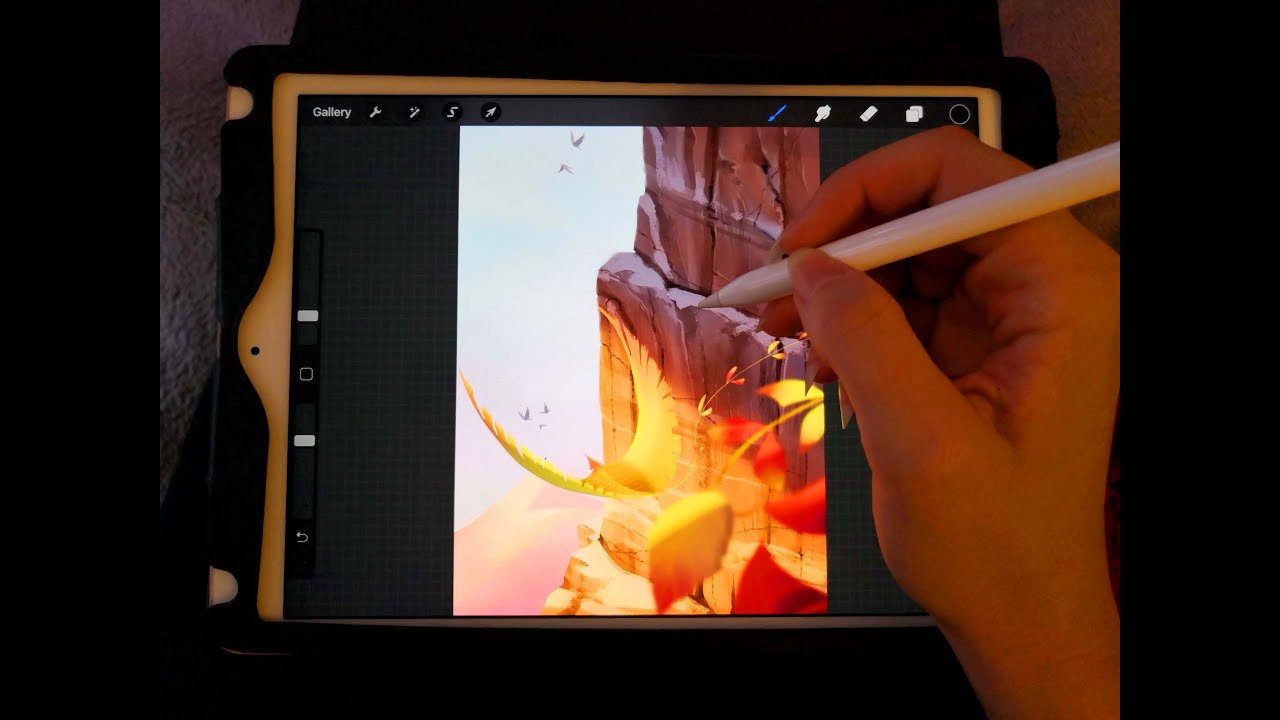
How To Change Line Color In Procreate

To change line color in Procreate for lines you have already drawn, use Alpha Lock, the Recolor tool, the Selection tool with Color Fill, or an Adjustment layer. These four...

How To Flip A Layer In Procreate

To flip a layer in Procreate, select the layer you want to mirror, then tap the Transform tool (the arrow icon) and choose Flip Horizontal or Flip Vertical. This two-step...

How To Add Reference Photo In Procreate

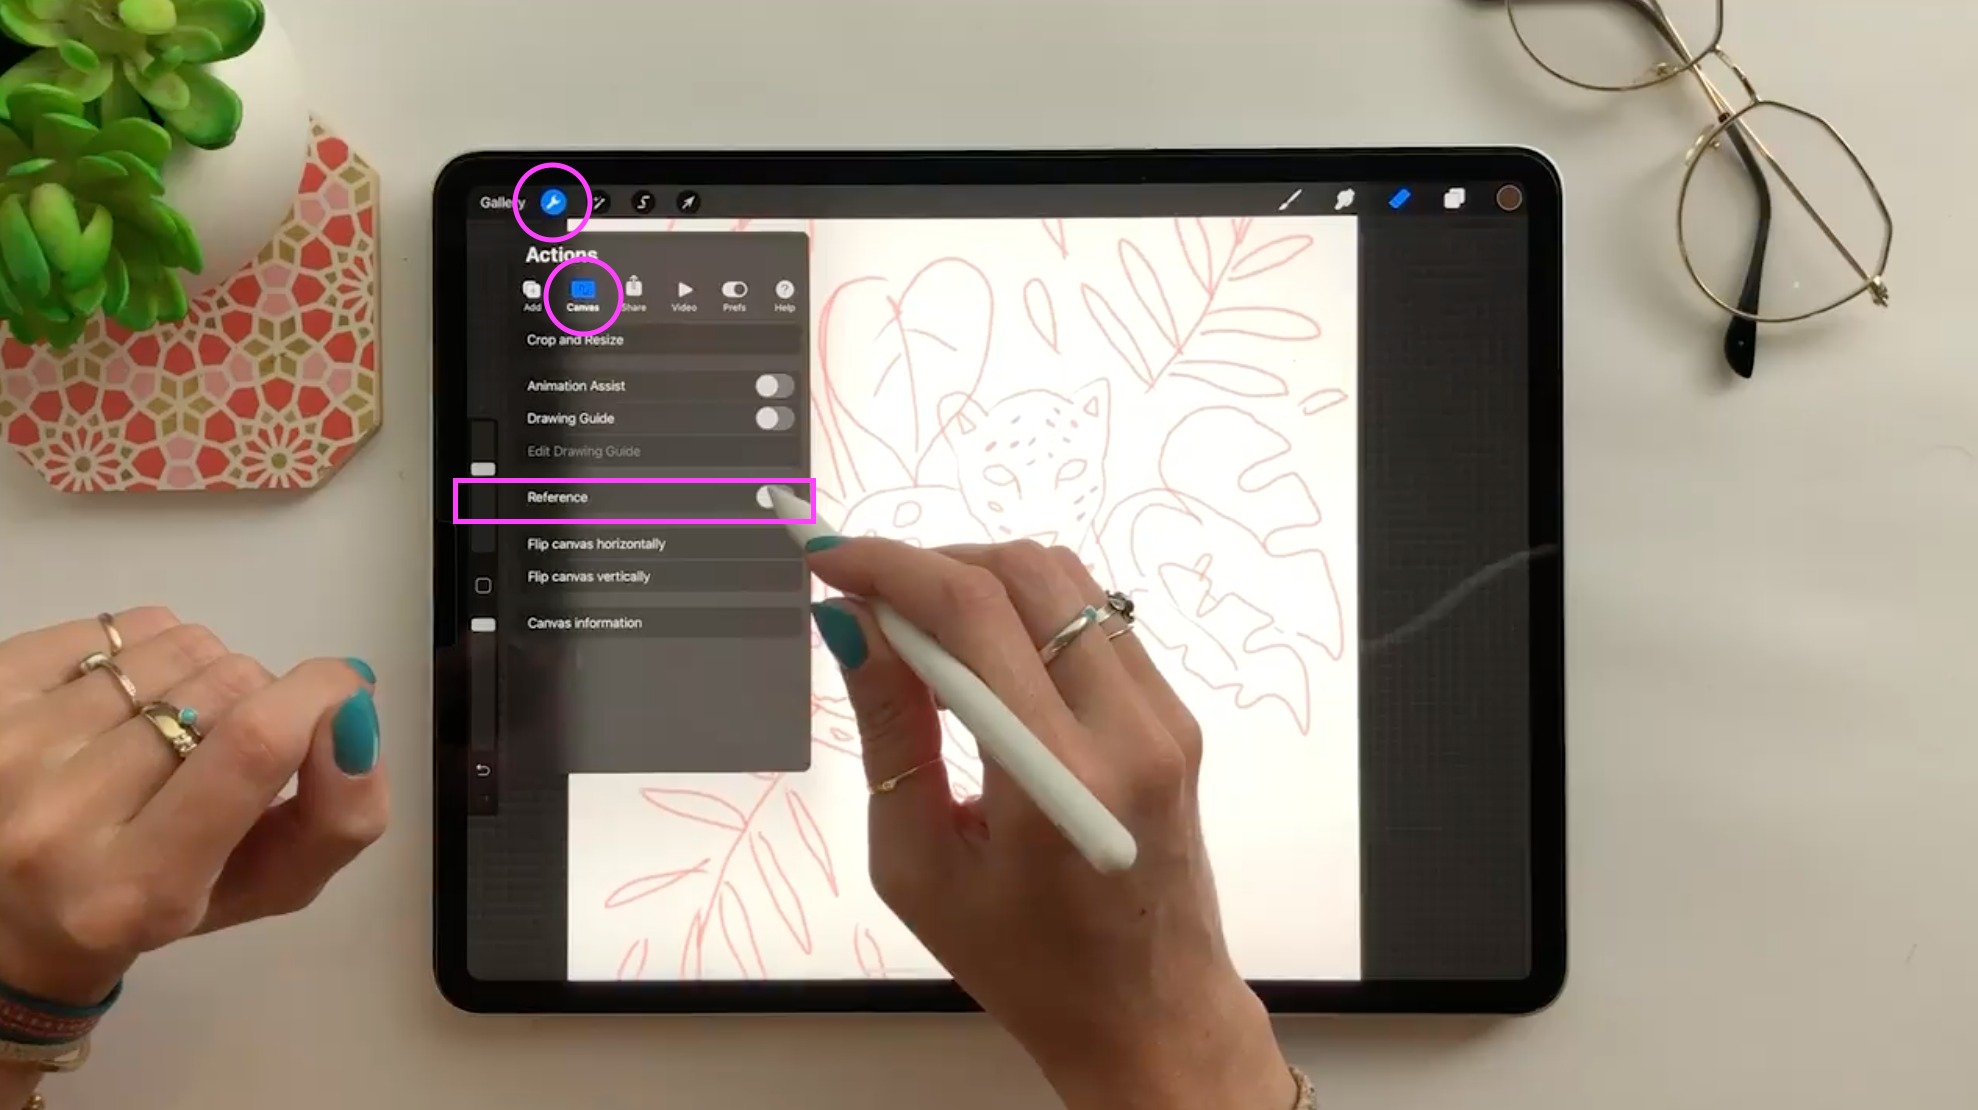
To add a reference photo in Procreate, open any canvas, tap the Actions (wrench icon), then Canvas, and turn on the Reference toggle. In the Reference Companion that appears, tap...

How To Make An Outline Brush In Procreate

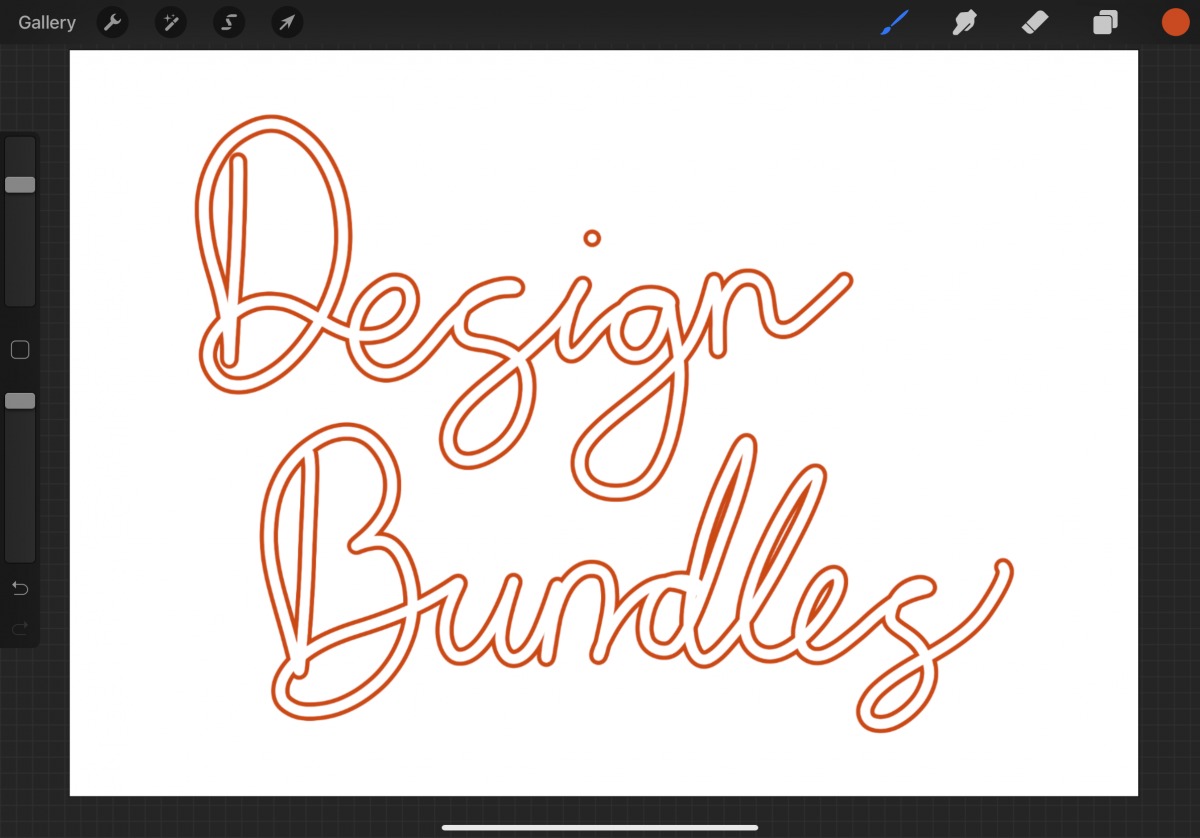
To create an outline brush in Procreate, you must combine two core brush-editing techniques: using a ring-shaped brush tip and adjusting the pressure curve. Procreate does not have a single...

What Is DPI In Procreate

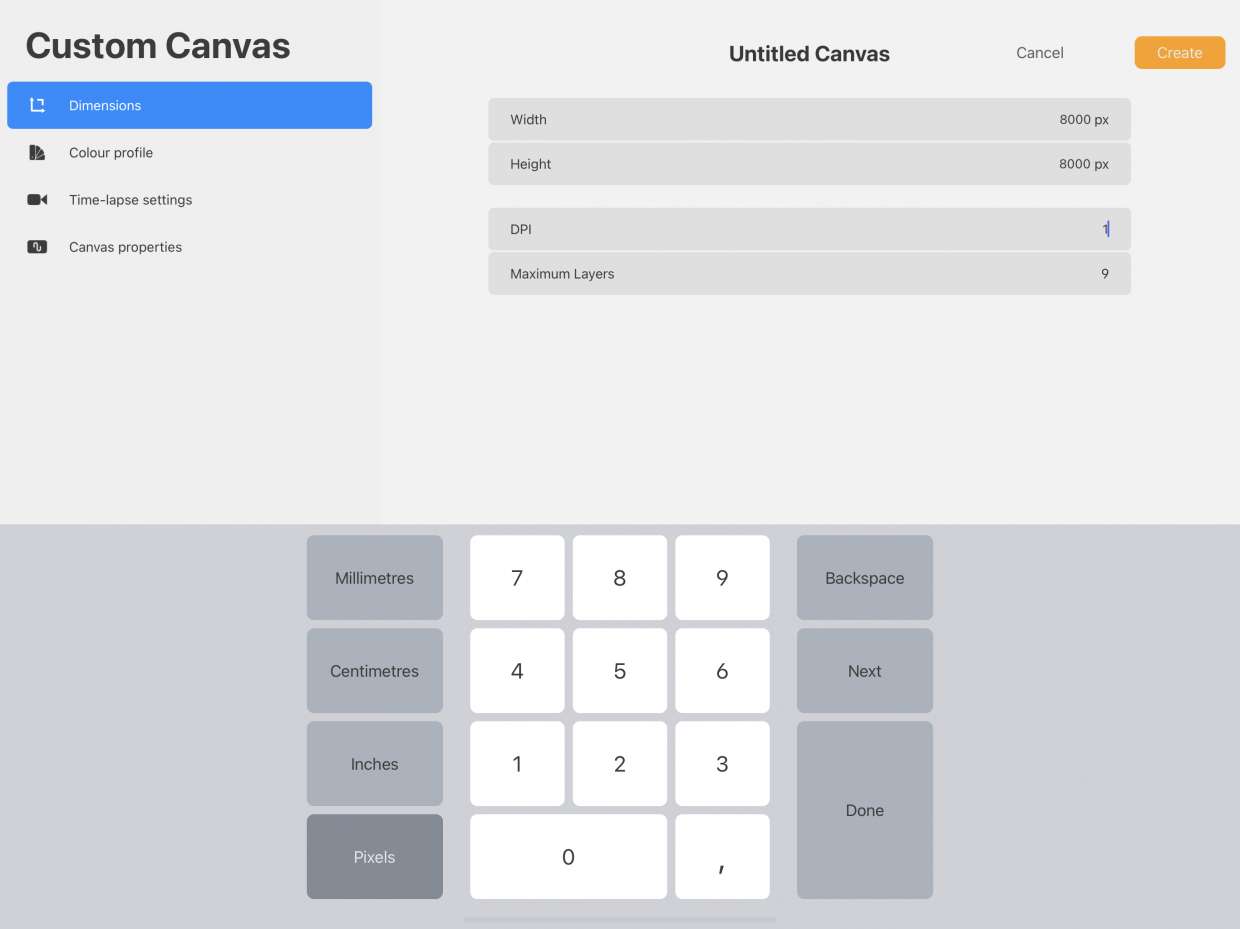
DPI stands for Dots Per Inch, and in Procreate it measures how many pixels are packed into each inch of your canvas for print output. The core distinction to remember...

How To Lasso In Procreate

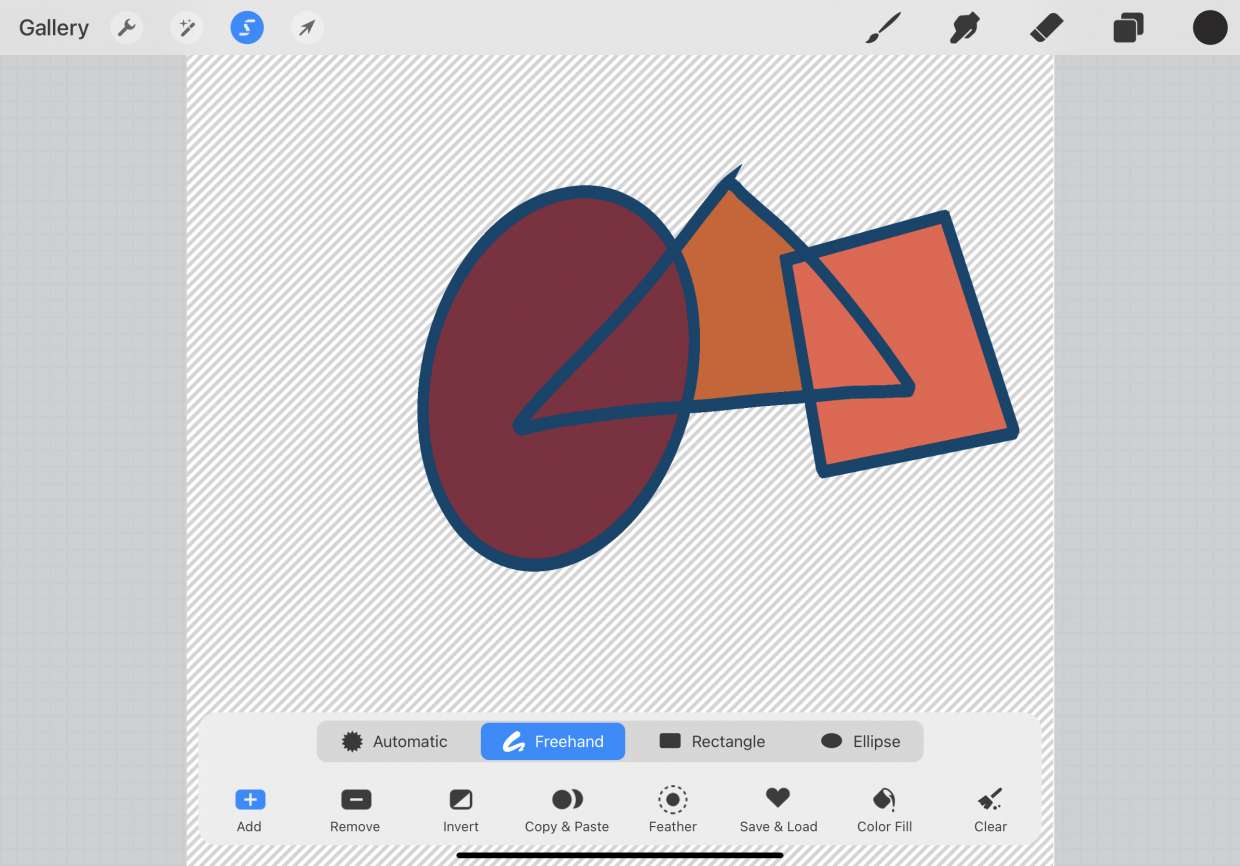
What the lasso tool is in Procreate The lasso tool in Procreate is the Freehand selection mode, which lives inside the Selection tool, the ribbon icon in the top menu...

How To Ungroup In Procreate

To ungroup in Procreate, open the Layers Panel, tap the group name, then tap Ungroup in the pop-up menu. This is the only documented method for separating grouped layers so...

How To Mix Color In Procreate

To mix color in Procreate, you blend pixels on the canvas using the Smudge tool rather than simulating wet paint. This is the primary method for how to mix color...

How To Color Drop On Procreate

Color drop on Procreate is the drag-and-drop gesture that flood-fills an area with your active color, not a separate tool. The Color Drop tool icon resembles a droplet and is...

How To Shade In Procreate

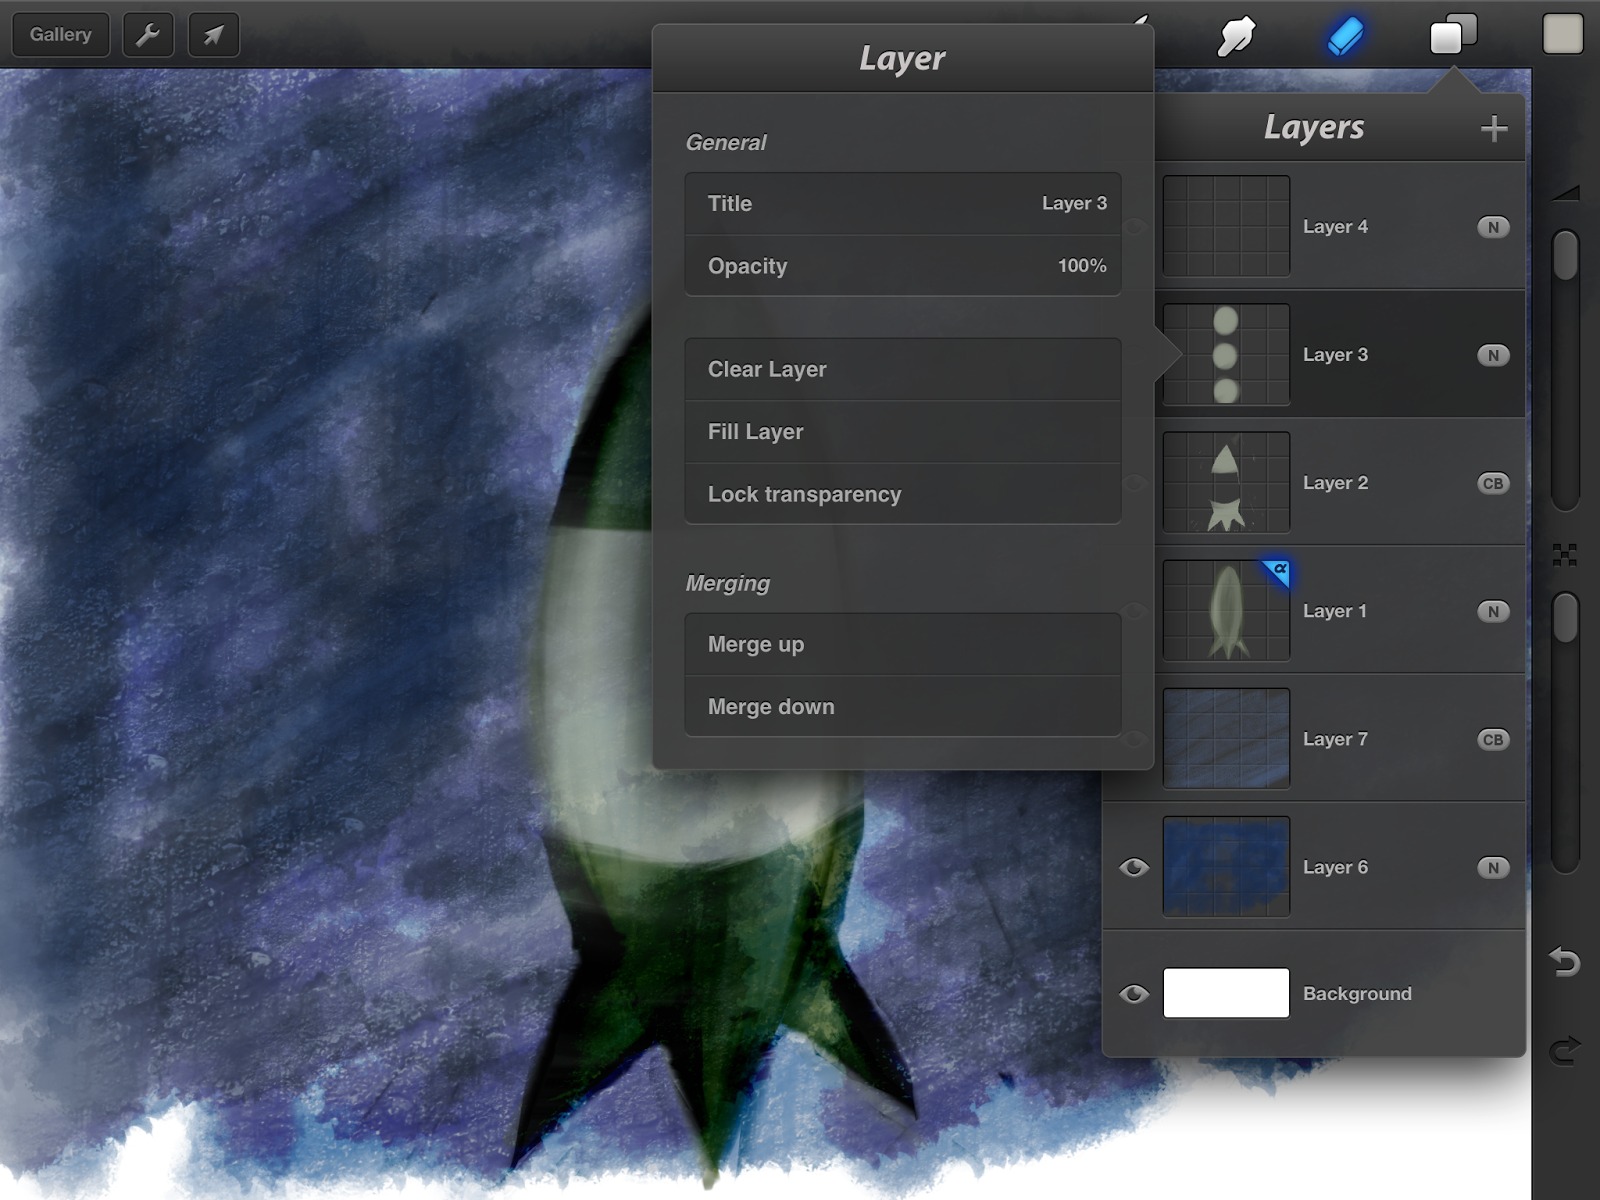
To shade in Procreate, start with a flat base color on one layer, then add shadows on a new layer using Blend Modes like Multiply, and finish with highlights on...

How To Use 3D Models In Procreate

To use 3D models in Procreate, you open a canvas, go to Actions, tap Help, and select Download 3D model pack to get the built-in models, or you import your...

How To Color Inside The Lines In Procreate

To color inside the lines in Procreate, use the official layer-based workflow: set your line art layer as a Reference, create a new layer below it, and drag the Colors...