
Welcome to the world of digital art! If you’re a creative enthusiast looking to express your artistic vision using Procreate, you’ve come to the right place. Procreate is a powerful software that allows you to create stunning digital artworks, illustrations, and designs right on your iPad. One of the essential skills in creating digital art is the ability to color inside the lines. Whether you’re a beginner or a seasoned artist, mastering this technique can take your art to the next level. In this article, we will explore various tips and techniques to help you color inside the lines in Procreate. From using selection tools to adjusting brush settings, we’ll cover everything you need to know to achieve precise and flawless coloring. So, let’s dive in and unlock the secret to incredible digital art!
Inside This Article
- Selecting the Right Brush
- Using the Line Art Layer
- Adjusting Brush Opacity and Size
- Utilizing the Quickline Tool
- Conclusion
- FAQs
Selecting the Right Brush
When it comes to coloring inside the lines in Procreate, one of the essential factors to consider is selecting the right brush. The brush you choose can greatly affect the precision and control you have over your coloring process.
Procreate offers a wide range of brushes, each with its own unique characteristics. To color inside the lines smoothly and accurately, it is recommended to use a brush that has a sharp and defined edge. This type of brush helps you stay within the boundaries of the line art and prevents any color bleeding outside.
One popular brush for coloring inside the lines in Procreate is the “Studio Pen” brush. This brush provides a fine tip with excellent control, allowing you to achieve clean and precise coloring. It is ideal for intricate details and areas that require intricate coloring techniques.
Another brush that works well for coloring inside the lines is the “Technical Pen” brush. This brush mimics the feel of a real pen, providing smooth and consistent lines. It is especially useful for creating clean and precise edges and can be a great choice for coloring line art.
Keep in mind that the brush’s opacity and size also play a role in coloring inside the lines effectively. Adjusting the brush opacity can help you achieve gradual color transitions and prevent any harsh lines. Similarly, using a brush with an appropriate size helps you stay accurate and within the lines while coloring.
Experiment with different brushes and settings in Procreate to find the ones that work best for your coloring style. Remember, practice makes perfect, so don’t be afraid to explore and try out different options to discover what works best for you.
Using the Line Art Layer
When it comes to creating smooth and precise lines in Procreate, the Line Art Layer is a powerful tool at your disposal. This layer is specifically designed to assist you in coloring inside the lines with precision and ease.
The Line Art Layer works by detecting the edges of your digital artwork and providing you with a clear outline to work with. It helps you to stay within the lines, ensuring a clean and professional look to your artwork.
Here’s how to use the Line Art Layer effectively:
1. Create a New Layer: Start by creating a new layer above your sketch or base layer. This will serve as your Line Art Layer.
2. Adjust Layer Settings: Select the Line Art Layer and go to the Layer Options panel. Here, you can adjust the opacity and blend mode of the layer to suit your preferences.
3. Choose the Right Brush: Select a brush that is suitable for precise line work. A fine-point brush with adjustable size and opacity settings will be ideal for coloring inside the lines.
4. Trace the Lines: Using the chosen brush, carefully trace the lines of your artwork. Take your time and make sure to follow the contours and details accurately. The Line Art Layer will assist you in staying within the lines.
5. Refine Your Artwork: Once you have traced the lines, you can refine your artwork by adjusting the brush settings, such as opacity and size. This will help you add depth and details to your coloring.
6. Add Color: Once you are satisfied with the line work, you can create a new layer beneath the Line Art Layer and start filling in the colors. The Line Art Layer will ensure that your colors stay confined within the outlined areas.
7. Fine-tune as Needed: If you need to make any adjustments or corrections, you can always go back to the Line Art Layer and refine the lines accordingly. This flexibility allows you to achieve the desired outcome.
Using the Line Art Layer in Procreate can significantly improve your ability to color inside the lines and create clean and professional artwork. Experiment with different brushes and settings to find the perfect combination that works for you.
Adjusting Brush Opacity and Size
When it comes to coloring inside the lines in Procreate, one of the key factors to consider is adjusting the brush opacity and size. These settings play a crucial role in achieving precise and controlled coloring results.
The brush opacity determines how transparent or opaque your brush strokes will be. If you want to have solid and vibrant colors, you can increase the opacity. On the other hand, if you prefer a more subtle or transparent effect, you can decrease the opacity. By adjusting this setting, you can easily color within the lines without any bleeding or overlapping.
The brush size, on the other hand, determines the thickness of your brush strokes. It is essential to choose the appropriate brush size to fit within the lines you are working on. Too large of a brush can make it challenging to color without going outside the lines, while too small of a brush may require more time and effort to cover the area effectively.
Fortunately, Procreate offers simple and intuitive tools to adjust the brush opacity and size. To modify the brush opacity, you can locate the opacity slider, typically located at the top or side of the screen. By sliding it to the right, you will increase the opacity, and by sliding it to the left, you will decrease it.
To adjust the brush size, you can find the size slider next to the opacity slider. Move it to the right to increase the brush size or to the left to decrease it. Alternatively, you can use pinch gestures with two fingers on the canvas to instantly adjust the size and scale of your brush.
It is important to experiment with the brush opacity and size to find the perfect balance for coloring inside the lines. You may need to make adjustments depending on the complexity and intricacy of the artwork you are coloring.
Remember, practice makes perfect. Take the time to familiarize yourself with the brush opacity and size settings in Procreate so that you can confidently and skillfully color within the lines and bring your digital artwork to life.
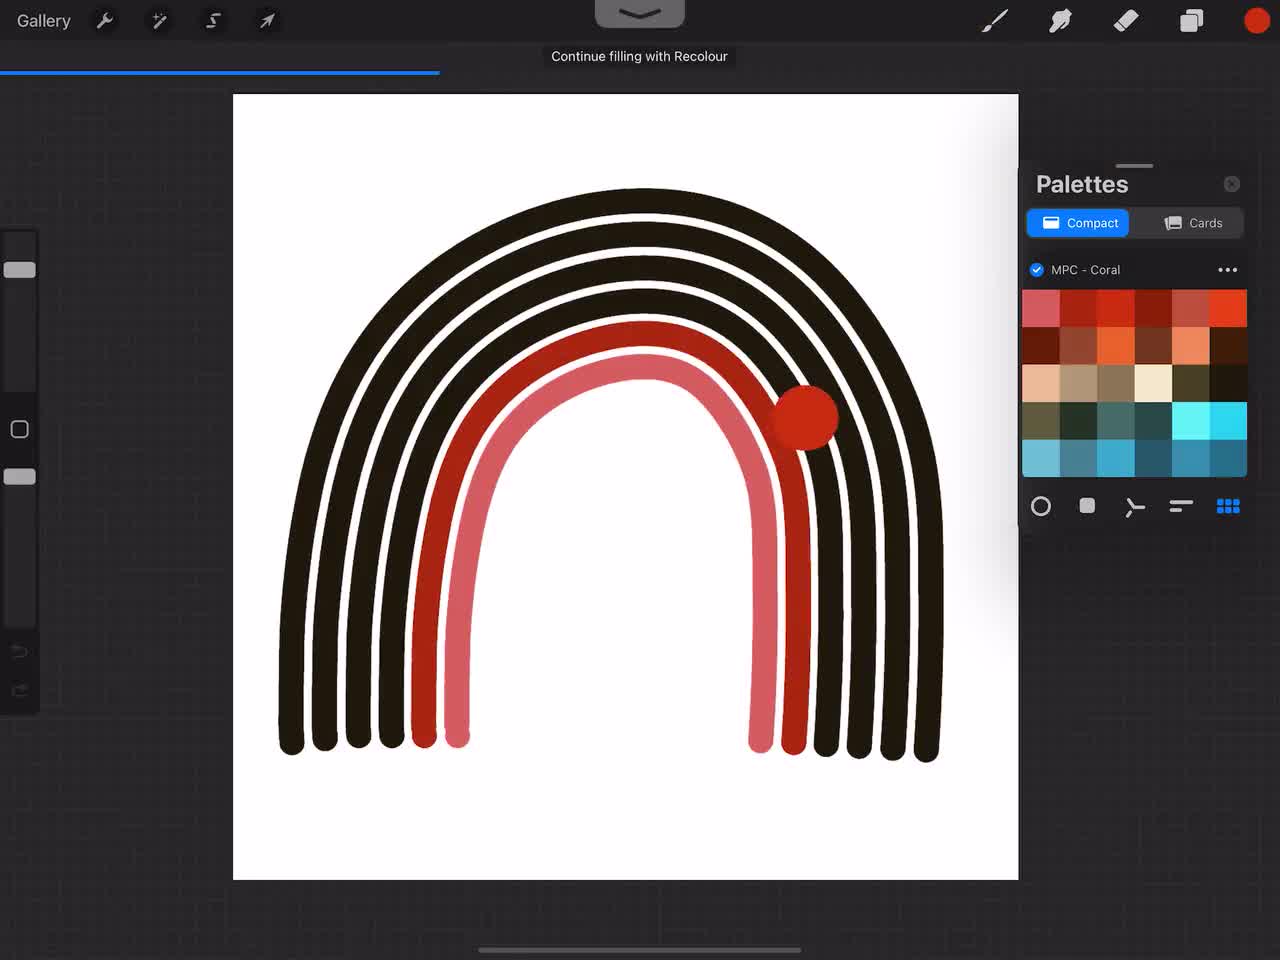
Utilizing the Quickline Tool
The Quickline tool is a handy feature in Procreate that allows you to create clean and precise lines effortlessly. Whether you’re tracing a shape, adding details, or outlining your artwork, the Quickline tool will become your new best friend. Here’s how you can make the most of this powerful tool:
1. Start by selecting the Quickline tool from the toolbar. It looks like a pen tip with a square at the end. You can find it in the “Drawing” section of the toolbar.
2. Adjust the brush settings to your preference. You can modify the size and opacity to achieve the desired effect. Experiment with different settings to find what works best for your artwork.
3. To begin drawing a line, simply tap and hold on the canvas. As you move your stylus or finger, you’ll notice that the Quickline tool automatically creates a straight line between the start point and the current location.
4. For even more control, you can use the Quickline tool in conjunction with the assistive touch feature. This allows you to control the angle and direction of the lines by dragging on the assistive touch slider.
5. If you want to create curved lines or arcs, you can do so by dragging your finger or stylus in a curved motion. The Quickline tool will follow your gesture, allowing you to create smooth and precise curves with ease.
6. If you make a mistake or want to undo certain lines, don’t worry! Procreate has got you covered. Simply tap the undo button or use the two-finger tap gesture to undo your last action.
7. Once you’ve finished using the Quickline tool, you can continue working on your artwork, adding colors, shading, and details. Don’t be afraid to experiment and let your creativity flow.
The Quickline tool is a powerful tool in Procreate that can greatly enhance your line work and help you create stunning artwork with precision and ease. Whether you’re a beginner or a seasoned artist, mastering the Quickline tool will take your digital art to the next level.
Conclusion
Mastering the art of coloring inside the lines in Procreate is a skill that can elevate your digital artwork to the next level. By understanding the various techniques and tools available in the app, you can create precise and professional-looking illustrations.
Throughout this article, we have explored the different methods you can use to color inside the lines, such as using the selection tools, adjusting the brush settings, and utilizing the color drop feature. We have also discussed tips and tricks to help you achieve clean and seamless coloring, like zooming in for precision and using layer masks.
With practice, patience, and attention to detail, you can become a pro at coloring inside the lines in Procreate. Keep experimenting, exploring new techniques, and pushing the boundaries of your creativity. So go ahead, unleash your artistic potential, and let your imagination run wild!
FAQs
1. Can I use Procreate on my Android phone?
No, Procreate is currently only available for iOS devices, such as iPhones and iPads. There is no official version of Procreate for Android devices at the moment.
2. Is drawing in Procreate easy for beginners?
Yes, Procreate is known for its user-friendly interface and intuitive drawing tools, making it suitable for beginners. It provides a variety of brushes, layers, and settings that can be easily explored and utilized to create stunning artworks.
3. Can I import and export my work in Procreate?
Absolutely! Procreate allows you to import and export your work in various formats, such as PSD, JPEG, PNG, and TIFF. This makes it easy for you to collaborate with others or share your artwork across different platforms.
4. How do I color inside the lines in Procreate?
To color inside the lines in Procreate, you can make use of the selection and clipping mask tools. First, use the selection tool to outline the area you want to color. Then, create a new layer above your line art layer and set it to “Clipping Mask.” Finally, color within the selected area on the new layer, and the color will only appear within the boundaries of your selection.
5. Can I customize brushes in Procreate?
Yes, Procreate offers extensive customization options for brushes. You can adjust the size, opacity, flow, and other settings of each brush to suit your preferences. Additionally, you can create your own custom brushes by modifying existing ones or starting from scratch. This allows for endless possibilities and personalization in your artistic creations.