
If you’re an avid user of the popular digital art app Procreate, you may have found yourself wanting to customize the line colors in your artwork. Whether it’s to add a personal touch to your illustrations or to make certain elements stand out, changing line colors can significantly enhance your artwork. In this comprehensive guide, we will walk you through the step-by-step process of changing line colors in Procreate. From selecting the desired brush to adjusting the color settings, we’ll cover all the essential techniques you need to know. So, whether you’re a beginner or an experienced Procreate user, get ready to take your digital art to the next level by mastering the art of changing line colors in Procreate!
Inside This Article
- Overview of Procreate
- Understanding Line Colors in Procreate
- Different Methods to Change Line Color in Procreate
- Method 1: Using the Color Panel
- Method 2: Utilizing the Layers Tab
- Method 3: Applying Blend Modes
- Method 4: Adjusting Opacity and Brush Settings
- Conclusion
- FAQs
Overview of Procreate
Procreate is a popular digital art application designed specifically for iPad users. With its powerful features and user-friendly interface, Procreate has gained a significant following among artists, illustrators, and designers. It offers a wide range of tools and options, allowing users to create stunning artwork, illustrations, and designs digitally.
One of the key features that sets Procreate apart is its extensive brush library. It offers a diverse range of brushes, allowing artists to replicate different styles and textures with ease. From traditional brushes to digital brushes, Procreate provides a comprehensive selection to suit every artist’s needs.
Procreate also boasts an impressive layering system, enabling artists to work on separate layers and make precise adjustments. This feature is particularly useful for complex artwork or when making changes without affecting the entire composition. It allows for greater flexibility and experimentation in the creative process.
In addition to its robust tools, Procreate offers a variety of useful features such as a customizable interface, gesture-based shortcuts, and the ability to record time-lapse videos of the creative process. These features enhance productivity and allow artists to easily share their artistic journey with others.
Procreate supports high-resolution canvases, which ensures that the artwork created on the iPad looks stunning even when printed or displayed on larger screens. It also offers export options such as PNG, JPEG, PSD, and PDF, making it convenient to share or transfer artwork to other devices or formats.
Whether you’re a professional artist or just starting with digital art, Procreate is a versatile and powerful tool that can unleash your creativity. Its intuitive interface, extensive brush library, and various features make it an excellent choice for artists looking to elevate their digital art game.
Understanding Line Colors in Procreate
When it comes to digital art, Procreate is a powerful and popular choice for artists and designers. One of the key aspects of creating stunning artwork in Procreate is understanding how to manipulate line colors. Line colors can greatly impact the overall look and feel of your artwork, adding depth, contrast, and visual interest.
Line colors refer to the colors used to define the outlines or strokes in your artwork. They can be used to create emphasis, separate different elements, or add detail. Understanding how to effectively use line colors in Procreate can elevate your artwork and bring it to life.
Procreate offers a wide range of tools and features to help you change line colors according to your artistic vision. Whether you want to experiment with different hues, adjust opacity, or explore blend modes, Procreate gives you the flexibility to achieve the desired effect.
By understanding the different methods available in Procreate to change line colors, you can unlock a world of creative possibilities. Let’s explore some of the ways you can manipulate line colors in Procreate and enhance your artwork.
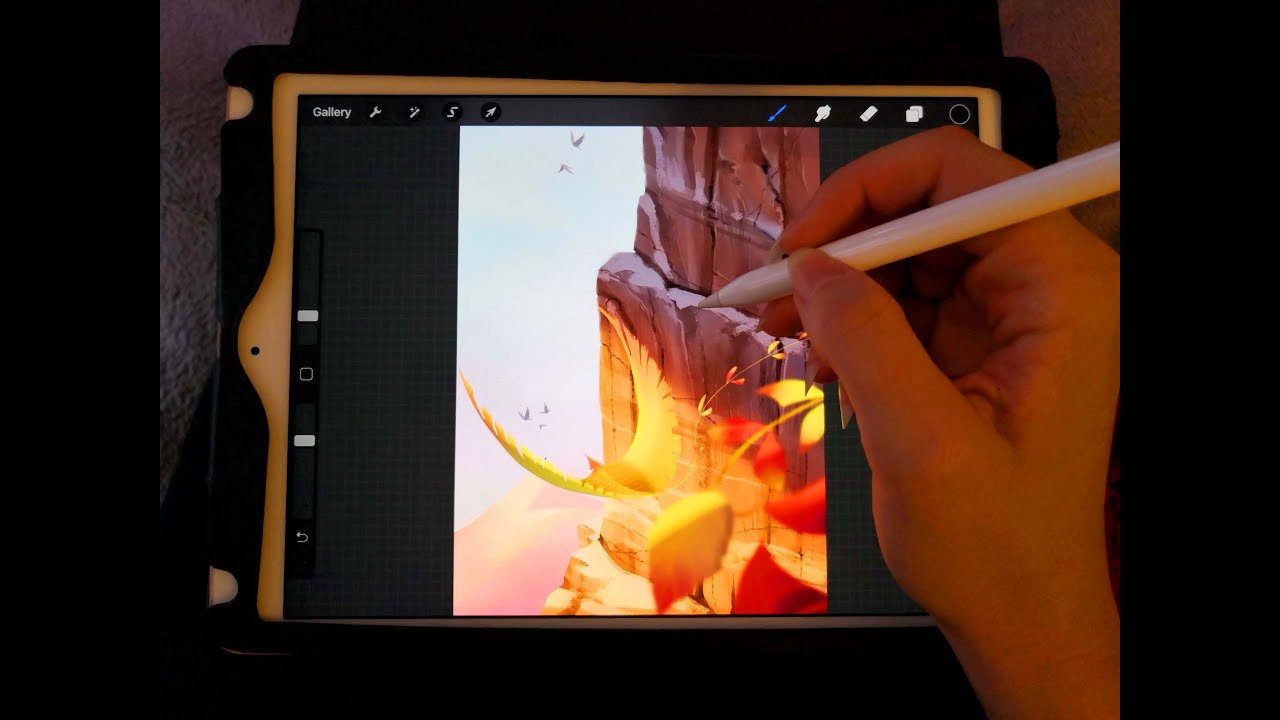
Method 1: Using the Color Panel
The easiest way to change line colors in Procreate is by using the color panel. This panel allows you to select any color you desire from the color wheel or input a specific color value. Simply select the line or stroke you want to change, tap on the color panel, choose your desired color, and watch as the line color transforms before your eyes.
Method 2: Utilizing the Layers Tab
Another method to change line colors in Procreate is by utilizing the layers tab. Each line or stroke in your artwork is typically on its own separate layer. By selecting the specific layer and modifying its color using the color panel, you can change the line color while keeping the rest of your artwork intact.
Method 3: Applying Blend Modes
Blend modes are another powerful tool in Procreate that can be used to change line colors effectively. By experimenting with different blend modes, you can create interesting and unique color effects. Simply select the line or stroke, go to the blend mode option, and choose from the various blending options available to achieve the desired color transformation.
Method 4: Adjusting Opacity and Brush Settings
Opacity and brush settings play a significant role in determining the intensity and transparency of line colors in Procreate. By adjusting the opacity of a specific line or stroke, you can create subtle or bold color variations. Additionally, changing brush settings like size, opacity, and flow can also impact the line colors and overall appearance of your artwork.
Different Methods to Change Line Color in Procreate
If you’re an artist or designer using the Procreate app, you may be wondering how to change the line color in your creations. Luckily, Procreate offers a variety of methods to customize the color of your lines, allowing you to add depth, detail, and visual interest to your artwork. In this article, we will explore different methods to change line color in Procreate and unleash your creativity.
Method 1: Using the Color Panel
The Color Panel is the most straightforward and direct way to change line color in Procreate. To access it, tap on the Color icon located at the top right corner of the screen. The Color Panel will appear, displaying a wide range of colors to choose from. You can select a color by tapping on it, or use the sliders to create a custom color. Once you’ve chosen your desired line color, simply start drawing or painting with your preferred brush, and the lines will appear in the selected color.
Method 2: Utilizing the Layers Tab
Another method to change line color in Procreate is by utilizing the Layers tab. By creating a new layer specifically for your lines, you can easily adjust their color while keeping the rest of your artwork intact. To do this, tap on the Layers icon located on the top right corner of the screen. Then, tap on the ‘+’ icon to create a new layer. Select the newly created layer, tap on the color swatch, and choose the desired line color from the Color Panel. Now, any strokes or lines made on this layer will be in the selected color, allowing you to experiment and make changes as needed.
Method 3: Applying Blend Modes
The Blend Modes in Procreate offer a unique way to change line color and add various effects to your artwork. To access the Blend Modes, tap on the layer where your lines are located, and then tap on the ‘N’ icon for the layer properties. From there, you can experiment with different Blend Modes by selecting the desired option. Each Blend Mode will interact differently with the colors and layers below, resulting in different line colors and effects. This method allows you to create interesting and dynamic compositions by blending colors in unique ways.
Method 4: Adjusting Opacity and Brush Settings
You can also change line color in Procreate by adjusting the opacity and brush settings. By reducing the opacity of your brush, you can create lighter and more transparent lines. Combine this with different brush settings such as size, shape, and texture, and you can achieve a wide range of line colors and effects. Experiment with different brush combinations and opacity levels to find the perfect line color for your artwork.
Method 1: Using the Color Panel
Procreate offers a user-friendly Color Panel that allows you to easily change the line color of your artwork. This method is simple and straightforward, making it suitable for users of all levels of expertise.
To access the Color Panel in Procreate, you can follow these steps:
- Open your artwork in Procreate.
- On the top right corner of the interface, you will find the Actions menu – tap on it.
- In the Actions menu, navigate to the Color section and select the Color Panel.
- The Color Panel will open, displaying a wide range of colors and options.
Once you have the Color Panel open, you can proceed to change the line color:
- Tap on the color swatch to activate it.
- Browse through the available color options or use the color wheel to select your desired color.
- Once you have selected your desired color, it will automatically be applied to your current brush or pencil tool.
- You can then proceed to use your brush or pencil tool to draw or modify your artwork with the new line color.
Keep in mind that using the Color Panel will change the line color for the currently active brush or pencil tool. If you have multiple brushes or pencil tools, you may need to repeat the process for each one to change their respective line colors.
This method gives you full control over the line color of your artwork, allowing you to experiment and customize your creations until they match your vision.
Now that you know how to use the Color Panel to change line color in Procreate, let’s explore other methods to further enhance your artistic abilities.
Method 2: Utilizing the Layers Tab
When it comes to changing line color in Procreate, one of the most effective methods is by utilizing the Layers tab. This feature allows artists to have full control over the color of specific lines in their artwork.
To get started, open the Layers tab by tapping on the icon located at the top right corner of the screen. The Layers tab shows a list of all the layers present in your artwork.
Once you have the Layers tab open, locate the layer that contains the line you want to change the color of. Tap on the layer to select it.
After selecting the layer, you will notice several options appear at the top of the Layers tab. Look for the ‘Blend’ mode option, which resembles a drop-down menu. Tap on it to reveal a list of different blending options.
Scroll through the blending options until you find the one that best suits your needs. Each blending option has a unique effect on how the color of the layer interacts with the layers below it.
Once you have chosen a blending option, it’s time to adjust the color. Tap on the color swatch next to the blend mode option to open the color picker. Here, you can choose a new color for the line.
Use your finger or an Apple Pencil to select the desired color from the color picker. As you choose different colors, you will see the line color change in real-time on your canvas.
After selecting the new color, you can proceed to make any additional adjustments, such as brightness, saturation, or opacity. These options can be accessed by tapping on the ‘Adjustments’ icon located next to the color swatch.
Once you are satisfied with the changes you have made, simply tap outside of the Layers tab to apply the new color to your line. You can always go back and modify the color or blending options later if needed.
Utilizing the Layers tab in Procreate gives you the flexibility and control to change line colors effortlessly. It allows you to experiment with different colors and blending modes to achieve the desired look for your artwork.
Method 3: Applying Blend Modes
Blend modes in Procreate allow you to combine different layers and colors in unique and creative ways. By applying blend modes to your line layers, you can easily change their color and achieve stunning visual effects. Let’s take a closer look at how to use blend modes to change line color in Procreate.
To apply blend modes, start by selecting the layer that contains your lines. You can do this by tapping on the layer in the Layers tab. Once the layer is selected, tap on the “Blend Modes” icon, which looks like two stacked squares, located at the top right corner of the screen.
A pop-up menu will appear, showcasing a variety of blend modes. Each blend mode has a different effect on how the colors of the selected layer interact with the layers beneath it. Some blend modes create lighter or darker lines, while others create more vibrant or subtle colors.
Experiment with different blend modes to find the one that best suits your desired line color. Simply tap on a blend mode to apply it and instantly see the changes to your line layer. You can also adjust the opacity of the line layer to further enhance the desired effect.
Some popular blend modes for changing line color include:
- Overlay: This blend mode adds contrast and saturation to the lines, making them more vibrant.
- Multiply: This blend mode multiplies the line color with the colors on the layers beneath it, creating a darker tone.
- Add: This blend mode adds the line color on top of the colors below, resulting in a brighter and more intense color.
Remember, blend modes can be combined with other tools and techniques in Procreate to create even more dynamic line colors and effects. Don’t be afraid to experiment and unleash your creativity!
Method 4: Adjusting Opacity and Brush Settings
Another effective way to change line color in Procreate is by adjusting the opacity and brush settings. This method allows you to control the transparency of the lines and customize the appearance of your artwork.
To begin, select the brush tool from the toolbar and choose the desired brush from the brush library. Once you have selected the brush, you can adjust its opacity by using the Opacity slider located in the brush settings menu.
By reducing the opacity, you can create subtle and more transparent lines. On the other hand, increasing the opacity will make the lines more solid and opaque.
Additionally, you can experiment with different brush settings such as size, shape, and texture to further modify the line color. Procreate offers a wide range of brush options that allow you to achieve various effects and styles.
For example, you can choose a brush with a textured or grunge-like appearance to add depth and character to your lines. By adjusting the brush settings, you have the flexibility to create unique and customized line colors that suit your artistic vision.
Keep in mind that adjusting the opacity and brush settings can be done on individual layers, allowing you to have different line colors within a single artwork. This gives you the freedom to experiment and create diverse visual effects.
Remember to save your progress regularly while experimenting with opacity and brush settings. This ensures that you can easily revert to a previous state if you are not satisfied with the changes made.
Conclusion
In conclusion, being able to change line colors in Procreate is a valuable skill for digital artists and creative professionals. By following the simple steps outlined in this article, you can easily modify the color of your lines to achieve the desired effects in your artwork. Whether you want to add depth, create contrast, or simply experiment with different line styles, Procreate offers a range of tools and options to help you achieve your artistic vision. Remember to consider the overall composition and color scheme of your artwork when selecting line colors, as this can greatly impact the final result. With practice and experimentation, you’ll be able to confidently use Procreate to create stunning digital illustrations that showcase your unique artistic style.
FAQs
-
Can I change the line color in Procreate?
Absolutely! In Procreate, you have the ability to change the line color easily. Whether you’re working on a digital painting, lettering, or any other artistic creation, you can customize the line color to suit your preferences. Procreate offers a wide range of color options and various tools for seamless customization.
-
How do I change the line color in Procreate?
To change the line color in Procreate, follow these simple steps:
1. Select the Brush tool from the toolbar.
2. Tap on the brush settings icon located at the top right corner.
3. In the Brush Studio, tap on the Color tab.
4. You’ll see a color wheel where you can select the desired line color.
5. Alternatively, you can also pick a color from the palette or use the sliders to create a custom color.
6. Once you’ve chosen the desired color, it will automatically be applied to the line color of your brush. -
Can I change the line color for specific parts of my artwork in Procreate?
Yes, you can change the line color for specific parts of your artwork in Procreate. Procreate offers various selection tools that allow you to isolate specific areas or elements of your artwork. Once you’ve selected the desired area, you can then change the line color using the aforementioned steps. This gives you more flexibility and control over the color scheme of your artwork.
-
Is it possible to change the line color of imported images in Procreate?
Yes, Procreate allows you to change the line color of imported images. After importing an image into Procreate, use the selection tools to isolate the areas with the lines you want to change. Once selected, follow the same steps mentioned earlier to change the line color. Procreate’s advanced layer system ensures that the changes you make to the line color do not affect the original imported image, giving you the freedom to experiment and make adjustments without permanently altering the source.
-
Can I revert the line color changes in Procreate?
Indeed! If at any point you want to revert the line color changes in Procreate, you can easily do so. Simply access the Brush Studio, select the brush you’ve been using, and reset the color settings to the default. This will restore the original line color of the brush. Alternatively, you can also create a new layer and draw over the lines using the desired colors, leaving the original lines intact.