
Are you a digital artist looking to take your creativity to the next level? If so, Procreate is the perfect software for you. As a highly advanced and intuitive digital art application, Procreate offers a wide range of tools and features that allow artists to create stunning illustrations and designs on their cell phones. Whether you’re a professional artist or just starting out, Procreate provides a seamless and immersive digital art experience.
In this article, we will explore how to effectively use Procreate on your cell phone. From mastering the basic tools to advanced techniques, we’ll guide you through the process of creating amazing artwork. So grab your cell phone, open up Procreate, and get ready to unleash your artistic potential!
Inside This Article
- Understanding the Lasso Tool in Procreate
- Selecting and Deselecting with the Lasso Tool
- Using the Lasso Tool for Freehand Selection
- Applying Transformations and Editing with the Lasso Tool
- Conclusion
- FAQs
Understanding the Lasso Tool in Procreate
The Lasso Tool is a powerful feature in Procreate that allows you to make precise selections and edits in your artwork. It is a versatile tool that can be used for various purposes, such as isolating specific elements, removing backgrounds, or applying effects to specific areas.
With the Lasso Tool, you can draw custom shapes and create selections by tracing the outlines of your desired area. This makes it easier to accurately select complex or irregular shapes in your artwork.
One of the key benefits of the Lasso Tool is its flexibility. It offers three different modes: Freehand, Polygonal, and Magnetic. Each mode has its own unique characteristics and advantages, giving you the freedom to choose the one that best suits your needs.
The Freehand mode allows you to make selections by drawing freehand lines around the area you want to select. This mode is ideal for creating smooth and organic selections, such as selecting objects or characters in your artwork.
The Polygonal mode, on the other hand, enables you to create selections by connecting straight line segments. This mode is great for selecting elements with straight edges or sharp angles, such as buildings or geometric shapes.
The Magnetic mode in the Lasso Tool automatically snaps to the edges of your artwork, making it easier to create selections with precision. This mode is particularly useful when you want to make selections along the contours of objects or when dealing with intricate details.
Understanding the different modes of the Lasso Tool allows you to have greater control over your selections and achieve the desired editing results in Procreate.
Selecting and Deselecting with the Lasso Tool
The Lasso Tool in Procreate is a powerful feature that allows you to select specific areas of your artwork with precision. This tool is particularly useful when you want to isolate and manipulate specific elements within your composition.
To select an area using the Lasso Tool, start by tapping on the toolbar at the top of the screen and selecting the Lasso icon. Once selected, you can then choose between three different modes: Standard, Polygonal, or Magnetic.
In the Standard mode, you can freely draw around the area you want to select by dragging your finger or stylus across the screen. The tool will create a selection based on the path you draw, allowing you to enclose the desired area.
If you prefer more precise selections, the Polygonal mode might be the best choice. With this mode, each tap of your finger or stylus creates a straight line. Simply tap around the area you want to select, and the tool will automatically connect the lines to create the selection.
If you’re working with complex shapes or want to select objects with more defined edges, the Magnetic mode can be a lifesaver. This mode uses artificial intelligence to snap the selection to the edges of your artwork, making it ideal for selecting intricate details with ease.
To deselect an area that you’ve already selected, simply tap outside of the selection or tap the “Deselect” button in the options panel. This will remove the current selection and allow you to start fresh.
If you need to make adjustments to your selection, such as adding more area or subtracting unwanted areas, you can use the “Add” and “Subtract” buttons in the options panel. These buttons allow you to refine your selection by drawing over or erasing parts of the existing selection.
The Lasso Tool in Procreate also offers additional features such as feathering, which allows you to soften the edges of your selection, and inverting the selection, which allows you to select everything except the area you initially chose.
By mastering the art of selecting and deselecting with the Lasso Tool in Procreate, you can effectively harness its power to enhance your digital artwork and take your creativity to new heights.
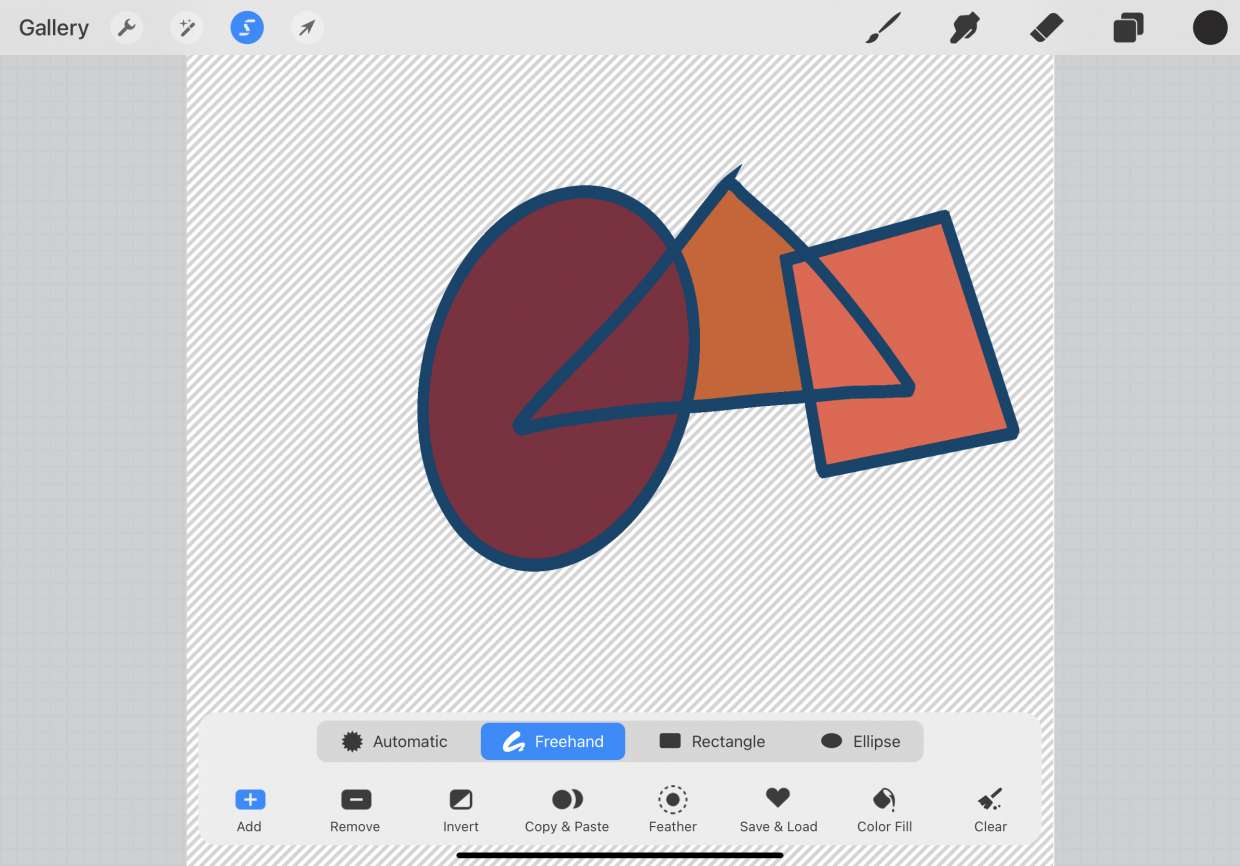
Using the Lasso Tool for Freehand Selection
One of the powerful features of the Lasso tool in Procreate is its ability to make freehand selections. With the freehand selection mode, you have total control over the area you want to select, allowing for precise and intricate selections.
To use the Lasso tool for freehand selection, simply select the Lasso tool from the toolbar. It is usually represented by an icon that resembles a loop or a lasso. Once you have the Lasso tool selected, you can start making your freehand selection by dragging your finger or stylus on the screen.
As you drag your finger or stylus, a line will be drawn along the path you are tracing. This line represents the boundary of your selection. Take your time and carefully outline the area you want to select. You can also use small strokes for more precise selections.
Procreate offers a feature called “Smart Selection” which helps in refining your freehand selection. This feature automatically adjusts the selection by detecting and correcting any irregularities or inaccuracies in your drawing. It ensures that your selection follows the contours of the objects more accurately.
If you make a mistake while creating your freehand selection, don’t worry! Procreate provides the option to undo or redo your actions. Simply tap on the undo or redo buttons in the top toolbar to correct any errors or changes you made during the selection process.
Once you have completed your freehand selection, you can perform various actions on the selected area such as move, resize, rotate, or apply specific effects or adjustments. Procreate offers a wide range of editing tools that you can use to enhance your selection and create stunning digital artworks.
Remember to experiment with different techniques and settings to achieve the desired effects. With practice, you will be able to master the use of the Lasso tool for freehand selection, opening up endless possibilities for your digital artwork.
Applying Transformations and Editing with the Lasso Tool
Once you have made your desired selection using the Lasso Tool in Procreate, you can take advantage of a range of transformations and editing options to make adjustments and enhancements to your artwork. Let’s explore some of the ways you can utilize the Lasso Tool for these purposes.
1. Moving and repositioning: After selecting an element with the Lasso Tool, you can easily move it to a different location within your canvas. Simply tap and hold within the selected area, then drag it to the desired position. This allows you to effortlessly rearrange your artwork and experiment with different compositions.
2. Resizing and scaling: With the Lasso Tool, you can also resize and scale your selected element. Once you have made the selection, use two fingers to pinch or spread apart on the screen to adjust the size. This is especially useful when you want to make a part of your artwork larger or smaller without affecting the rest of the composition.
3. Rotating and flipping: Another transformation option available with the Lasso Tool is the ability to rotate and flip your selection. To rotate, place two fingers on the screen and twist in a clockwise or counterclockwise motion. To flip, tap on the “Transform” button and select the desired flip option. These tools allow you to create different perspectives and variations within your artwork.
4. Adjusting opacity and blending modes: Procreate offers the flexibility to adjust the opacity of your selected element. This allows you to control the transparency and blending of the selection with the rest of your artwork. You can tweak the opacity slider in the Layers panel to achieve the desired effect.
5. Applying filters and effects: The Lasso Tool in Procreate opens up a world of creative possibilities by enabling you to apply various filters and effects to your selected element. Explore the different options available in the Adjustments and Actions menus to add depth, textures, or stylized effects to your artwork.
6. Editing specific areas: The Lasso Tool is not limited to making overall adjustments; it also allows you to edit specific areas of your selection. After making the selection, use the brushes, erasers, and other editing tools to refine or make changes to the selected element selectively. This level of precision gives you control over every detail in your artwork.
Conclusion
In conclusion, Procreate is a powerful and versatile digital art software that offers a wide range of features for artists and designers. With its intuitive interface, extensive toolset, and seamless integration with iPads, it has become a go-to application for many professionals in the digital art world.
Whether you are a beginner or an experienced artist, Procreate provides the tools and resources you need to unleash your creativity and bring your digital artwork to life. From its customizable brushes and layering capabilities to its advanced masking and blending options, Procreate offers endless possibilities for creating stunning visual masterpieces.
By taking advantage of Procreate’s features, you can take your digital art to new heights and explore new techniques and styles. So why wait? Dive into Procreate today and unlock the full potential of your artistic abilities.
FAQs
1. What is Procreate?
Procreate is a powerful and user-friendly digital painting app available exclusively for the iPad. It offers a wide range of tools and features that allow artists and enthusiasts to create stunning artwork with ease.
2. Can Procreate be used on iPhones or Android devices?
Unfortunately, Procreate is only compatible with iPads due to its specialized design and optimization for Apple’s hardware and software. At this time, there is no official version of Procreate available for iPhones or Android devices.
3. How much does Procreate cost?
Procreate is a paid app with a one-time purchase price. As of writing this article, Procreate is available on the App Store for $9.99. This is a relatively affordable price considering the extensive range of features and capabilities that the app offers.
4. Is Procreate suitable for beginners or only for experienced artists?
Procreate is suitable for artists of all skill levels, including beginners. The app’s intuitive interface and comprehensive set of tools make it accessible for artists who are just starting their digital art journey. Additionally, Procreate provides a wealth of online tutorials and resources to help users learn and improve their skills.
5. Can Procreate replace traditional art tools?
While Procreate provides a wide range of digital art tools and capabilities, it’s important to note that it does not fully replace traditional art tools. The tactile experience and unique characteristics of traditional mediums such as pencils, paints, and brushes cannot be replicated digitally. However, Procreate offers a convenient and versatile alternative for artists to experiment and create digital art.