
Are you looking for a simple and convenient way to share a folder from the Notes app on your iPhone? Look no further! In this article, we will guide you step-by-step on how to easily share a folder from the Notes app, allowing you to collaborate with others and keep everyone on the same page. Whether you’re working on a group project, planning an event, or simply want to share some notes with your friends or colleagues, sharing a folder from the Notes app is a great way to ensure efficient and effective communication. We’ll walk you through the process, from accessing the Notes app to inviting others to view and edit the shared folder. So, let’s dive in and explore the seamless world of folder sharing in the Notes app on your iPhone!
Inside This Article
- Enable iCloud Sync for Notes
- Create a New Folder in the Notes App
- Move Notes into the Shared Folder
- Invite Others to Collaborate on the Shared Folder
- Conclusion
- FAQs
Enable iCloud Sync for Notes
If you want to share a folder from the Notes app on your iPhone, the first step is to ensure that iCloud sync is enabled for your Notes. iCloud sync allows your notes to stay updated across all your Apple devices. To enable iCloud sync for Notes, follow the steps below:
1. Open the “Settings” app on your iPhone.
2. Scroll down and tap on “Apple ID” or your name at the top of the screen.
3. Tap on “iCloud”.
4. Slide the switch next to “Notes” to the right to enable iCloud sync for Notes.
5. If prompted, choose whether to merge existing notes or keep them separate, based on your preference.
By enabling iCloud sync for Notes, you ensure that any changes made to the shared folder will sync across all your Apple devices, allowing for seamless collaboration.
Create a New Folder in the Notes App
If you’re looking to organize your notes in the Notes app on your iPhone, creating a new folder is a great way to keep everything neat and tidy. Having folders allows you to categorize your notes and easily find the information you need. Here’s how you can create a new folder in the Notes app:
- Open the Notes app on your iPhone. It’s the yellow icon with a white notepad on it.
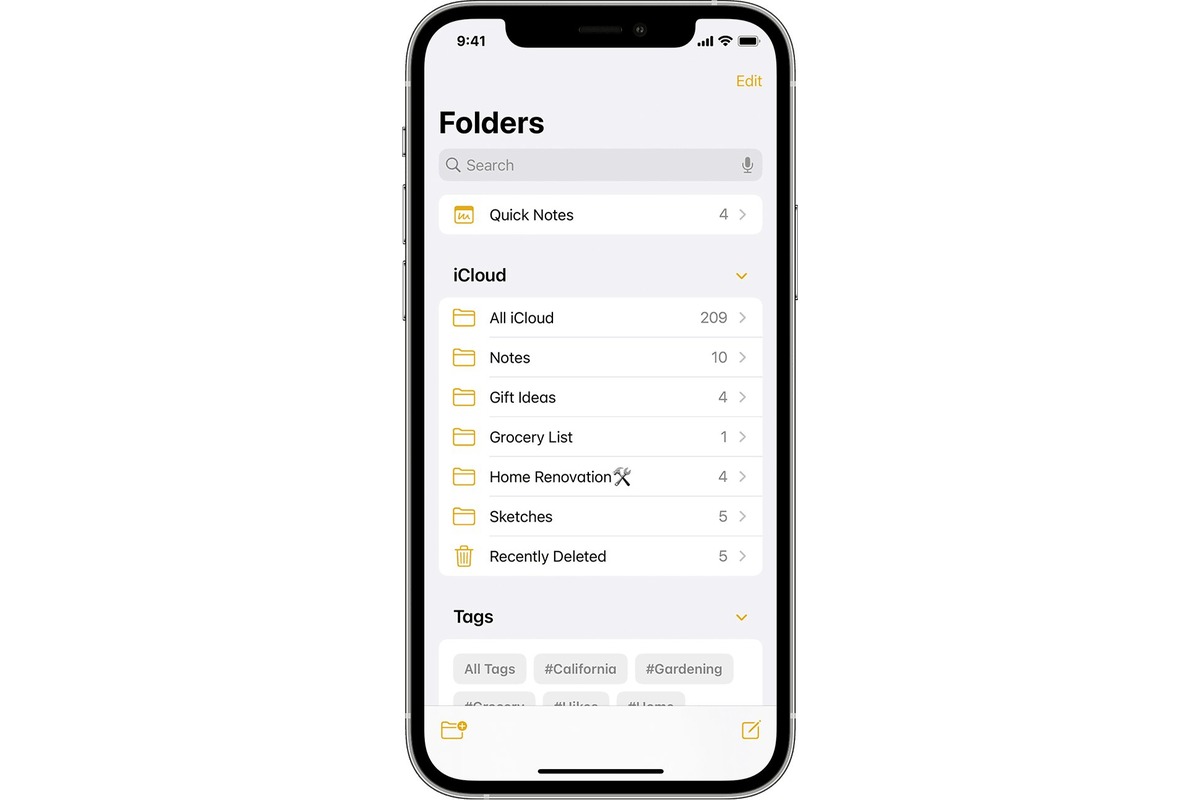
- Tap on the “Folders” button located at the bottom center of the screen. It looks like a folder.
- On the next screen, you’ll see a list of existing folders. At the top right corner, tap on the “New Folder” button represented by a “+” symbol.
- A pop-up window will appear, prompting you to enter a name for your new folder. Type in a descriptive name that reflects the contents of the folder.
- Once you’ve entered the folder name, tap “Save” at the top right corner of the screen.
And that’s it! You have successfully created a new folder in the Notes app on your iPhone. You can now start adding notes to your newly created folder for easy organization and access.
It’s worth noting that you can also customize the appearance of your folder by tapping on the “…” button next to the folder name and selecting “Edit Folder” from the options. From there, you can change the folder’s default color.
Creating folders in the Notes app is not only a great way to keep your notes organized but it also helps you stay productive by quickly locating and accessing your information. Whether you’re a student, professional, or just someone who loves taking notes, using folders in the Notes app can greatly simplify your digital life.
Move Notes into the Shared Folder
Once you have created a shared folder in the Notes app on your iPhone, the next step is to start moving your existing notes into that folder. Here’s how you can do it:
1. Open the Notes app on your iPhone and navigate to the main Notes screen.
2. Locate the note that you want to move to the shared folder.
3. Tap on the note to open it.
4. At the top-right corner of the note, you will see a share button (depicted as a square with an upward arrow). Tap on it.
5. In the share sheet that appears, scroll through the options and tap on “Move to Folder”.
6. A list of all your folders will be displayed. Scroll down and find the shared folder you created earlier.
7. Tap on the shared folder to select it.
8. Once you have selected the shared folder, tap on the “Move” button located at the top-right corner of the screen.
9. After tapping on “Move”, the note will be instantly moved from its original location to the shared folder you selected.
10. Repeat these steps for each note you want to move into the shared folder.
By following these simple steps, you can easily move your existing notes into the shared folder in the Notes app on your iPhone. This will enable you to collaborate and share your notes with others seamlessly.
Invite Others to Collaborate on the Shared Folder
Once you have created a shared folder in the Notes app on your iPhone, you can invite others to collaborate and contribute to the notes within that folder. Collaborating on a shared folder can be extremely beneficial, especially for teams and groups working on a project or for individuals who want to share and exchange information with others.
To invite others to collaborate on the shared folder, follow these simple steps:
- Open the Notes app on your iPhone and navigate to the shared folder you want to invite others to.
- Tap on the “Share” button located at the top right corner of the screen. The “Share” button is represented by an icon that looks like a person with a plus sign.
- In the sharing options menu, you will see a list of contacts and messaging apps. You can choose to invite others via their email address or phone number, or through messaging apps like iMessage or WhatsApp. You can also use the search bar to find specific contacts quickly.
- Select the desired contact or app you want to use for the invitation. If you are sending an invitation through email or messaging apps, you can compose a custom message to explain the purpose and details of the collaboration.
- Once you have selected the recipient(s) and composed the message (if applicable), tap on the “Send” button to send out the invitation.
The invited recipient(s) will receive a notification or message containing the invitation to collaborate on the shared folder. They can accept the invitation and start collaborating by accessing the shared folder in their own Notes app.
It is important to note that when others accept your invitation to collaborate on a shared folder, they will be able to view, edit, and add notes within that folder. This allows for real-time collaboration and seamless information sharing among team members or collaborators.
If at any point you want to revoke someone’s access to the shared folder, you can simply go back to the “Share” menu in the Notes app, locate the contact or app you want to remove, and tap on the “Stop Sharing” option.
By inviting others to collaborate on a shared folder in the Notes app on your iPhone, you can foster teamwork, improve productivity, and effortlessly share information and ideas with others. So go ahead and start collaborating today!
Conclusion
Sharing folders from the Notes app on your iPhone is a convenient way to collaborate and distribute information with others. Whether you want to work on a project with colleagues, share recipes with friends, or collaborate on a study guide with classmates, the Notes app makes it easy to share and access files.
By following the steps outlined in this guide, you can quickly and easily share folders from the Notes app on your iPhone. Remember to customize the access levels for each collaborator and make sure to revoke any unnecessary access when you’re done.
With the ability to share folders from the Notes app, you can streamline your collaboration process and keep everyone in the loop. Whether you’re planning a trip, organizing a team project, or simply sharing your thoughts, the Notes app will help you stay organized and connected with others.
So why wait? Start sharing folders from the Notes app today and enjoy seamless collaboration on your iPhone!
FAQs
1. Can I share a folder from the Notes app on my iPhone?
Yes, you can share a folder from the Notes app on your iPhone. The Notes app allows you to collaborate and share your notes with family, friends, or colleagues.
2. How do I share a folder from the Notes app on my iPhone?
To share a folder from the Notes app on your iPhone, follow these steps:
– Open the Notes app on your iPhone.
– Tap on the folder you want to share.
– Tap on the “…” (more options) button.
– Select “Add People” from the menu.
– Choose how you want to share the folder (via AirDrop, Messages, Mail, etc.) and follow the prompts to share the folder with others.
3. Can I control who can access the shared folder from the Notes app on my iPhone?
Yes, you have control over who can access the shared folder from the Notes app on your iPhone. When you share a folder, you can choose to give specific people access or generate a sharable link that can be accessed by anyone with the link.
4. Can I collaborate in real-time with others on a shared folder from the Notes app on my iPhone?
Yes, collaboration in real-time is possible with others on a shared folder from the Notes app on your iPhone. When you share a folder, all participants can view, edit, and add content to the shared notes simultaneously.
5. How can I stop sharing a folder from the Notes app on my iPhone?
To stop sharing a folder from the Notes app on your iPhone, follow these steps:
– Open the Notes app on your iPhone.
– Tap on the folder you want to stop sharing.
– Tap on the “…” (more options) button.
– Select “Stop Sharing” from the menu.
– Confirm your decision to stop sharing the folder.