
Sure, here's the introduction in HTML format:
html
Are you looking to enhance the security of your iPhone 11? Changing your passcode regularly is a smart practice to keep your device and personal data safe from unauthorized access. In this comprehensive guide, you’ll learn the step-by-step process to change your passcode on your iPhone 11. Whether you’re looking to update your existing passcode or create a new one, this article will walk you through the entire process, ensuring that your device remains secure and your privacy is protected. Let’s dive in and explore the simple yet crucial steps to change your iPhone 11 passcode.
Inside This Article
- Step 1: Accessing Passcode Settings
- Step 2: Changing Your Passcode
- Step 3: Verifying the New Passcode
- Step 4: Additional Security Features
- Conclusion
- FAQs
Step 1: Accessing Passcode Settings
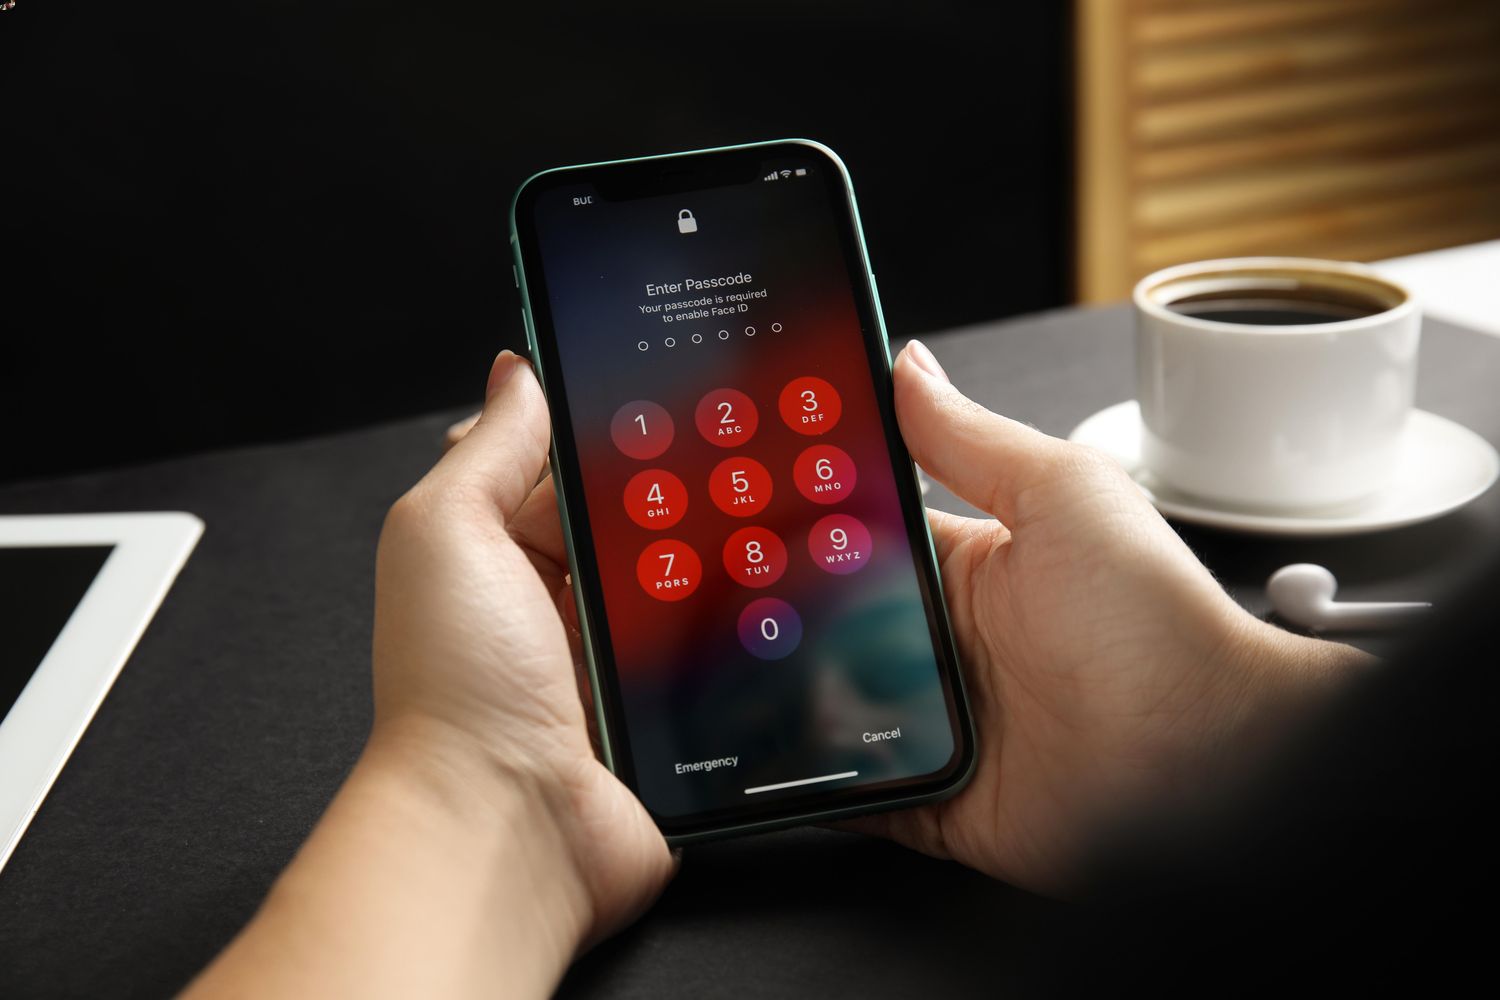
Changing your iPhone’s passcode is an essential step in ensuring the security of your device. To begin, navigate to the “Settings” app, which is represented by a gear icon. This app is where you can customize various aspects of your iPhone, including the passcode settings.
Upon opening the “Settings” app, scroll down and look for the “Face ID & Passcode” or “Touch ID & Passcode” option, depending on the model of your iPhone. Tap on this option to proceed to the passcode settings. You may be prompted to enter your current passcode or use Touch ID or Face ID to authenticate your access to this section.
Once you have successfully entered the passcode or used biometric authentication, you will gain access to the passcode settings, where you can modify and enhance the security of your device by changing the passcode and exploring additional security features.
Step 2: Changing Your Passcode
Changing your passcode is a crucial aspect of maintaining the security of your iPhone 11. Whether you want to update your passcode for enhanced security or simply wish to personalize it, the process is straightforward and can be completed in just a few simple steps.
To change your passcode, start by navigating to the “Settings” app on your iPhone 11. Once you’re in the Settings menu, scroll down and tap on “Face ID & Passcode” or “Touch ID & Passcode,” depending on the biometric security feature your device supports.
Next, you’ll be prompted to enter your current passcode to proceed. After entering your existing passcode, you can select the “Change Passcode” option. You may be asked to enter your current passcode again to authorize the change.
Following this, you’ll be directed to enter your new passcode. It’s important to create a unique and secure passcode to safeguard your device. Consider using a combination of numbers, letters, and special characters to enhance the strength of your passcode.
Once you’ve entered your new passcode, you’ll be prompted to verify it by entering the same passcode again. This step ensures that you haven’t made any errors while entering the new passcode, providing you with peace of mind that your updated passcode is accurate.
After successfully verifying your new passcode, your iPhone 11 will confirm the change, and your updated passcode will be in effect immediately. It’s essential to remember your new passcode to ensure seamless access to your device while maintaining its security.
Step 3: Verifying the New Passcode
Once you’ve entered your new passcode, the next step is to verify it. This ensures that you haven’t made any mistakes in the previous step and that the new passcode is set up correctly. Verifying your passcode is crucial for ensuring the security of your iPhone 11.
After entering the new passcode, you will be prompted to re-enter it for verification. This is a simple yet important step to confirm that the passcode you’ve chosen is accurately entered and will be used to unlock your device. Make sure to carefully input the passcode again to avoid any discrepancies.
Upon successful verification, your new passcode will be officially set. You can now proceed with confidence, knowing that your iPhone 11 is secured with a passcode that you have personally chosen and verified. This added layer of security helps protect your personal data and privacy from unauthorized access.
Step 4: Additional Security Features
Aside from changing your passcode, the iPhone 11 offers a range of additional security features to safeguard your device and personal data. These features are designed to provide enhanced protection and peace of mind.
One notable security feature is the option to enable two-factor authentication. By activating this feature, you add an extra layer of security to your device. In addition to entering your passcode, you’ll need to verify your identity through a secondary method, such as a trusted device or phone number. This significantly reduces the risk of unauthorized access to your iPhone 11.
Furthermore, the iPhone 11 allows you to configure Touch ID or Face ID, depending on the model. These biometric authentication methods provide a convenient and secure way to unlock your device and authorize transactions. By utilizing unique physical characteristics, such as your fingerprint or facial features, these features offer robust protection against unauthorized access.
Another valuable security feature is the ability to remotely lock or erase your device in case it’s lost or stolen. Through the “Find My” app or iCloud website, you can swiftly take action to safeguard your data and prevent unauthorized use of your iPhone 11. This feature provides peace of mind, knowing that your personal information remains secure even if your device is out of your possession.
Moreover, the iPhone 11 offers the option to create a complex alphanumeric passcode, providing an additional layer of defense against unauthorized access. By using a combination of letters, numbers, and special characters, you can create a highly secure passcode that’s challenging for others to guess or crack.
By leveraging these additional security features, you can fortify the protection of your iPhone 11 and your sensitive data, ensuring that your device remains secure in various scenarios.
Conclusion
Changing your passcode on iPhone 11 is a simple yet crucial aspect of maintaining the security and privacy of your device. By following the easy steps outlined in this guide, you can customize your passcode to suit your preferences and enhance the protection of your personal data. Remember, regularly updating your passcode adds an extra layer of security, safeguarding your iPhone from unauthorized access. With the knowledge and confidence gained from this process, you can navigate your iPhone 11 with peace of mind, knowing that your data is secure and your device is fully protected.
FAQs
**Q: Can I change my iPhone 11 passcode to a custom one?**
A: Yes, you can customize your passcode on iPhone 11 to a unique combination that suits your preference and enhances security.
Q: Is it possible to change my passcode without knowing the current one?
A: Yes, you can change your iPhone 11 passcode even if you don't know the current one. This can be done through the device's settings or using iCloud.
Q: Will changing my passcode erase any data on my iPhone 11?
A: No, changing your passcode will not erase any data on your iPhone 11. It only modifies the security access to your device.
Q: How frequently should I change my iPhone 11 passcode for optimal security?
A: It's recommended to change your iPhone 11 passcode periodically, such as every few months, to enhance security and protect your personal information.
Q: Can I use alphanumeric characters in my iPhone 11 passcode?
A: Yes, you can create a passcode using a combination of numbers and letters, including special characters, to strengthen the security of your iPhone 11.