
Setting up email on your iPhone 10 is a seamless process that allows you to stay connected and organized on the go. Whether you use Gmail, Yahoo, Outlook, or another email provider, configuring your accounts on your iPhone 10 can streamline your communication and productivity. In this article, we'll guide you through the steps to set up email on your iPhone 10, ensuring that you can effortlessly send, receive, and manage your emails directly from your device. By the end of this guide, you'll be equipped with the knowledge to access your emails conveniently, keeping you informed and engaged wherever you are. Let's dive in and simplify the process of setting up email on your iPhone 10. Now, let's get started with the steps to set up email on your iPhone 10. Just follow the steps below, and you'll be up and running in no time!
Inside This Article
- Setting Up Email Accounts
- Adding Email Accounts
- Configuring Email Settings
- Managing Email Accounts
- Conclusion
- FAQs
**
Setting Up Email Accounts
**
Setting up email accounts on your iPhone 10 is a straightforward process that allows you to access your emails on the go. Whether you use a personal or professional email, the iPhone 10’s intuitive interface makes the setup seamless and convenient.
The first step in setting up your email account on your iPhone 10 is to navigate to the “Settings” app on your device. Once there, scroll down and tap on “Mail” to access the email settings. From this menu, you can select “Accounts” and then “Add Account” to begin the setup process for your email account.
After tapping “Add Account,” you will be presented with a list of popular email providers such as Google, Yahoo, Outlook, and more. If your email provider is listed, simply select it and enter your email address and password to complete the setup. If your provider is not listed, you can choose “Other” and manually enter the email settings.
Adding Email Accounts
Adding an email account to your iPhone 10 is a straightforward process that allows you to access your emails on the go. Whether it’s a personal or work email, you can easily set it up on your device for quick and convenient access.
To add a new email account, start by tapping on the “Settings” app on your iPhone 10. Scroll down and select “Mail” from the list of options. Next, tap on “Accounts,” followed by “Add Account.”
Choose the type of email account you want to add, such as iCloud, Exchange, Google, Yahoo, or Outlook. Enter the required credentials, including your email address and password, and follow the on-screen instructions to complete the setup process.
Once the account is added, you can customize the email settings to suit your preferences, such as adjusting the sync frequency, enabling notifications, and organizing your inbox. With your email account successfully added to your iPhone 10, you can stay connected and manage your emails with ease.
Configuring Email Settings
Configuring email settings on your iPhone 10 is essential for a seamless email experience. Whether you use Gmail, Outlook, Yahoo, or any other email service, the iPhone 10 offers robust features to customize your email settings to suit your preferences.
Start by opening the Settings app on your iPhone 10 and scroll down to find the “Mail” option. Tap on “Mail” to access the email settings.
Within the “Mail” settings, you can configure various options such as setting up signatures, organizing emails by thread, adjusting notification preferences, and customizing the swipe actions for emails.
Additionally, you can manage your email account’s sync settings, including the frequency of fetching new emails and the period for which to sync emails. These settings can help you conserve battery life while ensuring you receive timely email notifications.
For advanced users, the iPhone 10 also allows the configuration of server settings for incoming and outgoing mail. This is particularly useful when setting up email accounts with custom domains or specific server requirements.
By navigating through the email settings on your iPhone 10, you can tailor the email experience to align with your communication needs and preferences, ensuring that you make the most of your device’s capabilities for managing emails.
**
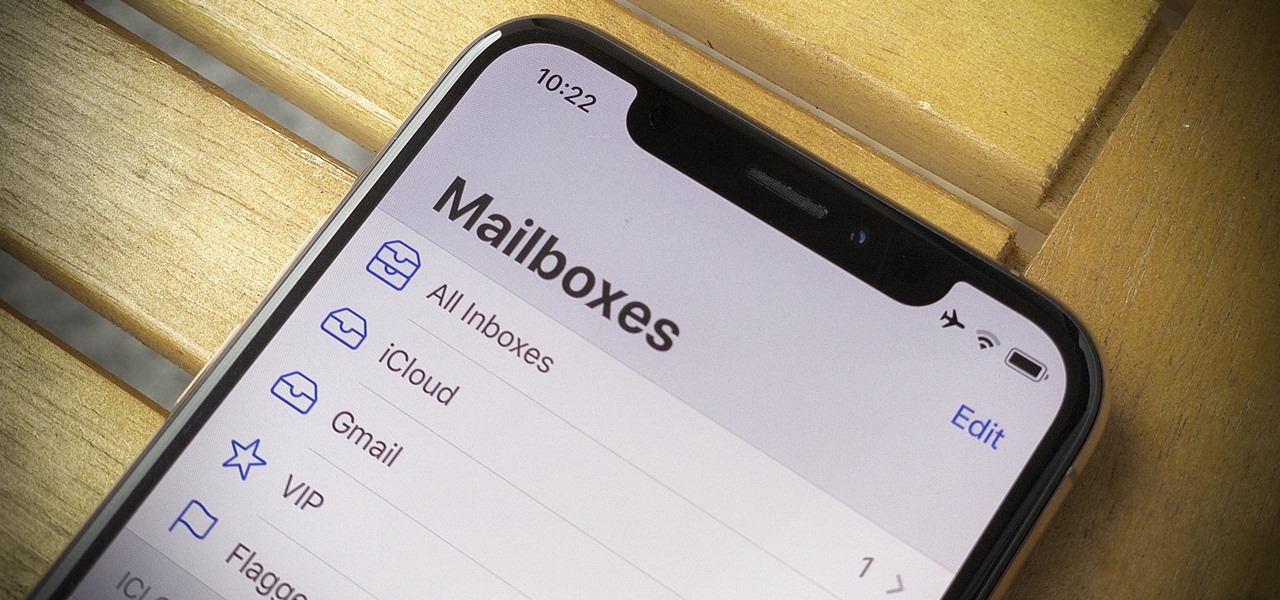
Managing Email Accounts
**
Once your email accounts are set up on your iPhone 10, it’s essential to manage them efficiently to ensure a clutter-free and organized inbox. Here are some tips for managing your email accounts on your iPhone 10:
1. Organizing Folders: Utilize the folder management feature in your email app to create and organize folders for different types of emails. This can help you categorize and prioritize incoming emails, making it easier to locate specific messages and maintain a tidy inbox.
2. Deleting Unnecessary Emails: Regularly review and delete unnecessary emails to free up storage space and keep your inbox clutter-free. Consider setting aside a few minutes each day to declutter your inbox, ensuring that only relevant and important emails remain.
3. Managing Notifications: Customize your email notification settings to receive alerts for important emails while minimizing distractions from less critical messages. This can help you stay informed without being overwhelmed by constant notifications.
4. Syncing Email Accounts: Ensure that your email accounts are synced properly to receive real-time updates and notifications for new emails. This can be configured in the settings of each email account to ensure seamless synchronization across devices.
5. Archiving Emails: Instead of deleting important emails, consider archiving them to keep your inbox clean while retaining access to crucial correspondence. Archiving emails allows you to store them for future reference without cluttering your primary inbox.
6. Managing Junk and Spam: Regularly review your junk and spam folders to ensure that legitimate emails are not mistakenly categorized as spam. By managing these folders effectively, you can prevent important messages from being overlooked or discarded.
By implementing these strategies, you can effectively manage your email accounts on your iPhone 10, ensuring a streamlined and organized email experience.
Conclusion
Setting up email on your iPhone 10 is a straightforward process that ensures you stay connected and productive on the go. Whether it’s for work or personal use, having your email readily accessible on your device is essential in today’s fast-paced world. By following the simple steps outlined in this guide, you can seamlessly integrate your email accounts with the Mail app on your iPhone 10, allowing you to send, receive, and manage your emails with ease.
FAQs
Q: How do I set up email on my iPhone 10?
A: To set up email on your iPhone 10, go to Settings, select Mail, then tap on Accounts and Add Account. Choose your email provider and enter your email address and password.
Q: Can I set up multiple email accounts on my iPhone 10?
A: Yes, you can set up multiple email accounts on your iPhone 10. Simply follow the same process for each additional account you wish to add.
Q: What email providers are compatible with iPhone 10?
A: iPhone 10 is compatible with a wide range of email providers, including Gmail, Yahoo Mail, Outlook, AOL, and many others.
Q: Is it possible to sync my contacts and calendar with my email account on iPhone 10?
A: Yes, you can sync your contacts and calendar with your email account on iPhone 10. When setting up your email account, ensure that the Contacts and Calendars options are enabled.
Q: How can I troubleshoot email setup issues on my iPhone 10?
A: If you encounter any issues while setting up your email on iPhone 10, ensure that you have the correct email settings and try restarting your device. You can also reach out to your email provider for specific troubleshooting steps.