
Are you struggling to set up your email account on your iPhone? Look no further! In this article, we will guide you on how to add email to your iPhone, ensuring that you never miss an important message again.
With the iPhone’s easy-to-use interface and built-in Mail app, setting up your email account is a breeze. Whether you have a Gmail, Yahoo, Outlook, or any other email provider, we’ve got you covered. Follow the step-by-step instructions below to seamlessly integrate your email account with your iPhone and start receiving emails on the go.
Get ready to enjoy the convenience of having all your emails at your fingertips. Let’s get started!
Inside This Article
- Setting up Email on your iPhone
- Adding Email Account on iPhone
- Configuring Email Settings on iPhone
- Setting up Email on your iPhone
- Adding Email Account on iPhone
- Configuring Email Settings on iPhone
- Troubleshooting Email Issues on iPhone
- Conclusion
- FAQs
Setting up Email on your iPhone
Having access to your email on the go is essential in today’s fast-paced world. With an iPhone, setting up your email account is a quick and easy process. Whether you use Gmail, Yahoo, Outlook, or any other provider, this guide will walk you through the steps to add and set up your email on your iPhone.
To get started, follow these simple steps:
- Open the “Settings” app on your iPhone. It’s the grey icon with gears.
- Scroll down and tap on “Mail” or “Mail, Contacts, Calendars”, depending on your iOS version.
- Tap on “Add Account”.
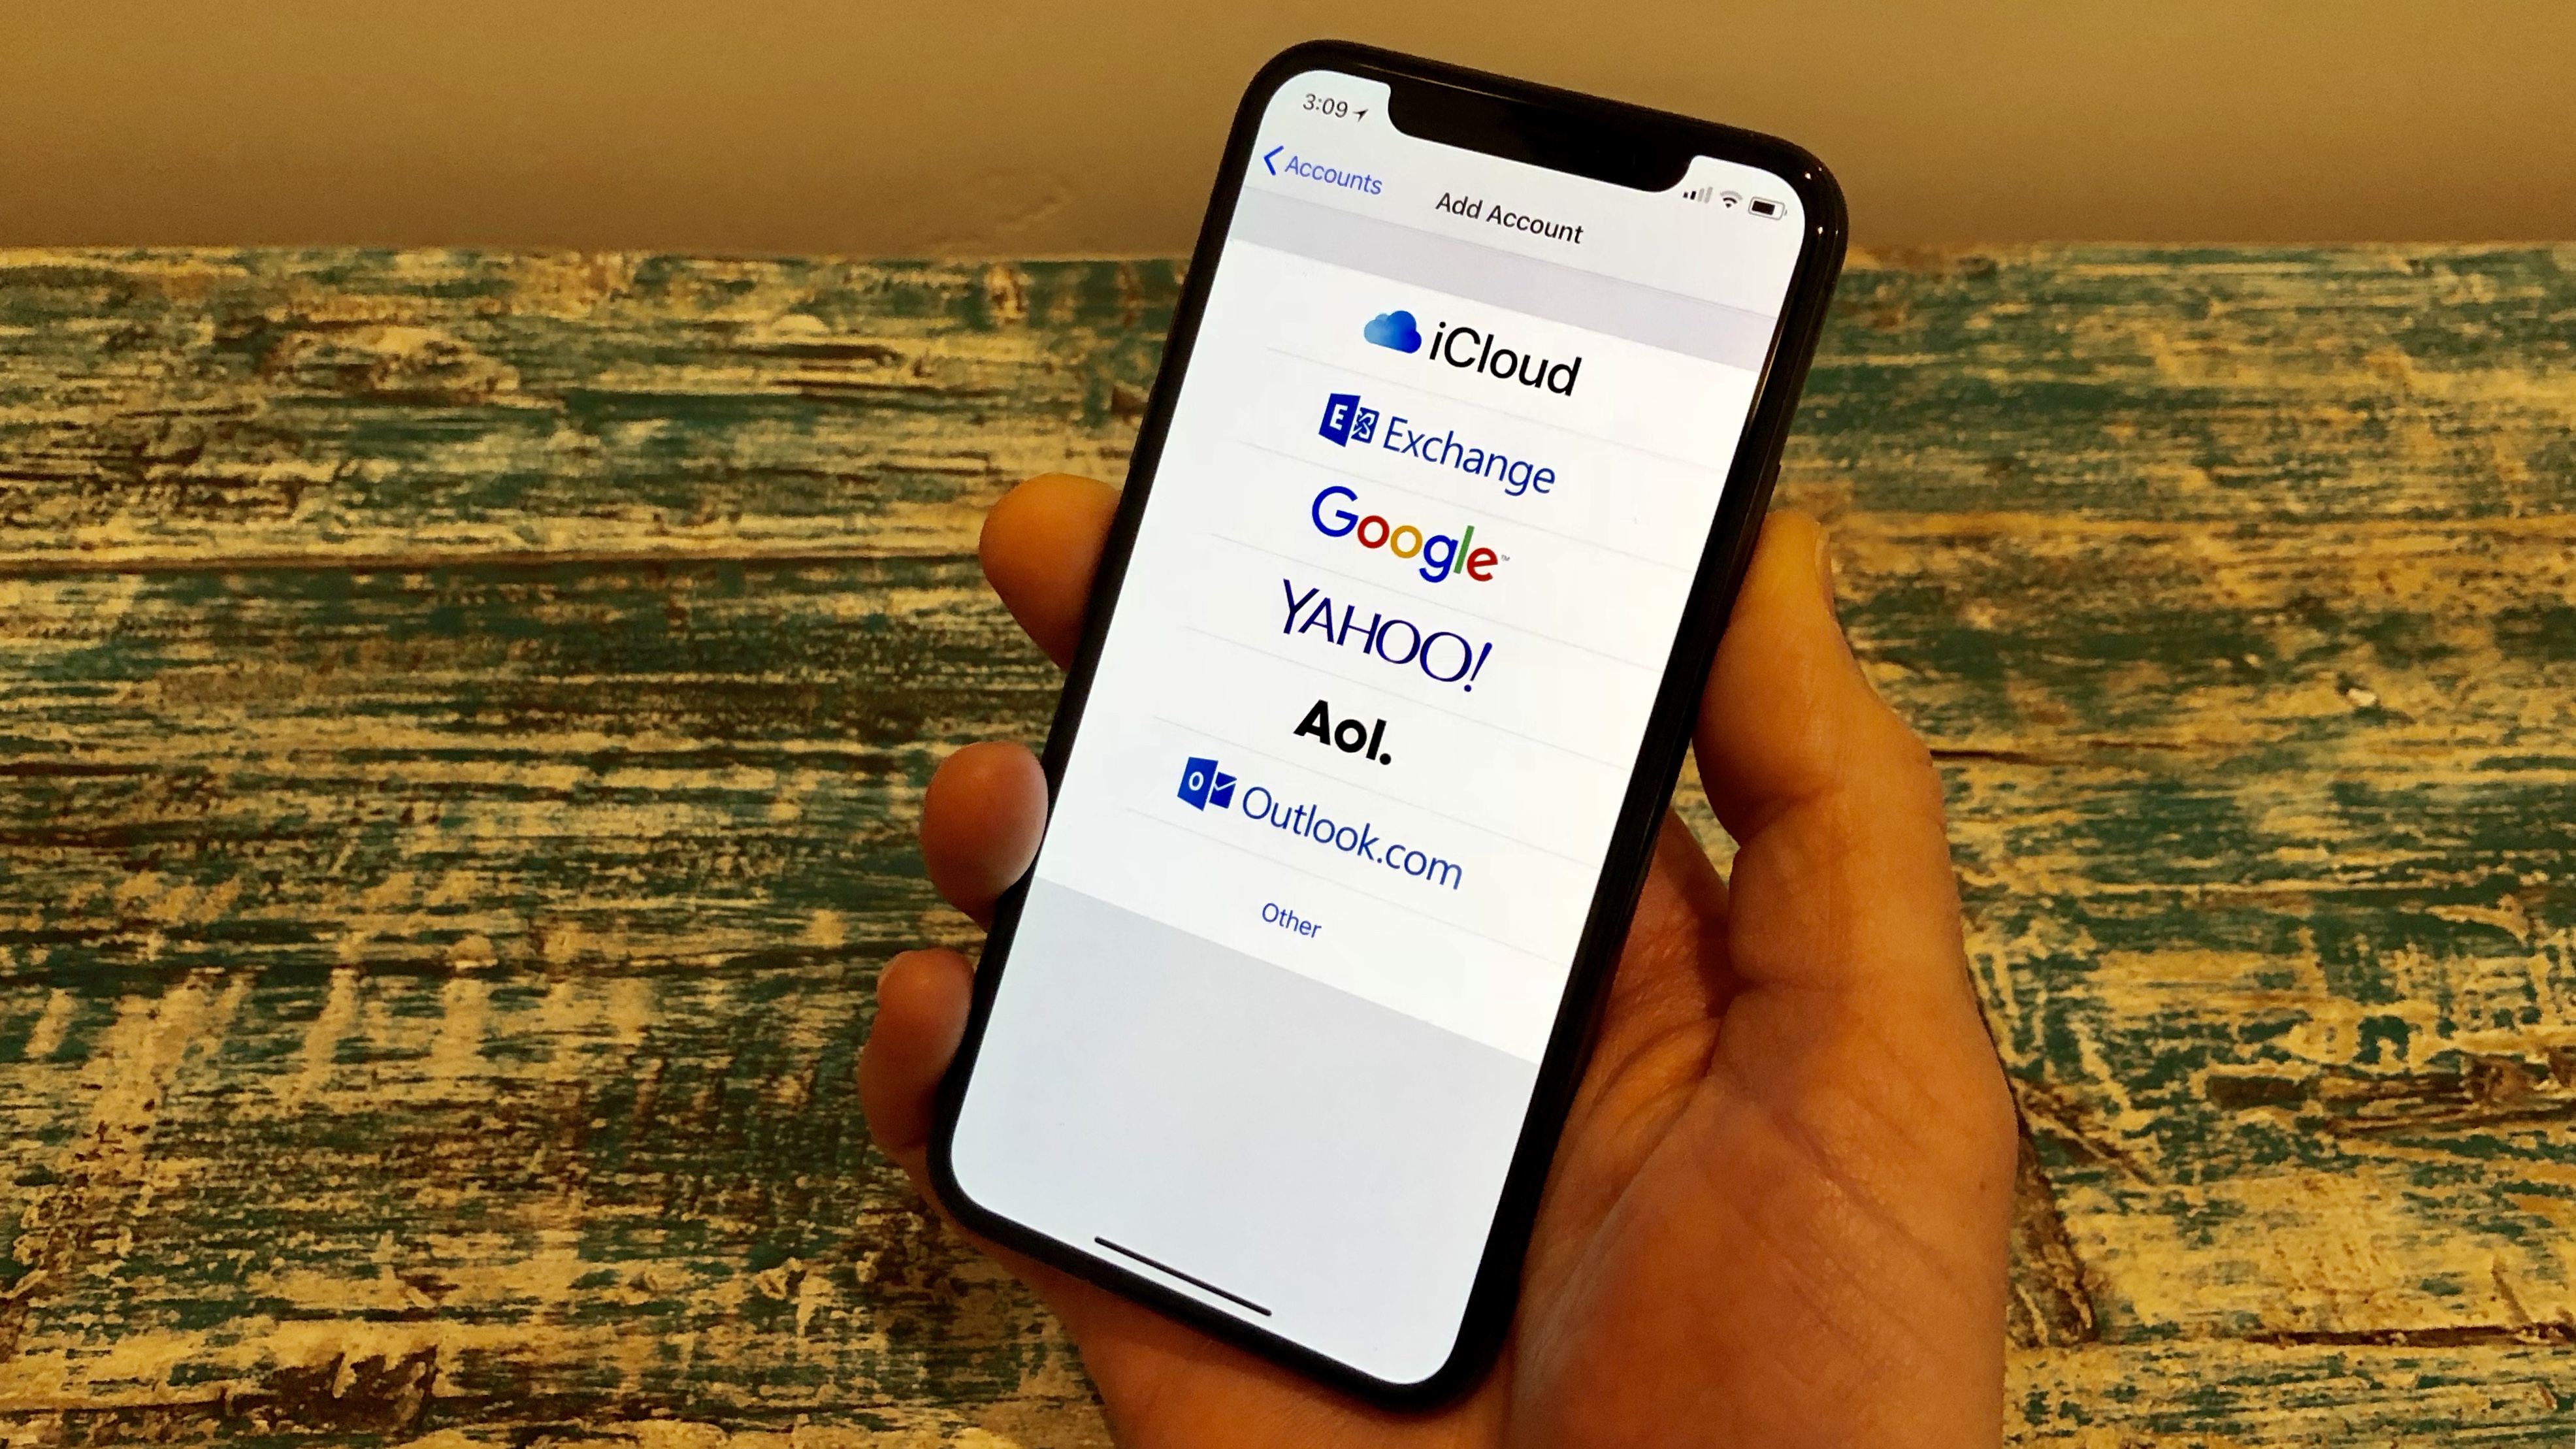
- Select your email provider from the list. If your provider is not listed, tap “Other”.
- Enter your email address and password, then tap “Next”.
- Wait for your iPhone to verify your account. This may take a few moments.
- Choose which information you want to sync with your iPhone. You can enable or disable Mail, Contacts, Calendars, and Notes.
- Tap “Save” to complete the setup process.
Once you’ve completed these steps, your email account will be added to the Mail app on your iPhone. You can now send, receive, and manage your emails from your device. It’s important to note that some email providers may require additional settings such as incoming and outgoing server information. If you face any issues during the setup process, refer to your email provider’s documentation or reach out to their support team for assistance.
Now that you have successfully added your email account to your iPhone, you can customize your email settings to suit your preferences.
To configure your email settings, follow these steps:
- Open the “Settings” app on your iPhone.
- Scroll down and tap on “Mail” or “Mail, Contacts, Calendars”.
- Tap on your email account to access its settings.
- Here, you can customize settings such as the number of recent messages to synchronize, how often your iPhone checks for new mail, and whether to include original attachments.
- Make the desired changes and then exit the settings.
By adjusting these settings, you can optimize your email experience on your iPhone. For instance, increasing the number of recent messages to synchronize allows you to access older emails even when you’re offline. Similarly, adjusting the frequency of mail checks can help you save battery life by reducing unnecessary data usage.
If you encounter any issues with your email on your iPhone, there are a few troubleshooting steps you can take:
- Ensure that you have a stable internet connection. Without internet access, your iPhone won’t be able to fetch new emails or send outgoing messages.
- Double-check your email account settings to make sure they are correct. Incorrect settings can prevent your iPhone from properly communicating with the email server.
- If the issue persists, try deleting and re-adding your email account. Sometimes, this can help resolve any configuration issues.
- Update your iPhone’s software to the latest version. Software updates often include bug fixes and improvements that can resolve common issues.
- If none of these steps work, contact your email provider’s support team for further assistance. They will be able to guide you through any specific troubleshooting steps related to their service.
With these steps and troubleshooting tips, you should be able to easily set up and manage your email on your iPhone. Enjoy the convenience of accessing your emails wherever you go!
Adding Email Account on iPhone
Adding an email account on your iPhone is a quick and simple process. Whether you use a popular email provider like Gmail, Yahoo, or Outlook, or have a custom domain email, you can easily set it up on your iPhone to manage your emails on the go. Here’s how:
- On your iPhone’s home screen, locate and tap on the Settings app. It’s the gear-shaped icon.
- In the Settings menu, scroll down and tap on the “Mail” option.
- Under the Mail settings, select “Accounts.”
- On the Accounts screen, tap on the “Add Account” option. You will see a list of popular email providers. If your email provider is not listed, select “Other.”
- Choose your email provider from the list or tap on “Other” if your provider is not listed.
- If you selected a popular email provider, you will be prompted to sign in with your email address and password. Once you enter your credentials, tap on “Next.” Your iPhone will automatically configure the email settings for you.
- If you selected “Other,” you will be prompted to manually enter the email settings. This includes your name, email address, password, and server information. If you’re uncertain about the server settings, it’s best to consult with your email provider or IT department for the correct information.
- After entering the required information, tap on “Next” or “Sign In.” Your iPhone will attempt to verify the account and set it up for you.
- Once the account is successfully added, you can choose the additional settings for the account, such as syncing options, notifications, and mail folders to be displayed.
- Repeat the steps for any additional email accounts you want to add to your iPhone.
That’s it! You have successfully added your email account to your iPhone. Now you can conveniently manage all your emails right from your device, allowing you to stay connected and organized on the go.
Configuring Email Settings on iPhone
Once you have successfully added your email account to your iPhone, the next step is to configure the email settings to ensure a seamless email experience. Here are the steps to follow:
Step 1: Open the Mail App
Tap on the Mail app icon on your iPhone’s home screen to open it. This is where you will find all your email accounts and manage your inbox.
Step 2: Go to Account Settings
In the Mail app, tap on the “Settings” option located at the bottom of the screen. Then, scroll down and select “Mail” from the list of options.
Step 3: Select Your Email Account
Under the “Accounts” section, you will see a list of all the email accounts you have added to your iPhone. Tap on the email account that you want to configure.
Step 4: Configure Account Settings
Once you have selected your email account, you will see various settings options that you can customize according to your preferences. These options include:
- Mail: Here, you can choose the number of recent emails to sync, activate push notifications, and specify how to organize your emails in the mailbox.
- Contacts: If your email account is synced with your iPhone contacts, you can enable or disable this feature here.
- Calendars: Similarly, if you have your email account synced with your iPhone calendar, you can manage the calendar settings in this section.
- Notes: If notes syncing is enabled, you can control the settings related to syncing your email account’s notes with your iPhone’s Notes app.
Step 5: Save Your Settings
After customizing the account settings, tap on the “Done” button located at the top right corner of the screen to save your changes. Your email account settings will now be updated, and you can start using your email on your iPhone with the new configurations.
By configuring your email settings on your iPhone, you can personalize your email experience and ensure that it aligns with your preferences and needs. Whether it’s organizing your inbox or syncing your contacts and calendar, you have full control over how your email account works on your iPhone.
Setting up Email on your iPhone
Adding email to your iPhone allows you to stay connected and manage your emails conveniently. The process is simple and can be completed in just a few steps. Follow these instructions to set up email on your iPhone:
- Open the Settings app on your iPhone.
- Scroll down and tap on “Mail” or “Mail, Contacts, Calendars”.
- Select “Add Account” to begin setting up a new email account.
- Choose your email provider from the list or select “Other” if it’s not listed.
- Enter your email address and password, then tap “Next”.
- Wait for your iPhone to verify the account settings. This may take a few moments.
- Select the data you want to sync with your iPhone (e.g., Mail, Contacts, Calendars).
- Tap “Save” to complete the setup process.
That’s it! You have successfully set up your email account on your iPhone. Now you can access and manage your emails directly from your device.
Adding Email Account on iPhone
To add an email account on your iPhone, follow these steps:
- Go to the “Settings” app on your iPhone.
- Scroll down and tap on “Mail” or “Mail, Contacts, Calendars”.
- Select “Add Account” to begin adding a new email account.
- Choose your email provider from the list or select “Other” if it’s not listed.
- Enter your email address and password, then tap “Next”.
- Wait for your iPhone to verify the account settings. This may take a few moments.
- Select the data you want to sync with your iPhone, such as Mail, Contacts, Calendars, and Notes.
- Tap “Save” to complete the account setup.
Once you’ve completed these steps, your email account will be added to your iPhone, and you can start sending and receiving emails on the go.
Configuring Email Settings on iPhone
After setting up your email account on your iPhone, you may want to configure some additional settings to customize your email experience. Here’s how you can configure email settings on your iPhone:
- Open the “Settings” app on your iPhone.
- Scroll down and tap on “Mail” or “Mail, Contacts, Calendars”.
- Tap on your email account to access its settings.
- Within the account settings, you can adjust options such as email signature, notification settings, and mail syncing preferences.
- Make the desired changes to your email settings.
- Tap “Done” to save the changes.
By configuring these settings, you can personalize your email experience on your iPhone and optimize it according to your preferences.
Troubleshooting Email Issues on iPhone
If you encounter any issues with your email on your iPhone, here are a few troubleshooting steps you can follow to resolve them:
- Ensure that you have a stable internet connection and try opening your email app again.
- Double-check your email account settings to ensure they are accurate and up-to-date.
- If you’re having trouble sending or receiving emails, try restarting your iPhone.
- Make sure that your email provider’s server is not experiencing any outages or maintenance.
- If the problem persists, try removing and re-adding the email account on your iPhone.
- Contact your email provider’s support for further assistance if the issue remains unresolved.
By following these troubleshooting steps, you can overcome common email issues and enjoy a seamless email experience on your iPhone.
Conclusion
In conclusion, adding email to your iPhone is a simple and straightforward process that can greatly enhance your communication and productivity. With just a few easy steps, you can effortlessly configure your email account and start receiving messages directly on your device.
By having your email readily accessible on your iPhone, you won’t miss any important messages or updates, allowing you to stay connected and informed no matter where you are. Whether you’re a busy professional, a student, or a casual user, integrating your email into your iPhone is a convenient and efficient way to manage your inbox.
Remember to choose the appropriate email settings, set up notifications to suit your preferences, and regularly check and organize your emails to maintain a clutter-free inbox. With your email seamlessly integrated into your iPhone, you can streamline your communication and ensure efficient and effective correspondence.
So, don’t hesitate and follow the steps mentioned above to add your email to your iPhone, and enjoy the convenience of accessing your emails on the go.
FAQs
1. Why can’t I add my email to my iPhone?
There could be several reasons why you are unable to add your email to your iPhone. Make sure you have a stable internet connection and the correct email settings. Double-check your username, password, incoming mail server, and outgoing mail server information. If you are still experiencing issues, try restarting your iPhone or contacting your email provider for assistance.
2. How do I add an email account to my iPhone?
Adding an email account to your iPhone is simple. Follow these steps:
a. Open the “Settings” app on your iPhone.
b. Scroll down and tap on “Mail”.
c. Tap on “Accounts” and then “Add Account”.
d. Select your email provider from the list (e.g., Gmail, Yahoo, Outlook).
e. Enter your email address and password, and follow the prompts to complete the setup.
3. Can I add multiple email accounts to my iPhone?
Yes, you can add multiple email accounts to your iPhone. Simply follow the steps mentioned earlier to add the additional accounts. The iPhone Mail app allows you to manage and access all of your email accounts in one place.
4. What are the benefits of adding email to my iPhone?
By adding email to your iPhone, you can stay connected and receive important emails on the go. It allows you to access your emails conveniently without the need for a computer. Additionally, you can easily send and receive attachments, reply to emails, and stay organized with features like folders and search options.
5. Why am I not receiving email notifications on my iPhone?
If you are not receiving email notifications on your iPhone, check the following:
a. Ensure that your iPhone is connected to the internet and has a stable connection.
b. Go to “Settings” > “Notifications” > “Mail” and make sure that notifications are enabled for your email account.
c. Check your iPhone’s “Do Not Disturb” settings and make sure it is not enabled.
d. Verify that your email account’s settings allow notifications and that the specific email thread or contacts are not blocked or marked as spam.