
Setting up Outlook on your iPhone 13 can be a simple and convenient way to access your email, calendar, and contacts on the go. With its user-friendly interface and robust features, Outlook provides seamless integration with your iPhone 13, allowing you to stay organized and connected. In this article, we will guide you through the step-by-step process of setting up Outlook on your iPhone 13, ensuring that you can start using this powerful email client in no time. Whether you use Outlook for work or personal purposes, this guide will help you make the most out of your iPhone 13 and enhance your productivity. So, let’s dive in and get your Outlook account up and running on your brand new iPhone 13!
Inside This Article
- Prerequisites for Setting Up Outlook on iPhone 13
- Method 1: Setting Up Outlook with the Default Mail App on iPhone 13
- Method 2: Setting Up Outlook with the Outlook App on iPhone 13
- Troubleshooting Common Issues with Outlook on iPhone 13
- Conclusion
- FAQs
Prerequisites for Setting Up Outlook on iPhone 13
Before you can set up Outlook on your iPhone 13, there are a few prerequisites you need to take care of. Ensuring that these requirements are met will help you seamlessly integrate your Outlook account with your new iPhone and enjoy a smooth email experience. Here are the prerequisites you need to consider:
- Active Outlook Account: Make sure you have an active Outlook account. If you don’t have one, you can create a new account by visiting the Outlook website or using the Outlook mobile app.
- Stable Internet Connection: It is essential to have a stable and reliable internet connection to set up Outlook on your iPhone 13. This will ensure that your emails sync properly and you can access your Outlook account without any interruptions.
- Updated iPhone Software: Check if your iPhone 13 has the latest software updates installed. Keeping your device up to date will ensure compatibility and may resolve any potential issues that could arise during the setup process.
- Correct Login Information: Double-check that you have the correct login credentials for your Outlook account. This includes your email address and password. Ensure that you have this information readily available before proceeding with the setup.
By fulfilling these prerequisites, you can avoid any potential roadblocks during the setup process. With everything in place, you can now move on to setting up Outlook on your iPhone 13 and enjoy seamless email management on the go.
Method 1: Setting Up Outlook with the Default Mail App on iPhone 13
Setting up your Outlook email account on your iPhone 13 can be done effortlessly with the default Mail app. Follow the simple steps below to get started:
- Unlock your iPhone 13 and go to the Home screen.
- Tap on the “Settings” app, which is represented by a gear icon.
- Scroll down and select “Mail” from the list of options.
- Under the “Accounts” section, tap on “Add Account.”
- You will see a list of email service providers. Tap on “Outlook.”
- Enter your Outlook email address and password in the provided fields and tap “Next.”
- The Mail app will automatically configure the settings for your Outlook account.
- You may be prompted to grant permission for Mail to access your Outlook account. Tap “Allow” to proceed.
- Choose the options for Mail, Contacts, Calendars, and Notes that you want to sync with your Outlook account. Once you have made your selections, tap “Save.”
With these simple steps, your Outlook email account will now be set up and ready to use on your iPhone 13. You can access your emails, send and receive messages, and manage your Outlook contacts and calendars directly from the default Mail app.
If you ever need to make changes to your Outlook account settings, simply go back to the “Mail” section in Settings and select your Outlook account. From there, you can update your password, modify sync settings, and manage other account details.
Setting up Outlook with the default Mail app on your iPhone 13 offers a convenient way to access your emails and stay connected while on the go. Now, you can stay organized and productive with your Outlook account, all from the palm of your hand.
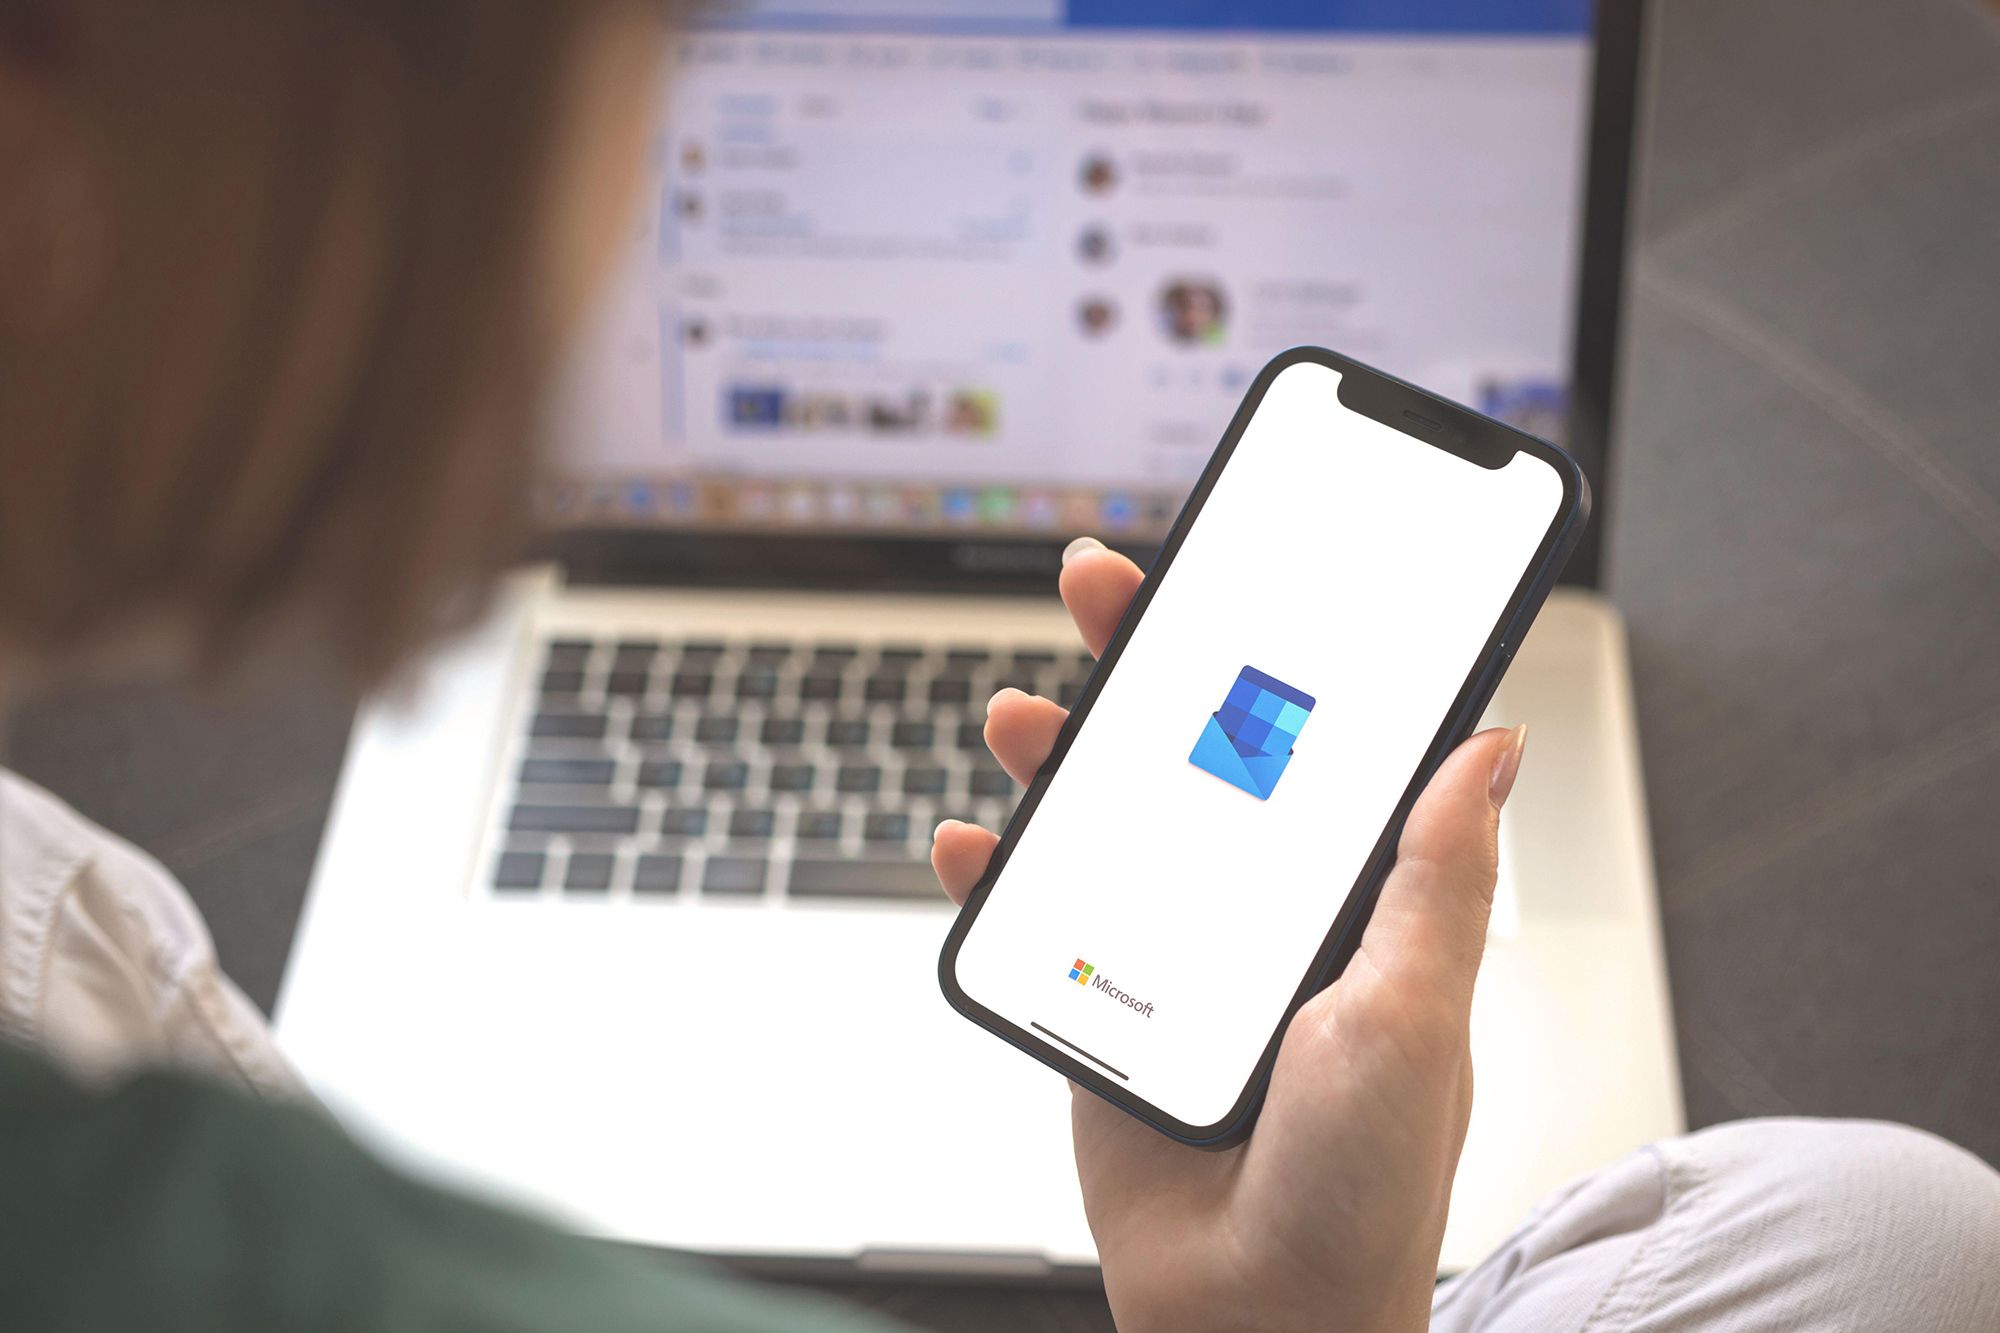
Method 2: Setting Up Outlook with the Outlook App on iPhone 13
If you prefer to use the dedicated Outlook app for accessing your emails on your iPhone 13, you can follow these steps to set it up:
Step 1: First, you need to download and install the Outlook app from the App Store on your iPhone 13. Open the App Store and search for “Outlook” in the search bar. Tap on the “Get” button and wait for the app to download and install on your device.
Step 2: Once the Outlook app is installed, locate its icon on your home screen and tap on it to launch the app.
Step 3: On the welcome screen, tap on the “Get Started” button to begin the setup process.
Step 4: You will be presented with a screen to sign in with your Microsoft account. If you already have a Microsoft account, enter your email address and password in the appropriate fields and tap “Sign In.” If you don’t have a Microsoft account, tap on the “Create account” option to create a new account.
Step 5: After signing in, you may be prompted to grant permissions to the Outlook app for accessing your email, contacts, and calendar. Review the permissions and tap on “Allow” to proceed.
Step 6: The app will start syncing your account data, including your emails, contacts, and calendar events. Depending on the size of your mailbox and the speed of your internet connection, this process may take a few moments. Once the sync is complete, you will be taken to the main screen of the Outlook app.
Step 7: Congratulations! You have successfully set up Outlook on your iPhone 13 using the Outlook app. You can now access your emails, manage your calendar, and stay organized on the go.
Pro Tip: To make the most out of the Outlook app, take some time to explore its features and settings. You can configure email notifications, set up additional email accounts, and customize the app according to your preferences.
Setting up Outlook on iPhone 13 with the dedicated Outlook app is a great choice if you want a dedicated email client that offers advanced features and seamless integration with your Microsoft account. Enjoy the convenience of accessing your emails and staying productive wherever you are with the Outlook app.
Troubleshooting Common Issues with Outlook on iPhone 13
If you are experiencing issues with Outlook on your iPhone 13, don’t worry! We have compiled a list of common problems and their solutions to help you resolve any troubles you may encounter. Here are some troubleshooting tips to get your Outlook up and running smoothly:
- Check your internet connection: Ensure that your iPhone 13 is connected to a stable internet connection. A weak or intermittent connection can cause synchronization issues with Outlook. Try connecting to a different Wi-Fi network or switch to cellular data to see if the problem persists.
- Restart your iPhone 13: Sometimes, a simple restart can resolve minor software glitches and improve the performance of Outlook. Press and hold the power button and the volume up/down button simultaneously until the “Slide to power off” slider appears. Slide it to power off the device, then press and hold the power button to turn it back on.
- Update Outlook and iOS: Make sure you have the latest versions of both Outlook and iOS installed on your iPhone 13. Updates often include bug fixes and performance improvements that can address common issues. Go to the App Store and the Settings app to check for any available updates.
- Reset your email account settings: If you are still experiencing issues, try removing and re-adding your email account to Outlook. Go to Settings > Mail > Accounts and tap on your Outlook account. Select “Delete Account” and then add it again by going to Settings > Mail > Add Account. Enter your email credentials and set up your account.
- Clear the Outlook cache: Over time, the cache in Outlook can become bloated, causing performance issues. To clear the cache, open the Outlook app, go to Settings > General Settings > Storage > Clear Cache. This will remove any unnecessary data and may improve the functioning of the app.
- Contact Microsoft Support: If none of the above solutions work, it may be necessary to reach out to Microsoft Support for further assistance. They can provide specialized help and guide you through the troubleshooting process to resolve any persistent issues you may be facing.
By following these troubleshooting tips, you should be able to resolve common issues with Outlook on your iPhone 13. Remember to regularly update your apps and operating system to ensure optimal performance. If all else fails, don’t hesitate to seek professional support to get your Outlook working seamlessly on your device.
In conclusion, setting up Outlook on your iPhone 13 allows you to seamlessly manage your email, calendar, and contacts all in one place. With just a few simple steps, you can access your Outlook account and stay organized on the go. Whether you’re a busy professional or a student keeping track of important deadlines, having Outlook on your iPhone 13 streamlines your communication and productivity.
By following the steps outlined in this article, you can easily configure Outlook on your iPhone 13 and start enjoying its powerful features. From syncing your emails to managing your schedule, Outlook offers a comprehensive solution for staying connected and productive. So, take advantage of this convenient integration and elevate your iPhone 13 experience with Outlook.
FAQs
Here are some frequently asked questions about setting up Outlook on the iPhone 13:
1. Can I set up Outlook on my iPhone 13?
Yes, you can easily set up Outlook on your iPhone 13. Outlook is compatible with iPhone devices, including the latest iPhone 13 model. You can download the Outlook app from the App Store and follow the setup instructions provided.
2. Do I need a Microsoft account to use Outlook on my iPhone 13?
Yes, a Microsoft account is required to use Outlook on your iPhone 13. You can create a new Microsoft account if you don’t have one already. This account will be used to sign in to the Outlook app and sync your emails, contacts, and calendar across devices.
3. How do I add my Outlook email account to the iPhone 13 Mail app?
To add your Outlook email account to the iPhone 13 Mail app, follow these steps:
- Open the Settings app on your iPhone 13.
- Scroll down and tap on “Mail”.
- Tap on “Accounts” and then select “Add Account”.
- Choose “Microsoft Exchange” from the list of email providers.
- Enter your Outlook email address and password.
- Tap on “Next” and wait for your email account to be verified.
- Once verified, you can choose the items you want to sync (mail, contacts, calendars) and tap on “Save”.
4. Can I set up multiple Outlook accounts on my iPhone 13?
Yes, you can set up multiple Outlook accounts on your iPhone 13. Simply follow the same steps mentioned in the previous FAQ for each account you want to add. The iPhone 13 Mail app supports multiple email accounts, making it convenient to access all your Outlook accounts in one place.
5. How do I set up Outlook notifications on my iPhone 13?
To set up Outlook notifications on your iPhone 13, follow these steps:
- Open the Settings app on your iPhone 13.
- Scroll down and tap on “Notifications”.
- Find and tap on the “Outlook” app in the list of apps.
- Enable “Allow Notifications”.
- You can customize the notification settings such as sounds, alerts, and lock screen appearance according to your preferences.
These are just a few FAQs related to setting up Outlook on the iPhone 13. If you have any other questions or need further assistance, feel free to reach out to the Outlook support team or consult the iPhone 13 user manual for more detailed instructions.