
In today’s interconnected world, having all your contacts in one place is essential for seamless communication. If you are an iPhone user who relies on Outlook for managing your emails, calendar, and other important information, you may find it convenient to import your iPhone contacts directly into Outlook. This not only saves time but also ensures that your contact list is up to date across all your devices. In this article, we will discuss five different methods that you can use to import your iPhone contacts to Outlook. Whether you prefer a direct synchronization method or using third-party tools, we have got you covered. By the end of this article, you will have the knowledge and tools to effortlessly transfer your iPhone contacts to Outlook and experience a hassle-free contact management system.
Inside This Article
- Method 1: Using iCloud
- Method 2: Using iTunes
- Method 3: Using the Outlook app on iPhone
- Method 4: Using iCloud.com
- Conclusion
- FAQs
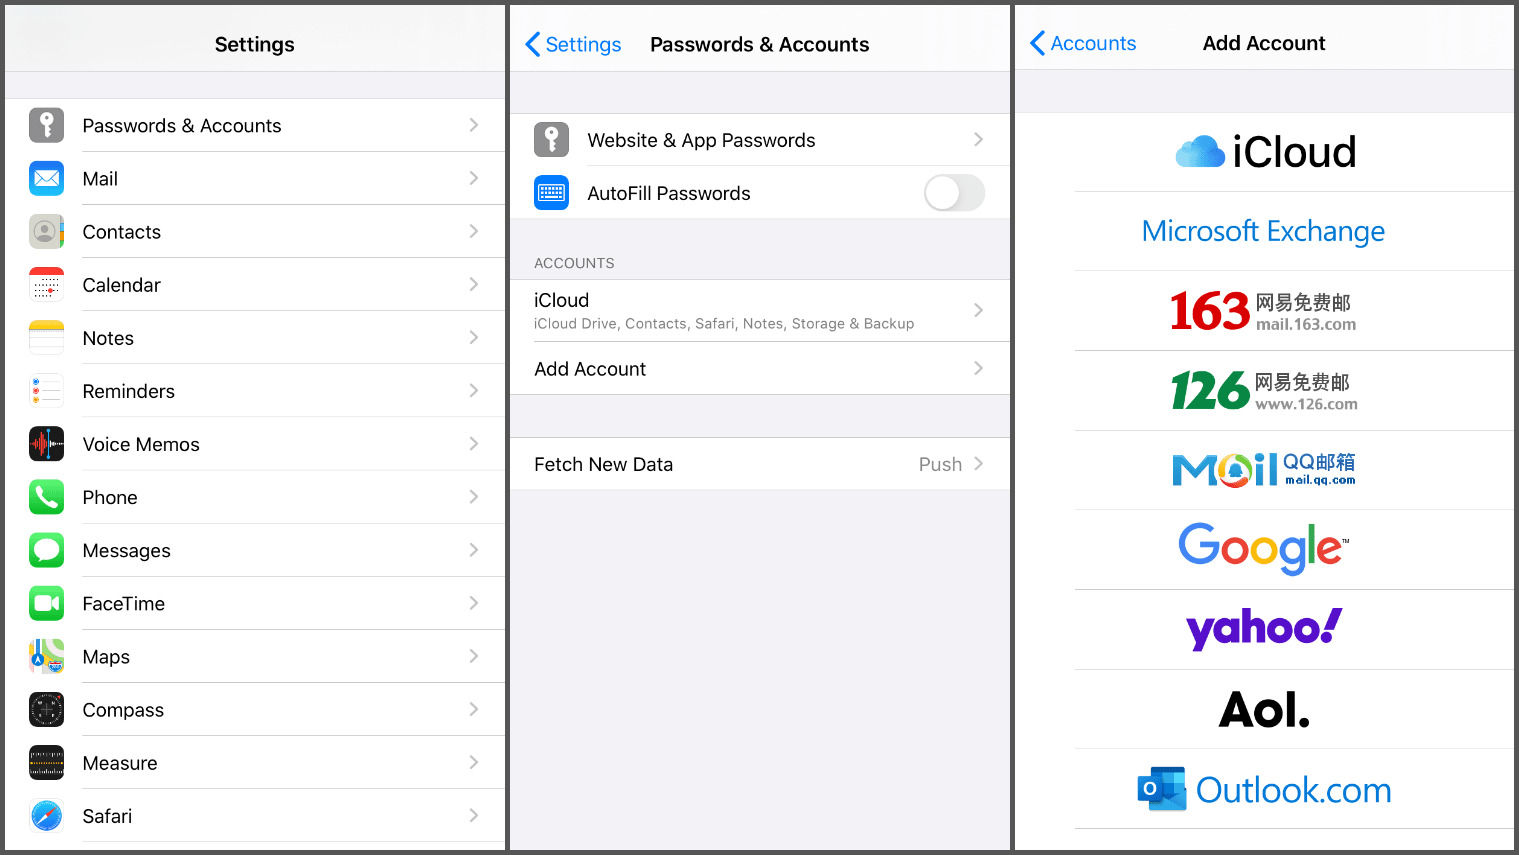
Method 1: Using iCloud
If you’re looking for a simple and convenient way to import your iPhone contacts to Outlook, using iCloud can be a great option. iCloud is Apple’s cloud-based service that allows you to sync and store your contacts, emails, calendars, and more across all your Apple devices. Here’s how you can use iCloud to import your iPhone contacts to Outlook:
1. Start by making sure that you have iCloud set up on your iPhone. If you haven’t done so already, go to the Settings app, tap your name at the top, and then tap iCloud. Turn on the Contacts toggle switch to enable iCloud syncing for your contacts.
2. On your computer, open a web browser and go to iCloud.com. Sign in with your Apple ID and password.
3. Once you’re logged in, click on the “Contacts” icon to access your iPhone contacts.
4. Select all the contacts you want to import into Outlook. You can use the command key (?) on a Mac or the control key on a Windows PC to select multiple contacts at once.
5. After selecting the contacts, click on the settings icon (represented by a gear) in the lower-left corner and choose “Export vCard”. This will download a vCard file containing all the selected contacts to your computer.
6. Now, open Outlook on your computer and navigate to the Contacts section.
7. In the Contacts section, click on “File” in the menu bar, and then select “Open & Export” followed by “Import/Export”. This will open the Import and Export Wizard.
8. In the Import and Export Wizard, choose “Import a vCard file (.vcf)” and click “Next”.
9. Browse for the vCard file you downloaded from iCloud, select it, and click “Open”.
10. Select the destination folder in Outlook where you want to import the contacts, and click “Next”. You can create a new folder if needed.
11. Finally, click “Finish” to complete the import process. Outlook will import the contacts from the vCard file into the selected folder.
By following these steps, you can easily import your iPhone contacts to Outlook using iCloud. This method allows you to effortlessly transfer your contacts without the need for any additional software or tools. Just make sure that your iPhone is connected to the internet and that you have enabled iCloud syncing for your contacts.
Method 2: Using iTunes
If you prefer using iTunes to transfer your iPhone contacts to Outlook, here’s how you can do it:
- Connect your iPhone to your computer using a USB cable and launch iTunes if it doesn’t open automatically.
- Once your iPhone is connected, click on the device icon that appears in the top left corner of the iTunes window.
- In the left sidebar, click on “Info” to access the synchronization settings for your iPhone.
- In the “Contacts” section, check the box next to “Sync Contacts.”
- From the dropdown menu, select “Outlook” as the destination for your synced contacts.
- If you want to sync all your contacts, choose the option “All contacts” under the “Selected groups” section. Alternatively, you can select specific groups or contacts by choosing the corresponding options.
- Click on the “Apply” button to start the synchronization process.
- Once the synchronization is complete, launch Outlook on your computer and navigate to the contacts section to see your iPhone contacts imported.
Using iTunes to transfer your iPhone contacts to Outlook offers a convenient and straightforward solution. However, it is important to note that this method requires you to have a computer with iTunes installed. Additionally, you need to ensure that you have the latest version of iTunes and that your iPhone is running on the latest iOS version to avoid any compatibility issues.
Keep in mind that the above steps may slightly vary depending on the version of iTunes you are using. If you encounter any difficulties during the process, referring to Apple’s support documentation or reaching out to their customer support can provide you with the necessary assistance.
Method 3: Using the Outlook app on iPhone
If you’re an iPhone user looking to import your contacts to Outlook, one convenient option is to utilize the Outlook app on your device. The Outlook app offers seamless integration with your iPhone contacts, making it quick and easy to sync and import them to your Outlook account. Here’s a step-by-step guide on how to do it:
Step 1: Start by downloading and installing the Outlook app from the App Store, if you haven’t already done so. Launch the app and sign in with your Outlook account credentials.
Step 2: Once you’re logged in, tap on the “Settings” icon located at the bottom right corner of the app interface. This will open the Settings menu.
Step 3: In the Settings menu, scroll down and tap on the “Add Account” option. Choose the type of account you want to add. In this case, select “Add Email Account.”
Step 4: Enter your email address and password associated with your Outlook account and tap “Add Account.” The app will verify your credentials and add the account to the Outlook app.
Step 5: After successfully adding your Outlook account, go back to the Settings menu and tap on your Outlook account name. This will open the account settings.
Step 6: In the account settings, enable the “Contacts” toggle switch to sync your iPhone contacts with your Outlook account. You may also adjust other sync settings according to your preferences.
Step 7: Once you’ve enabled the contacts sync, the Outlook app will automatically import your iPhone contacts to your Outlook account. It may take some time, depending on the number of contacts you have.
Step 8: To verify if the import was successful, open the Outlook app and navigate to the “Contacts” tab. Your iPhone contacts should now be visible and accessible within the app.
Using the Outlook app on your iPhone provides a simple and convenient way to import your contacts to Outlook. It allows for seamless integration between your iPhone contacts and your Outlook account, ensuring that you have all your important contacts in one place.
So, give this method a try and enjoy the benefits of having your iPhone contacts easily accessible within your Outlook account.
Method 4: Using iCloud.com
If you’re looking for a hassle-free way to import your iPhone contacts to Outlook, one option is to use iCloud.com. iCloud is Apple’s cloud-based service that allows users to sync their data across multiple devices. By following a few simple steps, you can easily transfer your contacts from your iPhone to Outlook using iCloud.com.
To start, ensure that your iPhone and computer are connected to the internet. Open a web browser on your computer and navigate to the iCloud.com website. Sign in using your Apple ID and password. Once logged in, click on the “Contacts” icon.
On the Contacts page, you’ll see a list of all your iPhone contacts. Select the contacts that you want to import into Outlook by holding down the “Ctrl” key (or “Cmd” key on a Mac) and clicking on each contact. Alternatively, you can select all contacts by pressing “Ctrl + A” (or “Cmd + A” on a Mac).
After selecting the contacts, click on the gear icon in the bottom-left corner of the screen and choose “Export vCard”. This will download a VCF file to your computer, which contains all the selected contacts.
Now, open Outlook on your computer and go to the “File” menu. Choose “Open & Export” and then select “Import/Export”. This will launch the Import and Export Wizard.
In the Import and Export Wizard, choose “Import a vCard file (.vcf)” and click “Next”. Browse for the VCF file you downloaded from iCloud.com and click “Open”. Select the folder where you want to import the contacts in Outlook and click “Next”. Finally, click “Finish” to complete the import process.
Once the import is finished, you’ll find all your iPhone contacts successfully imported into Outlook. Now you can easily access and manage your contacts on your computer.
Using iCloud.com to import your iPhone contacts to Outlook is a convenient and straightforward method. It allows you to transfer your contacts quickly and securely without the need for any additional software or tools.
However, keep in mind that you’ll need an active iCloud account and internet connection for this method to work. Additionally, make sure you have enough storage space in your iCloud account to accommodate your contacts.
Conclusion
In conclusion, importing iPhone contacts to Outlook is a simple and straightforward process with the right methods at your disposal. Whether you choose to use iTunes, iCloud, a third-party app, or the manual CSV method, you can easily transfer your contacts and ensure they are synced across all your devices. Each method offers its own advantages and may be more suitable depending on your needs and preferences. Regardless of the method you choose, always remember to backup your data before proceeding to avoid any potential loss. With these methods at your disposal, you can seamlessly manage and access your iPhone contacts within Outlook, enhancing your productivity and streamlining your communication. So go ahead, follow the steps outlined in this guide, and enjoy the convenience and efficiency of having your iPhone contacts readily available in Outlook.
FAQs
1. Can I Import iPhone Contacts to Outlook?
Yes, you can import iPhone contacts to Outlook using various methods. In this article, we will discuss five different methods to help you transfer your iPhone contacts seamlessly to Outlook.
2. How do I sync my iPhone contacts with Outlook?
To sync your iPhone contacts with Outlook, you can use the native iOS settings or third-party applications. The methods we will cover include using iCloud, iTunes, Microsoft Exchange, vCard, and the Outlook mobile app.
3. How can I transfer iPhone contacts to Outlook using iCloud?
To transfer iPhone contacts to Outlook using iCloud, first, make sure that iCloud Contacts sync is enabled on your iPhone. Then, log in to your iCloud account on your computer and export the contacts as vCard files. Finally, import the vCard files into Outlook to complete the transfer.
4. Can I use iTunes to import my iPhone contacts into Outlook?
Yes, you can use iTunes to import iPhone contacts into Outlook. Connect your iPhone to the computer, open iTunes, and select your device. In the “Info” tab, enable the “Sync Contacts” option and choose “Outlook” as the destination. Sync your device, and your contacts will be imported into Outlook.
5. Is there a way to directly import iPhone contacts to Outlook using the Outlook mobile app?
Unfortunately, the Outlook mobile app doesn’t provide a direct import feature for iPhone contacts. However, you can use other methods, such as iCloud or iTunes, to transfer your contacts from your iPhone to Outlook. Once in Outlook, you can easily access and manage your contacts using the app on your mobile device.