
Are you eager to showcase your mobile photos on a larger screen? Transferring photos from your mobile device to your TV can elevate your viewing experience and allow you to share your cherished memories with friends and family in a captivating way. Whether you want to display vacation snapshots, special occasions, or simply enjoy your photography skills on a grand scale, the process of transferring photos from your mobile to your TV can be both convenient and rewarding.
In this comprehensive guide, we will explore various methods to seamlessly transfer photos from your mobile device to your TV. From wireless options to wired connections, we will delve into the step-by-step procedures, ensuring that you can effortlessly enjoy your photos on the big screen. So, grab your mobile device, prepare to unlock the potential of your TV, and let's embark on this exciting journey of photo transfer together.
Inside This Article
- Using a USB Cable
- Using a Streaming Device
- Using Screen Mirroring
- Using a Smart TV App
- Conclusion
- FAQs
Using a USB Cable
Transferring photos from your mobile device to your TV using a USB cable is a straightforward and convenient method. This approach allows you to directly connect your mobile device to the TV, enabling quick and easy photo sharing. Here's a step-by-step guide to help you seamlessly transfer your photos using a USB cable:
-
Check Your TV's Compatibility: Before initiating the transfer process, ensure that your TV supports USB connections. Most modern TVs come equipped with USB ports, allowing for seamless connectivity with mobile devices.
-
Prepare Your Mobile Device: To begin, ensure that the photos you wish to transfer are stored on your mobile device. Organize the photos into a specific folder to simplify the transfer process.
-
Connect Your Mobile Device to the TV: Using a compatible USB cable, connect your mobile device to the USB port on your TV. Once connected, your TV should detect the mobile device and prompt you to access its contents.
-
Navigate to the Photos: Use your TV's remote control to navigate to the appropriate input source or media browser that corresponds to the USB connection. Once selected, you should be able to access the photos stored on your mobile device.
-
Select and Display the Photos: Browse through the available photos on your mobile device and select the ones you wish to display on the TV screen. With a simple click of the remote control, you can showcase your cherished memories on the larger TV display.
-
Enjoy Your Photos on the Big Screen: Once the photos are displayed on the TV, sit back, relax, and relish the visual feast of your captured moments. Whether it's a family vacation, a special celebration, or breathtaking landscapes, viewing your photos on a larger screen adds a new dimension to your visual experience.
Transferring photos from your mobile device to your TV using a USB cable offers a seamless and direct method to share your memories with friends and family. This approach eliminates the need for additional devices or complex setup procedures, making it an accessible option for users of all technical backgrounds.
By following these simple steps, you can effortlessly showcase your mobile photos on the expansive canvas of your TV screen, creating an immersive viewing experience for everyone to enjoy. Whether it's for a casual gathering or a special event, sharing your photos in this manner adds a touch of elegance and convenience to your visual presentations.
Using a Streaming Device
Utilizing a streaming device to transfer photos from your mobile device to your TV offers a versatile and user-friendly approach. With the widespread availability of streaming devices such as Google Chromecast, Amazon Fire TV Stick, and Apple TV, this method provides a seamless way to showcase your mobile photos on the big screen. Here's a comprehensive guide to help you leverage the capabilities of a streaming device for photo sharing:
-
Select a Compatible Streaming Device: Begin by choosing a streaming device that is compatible with your TV and mobile device. Ensure that the streaming device supports photo sharing capabilities and offers a user-friendly interface for seamless connectivity.
-
Set Up the Streaming Device: Follow the manufacturer's instructions to set up the streaming device and connect it to your TV. This typically involves plugging the device into an available HDMI port on your TV and connecting it to a power source.
-
Install the Corresponding Mobile App: Most streaming devices require a dedicated mobile app for seamless photo sharing. Install the app on your mobile device from the respective app store, and ensure that both the streaming device and your mobile device are connected to the same Wi-Fi network.
-
Access Your Photos: Open the mobile app associated with the streaming device and navigate to the photo sharing or casting feature. This will enable you to access the photos stored on your mobile device and prepare them for display on the TV screen.
-
Initiate Photo Casting: Select the photos you wish to display on the TV and initiate the casting process from your mobile device. This action will wirelessly transmit the selected photos to the streaming device, which in turn displays them on the TV screen in real-time.
-
Customize the Display: Depending on the capabilities of the streaming device and the associated mobile app, you may have the option to customize the display settings, such as slideshow transitions, background music, and photo arrangement. Explore these features to enhance the visual presentation of your photos.
-
Enjoy Your Photos in Full Splendor: Once the photos are successfully cast to the TV, sit back and immerse yourself in the visual delight of your cherished memories. Whether it's a collection of travel photos, family gatherings, or artistic snapshots, viewing them on the expansive TV screen adds a new dimension to your viewing experience.
Using a streaming device to transfer photos from your mobile device to your TV offers a seamless and wireless solution for sharing your visual stories. This method eliminates the need for physical connections and allows for convenient control directly from your mobile device. Whether it's a casual get-together or a special occasion, leveraging a streaming device for photo sharing adds a touch of modernity and convenience to your visual presentations.
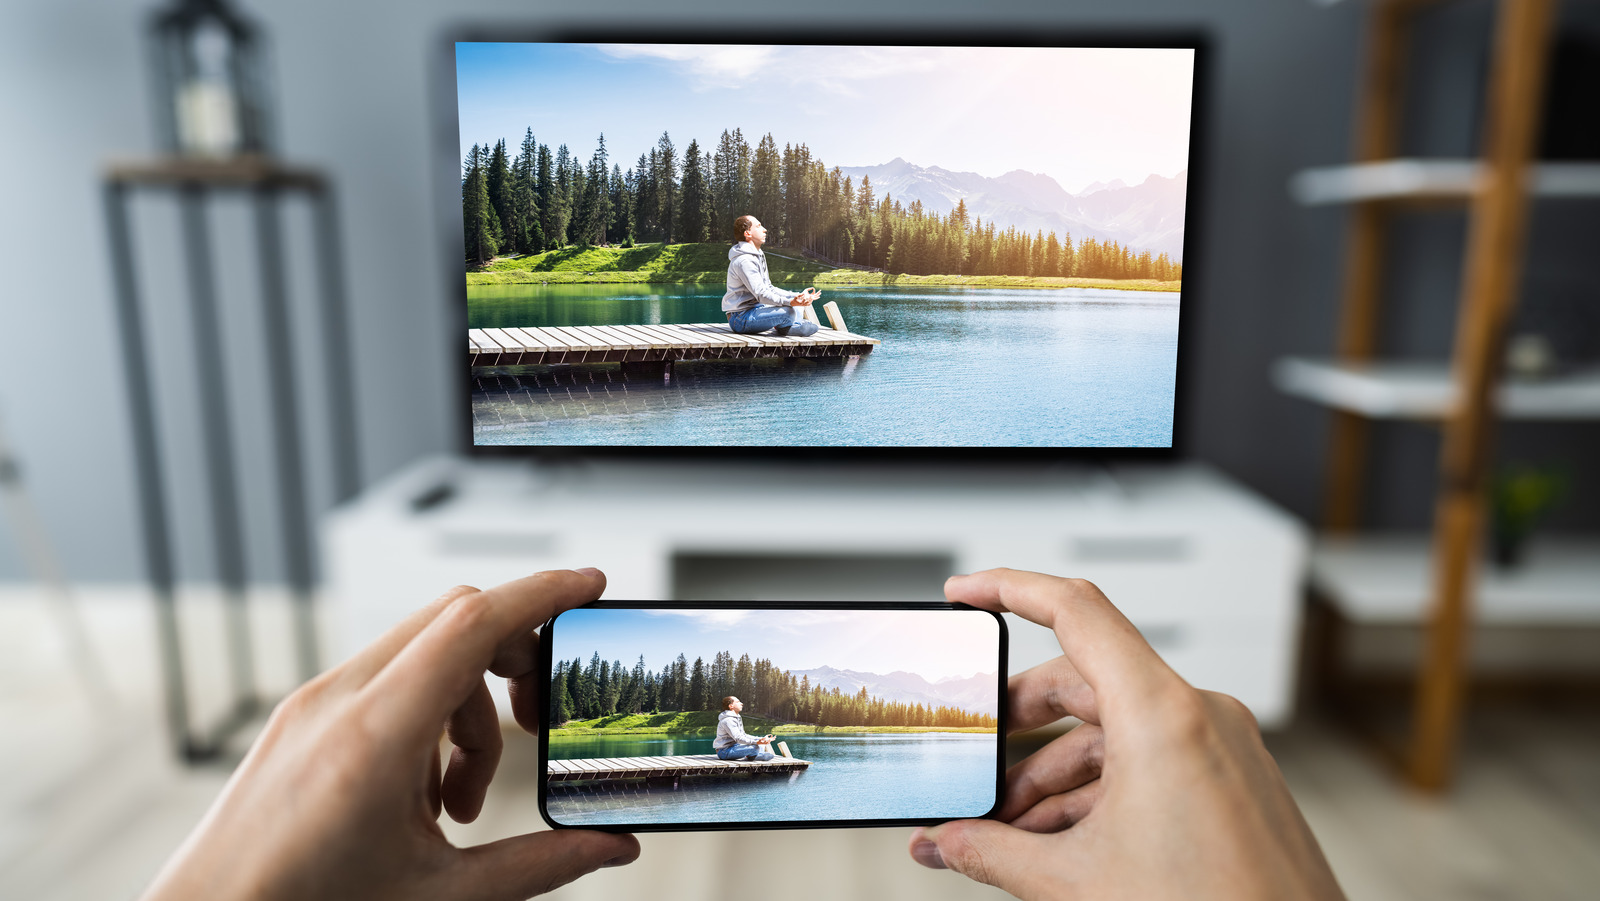
Using Screen Mirroring
Screen mirroring provides a versatile and dynamic method for transferring photos from your mobile device to your TV. This innovative approach leverages the capabilities of modern smart TVs and mobile devices, allowing for seamless wireless connectivity and real-time display of your photos on the larger TV screen. Here's an in-depth exploration of the screen mirroring process and how you can effortlessly showcase your mobile photos using this cutting-edge technology.
Understanding Screen Mirroring
Screen mirroring, also known as screen casting or mirroring, enables you to replicate the display of your mobile device onto the TV screen. This functionality is facilitated through wireless communication protocols such as Wi-Fi Direct, Miracast, or proprietary screen mirroring technologies embedded in smart TVs and mobile devices. By initiating screen mirroring, you can transform your TV into a mirror image of your mobile device's screen, allowing for the seamless display of photos, videos, and other content.
Initiating Screen Mirroring
To begin the screen mirroring process, ensure that both your mobile device and your smart TV support screen mirroring functionality. Most modern smartphones and tablets offer built-in screen mirroring capabilities, while smart TVs are equipped with the necessary technology to receive and display mirrored content. Here's a step-by-step guide to initiate screen mirroring for photo sharing:
-
Enable Screen Mirroring on Your TV: Using your TV's remote control, navigate to the screen mirroring or casting feature. This may be accessed through the TV's settings menu or via a dedicated button on the remote control. Once activated, the TV is ready to receive mirrored content.
-
Activate Screen Mirroring on Your Mobile Device: On your mobile device, access the screen mirroring or casting settings. This may vary depending on the device manufacturer and operating system. Look for options such as "Smart View," "Screen Mirroring," or "Cast Screen" in the device settings.
-
Establish the Connection: Once the screen mirroring feature is activated on both the TV and the mobile device, initiate the connection. Your mobile device will scan for available devices to mirror to, and the TV should appear in the list of available options. Select your TV to establish the connection.
-
Display Your Photos: With the screen mirroring connection established, your mobile device's screen will be replicated on the TV. Navigate to the photo gallery or the specific photos you wish to display, and they will be mirrored in real-time on the TV screen.
Advantages of Screen Mirroring
Screen mirroring offers several advantages for transferring photos from your mobile device to your TV. Firstly, it provides a wireless and hassle-free method, eliminating the need for physical cables or additional devices. Additionally, screen mirroring allows for real-time interaction with the displayed content, enabling you to navigate through your photos and make on-the-fly adjustments directly from your mobile device.
Furthermore, screen mirroring supports a wide range of mobile devices and smart TVs, making it a versatile solution for users with diverse technology setups. Whether you're using an Android smartphone, an iPhone, or a tablet, screen mirroring offers cross-platform compatibility, allowing you to seamlessly share your photos regardless of the device's operating system.
Enhancing the Viewing Experience
By leveraging screen mirroring to display your photos on the TV, you can enhance the viewing experience for yourself and your audience. Whether you're sharing travel memories, capturing special moments with loved ones, or showcasing artistic photography, the larger TV screen provides a captivating canvas for your visual stories. The immersive nature of the TV display adds depth and vibrancy to your photos, allowing you to relive the moments in stunning detail.
Moreover, screen mirroring enables you to share your photos with a group of people, creating a shared viewing experience that fosters engagement and conversation. Whether it's a family slideshow, a photography showcase, or a collaborative presentation, the ability to display your photos on the TV screen through screen mirroring adds a communal element to the visual storytelling process.
Using a Smart TV App
Utilizing a smart TV app to transfer photos from your mobile device to your TV presents a modern and user-friendly approach that leverages the advanced capabilities of smart televisions. With the proliferation of smart TVs equipped with app ecosystems, this method offers a seamless and intuitive way to showcase your mobile photos on the expansive canvas of the TV screen. Let's delve into the intricacies of using a smart TV app for photo sharing and explore the steps to effortlessly display your visual stories.
Exploring Smart TV App Integration
Smart TVs are equipped with integrated app platforms that offer a diverse range of functionalities, including photo viewing and media sharing. These smart TV apps are designed to facilitate seamless connectivity with mobile devices, allowing users to effortlessly transfer photos, videos, and other content to the TV screen. By leveraging these apps, you can transform your TV into a dynamic hub for visual presentations, creating an immersive viewing experience for yourself and your audience.
Step-by-Step Guide for Photo Sharing
To initiate the process of transferring photos from your mobile device to your smart TV using a dedicated app, follow these comprehensive steps:
-
Select a Compatible Smart TV App: Begin by identifying and installing a compatible smart TV app on your TV. Explore the app store or the pre-installed app library on your smart TV to discover photo-sharing applications that align with your preferences and requirements.
-
Install the Corresponding Mobile App: Once you have identified the smart TV app for photo sharing, install the corresponding mobile app on your smartphone or tablet. These mobile apps are designed to establish a seamless connection between your mobile device and the smart TV, enabling the transfer of photos with ease.
-
Connect Your Mobile Device to the Smart TV: Ensure that both your mobile device and the smart TV are connected to the same Wi-Fi network. Open the installed mobile app and follow the on-screen instructions to establish a secure and reliable connection between your mobile device and the smart TV.
-
Navigate to the Photo Sharing Feature: Within the smart TV app, navigate to the photo sharing or media casting feature. This interface allows you to access the photos stored on your mobile device and prepare them for display on the TV screen.
-
Select and Display Your Photos: Browse through your photo gallery on the mobile app and select the photos you wish to showcase on the TV. With a simple tap or click, initiate the transfer process to display the selected photos on the TV screen in full splendor.
-
Customize the Viewing Experience: Depending on the capabilities of the smart TV app, you may have the option to customize the display settings, such as slideshow transitions, background music, and photo arrangement. Explore these features to enhance the visual presentation of your photos and create a personalized viewing experience.
Advantages of Smart TV App Integration
Integrating a smart TV app for photo sharing offers several advantages that elevate the overall experience of transferring and displaying photos on the TV screen. Firstly, these apps provide a user-friendly interface that simplifies the process of connecting and sharing content between your mobile device and the smart TV. The intuitive nature of smart TV apps ensures that users of all technical backgrounds can seamlessly navigate the photo-sharing functionalities, fostering accessibility and convenience.
Furthermore, smart TV apps often incorporate additional features such as cloud integration, photo organization, and multimedia playback, enhancing the versatility of the photo-sharing experience. By leveraging these integrated functionalities, users can access their entire photo library, create engaging slideshows, and curate captivating visual presentations directly from the smart TV app interface.
Elevating the Visual Presentation
By utilizing a smart TV app to transfer photos from your mobile device to the TV, you can elevate the visual presentation of your cherished memories and creative endeavors. The expansive display of the smart TV serves as a captivating canvas for showcasing your photos, allowing you to relive the moments in stunning detail. Whether it's a collection of travel snapshots, family portraits, or artistic compositions, the immersive nature of the TV screen adds depth and vibrancy to your visual stories.
Moreover, smart TV apps enable you to curate engaging slideshows, apply dynamic transitions, and incorporate background music to enhance the viewing experience. These creative features empower you to transform your photo sharing into a captivating visual journey, captivating your audience and fostering a sense of shared appreciation for the displayed content.
In conclusion, transferring photos from your mobile device to your TV can greatly enhance your viewing experience and allow you to share memories with friends and family on a larger screen. Whether you opt for a wired or wireless method, the process is relatively straightforward and offers numerous benefits. By following the steps outlined in this guide, you can effortlessly display your favorite photos on the big screen, creating a more immersive and enjoyable visual experience. Embracing the convenience and versatility of modern technology enables you to seamlessly bridge the gap between your mobile device and TV, unlocking new possibilities for entertainment and connectivity. So, go ahead and transfer those cherished moments from your mobile to your TV, and relish the joy of sharing memories in a larger-than-life format.
FAQs
-
Can I transfer photos from my mobile to my TV wirelessly?
Yes, you can transfer photos from your mobile to your TV wirelessly using technologies such as screen mirroring, casting, or using apps designed for this purpose.
-
What are the different methods for transferring photos from a mobile to a TV?
There are several methods for transferring photos from a mobile to a TV, including using screen mirroring, casting, connecting via HDMI or USB, using a media streaming device, or utilizing smart TV apps.
-
Do all TVs support wireless photo transfer from mobile devices?
Not all TVs support wireless photo transfer from mobile devices. Smart TVs and those with built-in Wi-Fi and screen mirroring capabilities are more likely to support wireless photo transfer.
-
Are there any specific apps that can help with transferring photos from a mobile to a TV?
Yes, there are apps available for both Android and iOS devices that facilitate the wireless transfer of photos to a TV. Examples include Google Home, AirPlay, AllCast, and Roku.
-
What should I do if I encounter issues while transferring photos from my mobile to my TV?
If you encounter issues while transferring photos from your mobile to your TV, ensure that both devices are connected to the same Wi-Fi network, update the firmware or software on both devices, and check for any compatibility issues between your mobile device and the TV. If problems persist, refer to the user manuals or contact the respective customer support for further assistance.