To attach an Ethernet connector to a cable, you need to strip the cable jacket, arrange the eight internal wires in the correct order, and crimp an RJ45 connector onto them using a crimping tool. The most critical choice you must make before starting is selecting a wiring standard, T568B is the most common for home and office networks in North America.
What you need to attach an Ethernet connector to a cable
You will need an Ethernet cable, a cable stripper, a crimping tool, a wire cutter, and an RJ45 connector. An RJ11 connector is sometimes mentioned as an alternative Ethernet connector type. The eight individual wires inside the cable must be arranged according to one of two standardized wiring schemes: T568A or T568B. Choose your standard before you begin, because you must use the same standard on both ends of the cable for it to work as a straight-through cable.
Understanding the T568A and T568B wiring standards
T568B is the most commonly used wiring standard for both commercial and residential installations in North America. For T568B, with the RJ45 clip facing away and the pins facing up, the wire order from left to right is: White/Orange, Orange, White/Green, Blue, White/Blue, Green, White/Brown, Brown. For T568A, the order is: White/Green, Green, White/Orange, Blue, White/Blue, Orange, White/Brown, Brown. Both standards provide identical electrical performance and support the same network speeds; the only difference is the physical arrangement of the orange and green wire pairs. It is critical to use the same wiring standard consistently on both ends of a single Ethernet cable to ensure it functions as a straight-through cable.
Step 1: Strip the cable jacket
Use a cable stripper to remove the outer sheath of the Ethernet cable. Insert the cable into the appropriate slot on the stripper, squeeze the handles gently, and rotate the tool around the cable. Pull away the stripped jacket to expose the individual wires. Trim away any excess insulation or shielding from each wire using wire cutters, leaving enough exposed wire for a clean connection. Inspect the wires for frayed strands or damage; if you find any, cut back the cable and strip it again.
Step 2: Untwist and arrange the wires
Untwist each of the four twisted pairs of wires and straighten them. Arrange the eight wires in the order required by your chosen standard (T568B or T568A). Hold the RJ45 connector with the clip facing away from you and the pins facing up. The wire order must match this orientation exactly. Straighten the wires so they lie flat and parallel to each other.
Step 3: Insert and secure the wires in the connector
Trim the wires to an even length, leaving about half an inch of exposed wire. Slide the wires into the RJ45 connector, ensuring each wire reaches the end of its contact channel. Verify the order by looking through the front of the connector, you should see the copper ends of all eight wires flush against the end of the connector. Use a small flat-head screwdriver or punch-down tool to press down on the wires for extra security. Press the wires firmly into place and give them a gentle tug to confirm they are seated.
Step 4: Crimp the connector
Place the connector into the crimping tool so the metal contacts are fully covered. Apply firm, even pressure by squeezing the handles of the tool. After crimping, visually inspect the connector to confirm all metal contacts are pressed down evenly against the wires. Gently tug on the connector to test its strength; it should feel snug and not move.
Step 5: Test the connection
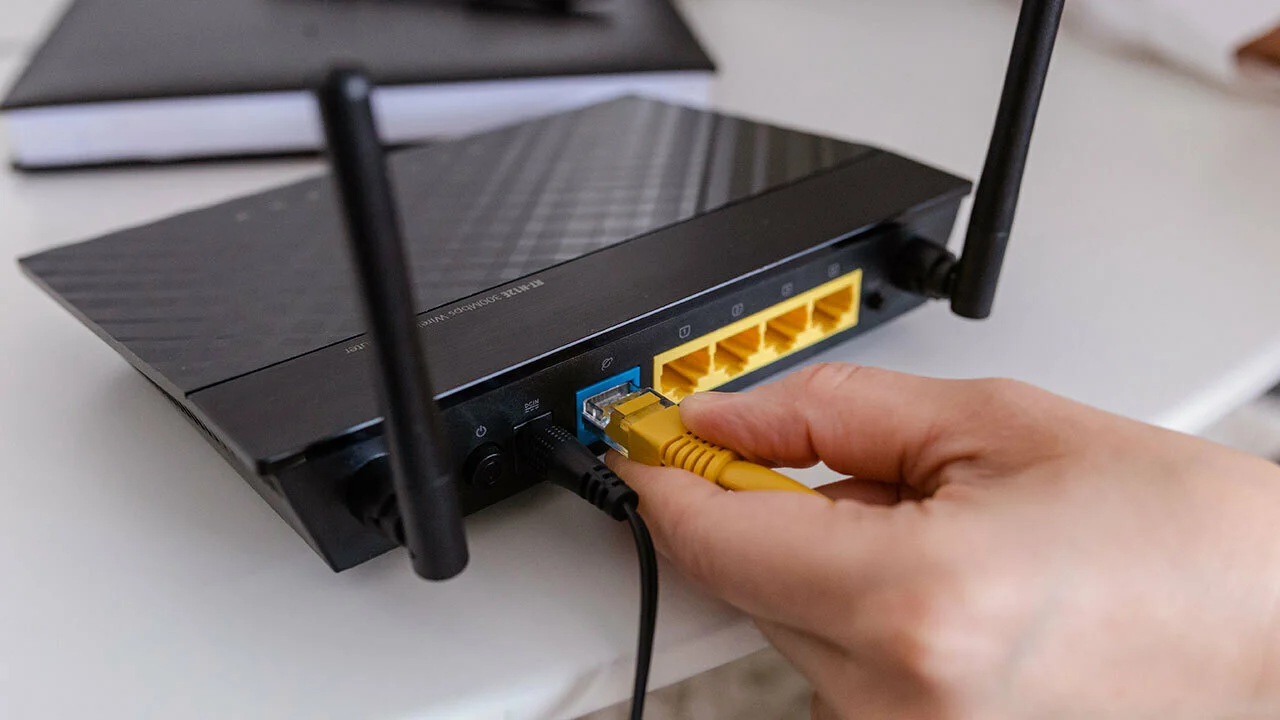
Plug one end of the cable into a network device such as a router and the other end into a computer or gaming console. Power on both devices and check for link lights on the Ethernet ports, a solid green or orange light indicates a successful connection. Verify a network connection by checking network settings or attempting to access the internet. If the link light is blinking or absent, double-check the cable connections, verify the wire order, or try a different port. A properly crimped cable will give you a reliable connection for tasks like a wireless printer setup (Wireless Printer Setup and Mobile Printing) that benefits from a stable wired backbone.
Frequently Asked Questions
What is an Ethernet connector?
An Ethernet connector is a modular plug, most commonly an RJ45, used to terminate twisted-pair network cables so they can be plugged into network devices for data transmission.
What tools do I need to attach an Ethernet connector?
What are the different types of Ethernet connectors?
The most common type is the RJ45 connector, used for Cat5e, Cat6, and Cat6a cables. Other connector types like RJ11 are used for telephone connections, not Ethernet.
Can I reuse an Ethernet connector once it has been crimped?
It is not recommended to reuse an RJ45 connector after it has been crimped. The crimped connection may not be as reliable if the connector is removed and reattached, so it is best to use a new connector for each termination.
What is the difference between T568A and T568B?
The only difference between T568A and T568B is the physical arrangement of the orange and green wire pairs. Both standards offer identical electrical performance and support the same network speeds, so you can use either as long as you use the same standard on both ends of the cable.
What type of connector is used for Ethernet cables?
The most commonly used Ethernet connector is the RJ45 connector. It has eight pins and is designed for twisted-pair cabling such as Cat5e, Cat6, and Cat6a.
Why is it important to use the same wiring standard on both ends?
Using the same standard on both ends creates a straight-through cable, which is required for connecting devices like a computer to a router or a switch. If you mix standards on the two ends, the cable becomes a crossover cable and may not work with modern equipment that lacks auto-MDIX.
What should I do if the cable does not work after crimping?
First, verify that the wire order matches your chosen standard on both ends and that all wires reach the end of the connector contacts. Check that the crimp tool applied even pressure and that no wires are shorting together. If the problem persists, cut off the connector and start again with a new RJ45 connector.