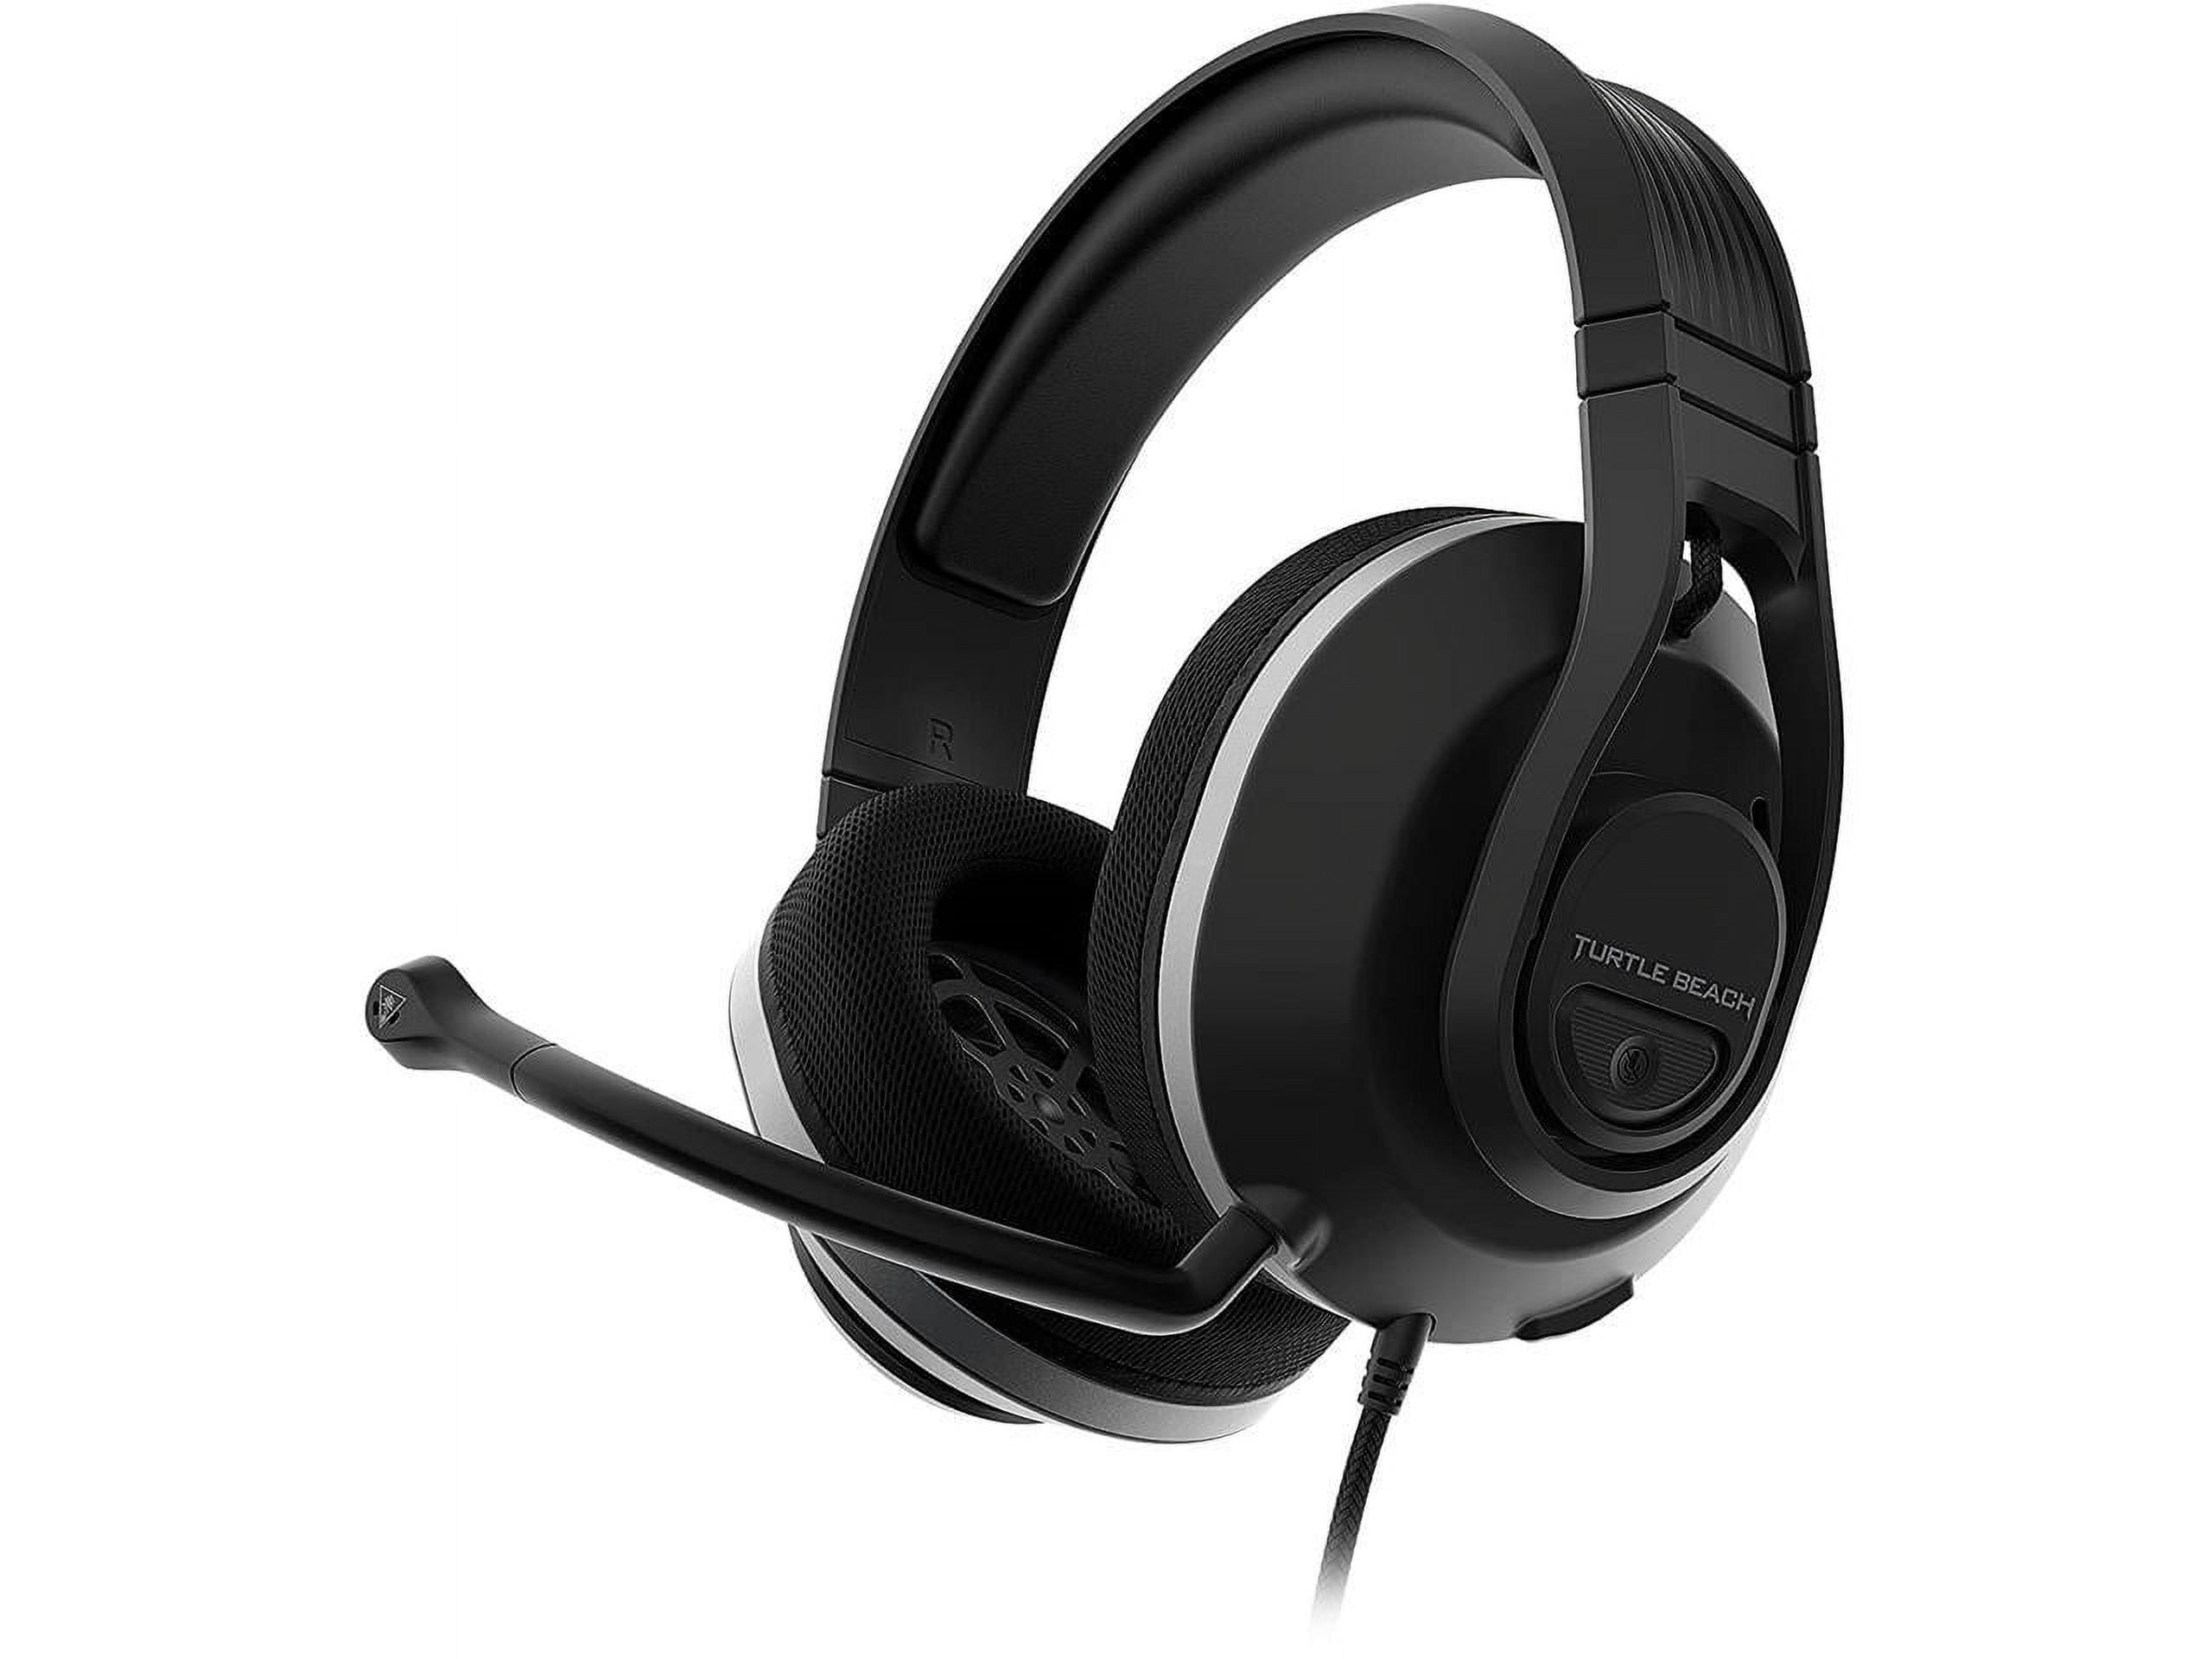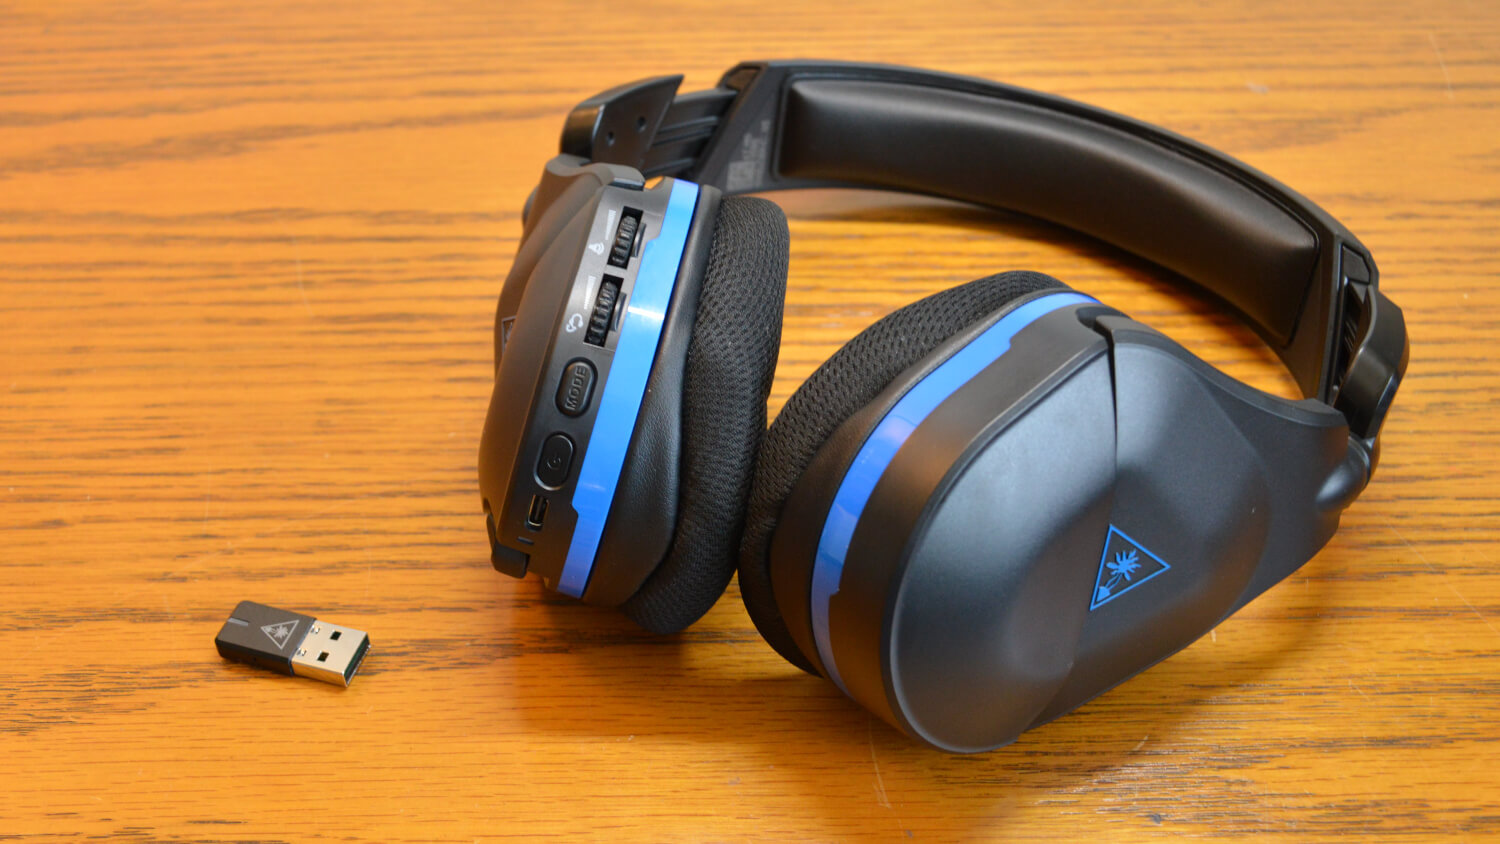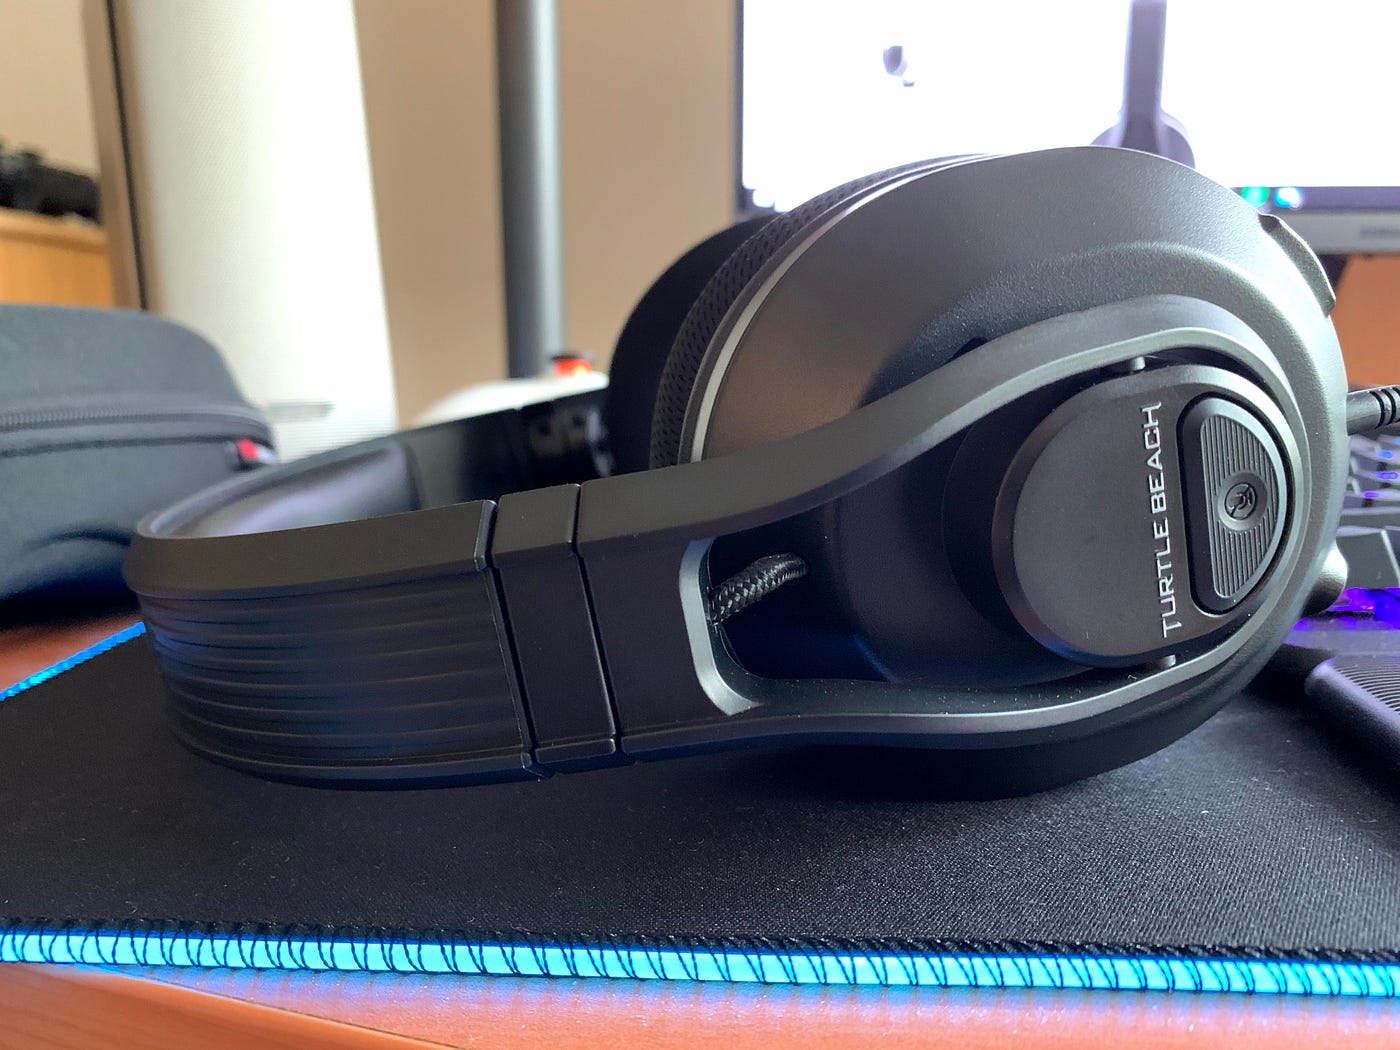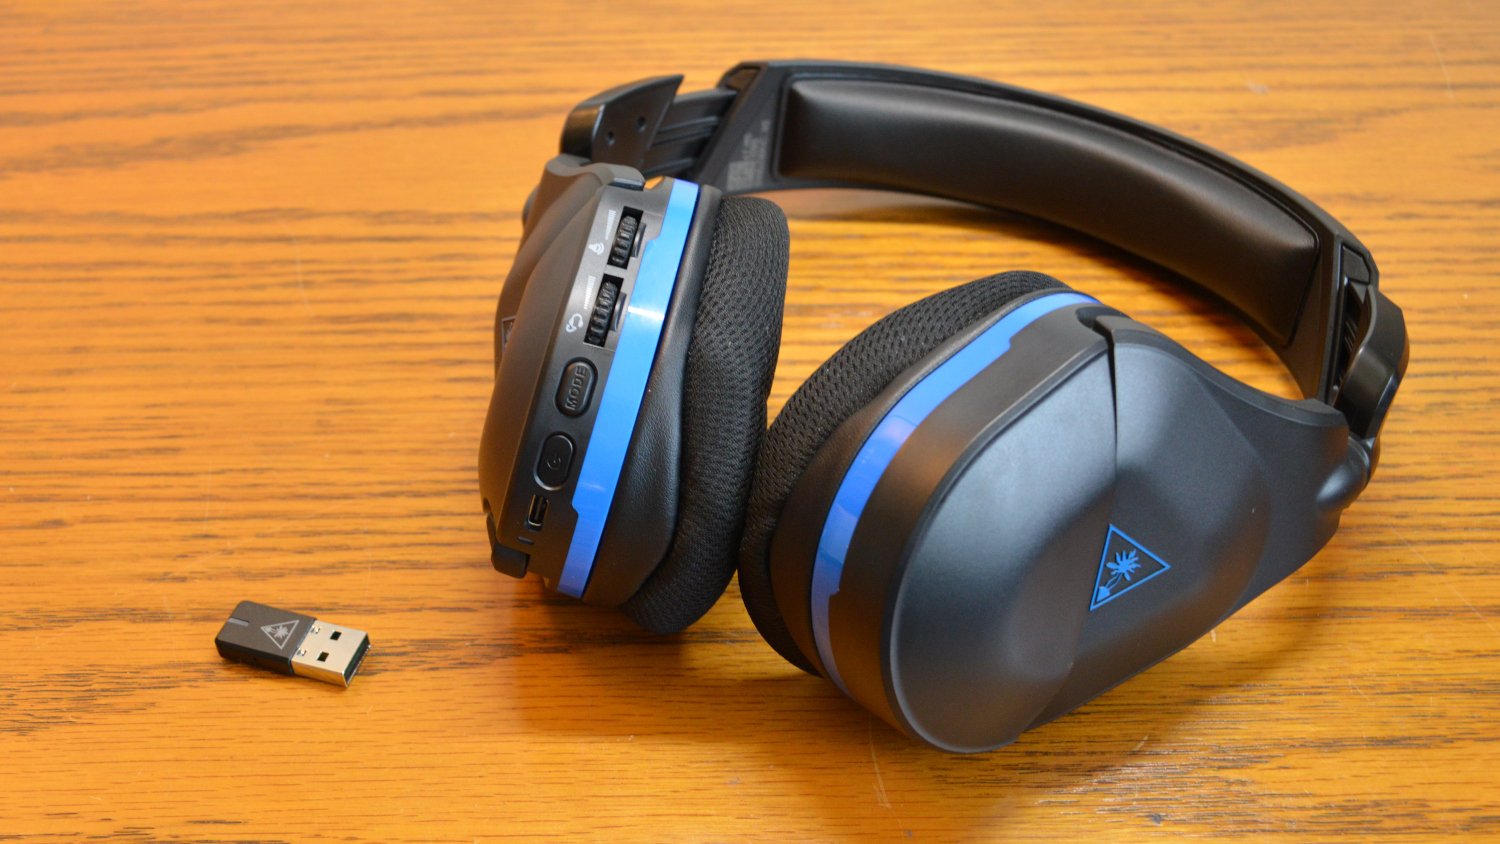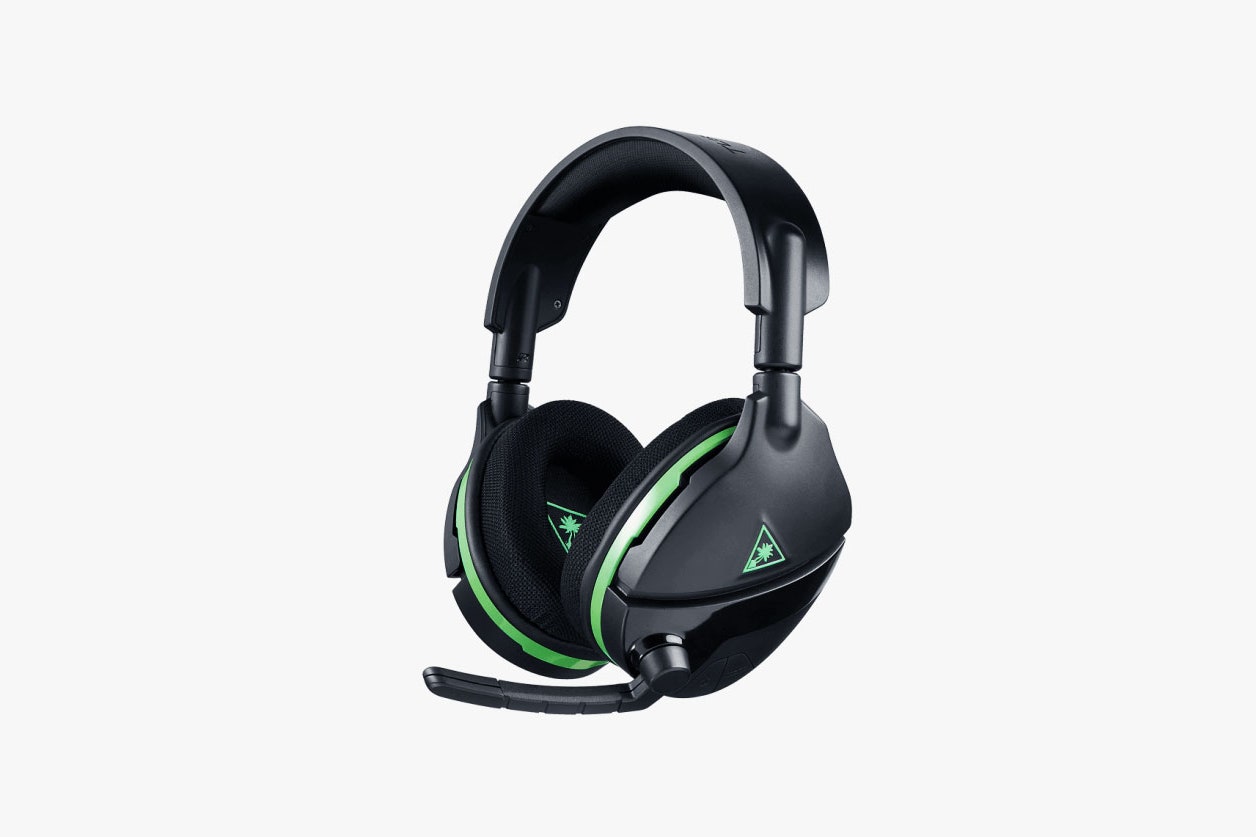
To take apart a Turtle Beach headset, you primarily need to remove the ear cushions for cleaning or replacement, a process that varies slightly by model. Before you begin, understand that any unauthorized modifications or attempts to take apart the headset beyond removing the cushions will void its warranty.
Before you take apart your Turtle Beach headset
Unplug the headset from any power or audio source and turn it off. Work on a clean, well-lit surface and discharge static electricity from your body by touching a grounded metal object before handling the headset. Gather plastic opening tools, tweezers, and cotton swabs. A small screwdriver set with different sizes and types of heads is typically sufficient for disassembling Turtle Beach headsets. Keep components organized and consider taking reference photos if you plan deeper disassembly, though this voids the warranty. Unauthorized modifications or attempting to take apart a Turtle Beach headset will void its warranty.
How to remove ear cushions from older Turtle Beach models
Older Turtle Beach headsets use a lip-and-groove system. To remove the cushion, use your thumb to release the cloth from the plastic lip on the main earpiece. Once the cloth is free, pull the ear pad straight back, and it should slip off. To remove the ear cups, gently hold the cup and rotate it counterclockwise or clockwise depending on the model. Some ear cups may have a latch that you need to press or a tab that you need to release. The ear pad material is designed to stretch enough for removal without tearing, provided you exercise caution. If there are any wires attached to the ear cup, make sure to detach them carefully by unplugging them. The wire may be connected to the speaker or other components.
How to remove ear cushions from channel-based models
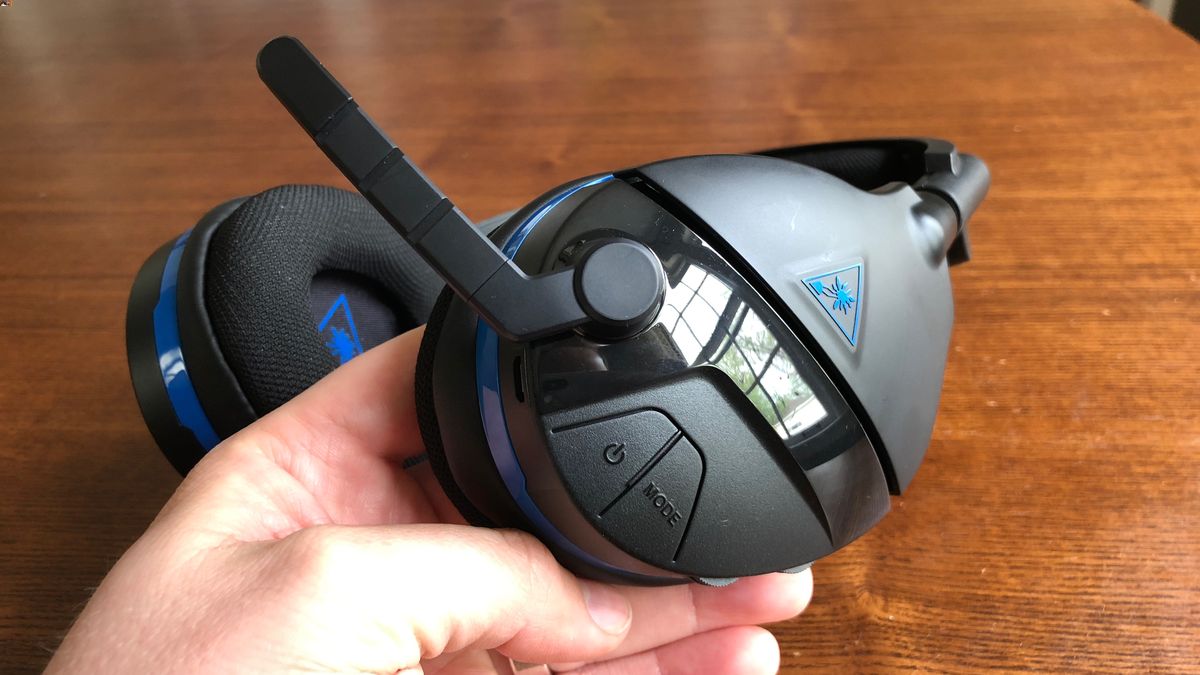
Models such as the Stealth 700 Gen 3, Stealth 600, and Stealth 500 use a channel-based system where the pad slides into a groove molded into the earcup plastic. To remove the cushion, grip the edge of the ear cushion and pull it evenly away from the earcup, avoiding yanking from one spot to prevent tearing.
How to replace Turtle Beach ear cushions
To install new ear pads, first line up the cloth on one side of the ear pad by sliding it up so the cloth slips into the groove or over the lip. Once partially in place, slip a finger around the cloth ring to slide it completely into the plastic groove. If the ear pad is almost in place but difficult to seat fully, gently rotating it can help pull everything into position. For channel-based systems, slide the outer edge of the new cushion into the channel at the bottom of the earcup, hold it with your thumb, and rotate the earcup to feed the cushion in all the way around.
What parts can you actually replace
Ear cushions and mic foam covers are wear-and-tear items and have a three-month warranty; they can be replaced by the user. Look for any screws or clips that may be holding the headband in place. Depending on the model of your Turtle Beach headset, there may be small screws or clips that need to be removed in order to detach the headband. If your Turtle Beach headset features an adjustable headband, you may need to adjust the position of the band before removing it completely. Look for any buttons or mechanisms that allow you to adjust the size or position of the headband. Cables that are permanently connected to the headset are not replaceable by the user. Gently grasp the wires near the connectors and pull them apart to disconnect them. If the wires are tightly secured, you may need to use a small tool like a pair of tweezers or a flathead screwdriver to gently pry them apart. Turtle Beach does not offer a fee-based repair service, as the cost of such a service would often be higher than the price of a replacement item. If you are troubleshooting gaming headsets and encounter a deeper issue, the most practical solution is usually a replacement headset.
Frequently Asked Questions
Can I replace the headband on my Turtle Beach headset?
Headband replacement is not covered by Turtle Beach as a user-serviceable part, and attempting to remove it may void your warranty. If the headband is damaged, contact Turtle Beach support for warranty options or consider a replacement headset.
Will removing the ear cushions void my warranty?
No, removing the ear cushions for cleaning or replacement does not void your warranty, as these are designed to be removable. However, any deeper disassembly or modification will void the warranty.
How do I clean the ear cushions after removing them?
Wipe the cushions with a soft, lint-free cloth dampened with mild soap and water. Avoid soaking them or using harsh chemicals. Let them air dry completely before reattaching them to the headset.
What should I do if my ear cushion tears during removal?
If a cushion tears, it is a wear-and-tear item and is not covered under the standard warranty beyond three months. You can purchase replacement ear cushions directly from Turtle Beach or authorized retailers.
Can I replace the speaker inside the earcup?
No, the speaker drivers are not user-replaceable parts. Attempting to access them requires disassembly that voids the warranty, and Turtle Beach does not offer a paid repair service for this.
How do I clean the microphone?
For the microphone, use a cotton swab moistened with a bit of rubbing alcohol to remove any debris or buildup.