
If you’re an iPhone user and want to make the most of your device’s capabilities, the Calendar app is undoubtedly a tool you should take advantage of. This handy app not only allows you to keep track of your schedule and appointments, but it also lets you create events and send invites to others seamlessly.
In this article, we’ll dive into the ins and outs of using the Calendar app on your iPhone to create events and send invites. Whether you’re organizing a meeting, planning a social gathering, or simply want to share an event with your friends, this step-by-step guide will show you how to do it effortlessly.
From setting up event details to customizing notifications and managing RSVPs, we’ll cover everything you need to know to become a Calendar app pro. So, grab your iPhone and let’s get started on making your event planning experience a breeze!
Inside This Article
- Overview of the Calendar App on iPhone
- Creating and Managing Events
- Sending Invites for Events
- Tips and Tricks for Using the Calendar App on iPhone
- Conclusion
- FAQs
Overview of the Calendar App on iPhone
The Calendar app on your iPhone is an essential tool for managing your schedule and staying organized. It allows you to create, edit, and delete events, set reminders, and even invite others to join your events. With its user-friendly interface and seamless integration with other apps and services, the Calendar app is designed to make managing your time effortless.
When you open the Calendar app, you are greeted with a clean and intuitive interface. The default view is the Month view, which displays a visual overview of all your events for the selected month. You can navigate between months by swiping left or right, or you can tap on the month name to access a dropdown menu for quick selection.
Creating a new event is simple. Just tap on the “+” button at the top right corner of the screen, and you will be presented with a form to fill in all the necessary details for your event, such as the title, date, time, location, and any additional notes. You can also choose to set a reminder for the event, which will send you a notification at the specified time.
Once you have created an event, you can easily edit or delete it by tapping on the event in the calendar view. This will bring up a pop-up window with options to make changes or delete the event entirely. You can also view more details about the event, such as attendees, by tapping on the event and selecting the “Details” option.
Another useful feature of the Calendar app is the ability to send invites to others for your events. When creating a new event, you have the option to add invitees by entering their email addresses. Once the event is saved, an invitation will be sent to the invitees, who can then accept or decline the invitation. You will be notified of their response and can easily view the status of each invitation.
The Calendar app on iPhone also integrates seamlessly with other apps and services, such as Siri, Maps, and Reminders. You can use Siri to create new events or get information about your upcoming events by simply using voice commands. The app also works with Maps to provide directions to event locations, and with Reminders to link tasks to specific events.
Creating and Managing Events
The Calendar app on iPhone makes it easy to create and manage events, helping you stay organized and ensuring you never miss an important appointment or meeting. Whether you need to schedule a doctor’s appointment, set reminders for deadlines, or plan a social gathering, the Calendar app is there to streamline the process.
To create an event, simply open the Calendar app and tap the “+” button. This will prompt you to enter the event details, such as the title, location, date, and time. You can also add notes to provide additional information or include any specific instructions for the event.
Once you’ve entered all the necessary information, you can choose to set a reminder for the event. This is particularly useful for ensuring you are notified in advance, giving you enough time to prepare or make any necessary arrangements. The Calendar app allows you to set reminders at various intervals, such as minutes, hours, or days before the event.
Additionally, you can set the event to repeat if it occurs on a regular basis, such as weekly meetings or monthly appointments. This saves you the hassle of manually creating the event every time it recurs.
To manage your events, you can easily view them in different calendar views, such as day, week, or month. This allows you to get a comprehensive overview and plan your schedule accordingly. You can also edit or delete events as needed, providing flexibility in adapting to any changes or cancellations.
Furthermore, the Calendar app integrates seamlessly with other apps and services on your iPhone, such as Contacts and Maps. This means that if you have added a location to your event, you can simply tap on it to open Maps for directions.
The Calendar app also allows you to sync your events across devices using iCloud, ensuring that you can access and manage your schedule seamlessly from any iPhone, iPad, or Mac device. This is especially convenient for individuals who use multiple Apple devices or work in a team environment where sharing schedules is essential.
Sending Invites for Events
The Calendar app on your iPhone not only allows you to create and manage events, but it also enables you to send invites to your contacts. This feature comes in handy when you need to coordinate with others and ensure everyone is on the same page. Let’s explore how to send invites for events using the Calendar app on your iPhone.
1. Open the Calendar app on your iPhone and tap on the date and time when you want to create an event. Enter the event details such as title, location, and duration.
2. Once you have entered all the necessary information, tap on the “Add Invitees” option. You can either choose from your contacts or manually enter the email addresses of the people you want to invite.
3. As you add invitees, the Calendar app will display their availability, indicated by colored dots next to their names. This helps you schedule the event at a time that works for everyone.
4. If you want to send additional instructions or details about the event, you can do so by tapping on the “Add Notes” option. This allows you to provide any extra information that the invitees might need.
5. Once you are satisfied with the event details and the list of invitees, tap on the “Send” button. The Calendar app will then send an invite to the selected contacts, either through email or as a notification, depending on their preferences.
6. The invitees will receive the invitation and can choose to accept, decline, or suggest a different time. Their responses will be synced with your Calendar app, allowing you to track their attendance for the event.
7. If you need to make any changes to the event or resend the invitation, you can do so by opening the event in the Calendar app and tapping on the “Edit” button. From there, you can modify the event details, add or remove invitees, and send an updated invitation.
Sending invites for events using the Calendar app on your iPhone makes it convenient to plan and coordinate gatherings, meetings, and other activities with your contacts. It streamlines the process of scheduling and ensures that everyone is aware of the event and can respond accordingly.
So, next time you have an event to plan, make use of the Calendar app on your iPhone to create, manage, and send invites effortlessly.
Tips and Tricks for Using the Calendar App on iPhone
1. Use color-coded calendars: The Calendar app on iPhone allows you to create multiple calendars and assign different colors to each. Take advantage of this feature to easily distinguish between personal and work-related events or any other categories you prefer. This makes it easier to visualize your schedule at a glance.
2. Customize event alerts: Don’t miss important appointments or meetings by customizing your event alerts. In the Calendar app settings, you can set reminders to notify you in advance with specific sounds, vibrations, or even custom messages. This way, you can stay organized and punctual.
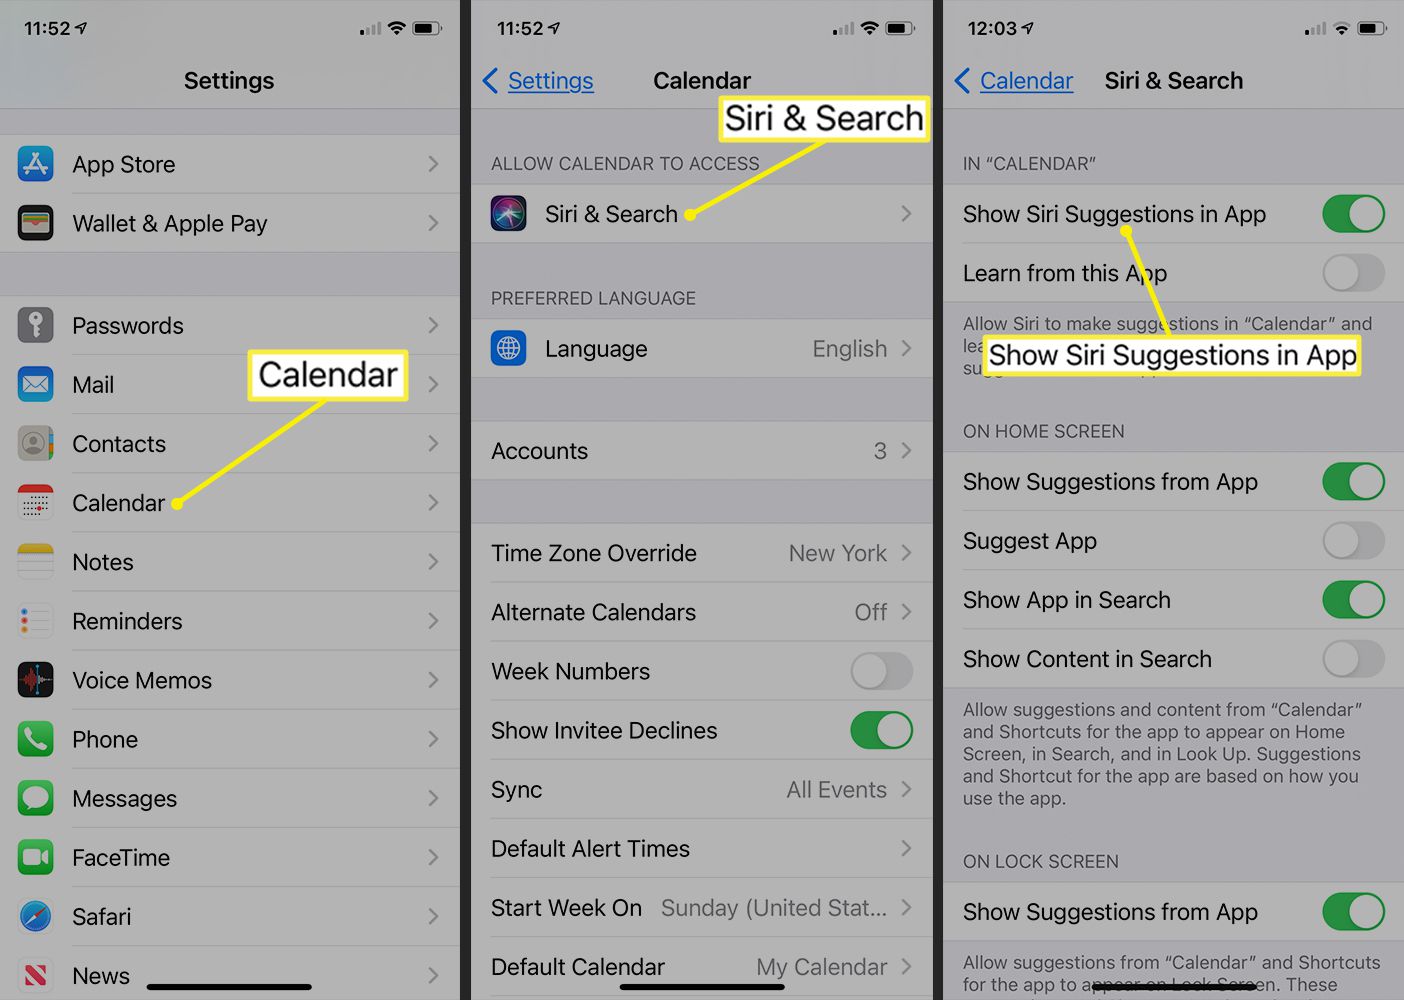
3. Utilize Siri integration: Siri, the voice assistant on the iPhone, can make managing your calendar even more convenient. Simply ask Siri to schedule events, set reminders, or check your upcoming appointments. This can save you time and ensure that you stay on top of your schedule.
4. Enable travel time: If you frequently have meetings or events at different locations, the Calendar app allows you to add travel time to your events. This feature automatically adjusts your schedule based on the estimated travel time, ensuring you arrive on time and avoid any scheduling conflicts.
5. Share calendars with others: Collaborating with colleagues, family members, or friends is made easy with the Calendar app. You can share specific calendars with others, allowing them to view, edit, or even add events to the shared calendar. This is especially useful for coordinating schedules and keeping everyone informed.
6. Use the Today view: Access your daily schedule quickly by adding the Calendar app widget to your iPhone’s Today view. This provides a snapshot of your upcoming events and allows you to see your agenda without even opening the app.
7. Set recurring events: For tasks or events that occur regularly, save time and effort by setting up recurring events in the Calendar app. Whether it’s a weekly team meeting or a monthly bill payment, you can easily configure the frequency and duration of the event, ensuring it’s automatically added to your schedule.
8. Integrate with other apps: The Calendar app seamlessly integrates with other apps on your iPhone. Take advantage of this by linking events to relevant tasks, notes, or documents in other apps. This allows you to have all the necessary information in one place and makes it easier to stay organized.
9. Sync with other devices: Keep your calendar updated across all your devices by enabling iCloud sync. This ensures that any changes or additions you make on your iPhone will be reflected on your iPad, Mac, or other Apple devices. This keeps your schedule consistent and accessible no matter which device you’re using.
10. Explore third-party calendar apps: While the default Calendar app on iPhone is powerful and user-friendly, there are also many third-party calendar apps available in the App Store. These apps often offer additional features, customization options, and integrations, allowing you to tailor your calendar experience to your specific needs.
The Calendar app on the iPhone is a powerful tool that allows users to create events and send invites with ease. With its intuitive interface and seamless integration with other apps, managing your schedule and coordinating with others has never been easier. Whether you need to schedule a meeting, plan a social gathering, or organize a personal event, the Calendar app has got you covered.
By following the simple steps outlined in this article, you can unlock the full potential of the Calendar app and make the most of its features. From setting up event details to inviting participants, the app streamlines the entire process, saving you time and ensuring seamless coordination.
So go ahead and take advantage of the Calendar app on your iPhone today. Stay organized, stay connected, and never miss an important event again.
FAQs
1. Can I create events and send invites using the Calendar app on my iPhone?
Yes, the Calendar app on your iPhone allows you to create events and send invites to other people. It’s a convenient way to organize your schedule and collaborate with others.
2. How do I create an event in the Calendar app on my iPhone?
To create an event in the Calendar app, simply open the app and tap on the “+” icon. Enter the event details such as title, date, time, location, and any additional notes, and then tap on “Done” to save the event.
3. How can I send invites to others when creating an event on the Calendar app?
When creating an event, you can invite others by tapping on the “Invite” button and selecting the recipients from your contacts list. You can also enter email addresses manually. The invited recipients will receive an email with the event details and they can choose to accept or decline the invitation.
4. Can I set reminders for events created in the Calendar app?
Yes, you can set reminders for your events in the Calendar app. When creating an event, you can tap on the “Alert” option and choose when you want to be reminded, such as a specific time before the event or a certain number of minutes or hours in advance.
5. How can I view and manage the events I’ve created in the Calendar app?
To view and manage your events in the Calendar app, simply open the app and navigate to the “Month” or “Day” view. You will see all the events you’ve created on the respective dates. You can tap on an event to view its details or make changes. You can also swipe left or right to switch between different months or days.