
With the rise of digitalization, scanning documents has become an integral part of our daily lives. Whether it’s for work, school, or personal reasons, we often find ourselves needing to scan documents and save them securely. Fortunately, iPhone users can now conveniently scan documents and save them directly to iCloud Drive, Apple’s cloud storage service.
In this article, we will explore the step-by-step process of scanning documents directly to iCloud Drive on your iPhone. This feature eliminates the need for third-party scanning apps and simplifies the document management process. By utilizing your iPhone’s built-in scanner and iCloud Drive, you can securely store and access your scanned documents from anywhere, ensuring that important paperwork is always at your fingertips.
Inside This Article
- Overview
- Compatibility
- Steps to Scan Documents to iCloud Drive on iPhone
- Tips and Tricks
- Conclusion
- FAQs
Overview
Scanning documents has become an essential task for many individuals and professionals. It allows you to digitize physical documents, making them easily accessible and shareable. With the advancements in technology, you can now conveniently scan documents using your iPhone and store them directly in iCloud Drive. This feature not only saves time but also ensures the security and backup of your important files.
Scanning documents directly to iCloud Drive on your iPhone eliminates the need for a separate scanner or the hassle of transferring files from one device to another. Whether you need to scan receipts, contracts, or any other important documents, this seamless integration with iCloud Drive provides a convenient and efficient solution.
iCloud Drive is Apple’s cloud-based storage service that allows you to store and access your files across multiple devices. By connecting your iPhone to iCloud Drive, you can easily scan documents and have them instantly available on your other Apple devices, such as Macbook or iPad.
In this article, we will guide you through the steps to scan documents directly to iCloud Drive on your iPhone, ensuring you have a digital backup of your important paperwork whenever you need it. So, let’s get started!
Compatibility
Scanning documents directly to iCloud Drive is a convenient feature available on iPhones running on iOS 13 and later. If you have an iPhone 6s or later model, or an iPhone SE (2nd generation), you can take advantage of this functionality. It’s important to ensure you have the latest iOS version installed on your device for optimal performance when using this feature.
In addition to the iPhone compatibility, you also need to ensure that your iCloud storage plan has enough available space to accommodate the scanned documents. If you have a free iCloud account, you get 5GB of storage, which can quickly fill up if you regularly scan documents. Consider upgrading your iCloud storage plan if you anticipate the need to store a large number of scanned documents.
Furthermore, it’s worth noting that iCloud Drive is seamlessly integrated with other Apple devices. This means that once you scan a document to iCloud Drive on your iPhone, you can easily access and view it on your iPad, Mac, or even via the iCloud website. The compatibility between iCloud Drive and Apple devices allows for effortless synchronization and access to your scanned documents across various platforms.
Steps to Scan Documents to iCloud Drive on iPhone
Scanning documents and storing them in the cloud has become an essential feature for many iPhone users. With the convenience of iCloud Drive, you can easily scan and save important documents directly from your iPhone. If you’re wondering how to take advantage of this feature, follow the steps below:
- Open the Notes app: Begin by launching the Notes app on your iPhone. This app comes pre-installed and can be easily accessed from the home screen.
- Create a new note: Once you have the Notes app opened, tap on the “+” button located at the bottom center of the screen. This will create a new note where you can start scanning your document.
- Tap the camera icon: Within the new note, you will see a camera icon at the bottom of the screen. Tap on this icon to access the scanning feature of the Notes app.
- Select ‘Scan Documents’: After tapping the camera icon, a menu will appear with different options. Choose “Scan Documents” from the list to activate the scanning mode.
- Position the document: Once in scanning mode, position your iPhone camera over the document you want to scan. Make sure the document is well-lit and aligned within the camera frame to achieve the best scan.
- Adjust scan settings: The scanning mode allows you to adjust various settings to enhance the quality of the scan. You can tap on the screen to invoke the manual adjust option or rely on the automatic detection to optimize the scan.
- Scan the document: When you’re ready, tap the capture button to scan the document. Move your iPhone camera slowly and steadily across the page to ensure all parts of the document are captured.
- Review and edit the scan: After the scan is complete, you will be taken to a preview screen where you can review the scanned document. If needed, you can crop, rotate, or adjust the scan before proceeding.
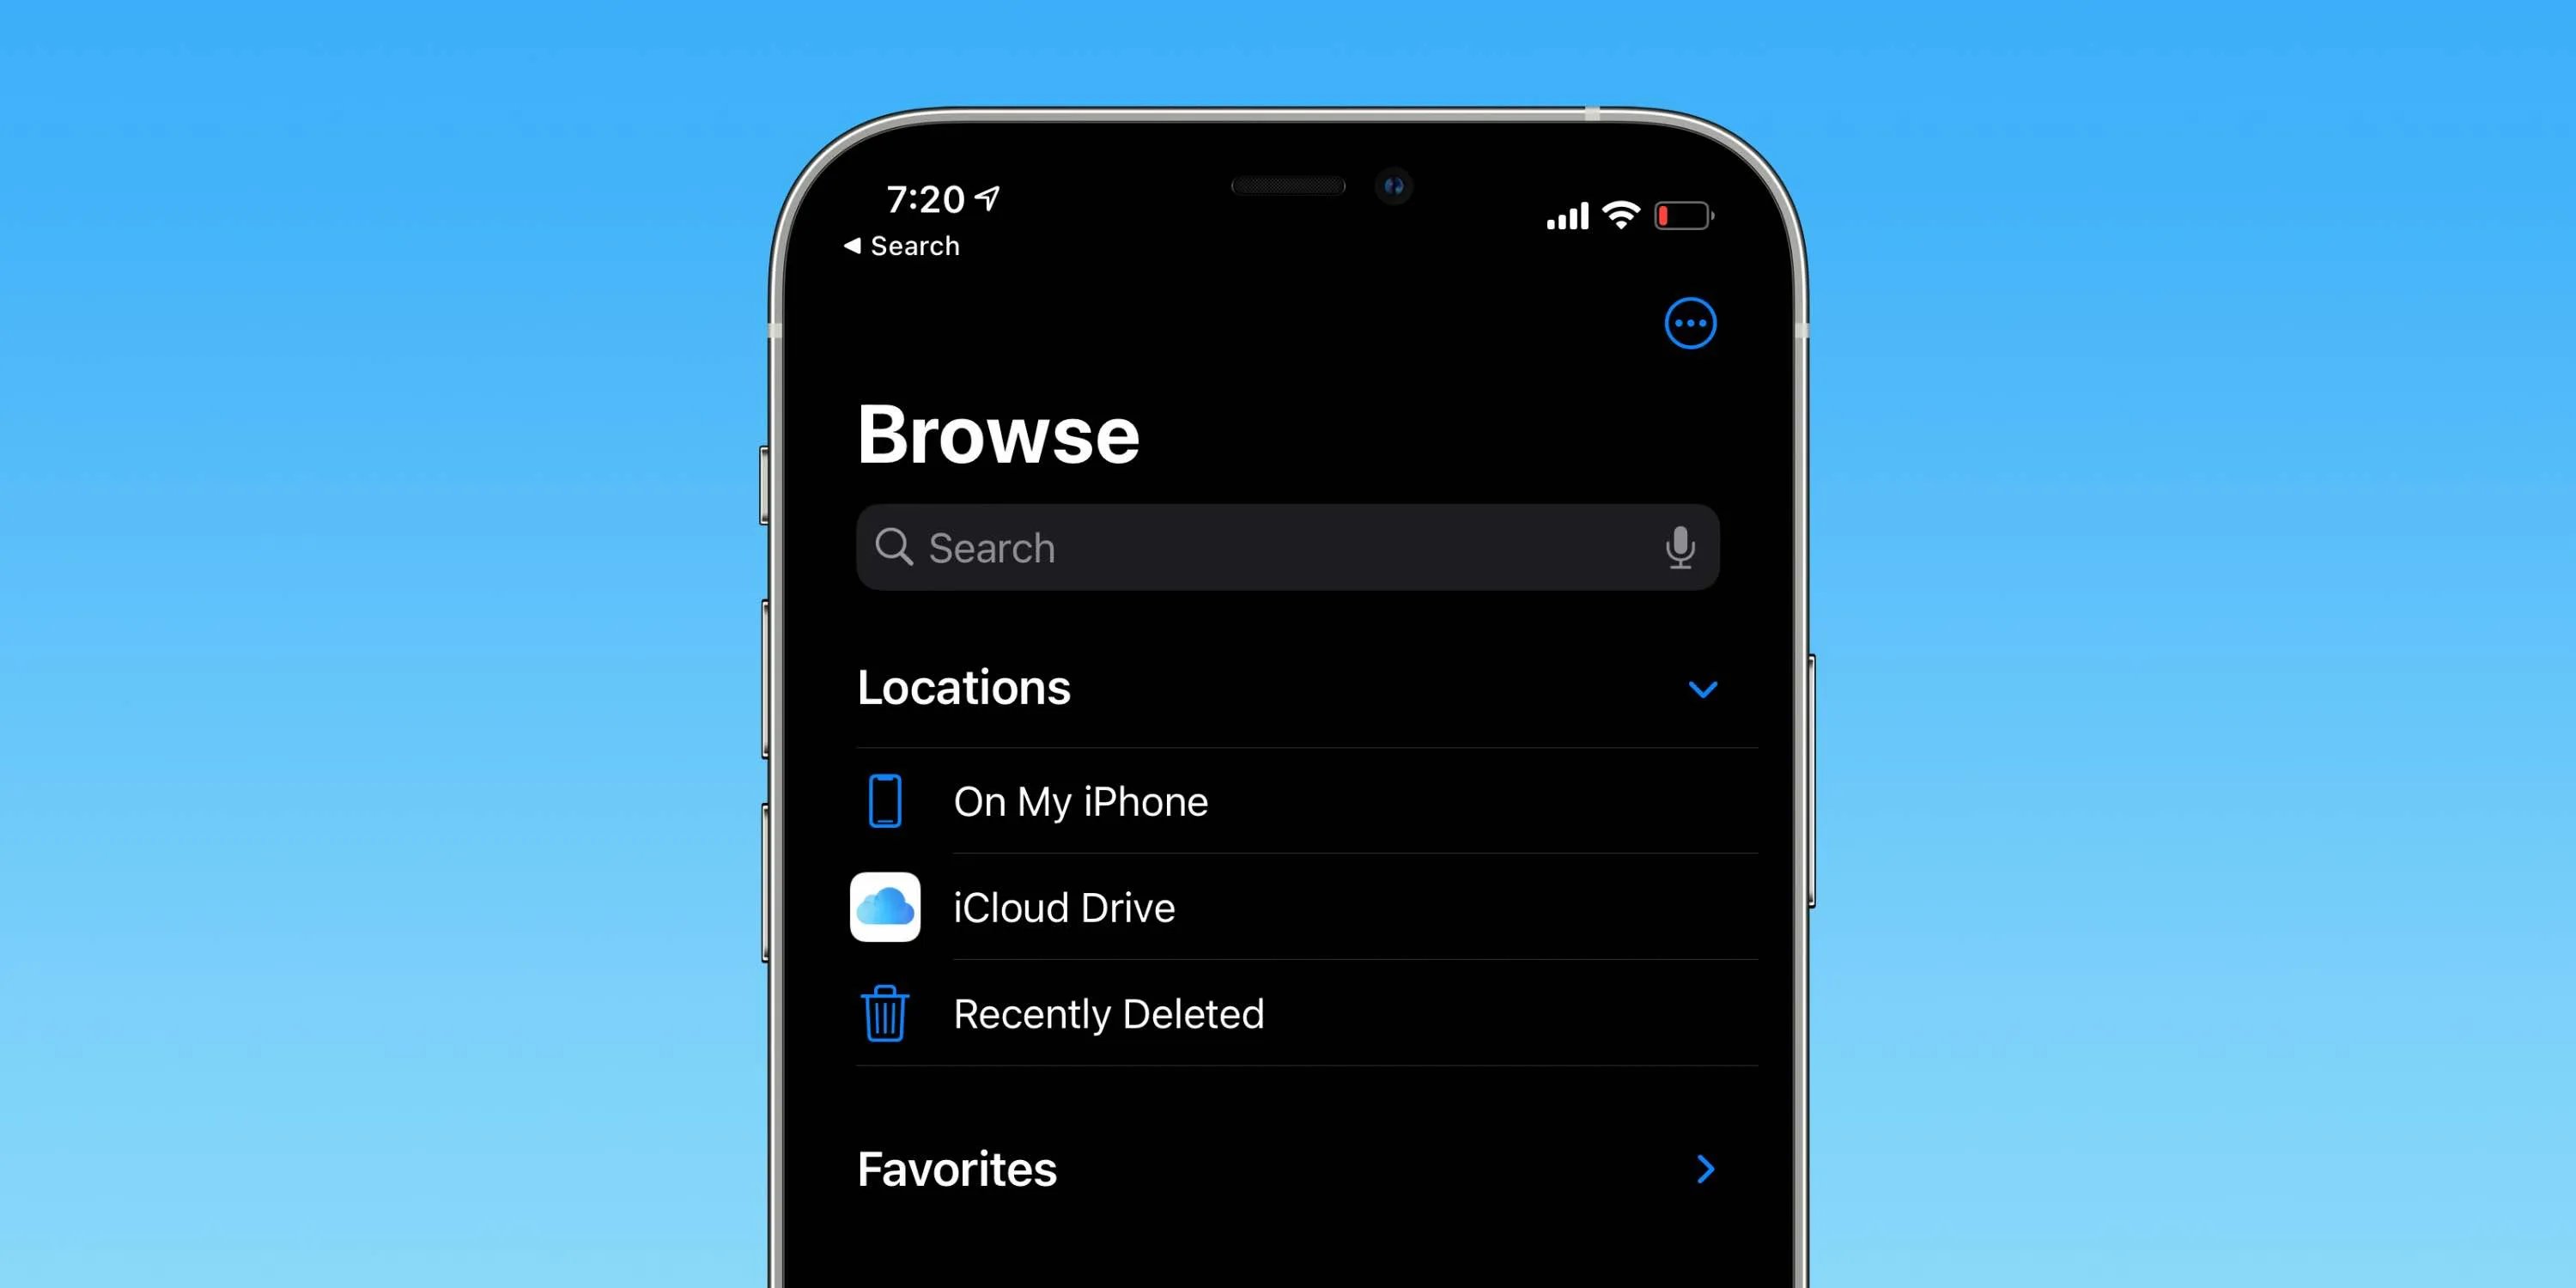
- Save the scan to iCloud Drive: To save the scanned document directly to iCloud Drive, tap on the share icon located in the upper-right corner of the screen. From the sharing options, choose “Save to Files” and select iCloud Drive as the destination. You can choose a specific folder within iCloud Drive or save it in the default iCloud Drive location.
- Confirm the save: Once you have selected the destination in iCloud Drive, tap on the “Save” button to confirm the save. The scanned document will now be uploaded to iCloud Drive and accessible across all your devices.
By following these simple steps, you can easily scan documents directly to iCloud Drive on your iPhone. This ensures that your important documents are securely stored in the cloud, making them easily accessible whenever you need them.
Tips and Tricks
Scanning documents directly to iCloud Drive on your iPhone can be a convenient and efficient way to organize and store important files. To help you make the most out of this feature, here are some useful tips and tricks to consider:
1. Use a Clear and Stable Surface: When scanning documents, it’s essential to have a clear and stable surface to ensure optimal image quality. Avoid shaking or moving the iPhone while capturing the document to avoid blurry or distorted scans.
2. Proper Lighting: Adequate lighting is crucial for capturing clear and legible scans. Avoid scanning documents under dim lighting conditions or direct sunlight, as it can affect the quality of the scan. Position the document in an area with even lighting for the best results.
3. Adjust Scan Size: Depending on the type of document you are scanning, you may need to adjust the scan size. This can be done by selecting the appropriate scanning option in the scanning app. For standard documents, choose the default size, but for smaller texts or receipts, opt for a higher resolution or smaller scan size to ensure readability.
4. Crop and Rotate: After scanning a document, take advantage of the editing tools available in the scanning app to crop and rotate the scan if necessary. This will help remove any unnecessary portions and ensure the document appears in the correct orientation.
5. Organize Files with Folders: To keep your scanned documents well-organized, create different folders within iCloud Drive to categorize them. This will make it easier to locate specific files when needed, saving you time and effort in the long run.
6. Use Descriptive File Names: When saving scanned documents to iCloud Drive, give them descriptive and meaningful names. This will make it easier to identify files and retrieve them later. Including relevant details such as the document type, date, or subject can be beneficial.
7. Enable Offline Access: If you anticipate situations where you might not have an internet connection, consider enabling offline access to your iCloud Drive. This will allow you to view and access your scanned documents even when you’re not connected to the internet.
8. Regularly Backup: While iCloud Drive offers a secure cloud storage solution, it’s still a good practice to regularly back up your scanned documents. Consider creating a backup on an external hard drive or another cloud storage service to ensure your files are always protected.
9. Check Storage Space: As you scan and save more documents to iCloud Drive, keep an eye on your available storage space. If you’re running low, consider deleting any unnecessary or outdated files to free up space and avoid any potential storage constraints.
10. Explore Additional Scanning Apps: While the default scanning feature on the iPhone is convenient, there are also many third-party scanning apps available in the App Store that offer advanced features and functionalities. Explore different options to find the app that best suits your scanning needs.
By following these tips and tricks, you can make the most out of scanning documents directly to iCloud Drive on your iPhone. Enjoy the convenience of having your important files organized and accessible at your fingertips!
Conclusion
Scanning documents directly to iCloud Drive on your iPhone is a convenient and efficient way to manage your files. With just a few simple steps, you can securely store important documents, receipts, and other paperwork in the cloud, accessible from any device with an internet connection.
By using the built-in document scanner feature in the Files app and configuring your iCloud Drive settings, you can streamline your workflow and eliminate the need for physical copies of documents. This not only saves time and space but also ensures that your documents are safely backed up and easily accessible whenever you need them.
Whether you are a student, professional, or simply someone who wants to stay organized, scanning documents directly to iCloud Drive is a valuable tool to have in your iPhone’s arsenal. Take advantage of this feature and experience the convenience of having your important files at your fingertips, wherever you go.
FAQs
1. Can I scan documents directly to iCloud Drive on my iPhone?
Absolutely! iOS devices provide an intuitive and convenient way to scan documents and save them directly to iCloud Drive. With just a few simple steps, you can securely store your scanned documents in the cloud.
2. How do I scan documents on my iPhone?
To scan documents on your iPhone, open the Notes app and create a new note. Tap the camera icon within the note, then select the “Scan Documents” option. Position your document within the camera frame and let your iPhone do the rest. Once the scan is complete, you can save it to iCloud Drive.
3. How do I save scanned documents directly to iCloud Drive?
Once you have scanned a document using the Notes app on your iPhone, tap the share button (box with an arrow pointing upwards). From the available options, select “Save to Files.” If you have iCloud Drive enabled, you will see it as one of the saving locations. Choose iCloud Drive, select the desired folder, and tap “Save” to store your document.
4. Can I access scanned documents on other devices through iCloud Drive?
Absolutely! One of the advantages of saving scanned documents to iCloud Drive is the ability to access them from any of your Apple devices. Whether you want to view your scanned documents on your iPad, Mac, or even iCloud.com, simply navigate to iCloud Drive and locate the folder where the scanned documents are saved.
5. Is there a way to organize my scanned documents in iCloud Drive?
Indeed! iCloud Drive offers convenient organization options for your scanned documents. You can create folders and subfolders to categorize and store your documents in a structured manner. To create a new folder, simply tap the “+” icon within iCloud Drive and choose the “New Folder” option. You can then name the folder as per your preference and move the scanned documents into it.