
The iPhone 13 is not only a powerful smartphone but also a versatile tool that can be used for a wide range of tasks. One of the features that sets the iPhone 13 apart is its ability to scan documents. With this capability, you no longer need to rely on a separate scanner or printer to digitize your documents. Whether you need to scan important documents for work or simply want to digitize old photos, the iPhone 13 makes the process quick and effortless. In this article, we will explore how to scan with the iPhone 13, providing step-by-step instructions to help you make the most of this feature. Whether you’re a business professional or a casual user, this guide will equip you with the knowledge to efficiently scan documents using your iPhone 13.
Inside This Article
- How to Scan Documents with iPhone 13
- Tips for Scanning with iPhone 13
- Additional Scanning Features on iPhone 13
- Conclusion
- FAQs
How to Scan Documents with iPhone 13
With the advanced camera system on the iPhone 13, scanning documents has never been easier. Whether you need to digitally store receipts, save important papers, or share documents with colleagues and friends, your iPhone 13 can serve as a powerful scanning tool. Follow these simple steps to scan documents with your iPhone 13:
1. Open the Notes app on your iPhone 13. It comes pre-installed, so you don’t need to download anything.
2. Tap on the new note icon (the square with the pencil inside) to create a new note where your scanned document will be saved.
3. Tap the camera icon located at the bottom of the screen. This will open up the scanning feature on your iPhone 13.
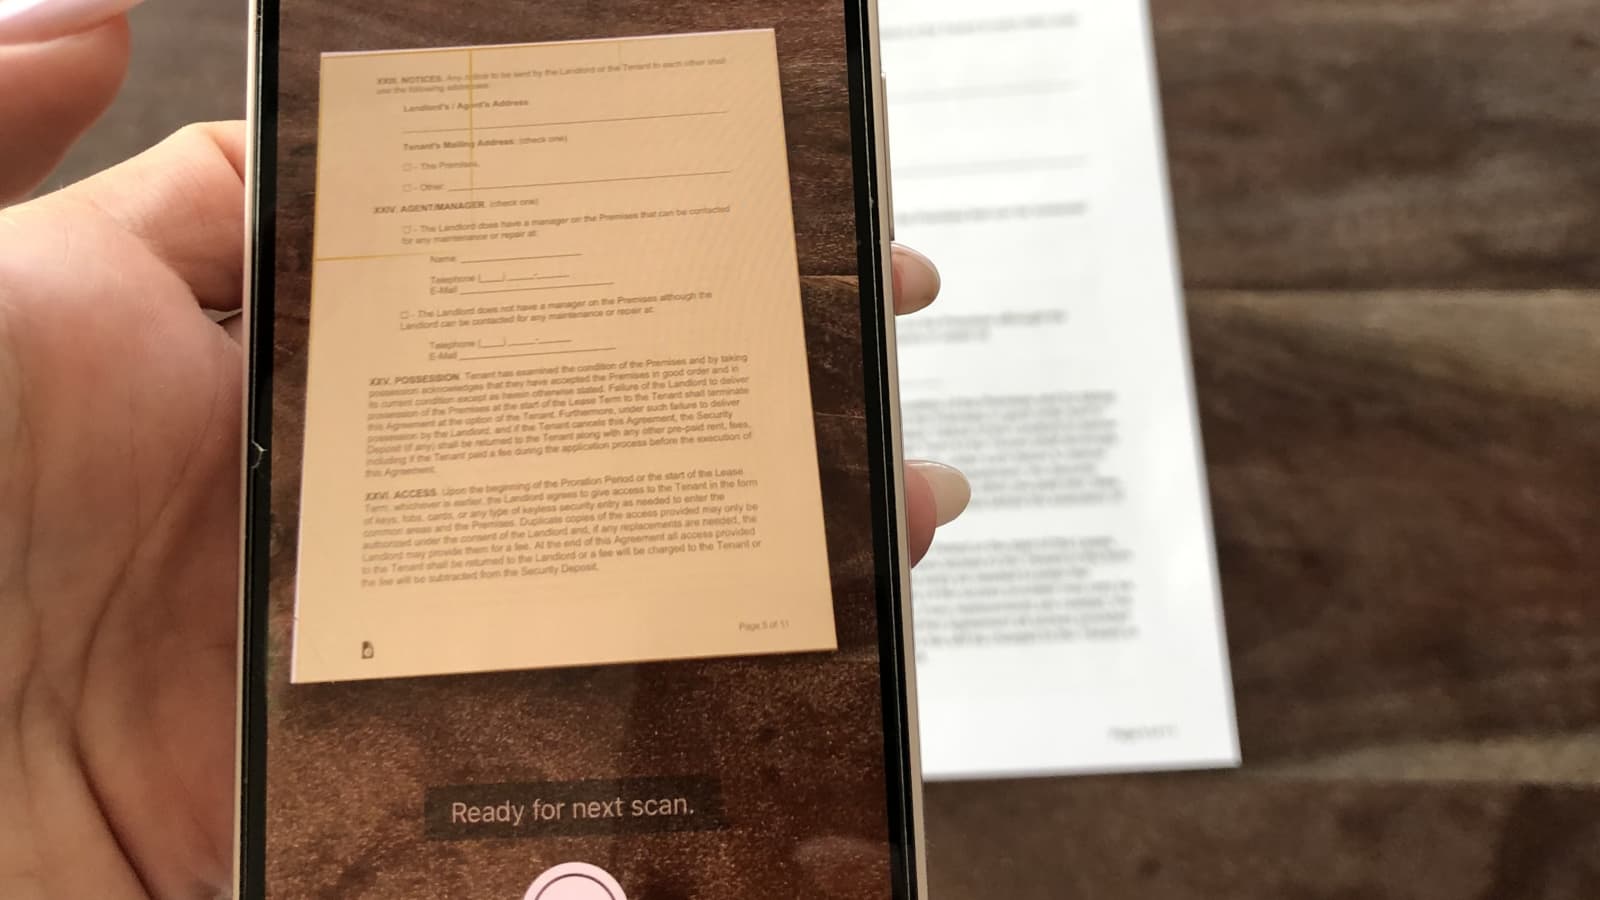
4. Position the document you want to scan within the camera view. Make sure all corners of the document are visible and aligned within the frame.
5. The scanner will automatically detect the document and highlight it with a yellow frame. Once you see the yellow frame around the document, tap the capture button to take the scan.
6. Review the scan to ensure it meets your satisfaction. You can crop, rotate, or adjust the scan to make it look perfect.
7. To save the scan, tap on the Done button. You can choose to save it within the note you created or create a new folder to organize your scans.
8. Congratulations! You have successfully scanned a document using your iPhone 13. Now you can easily access and share your scanned documents whenever and wherever you need them.
Remember, the scanning feature on the iPhone 13 is designed to be user-friendly and efficient. It allows you to quickly digitize physical documents with just a few taps, eliminating the need for bulky scanners or printers.
So, whether you’re a student, a professional on the go, or someone who wants to eliminate paper clutter, make the most out of your iPhone 13 and start scanning documents effortlessly.
Tips for Scanning with iPhone 13
Scanning documents with the iPhone 13 is a convenient and powerful feature that can save you time and effort. Whether you need to scan receipts, contracts, or important paperwork, these tips will help you make the most out of your iPhone 13’s scanning capabilities.
1. Find a well-lit environment: To ensure clear and legible scans, it’s crucial to have adequate lighting when scanning with your iPhone 13. Natural light or a well-lit room can help eliminate shadows and improve the quality of your scans.
2. Keep the document flat and steady: When placing the document on a flat surface, make sure to keep it steady. This will prevent any blurriness or distortion in the scanned image. You can also use a document holder or a tripod to ensure stability and consistent results.
3. Align the document within the frame: Position the document within the scanning frame on your iPhone 13’s screen. Use the guidelines provided by the scanning app to align the document edges, ensuring that nothing is cut off or skewed in the scan.
4. Tap to focus: Before capturing the scan, tap on the screen to focus on the document. This will ensure that the scanned image is sharp and clear, capturing all the details accurately.
5. Enhance the scan: Take advantage of the editing tools available in the scanning app. Adjust the brightness, contrast, and cropping to enhance the appearance of the scanned document. This can make the text more readable and improve the overall quality of the scan.
6. Utilize OCR technology: Optical Character Recognition (OCR) is a powerful feature that converts scanned text into editable and searchable content. If available, enable OCR in your scanning app to extract text from your scanned documents, making it easier to search and edit them later.
7. Organize your scans: Use the scanning app’s organization features to keep your scanned documents in order. Create folders, add tags, or categorize the scans to easily find and access them when needed.
8. Backup your scans: It’s important to regularly backup your scanned documents to avoid any data loss. Consider using cloud storage services, such as iCloud or Google Drive, to securely store and access your scanned files from any device.
9. Explore third-party scanning apps: While the default scanning app on the iPhone 13 is powerful, there are many third-party apps available that offer additional features and customization options. Explore different scanning apps to find the one that best suits your scanning needs.
10. Practice and experiment: Don’t be afraid to experiment and try different techniques with your iPhone 13’s scanning capabilities. Practice will help you become more proficient in scanning and allow you to discover the best methods for your specific document types.
Additional Scanning Features on iPhone 13
Aside from its powerful scanning capabilities, the iPhone 13 also comes packed with additional features that can take your scanning experience to the next level. Here are some of the notable features that you can utilize:
1. Document Markup: With the document markup feature, you can easily add annotations, text, signatures, and arrows to your scanned documents. This enables you to highlight important details or make necessary edits before saving or sharing the document.
2. Automatic Text Recognition: The iPhone 13’s scanning feature also incorporates automatic text recognition (OCR) technology. This means that it can convert scanned text documents into editable text, allowing you to easily copy, paste, and edit the content as needed.
3. Scan to PDF: Another handy feature is the ability to scan multiple documents and save them as a single PDF file. This is particularly useful when you have a stack of papers or receipts that you want to organize in a digital format.
4. Scan QR Codes: The iPhone 13’s scanning capability extends beyond just documents. It also has the ability to scan QR codes, which are commonly used for various purposes such as digital payments, website links, or contact information. Simply point your camera at the QR code, and the iPhone 13 will instantly recognize and provide the corresponding action or information.
5. Scan with Siri: Thanks to Siri integration, you can now scan documents hands-free with just a voice command. Simply activate Siri and say “Scan a document,” and your iPhone 13 will open the camera and prompt you to position the document within the frame. This hands-free scanning feature is particularly useful when you have your hands full or need to quickly capture a document without manually operating the phone.
6. Multi-page Scanning: The iPhone 13 allows you to seamlessly scan multi-page documents. Simply scan one page, and the camera will automatically detect the edges and prompt you to scan the next page. This makes it easy to digitize lengthy documents or multi-page contracts without any interruption or manual adjustments.
7. Share Scanned Documents: Once you have scanned a document, the iPhone 13 provides various options to share the scanned file. You can easily email it, save it to the Files app, upload it to cloud storage services like iCloud or Dropbox, or share it directly with other apps or contacts.
8. Scan Business Cards: If you frequently receive business cards, the iPhone 13 can help you easily digitize and organize them. The scanning feature recognizes business card details such as name, phone number, and email address, and gives you the option to save the contact details directly to your phone’s contacts.
9. Accessibility Features: For users with visual impairments, the iPhone 13 offers accessibility features to assist with scanning. Options such as voice guidance and magnification can help make the scanning process more accessible and user-friendly.
With these additional scanning features, the iPhone 13 proves to be more than just a mobile device. It becomes a powerful tool that allows you to scan, annotate, organize, and share documents with ease. Whether you need to digitize receipts, sign contracts, or keep track of important papers, the iPhone 13 has you covered.
The iPhone 13’s scanning capabilities take smartphone technology to the next level. With its advanced camera system and powerful image processing capabilities, the iPhone 13 allows users to effortlessly scan documents, QR codes, and even 3D objects. Whether you’re a student needing to digitize your notes or a professional wanting to quickly scan important documents on the go, the iPhone 13 delivers outstanding results.
Not only does the iPhone 13 provide exceptional scanning performance, but it also offers a seamless user experience. The intuitive scanning interface, combined with the phone’s fast processing speed, ensures that scanning is quick, accurate, and hassle-free. Additionally, the iOS ecosystem offers a plethora of apps that further enhance the iPhone 13’s scanning capabilities, providing users with a wide range of options to suit their specific needs.
In conclusion, the iPhone 13 sets a new standard for scanning functionality on smartphones. Its cutting-edge technology, user-friendly interface, and unmatched performance make it the perfect device for digitizing documents, capturing QR codes, and scanning objects. With the iPhone 13, you have a powerful scanning tool right at your fingertips.
FAQs
1. Can I scan documents with my iPhone 13?
Absolutely! The iPhone 13 comes equipped with a built-in document scanning feature that allows you to easily scan documents using your device’s camera. This feature eliminates the need for a separate scanner and makes it convenient for you to capture important documents on the go.
2. How do I access the document scanning feature on my iPhone 13?
To access the document scanning feature on your iPhone 13, simply open the “Notes” app and create a new note. Inside the note, tap on the camera icon and select the “Scan Documents” option. This will activate the scanning mode, and you can start capturing images of your documents.
3. Can I scan documents with the iPhone 13 camera app?
Although the iPhone 13 camera app does not have a dedicated document scanning feature, you can still use the camera app to capture images of documents. However, it’s important to note that the document scanning feature available in the “Notes” app provides additional functionality and features specifically designed for document scanning.
4. How can I improve the quality of scanned documents on my iPhone 13?
To ensure high-quality scans, follow these tips:
- Place the document on a flat surface with good lighting.
- Hold your iPhone 13 steady and keep it parallel to the document.
- Make sure the entire document is within the frame.
- Avoid any shadows or glare on the document.
By following these suggestions, you can capture clear and legible scans of your documents.
5. What file formats are supported for scanned documents on the iPhone 13?
Scanned documents on the iPhone 13 can be saved in various file formats, including PDF and JPEG. The choice of file format depends on your preferences and requirements. PDF files are generally preferred for their ability to preserve the formatting and layout of the document, while JPEG files are ideal for sharing or uploading images of scanned documents.