
Gone are the days of filing cabinets and cluttered desks overflowing with documents. With the advancement of technology, smartphones have become our portable offices, allowing us to access important files and documents wherever we go.
But what happens when you need to find a specific scanned document on your iPhone? Perhaps it’s an important contract or a receipt that needs to be submitted for reimbursement. Fret not! In this article, we will guide you on how to easily locate your scanned documents on your iPhone.
Whether you’re new to the iPhone or an avid user, understanding how to efficiently find your scanned documents can save you time and eliminate the frustration of searching through countless folders. So, let’s dive in and discover the simple steps to uncovering your valuable scanned documents on your iPhone.
Inside This Article
- Method 1: Using the Files App- Accessing scanned documents through the native Files app on iPhone
- Method 2: Using a Document Scanner App – Utilizing specialized document scanner apps to find and manage scanned documents
- Method 3: Searching in iOS Notes App – Finding scanned documents by searching within the Notes app on iPhone
- Method 4: Syncing with Cloud Storage Services- Syncing scanned documents with cloud storage services like iCloud or Google Drive to access and manage them on iPhone
- Conclusion
- FAQs
Method 1: Using the Files App- Accessing scanned documents through the native Files app on iPhone
The Files app on the iPhone is a powerful tool that allows you to manage and organize various types of files on your device. Not only can you access and view documents stored on your device, but you can also access scanned documents that you have saved.
To find scanned documents using the Files app on your iPhone, follow these simple steps:
- Open the Files app on your iPhone. You can find it on your home screen or in the App Library.
- Navigate to the location where your scanned documents are saved. This could be in the iCloud Drive, On My iPhone, or any other cloud storage service you have connected to the Files app.
- Tap on the folder or location where your scanned documents are stored.
- Scroll through the list of files to find the scanned document you are looking for. You can tap on a file to open it and view its contents.
- If you have created subfolders to organize your scanned documents, tap on the folder to access the subfolders and locate the specific document you need.
Using the Files app is a convenient and straightforward way to access your scanned documents on your iPhone. It allows you to easily manage and organize your files, making it easier to locate the documents you need when you need them.
Method 2: Using a Document Scanner App – Utilizing specialized document scanner apps to find and manage scanned documents
If you’re looking for a convenient and efficient way to find and manage scanned documents on your iPhone, using a document scanner app is a great option. These specialized apps are designed to digitize physical documents and organize them in a user-friendly manner. Here’s how you can use a document scanner app to locate your scanned documents quickly and easily.
1. Choose the right app: Start by selecting a reliable document scanner app from the App Store. There are various options available, including popular apps like CamScanner, Adobe Scan, and Microsoft Office Lens. Look for features such as OCR (Optical Character Recognition), cloud integration, and easy-to-use interface.
2. Install and set up the app: Once you’ve found the app that suits your needs, download and install it on your iPhone. Follow the on-screen instructions to complete the setup process, which typically includes granting necessary permissions for accessing the camera and photos on your device.
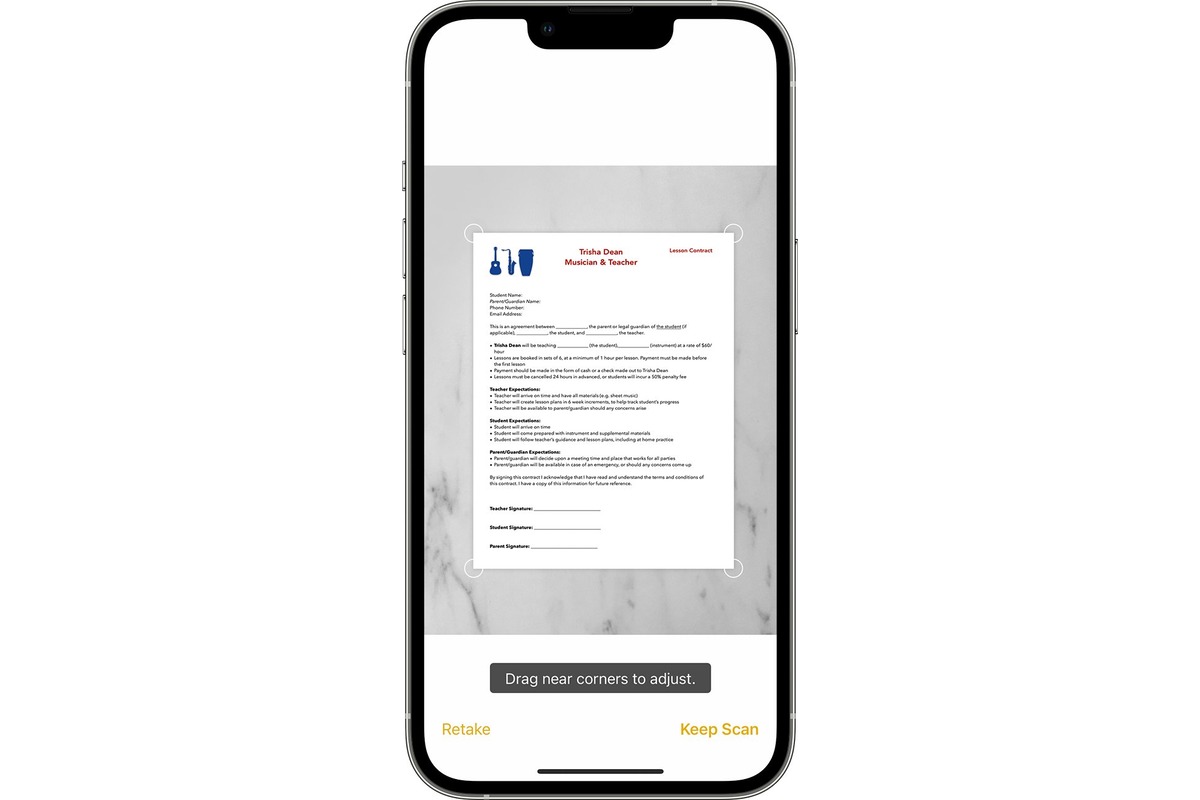
3. Scan your documents: Use the document scanner app to capture images of your physical documents. Most scanner apps offer features like automatic edge detection and image enhancement to ensure optimum image quality. Simply position the document within the camera viewfinder, tap the capture button, and repeat the process for all the documents you want to scan.
4. Save and organize your scans: After scanning, the document scanner app will provide options for saving and organizing your scanned documents. You can create folders or categorize them based on document type, such as receipts, contracts, or business cards. Take advantage of the app’s organizational features to maintain a well-structured digital filing system.
5. Search and locate your scanned documents: When you need to find a specific scanned document, simply open the document scanner app and use its search function. Most quality scanning apps offer text recognition capabilities, allowing you to search for keywords or phrases within your scanned documents. This makes it incredibly convenient to locate the document you need, even if you’re dealing with a large number of files.
6. Cloud synchronization and backup: To ensure the safety and accessibility of your scanned documents, consider enabling cloud synchronization and backup within the document scanner app. This feature allows you to securely store your files in the cloud, such as iCloud, Google Drive, or Dropbox, ensuring that you can access them from any device and never have to worry about losing important documents.
Using a document scanner app is an excellent way to find and manage scanned documents on your iPhone. With the right app and proper organization, you can effortlessly locate your files whenever you need them, saving you time and effort in the process.
Method 3: Searching in iOS Notes App – Finding scanned documents by searching within the Notes app on iPhone
If you frequently use your iPhone to scan documents, you might find yourself struggling to locate specific scanned files in the sea of notes. However, with the powerful search capabilities of the iOS Notes app, finding scanned documents becomes a breeze. In this method, we will explore how to search for and locate your scanned documents quickly and easily within the Notes app on your iPhone.
The iOS Notes app allows you to search for specific text within your notes, making it an excellent tool for locating scanned documents. To find your scanned documents using this method:
- Open the Notes app on your iPhone.
- Tap on the search bar at the top of the screen.
- Type in keywords or phrases related to the scanned document you are looking for.
- As you type, the Notes app will display a list of notes that contain the matching text.
- Scroll through the list to find the note that contains the scanned document you want to access.
- Tap on the note to open it and view the scanned document.
It’s important to note that the search feature in the Notes app is not limited to the text within the note itself. It also searches the text within scanned documents saved as images or PDFs. This makes it incredibly convenient for locating and accessing your scanned documents, even if you don’t remember the specific title or details of the note.
By leveraging the search functionality within the Notes app, you can quickly retrieve your scanned documents with just a few taps. It eliminates the need to manually browse through all your notes, saving you time and effort.
Whether you need to find an important receipt, a signed contract, or any other scanned document, the iOS Notes app has got you covered. Give it a try, and experience the seamless and efficient document retrieval process on your iPhone.
Method 4: Syncing with Cloud Storage Services- Syncing scanned documents with cloud storage services like iCloud or Google Drive to access and manage them on iPhone
With the advent of technology, managing and accessing important documents has become easier than ever. One way to ensure seamless access to scanned documents on your iPhone is by syncing them with cloud storage services. By utilizing popular services like iCloud or Google Drive, you can conveniently store and retrieve your scanned documents on your iPhone from anywhere.
Here’s how you can sync your scanned documents with cloud storage services to access and manage them on your iPhone:
- Step 1: Install the relevant cloud storage app – Begin by downloading and installing the cloud storage app of your choice. iCloud is the default cloud storage service for Apple devices, while Google Drive offers cross-platform compatibility.
- Step 2: Sign in to your account – Once the app is installed, open it and sign in with your account credentials. If you don’t have an account, you can easily create one within the app.
- Step 3: Enable document syncing – In the settings of the cloud storage app, navigate to the section related to document syncing. Here, you can customize the syncing preferences according to your needs.
- Step 4: Scan and upload documents – Use a scanning app or the native scanning feature on your iPhone to scan your documents. Once scanned, save them to a specific folder within the cloud storage app.
- Step 5: Access and manage documents on your iPhone – Now, on your iPhone, open the cloud storage app and sign in with the same account you used earlier. You will be able to access and manage your scanned documents from within the app.
Syncing your scanned documents with cloud storage services offers numerous benefits. It ensures that your documents are securely stored and backed up in case of device loss or damage. Additionally, it allows you to access and manage your documents across multiple devices, not just your iPhone.
By following these simple steps, you can effortlessly sync your scanned documents with cloud storage services to access and manage them on your iPhone. Enjoy the convenience of having your important documents at your fingertips, no matter where you are.
Conclusion
In conclusion, finding scanned documents on your iPhone has never been easier. With the advancements in technology and the numerous apps available, you can now conveniently store, access, and manage your scanned documents right from the palm of your hand. Whether you are looking for a receipt, a signed contract, or any other important document, you can rely on your iPhone to keep you organized and efficient.
By using the built-in Files app, third-party scanning apps, or cloud storage services, you can easily locate and retrieve your scanned documents whenever and wherever you need them. Remember to keep your documents organized by using appropriate folders or tags to make searching even easier.
So, next time you need to find a scanned document on your iPhone, follow the methods and tips mentioned in this article, and you’ll be able to locate your documents in no time. Embrace the convenience that your iPhone offers and say goodbye to the hassle of searching through stacks of paper. Happy searching!
FAQs
Q: How can I find scanned documents on my iPhone?
To find scanned documents on your iPhone, you can use the built-in Files app or a third-party scanning app that you have installed. The files will typically be stored in a folder or library within the app, and you can access them by opening the respective app and navigating to the designated location.
Q: Can I search for specific scanned documents on my iPhone?
Yes, you can search for specific scanned documents on your iPhone using the search function within the Files app or the search feature provided by the scanning app you are using. Simply type in the name or keywords related to the document you’re looking for, and the app will display relevant results.
Q: How do I organize my scanned documents on my iPhone?
To organize your scanned documents on your iPhone, you can create folders within the Files app or use the organizational features available in your chosen scanning app. In the Files app, simply create a new folder by tapping the “New Folder” option and give it a name. Then, you can drag and drop the scanned documents into the desired folder for easy access and management.
Q: Can I share scanned documents from my iPhone?
Absolutely! You can easily share scanned documents from your iPhone using various methods. Within the Files app, you can tap and hold the document you want to share, then select the share icon and choose the desired sharing option like email, messaging apps, or cloud storage services. Similarly, most scanning apps offer sharing options to send your scanned documents via email or upload them to online platforms.
Q: How do I delete scanned documents on my iPhone?
Deleting scanned documents on your iPhone can be done through the Files app or the scanning app you used to create the document. In the Files app, locate the document you want to delete, swipe left on it, and tap the “Delete” button. Alternatively, within the scanning app, you can usually find an option to select the document and delete it directly from the app’s interface.