
Lightroom Mobile is a powerful and versatile photo editing app that allows you to enhance, edit, and create stunning images right from your mobile device. One of the features that sets Lightroom Mobile apart is the ability to add a watermark to your photos. a watermark can protect your work and promote your brand by adding a personalized mark to your images. Whether you’re a professional photographer looking to safeguard your copyright or an amateur photographer who wants to showcase your work, adding a watermark with Lightroom Mobile is a simple and effective way to achieve this. In this article, we will guide you on how to add a watermark to your photos using Lightroom Mobile. Let’s dive in and discover how you can give your images that extra professional touch while maintaining your unique style.
Inside This Article
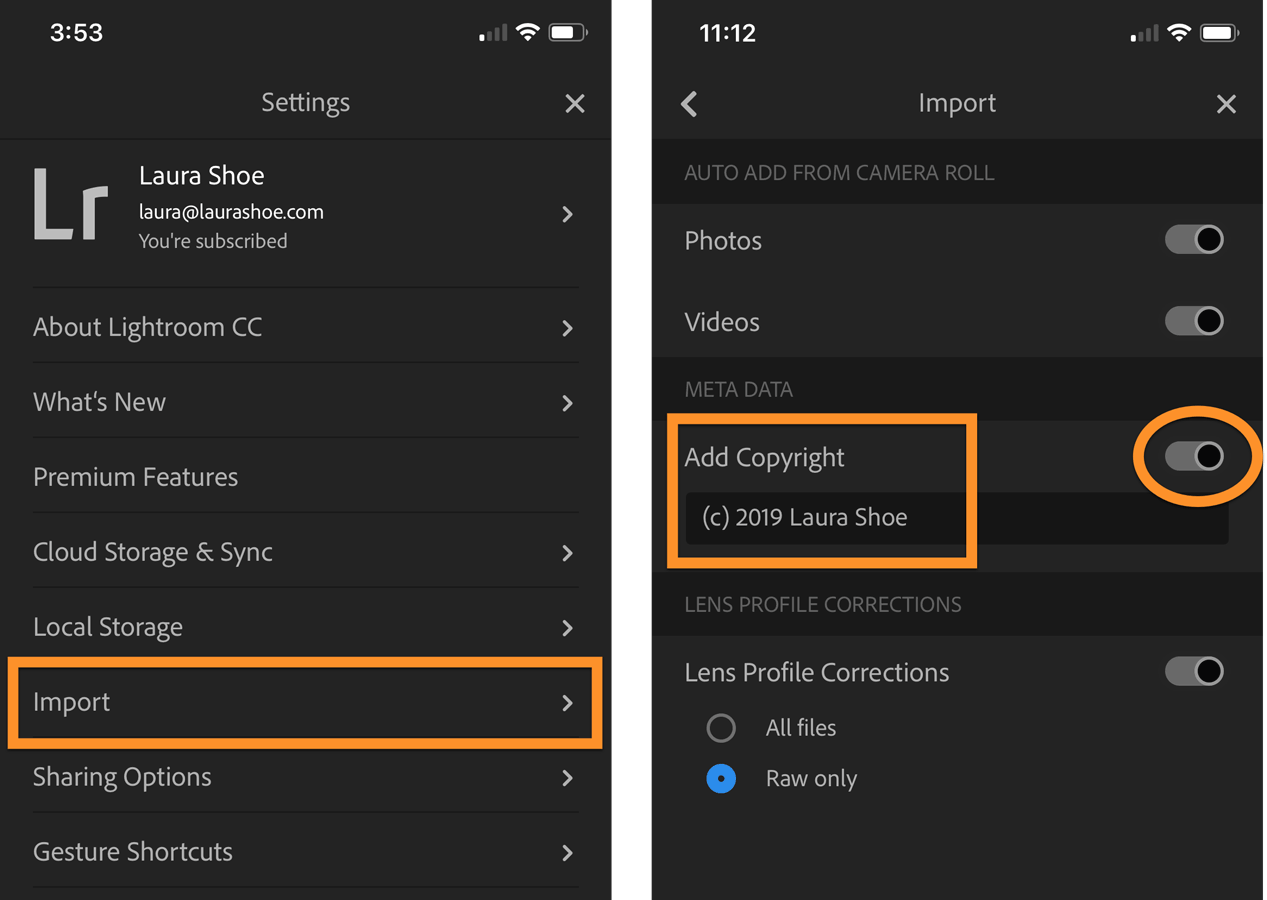
- Overview
- Method 1: Adding a Watermark using Built-in Templates
- Method 2: Creating a Custom Watermark with Text
- Method 3: Applying a Watermark using a Graphic or Logo
- Conclusion
- FAQs
Overview
Adding a watermark to your photos can help protect your work and add a professional touch to your images. Lightroom Mobile, the popular photo editing app, offers several methods to easily incorporate watermarks into your photos. In this article, we will explore three different methods to add watermarks using Lightroom Mobile.
Whether you are a professional photographer or an amateur, having a watermark on your photos is essential for branding and copyright purposes. It distinguishes your work from others and prevents unauthorized use or distribution without proper attribution.
With Lightroom Mobile’s intuitive interface and powerful features, adding watermarks to your photos is a breeze. You can choose from built-in templates, create custom watermarks with text, or apply a watermark using your own graphic or logo.
No matter which method you choose, Lightroom Mobile ensures that your watermarks are seamlessly integrated into your photos, preserving the quality and aesthetics of your images.
By incorporating watermarks, you can confidently share your photos across various platforms, knowing that your work is protected and easily recognizable.
In the following sections, we will dive into each method in detail, providing step-by-step instructions and tips to help you add watermarks to your photos effortlessly.
Method 1: Adding a Watermark using Built-in Templates
In this method, we will explore how to add a watermark to your photos using the built-in templates in Lightroom Mobile. Watermark templates provide a quick and convenient way to add a professional-looking watermark to your images without the need for complex designing or editing skills.
Here’s how you can add a watermark using the built-in templates:
- Open Lightroom Mobile on your device and select the photo you want to add a watermark to.
- Tap on the Edit icon at the bottom of the screen to enter the editing mode.
- At the bottom of the editing screen, you’ll find a toolbar. Tap on the button labeled “Presets.”
- In the Presets menu, scroll to find the Watermark category. Tap on it to expand the options.
- You will see a variety of pre-designed watermark templates to choose from. Browse through the templates and select the one that best suits your style and preferences.
- Tapping on a template will apply it to your photo instantly. You can adjust the opacity, size, and position of the watermark by using the available customization options.
- Once you are satisfied with the changes, tap on the checkmark icon to save the edited photo with the watermark.
By using the built-in templates, you can add a watermark to your photos in just a few simple steps. These templates offer a range of styles and designs to choose from, allowing you to customize your watermark to match your personal brand or artistic vision.
Note that while the built-in templates provide a quick way to add a watermark, they may not offer the same level of customization as a custom-made watermark. If you want more control over the design and placement of your watermark, you may consider creating a custom watermark using text or a graphic/logo, which we will explore in the next sections.
Method 2: Creating a Custom Watermark with Text
Adding a custom watermark with text to your photos in Lightroom Mobile is a simple and effective way to protect your images and add a personal touch. With this method, you can customize the text, font, size, and position of the watermark to suit your preferences. Here’s how you can create a custom watermark with text in Lightroom Mobile:
1. Open Lightroom Mobile and navigate to the image you want to add a watermark to.
2. Tap on the Edit icon at the bottom of the screen.
3. Select the Presets option at the bottom of the editing panel.
4. Scroll through the presets until you find the Watermark section.
5. Tap on the Watermark option to enable it.
6. Tap on the Text option to customize the watermark text.
7. Type in your desired text for the watermark. This could be your name, website, or any other information you want to display.
8. Customize the font, size, color, and opacity of the text by adjusting the available settings.
9. To position the watermark, tap on the Position option and use the on-screen controls to move the watermark to your desired location.
10. Once you are satisfied with the watermark settings, tap on the checkmark icon to apply the watermark to your image.
Your custom text watermark will now be added to your photo in Lightroom Mobile. Remember to save the changes by tapping on the Save icon before exiting the editing mode.
Adding a custom watermark with text is a great way to protect your images from unauthorized use and promote your brand or photography business. It adds a professional touch to your photos and ensures that viewers can easily identify the creator.
Experiment with different fonts, sizes, and positions to find the best combination that complements your photography style. Don’t be afraid to get creative and make your watermark unique!
Method 3: Applying a Watermark using a Graphic or Logo
If you want to add a more personalized touch to your watermarks, you can use a graphic or logo as your watermark in Lightroom Mobile. This allows you to showcase your brand or signature in your photos.
To apply a watermark using a graphic or logo, follow these steps:
- Prepare your graphic or logo: Before adding it in Lightroom Mobile, make sure you have a high-quality image of your graphic or logo. It’s recommended to use a transparent PNG file to ensure the watermark blends seamlessly with your photos.
- Access the Watermark settings: Open Lightroom Mobile and go to the Edit view of a photo. Tap on the three-dot menu at the top right corner and select the “Watermark” option.
- Select the graphic or logo: In the Watermark settings, enable the “Graphic” option. Tap on the “Choose Watermark” button to browse your device’s gallery and select the image file of your graphic or logo.
- Adjust the watermark properties: Now that your graphic or logo is selected, you can customize its position, size, opacity, and anchor point. Experiment with these settings to find the perfect placement and appearance for your watermark.
- Save and apply the watermark: Once you’re satisfied with the adjustments, tap the checkmark icon or the “Save” button to add the watermark to your photo. Lightroom Mobile will automatically apply the watermark to your selected photo and any future exports.
Remember that the graphic or logo watermark is a visual element, so it’s crucial to create a design that complements your photos without overpowering them. Keep it subtle and well-balanced to maintain the overall aesthetic of your images.
By following these steps, you can easily apply a watermark using a graphic or logo in Lightroom Mobile. This method allows you to showcase your unique branding or signature, adding a professional touch to your photos while protecting them from unauthorized use.
Conclusion
Adding a watermark on Lightroom Mobile can be a valuable step in protecting your photographs and promoting your brand. With the features and functionality that Lightroom Mobile offers, you can easily customize and apply watermarks to your images on the go.
By following the step-by-step guide outlined in this article, you can confidently add watermarks to your photos, whether you’re a professional photographer, an influencer, or just someone who wants to add a personal touch to their images.
Remember to choose a visually appealing watermark design, position it strategically, and adjust its opacity to strike the right balance between visibility and subtlety. Additionally, integrating your brand logo or signature into the watermark can help reinforce your unique identity.
So don’t wait! Start adding watermarks to your images in Lightroom Mobile today and enjoy the peace of mind knowing that your photographs are protected and your brand is prominently displayed.
FAQs
1. Can I add a watermark to my photos using Lightroom Mobile?
Absolutely! Lightroom Mobile offers a convenient way to add watermarks to your photos, helping you protect your work and maintain ownership. With just a few simple steps, you can add a watermark to your images right from your mobile device.
2. How do I add a watermark using Lightroom Mobile?
To add a watermark using Lightroom Mobile, follow these steps:
- Open the Lightroom Mobile app on your smartphone or tablet.
- Select the image you want to add a watermark to.
- Tap the “Edit” icon at the bottom of the screen.
- Scroll to the bottom and tap on “Presets.”
- Tap on “User Presets” and select “Watermark.”
- Adjust the watermark options such as opacity, position, size, and style to your preference.
- Tap “Done” to save your changes.
With these steps, your image will now have a watermark applied to it.
3. Can I customize my watermark in Lightroom Mobile?
Yes, Lightroom Mobile allows for customization of your watermark. You can customize the text, font, style, position, and opacity of your watermark. This allows you to personalize your watermark to align with your brand or preferences.
4. Can I remove the watermark if I change my mind?
Yes, Lightroom Mobile offers the flexibility to remove or modify the watermark on your images. Simply follow the steps mentioned above to access the watermark settings and adjust or disable the watermark as desired.
5. Is there a way to apply the same watermark to multiple photos in Lightroom Mobile?
Yes, Lightroom Mobile offers the ability to apply the same watermark to multiple photos at once. You can do this by creating a preset with the desired watermark settings and then applying that preset to all the images you want to have the watermark on. This saves time and effort when adding watermarks to a batch of photos.