
In today’s digital age, cell phones have become an integral part of our lives. From communication to entertainment, these devices have revolutionized the way we connect with the world around us. With advancements in technology, mobile phones have evolved into sleek and powerful gadgets that can perform a multitude of tasks. But have you ever wondered what goes into designing these incredible devices? In this article, we will delve into the fascinating world of mobile phone design and explore the step-by-step process of drawing a phone. Whether you’re an aspiring artist or simply curious about the creative process, let’s dive in and learn how to draw a phone from scratch.
Inside This Article
- Materials Needed
- Step 1: Sketch the Outline
- Step 2: Add Details
- Step 3: Refine the Shape
- Step 4: Draw the Buttons and Screen
- Step 5: Erase Unnecessary Lines
- Step 6: Add Shadows and Highlights
- Step 7: Finalize the Drawing
- Conclusion
- FAQs
Materials Needed
To draw a phone, you will need the following materials:
- Sketching pencils of various hardness (HB, 2B, 4B)
- Drawing paper or sketchbook
- Eraser
- Ruler
- Reference image of a phone
These materials are essential for creating a detailed and accurate representation of a mobile phone in your drawing. The sketching pencils of different hardness will allow you to achieve various tones and textures, while the drawing paper or sketchbook will provide a suitable surface for your artwork. With the help of an eraser, you can easily correct any mistakes or make adjustments as needed. A ruler will come in handy for drawing straight lines and ensuring the proportions of your phone are accurate. Finally, having a reference image of a phone will assist you in capturing the subtle details and intricacies of its design.
Step 1: Sketch the Outline
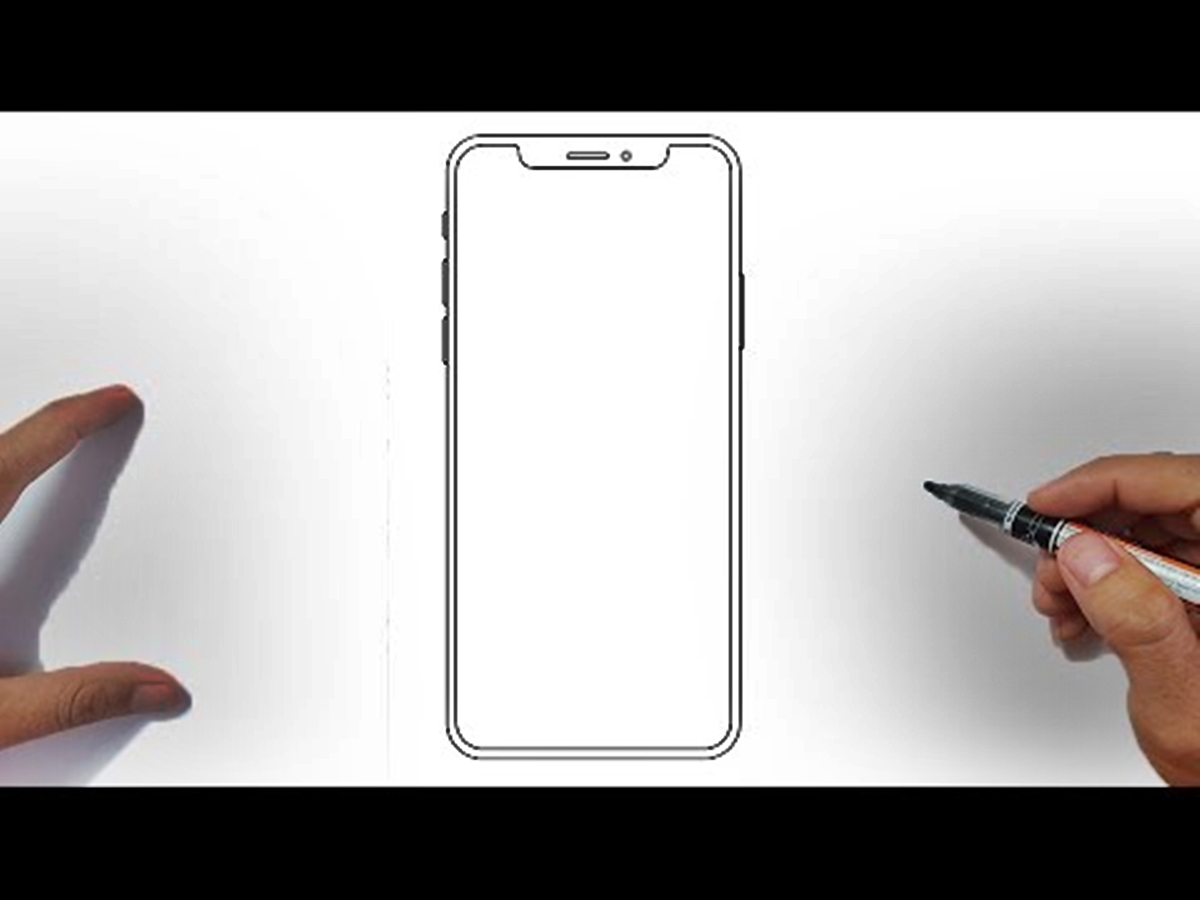
To begin drawing a phone, the first step is to sketch the outline. Start by lightly drawing a rectangular shape that will serve as the main body of the phone. Make sure to leave some space at the top for the screen and a smaller space at the bottom for the buttons or navigation bar.
Next, add curved corners to the rectangle to give it a more realistic look. Phones often have rounded edges, so make sure to mimic that in your drawing. Use light, loose strokes to create the outline, as you may need to make adjustments as you go along.
As you sketch the outline, remember to keep the proportions in mind. Measure the length and width of the rectangle carefully to ensure that they are proportionate to the size of an actual phone. This will help make your drawing look more accurate and realistic.
Don’t worry too much about perfecting the outline in this step. The goal is to have a rough sketch that captures the basic shape of the phone. You will have the opportunity to refine and add more details in the following steps.
Once you’re satisfied with the overall outline, darken the lines to make them more visible. This will make it easier to see where to add the details in the next steps. Use a darker pencil or a pen if you prefer, but be careful not to press too hard that it leaves indents on the paper.
Remember, this is just the beginning of the process, so don’t worry if it doesn’t look perfect at this stage. The outline is the foundation for the rest of the drawing, and you’ll have plenty of opportunities to refine and improve it in the subsequent steps.
Step 2: Add Details
Once you have sketched the outline of the phone, it’s time to add some details to make the drawing more realistic and captivating. Adding details is a crucial step in bringing your phone drawing to life.
Start by focusing on the main features of the phone, such as the camera, buttons, and ports. Take a moment to observe the specific details of the phone model you are drawing to ensure accuracy.
Begin by drawing the camera lens. Depending on the phone you are drawing, the lens shape may vary. Use light and gentle strokes to create a circular or rectangular shape for the lens.
Next, draw the buttons on the side of the phone. These can include the volume buttons, power button, and any other buttons specific to the model you are drawing. Pay attention to their placement and size.
After the buttons, focus on the ports, such as the charging port and headphone jack. These can be small and rectangular in shape. Again, refer to the specific phone model for accuracy.
Once the main features are in place, you can add additional details like speaker grills or logos on the back of the phone. These details will make your drawing more recognizable and unique.
Remember to use light and careful strokes as you add these details. Take your time and refer to reference images if needed. The more attention you give to the details, the more realistic your drawing will appear.
Continue to the next step once you are satisfied with the level of detail in your phone drawing.
Step 3: Refine the Shape
Now that you have sketched the basic outline of your phone, it’s time to refine the shape and give it a more polished look. This step will help enhance the overall appearance of your drawing.
Start by taking a closer look at the proportions of your phone. Pay attention to the curves, angles, and edges. Use your reference image or real-life phone as a guide to ensure accuracy. Adjust the outline as needed, making sure it captures the essence and shape of a typical phone.
Next, focus on adding more definition to the various parts of the phone. This includes the contours and curves along the edges, the thickness of the device, and any other distinctive features that make your phone unique. Take your time in refining these details, as they can greatly impact the realism and overall appeal of your drawing.
Remember to keep a light touch with your pencil during this step. Use gentle strokes to add subtle variations in shading and texture. This will help create depth and dimension in your drawing, giving it a more three-dimensional appearance.
If you notice any mistakes or areas that need adjustment, don’t hesitate to erase and make corrections. Refining the shape is a gradual process that requires careful observation and adjustment. Take breaks if needed to step back and assess your work from a fresh perspective.
Once you are satisfied with the refined shape of your phone, you are ready to move on to the next step: drawing the buttons and screen.
Step 4: Draw the Buttons and Screen
Now that you have outlined the basic shape of the phone, it’s time to draw the buttons and screen. This step is crucial as it adds functionality and realism to your phone drawing.
Start by identifying the placement of the buttons on your phone. Most phones have a power button, volume buttons, and sometimes a dedicated button for the camera. However, the layout may vary depending on the model.
Using your reference image or imagination, lightly sketch the buttons onto the phone. Pay attention to their size, shape, and spacing. Remember to maintain the perspective and alignment with the overall phone shape.
Next, focus on drawing the screen. The screen is the most prominent feature of a phone and often takes up a significant portion of the front surface. Start by determining the size and shape of the screen, making sure it fits within the outlines you drew in the previous steps.
Once you have the dimensions, carefully draw the screen, keeping it centered and straight. If your phone has rounded edges, make sure to incorporate those as well.
If there are any additional features on the front of the phone, such as a home button or fingerprint scanner, add them in this step. Again, refer to your reference image or let your imagination guide you.
Remember to pay attention to the details, such as speaker grills, sensors, or front-facing camera. These elements contribute to the overall realism of your phone drawing.
After drawing the buttons and screen, take a step back and evaluate your work. Make any necessary adjustments to ensure everything looks balanced and proportional. Once you are satisfied with the placement and appearance of the buttons and screen, you can move on to the next step.
Step 5: Erase Unnecessary Lines
After adding details and refining the shape of your phone drawing, it’s time to clean up the sketch by erasing any unnecessary lines. This step is crucial to give your drawing a polished and professional look.
Start by carefully examining your drawing and identifying any lines that are no longer needed. These may include construction lines, guidelines, or any stray marks that are no longer relevant to the final image.
Use a good quality eraser to gently remove the unwanted lines. Take your time and be cautious not to accidentally erase any important details or lines that contribute to the overall structure of the phone.
If you find it difficult to see which lines need to be erased, you can lightly shade the areas where you plan to erase, making it easier to distinguish between the necessary and unnecessary lines.
As you erase the unnecessary lines, make sure to keep referring to your reference image or imagination to ensure accuracy. Focus on creating clean and crisp lines that define the shape of the phone without any distracting elements.
Remember, erasing lines is a gradual process, so take your time and make small adjustments if needed. Don’t rush through this step, as it can significantly impact the overall appearance of your phone drawing.
Once you have finished erasing the unnecessary lines, step back and assess your drawing. It should now have a clean and refined look, with all the important details and shapes standing out.
This step brings your phone drawing closer to its final form, setting the stage for the next step: adding shadows and highlights to give it depth and dimension.
Step 6: Add Shadows and Highlights
Once you have sketched the basic form of the phone and added the necessary details, it is time to add shadows and highlights to give your drawing depth and dimension. Shadows and highlights help create the illusion of light hitting the surface of the object.
To add shadows, first determine the direction of the light source. This will determine where the shadows fall on the phone. Typically, the light source comes from the top left or top right corner of the drawing. Use a darker shade of the color you used for the phone and lightly shade the areas that would be in shadow.
Use a blending tool or a soft pencil to blend the shadows and create a smooth transition between the shaded areas and the rest of the phone. Take your time and build up the shadows gradually, making sure not to add too much darkness, as it can make the drawing look flat.
Next, it’s time to add highlights. Highlights are areas where the light source hits the phone and reflects off its surface. These areas are usually the brightest and have a lighter shade than the rest of the phone. Decide on the placement of the highlights based on the position of the light source.
Using a white pencil or colored pencil in a lighter shade, add highlights to the appropriate areas. This can include the edges of the phone, the screen, buttons, or any other parts that would catch the light. Keep the highlights subtle and blend them gently with the rest of the drawing to create a realistic effect.
Remember to observe real-life objects or reference images to understand how light interacts with different surfaces. This will help you determine where shadows and highlights should be placed on the phone to make it look more three-dimensional and realistic.
Adding shadows and highlights is a crucial step in bringing your phone drawing to life. It adds depth and makes the drawing look more realistic. Play around with different shading techniques and observe how light interacts with objects to master this step in your phone drawing process.
Step 7: Finalize the Drawing
After all the hard work you’ve put into sketching and refining the phone, it’s time to give it those finishing touches that will bring it to life. This final step will help make your phone drawing look even more realistic and polished.
First, go over your entire drawing and make sure all the lines are clean and smooth. Erase any stray marks or smudges that may have occurred during the earlier steps. Pay attention to the edges and corners, as they should be well-defined and precise.
Next, add some shading to create depth and dimension. Observe the light source in your drawing and imagine where the shadows would fall. Use a darker pencil or shading tool to carefully add the shadows in those areas. This will add a sense of realism and make your phone drawing look more three-dimensional.
Don’t forget to add highlights as well. Identify the areas where the light would hit the phone and create small, light-toned areas using an eraser or a white pencil. This will make those areas appear shiny and reflective.
To add further realism to your drawing, you can also add some texture. Consider the material your phone is made of and try to replicate its texture through your shading technique. For example, if it’s a metallic phone, you can create a subtle pattern of lines to mimic the reflective surface.
Lastly, take a step back and assess your drawing as a whole. Look for any areas that may need touch-ups or adjustments. Make sure all the elements are well-proportioned and aligned. Pay attention to the overall balance and composition of the drawing.
By following these final steps, you can bring your phone drawing to its full potential. Remember to have fun and enjoy the process of creating a realistic and detailed representation of a phone. With practice and patience, your drawing skills will continue to improve.
Conclusion
In conclusion, learning how to draw a phone can be an exciting and rewarding experience. By following the steps outlined in this article, you can gain the skills to create realistic and detailed phone drawings. Remember to start with a rough sketch, use basic shapes to build the phone’s structure, and add the finer details such as buttons, camera lenses, and screen displays. Additionally, don’t be afraid to experiment with different styles and colors to make your phone drawing unique and eye-catching.
With practice and patience, you can develop your ability to draw phones and expand your artistic repertoire. So, grab a pencil and paper, follow the steps provided, and let your creativity shine as you bring your phone drawings to life. Have fun and happy drawing!
FAQs
-
Q: Can you draw a phone using just pencil and paper?
A: Absolutely! All you need is a pencil and paper to create a simple or detailed sketch of a phone. You can add shading and textures to give it a more realistic look.
-
Q: Are there any specific steps to follow when drawing a phone?
A: While there is no set rule on how to draw a phone, you can start by outlining the basic shape of a rectangular device. Then, you can add details such as buttons, screen, and camera based on the specific phone model you want to portray.
-
Q: What are some tips for drawing a phone?
A: Here are a few tips to help you draw a phone more effectively:
- Study reference images of different phone models to understand their key features.
- Start with simple shapes and gradually add details to ensure accuracy.
- Pay attention to proportions and perspective to maintain a realistic appearance.
- Use shading techniques to create depth and dimension.
-
Q: Can you provide a step-by-step tutorial on drawing a phone?
A: While it’s difficult to provide a step-by-step tutorial in this written format, there are numerous video tutorials available online that can guide you through the process visually. Search for “how to draw a phone tutorial” on platforms like YouTube to find helpful resources.
-
Q: Can I use digital tools to draw a phone instead of using paper and pencil?
A: Absolutely! If you prefer working digitally, you can use software like Adobe Photoshop, Procreate, or Sketch to create a detailed and realistic digital drawing of a phone. These tools offer a wide range of brushes and effects to enhance your artwork.