
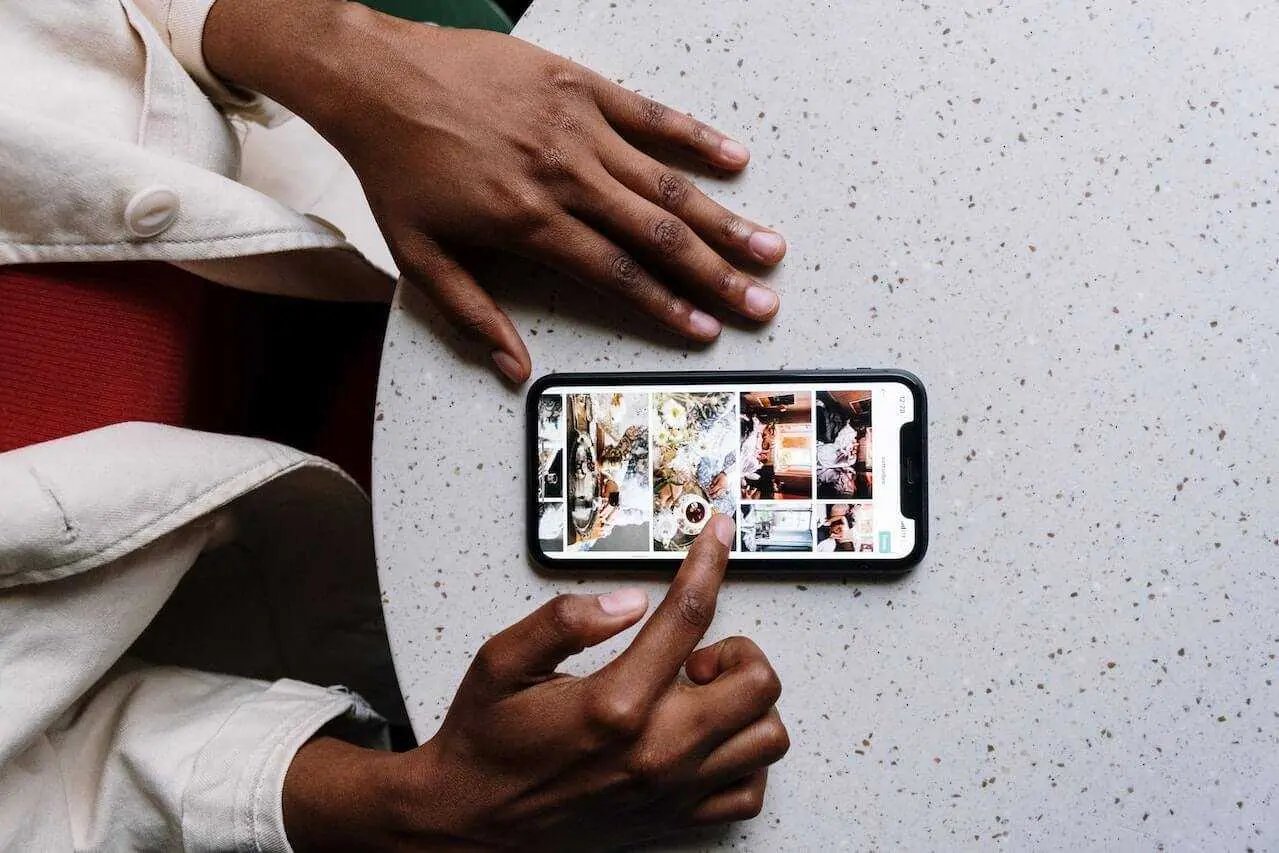
Are you looking to add a creative touch to your photos on your iPhone? Well, you’re in luck! In this article, we will explore the fascinating world of image overlays on your iPhone. Whether you want to add text, stickers, or custom graphics to your pictures, overlaying images can bring a whole new level of creativity to your mobile photography. From enhancing your Instagram feed to sharing personalized messages with friends and family, knowing how to overlay images on your iPhone opens up a world of creative possibilities. So, grab your iPhone and get ready to learn some tips and tricks on how to effortlessly overlay images and take your photography skills to the next level. Let’s dive in!
Inside This Article
- Overview
- Method 1: Using the Markup Editor
- Method 2: Using Third-Party Apps
- Method 3: Using Photo Editing Apps
- Method 4: Using the Shortcuts App
- Conclusion
- FAQs
Overview
Overlaying images on an iPhone can add a fun and creative touch to your photos. Whether you want to add a watermark, combine multiple images, or create unique visual effects, there are several methods available to achieve this. In this article, we will explore different ways to overlay images on your iPhone and enhance your photography skills.
There are four main methods to overlay images on an iPhone:
- Using the Markup Editor
- Using third-party apps
- Using photo editing apps
- Using the Shortcuts app
Each method offers its unique advantages, and the choice ultimately depends on your specific needs and preferences. Whether you prefer using built-in tools or exploring third-party options, you’ll find a method that suits your style. Let’s dive into each method in more detail.
Method 1: Using the Markup Editor
If you are an iPhone user and want to overlay images on your device, one of the simplest and built-in methods is to use the Markup Editor. The Markup Editor allows you to add text, drawings, and even images to your photos without the need for any third-party apps.
To get started with the Markup Editor, follow these steps:
- Open the Photos app on your iPhone and select the image you want to overlay.
- Tap on the “Edit” button located on the top-right corner of the screen.
- At the bottom of the screen, you will see various editing options. Tap on the three-dot icon (“…”) and select “Markup”.
- Once you are in the Markup Editor, you can find various tools at the bottom. Tap on the “+” icon to add an image to overlay.
- Select “Photo Library” to choose an image from your existing photos or “Take Photo” to capture a new image using your iPhone’s camera.
- Position and resize the overlaid image using the handles. You can also rotate it by using two fingers and twisting.
- Tap on “Done” when you are satisfied with the placement and appearance of the overlaid image.
- Finally, tap on “Done” again to confirm the changes to your photo. You can then save the edited image to your Photos library.
The Markup Editor provides a simple and efficient way to overlay images on your iPhone without the need for any third-party apps. With just a few taps, you can add an image overlay to your photos and unleash your creativity.
Method 2: Using Third-Party Apps
If you’re looking to overlay images on your iPhone and want more customization options, using a third-party app is a great choice. There are numerous photo editing apps available on the App Store that offer powerful features for overlaying images. Let’s take a look at how you can use these apps to overlay images on your iPhone.
1. Start by downloading a reliable photo editing app that supports overlaying images. Popular options include Snapseed, Adobe Photoshop Express, and PicsArt.
2. Once you’ve installed the app, open it and select the option to edit or create a new project.
3. Import the image you want to overlay onto another image. Most apps provide the option to import images from your camera roll or take a photo directly within the app.
4. After importing the two images, look for the option to apply overlays or layers. This may be indicated by icons such as a stacked squares or layers.
5. Tap on the overlay or layers icon and select the image you want to overlay onto the base image. At this point, you may be able to adjust the opacity or resize the overlay image to fit your needs.
6. Once you’ve made the necessary adjustments, preview the result and make any additional edits if needed.
7. Finally, save the edited image to your camera roll or share it directly from the app to social media platforms or messaging apps.
Using third-party apps to overlay images on your iPhone provides you with a wide range of creative possibilities. You can experiment with different effects, blend modes, and transparency levels to achieve the desired visual impact. These apps also often offer additional editing features such as filters, text overlays, and stickers, allowing you to further customize your images.
Remember to explore various third-party apps to find the one that best suits your needs and preferences. With a bit of creativity and practice, you can create stunning image overlays on your iPhone.
Method 3: Using Photo Editing Apps
If you are looking for a more advanced and versatile way to overlay images on your iPhone, using photo editing apps is the perfect solution. These apps offer a wide range of tools and features to customize and blend images together seamlessly. Here are some popular photo editing apps you can use:
- Adobe Photoshop Express: Adobe Photoshop Express is a powerful photo editing app that allows you to overlay images with ease. You can choose from a variety of blending modes, adjust the opacity, and even apply filters and effects to enhance the final result.
- Enlight Pixaloop: Enlight Pixaloop is a fantastic app that brings your photos to life with dynamic overlays. You can add animated overlays to your images, creating eye-catching effects such as flowing water, moving clouds, or flickering flames.
- Superimpose X: Superimpose X is a feature-packed app that provides advanced overlay options. You can precisely adjust the opacity, position, and size of the overlay image. It also offers masking tools to blend the overlay seamlessly with the background.
- PicsArt: PicsArt is a popular photo editing app that offers an array of editing options, including the ability to overlay images. It provides a wide selection of creative and artistic overlays, allowing you to explore different styles and effects.
Using photo editing apps gives you more control and flexibility in overlaying images on your iPhone. You can experiment with different blending modes, adjust the opacity to achieve the desired effect, and add additional enhancements to make your overlays stand out.
Once you have chosen the photo editing app that suits your needs, simply follow the app’s instructions to overlay images. Most apps provide intuitive interfaces and user-friendly tools to make the process quick and straightforward.
Remember to save the final result to your iPhone’s photo gallery. This way, you can easily access and share your beautifully overlaid images with friends and family.
Method 4: Using the Shortcuts App
If you’re looking for a convenient way to overlay images on your iPhone, using the Shortcuts app is an excellent option. The Shortcuts app allows you to create custom shortcuts that automate various tasks on your device, including overlaying images.
Here’s how you can use the Shortcuts app to overlay images:
- First, make sure you have the Shortcuts app installed on your iPhone. If not, you can download it for free from the App Store.
- Launch the Shortcuts app and tap on the “+” button to create a new shortcut.
- In the search bar, type “Photos” and select the “Find Photos” action from the results.
- Tap on the “+” button next to the “Find Photos” action to add another action.
- In the search bar, type “Overlay” and select the “Overlay Image” action from the results.
- Choose the image you want to overlay from your photo library.
- Tap on the “+” button next to the “Overlay Image” action to add another action.
- In the search bar, type “Save” and select the “Save to Photo Album” action from the results.
- Give your shortcut a name and tap on the “+” button to add it to your home screen.
- Now, whenever you want to overlay an image, simply tap on the shortcut on your home screen.
The Shortcuts app offers a quick and straightforward way to overlay images on your iPhone. It provides a range of customization options, allowing you to adjust the position, size, and transparency of the overlay. Whether you want to create stunning visuals for social media or add a personal touch to your photos, the Shortcuts app is a powerful tool to have in your arsenal.
Mobile phones have become an indispensable part of our lives, and the iPhone stands out as one of the most popular choices for users worldwide. Throughout this article, we have explored the process of overlaying images on an iPhone, learning about different techniques and applications that help us achieve this creative feat.
By harnessing the power of various editing tools, such as photo editing apps and built-in features, iPhone users can easily overlay images to create stunning visual compositions. Whether you want to add text to an image, blend two pictures together, or create captivating double exposures, the possibilities are endless.
With a wealth of resources available at your fingertips, experimenting with image overlays on your iPhone has never been easier. So go ahead, unleash your creativity, and take your iPhone photography to the next level by overlaying images and adding an extra touch of artistry to your visuals.
FAQs
1. Can I overlay images on my iPhone?
2. What app can I use to overlay images on my iPhone?
3. How can I resize and position overlay images on my iPhone?
4. Can I overlay images on a specific app or webpage on my iPhone?
5. Will overlaying images on my iPhone affect the quality of the original image?