
In today’s digital age, recording music has never been easier. Whether you’re a professional musician or an aspiring artist, capturing your musical ideas on the go is essential. That’s where mobile phones come in. With the advancement of technology, mobile phones have transformed into powerful devices capable of recording high-quality audio. In this article, we will explore how to record a music memo using your mobile phone. Whether you want to capture song ideas, practice sessions, or spontaneous melodies, we’ll walk you through the steps to ensure you have the best recording experience. From choosing the right app to optimizing the settings, we’ll cover everything you need to know to make the most out of your music memo recordings. So grab your mobile phone and let’s dive in!
Inside This Article
- Overview of Music Memo Recording
- Step 1: Set Up Your Recording Equipment
- Step 2: Choose a Suitable Location
- Step 3: Prepare Your Instrument or Vocals
- Step 4: Set the Recording Levels
- Step 5: Record the Music Memo
- Step 6: Review and Edit the Recording
- Conclusion
- FAQs
Overview of Music Memo Recording
Recording a music memo is a convenient way for musicians and songwriters to capture their musical ideas on the go. Whether you’re a professional musician or just someone who loves creating music, having the ability to record and store your ideas is invaluable. A music memo is a short audio recording that captures a melody, a chord progression, or a vocal idea, allowing you to revisit and develop it later.
Music memo recording generally involves using a mobile device such as a smartphone or a tablet equipped with a recording app. These apps are designed to provide a user-friendly interface for capturing, storing, and organizing your music ideas. With the advancement of technology, the quality of recordings made on mobile devices has improved significantly, making it a practical and accessible solution for musicians on the go.
Recording your music memo often begins with setting up your recording equipment. This can be as simple as ensuring that your device’s microphone is clean and functioning properly. It’s also important to choose a suitable location for recording, one that provides minimal background noise and distractions.
Before you start recording, take the time to prepare your instrument or vocals. Tune your guitar, warm up your voice, or adjust any other instrument you plan to use. This will help ensure a better quality recording and make it easier for you to play or sing your ideas.
Setting the recording levels is another crucial step. If the recording levels are too low, your music memo may sound weak and unclear. On the other hand, if the levels are too high, it can result in distortion. Experiment with the gain settings or input volume to find the optimal level for your recording.
Now that you’re ready to dive into recording, hit the record button on your recording app and let the music flow. Play your melody, strum your chords, or sing your lyrics, capturing the essence of your musical idea. Remember, don’t be afraid to make mistakes or try different variations. The beauty of a music memo is that it captures the raw creativity and spontaneity of the moment.
After you’ve recorded your music memo, take some time to review and edit the recording if necessary. Trim the beginning or end, remove any unwanted noise or mistakes, and adjust the volume levels if needed. Many recording apps provide basic editing features to help you fine-tune your music memo.
Step 1: Set Up Your Recording Equipment
Before you begin recording your music memo, it’s crucial to set up your recording equipment properly. This step ensures that you capture the best quality sound that accurately represents your music. Here are some key considerations:
1. Choose the Right Microphone: Selecting the right microphone for your recording is essential. Different microphones have unique characteristics that can affect the sound quality. For recording vocals, a condenser microphone is often the best choice, while dynamic microphones are great for recording instruments.
2. Use a Pop Filter: To prevent plosive sounds (like “p” and “b” sounds) from distorting your recording, use a pop filter. This simple accessory reduces the impact of air hitting the microphone, resulting in cleaner recordings.
3. Position the Microphone Properly: Position the microphone at a suitable distance from your instrument or vocals to achieve the desired sound. Experiment with different distances to find the sweet spot where you capture the best sound without any distortion.
4. Consider Acoustic Treatment: If your recording space has poor acoustics, it’s worth considering adding some acoustic treatment. This could involve using baffles, diffusers, or other sound-absorbing materials to reduce unwanted echoes or reverberations.
5. Use Headphones for Monitoring: Always use headphones while recording to monitor the sound in real-time. This allows you to identify any issues or distortions and make necessary adjustments on the spot.
6. Ensure Proper Power and Connectivity: Make sure your recording equipment is properly powered and connected. Check that all cables are securely plugged in and that you have sufficient battery life or power supply to avoid interruptions during your recording session.
By following these steps and properly setting up your recording equipment, you are well on your way to capturing high-quality music memos. Remember, the more attention you give to the setup process, the better your recordings will turn out.
Step 2: Choose a Suitable Location
Choosing the right location for recording your music memo is crucial for achieving high-quality sound. The right environment can make a significant difference in the overall outcome of your recording. Here are some factors to consider when selecting a suitable location:
Acoustics: Look for a room or space with good acoustics. An acoustically treated room or a space with minimal echo or reverberation will ensure that your recordings sound clear and professional.
Noise Level: Find a quiet location where the ambient noise is minimal. Background noise can be distracting and can negatively affect the quality of your recording. Choose a spot away from loud appliances, traffic noise, or any other potential sources of disturbance.
Size and Space: The size and space of the room can impact the sound quality of your recording. Consider the size of your instrument or vocal setup and ensure that the recording space can accommodate it comfortably.
Isolation: If possible, select a location where you can isolate yourself from external sounds. This will help prevent unwanted noise from seeping into your recording. You can use soundproofing materials or create a makeshift isolation booth using blankets or foam panels to improve the isolation.
Natural Lighting: While not directly related to sound quality, having natural lighting in your recording space can create a pleasant and inspiring environment. It can also be beneficial for video recordings or if you prefer to have a visual reference while recording your music memo.
Creativity: Consider choosing a location that inspires creativity and helps set the right mood for your recording. Whether it’s a cozy corner of your room, a scenic outdoor spot, or a professional studio, finding a location that evokes positive emotions can enhance your musical performance.
Ultimately, the choice of location depends on the type of recording you want to achieve and the resources available to you. Experimentation is key, so don’t be afraid to try different locations until you find the one that best suits your needs and enhances the quality of your music memo.
Step 3: Prepare Your Instrument or Vocals
Before you start recording your music memo, it’s important to prepare your instrument or vocals to ensure the best possible sound quality. Follow these steps to properly prepare your instrument or vocals:
1. Tune your instrument: Make sure your instrument is properly tuned before you start recording. This will ensure that your music sounds in tune and professional. Use a tuner or tuning app to help you achieve the correct pitch.
2. Warm up your vocals: If you’re recording vocals, take some time to warm up your voice. This can include vocal exercises, such as humming scales or doing lip trills. Warming up your vocals will help you achieve better control and tone during your recording.
3. Adjust instrument settings: If you’re using an electric instrument, such as a guitar, bass, or keyboard, take a moment to check the settings and make any adjustments necessary. This includes adjusting the tone, volume, and effects settings to achieve the desired sound for your music memo.
4. Experiment with microphone placement: If you’re recording vocals or an acoustic instrument, consider experimenting with the placement of the microphone. Different positions can capture different tones and textures, so try placing the microphone at different distances and angles from the sound source to find the best position for your recording.
5. Eliminate background noise: Minimize any background noise that can impact the quality of your recording. Close windows and doors to reduce outside noises, turn off fans or air conditioning units, and make sure you’re recording in a quiet environment. This will help ensure that your music memo is free from unwanted distractions.
6. Take care of your instrument or voice: Before recording, make sure your instrument is clean and in good working condition. Clean any dirt or grime from your instrument and change strings or reeds if necessary. If you’re recording vocals, hydrate your throat and avoid consuming foods or drinks that can negatively affect your voice, such as dairy products or caffeine.
By taking the time to properly prepare your instrument or vocals, you’ll set yourself up for a successful recording session and a high-quality music memo. Don’t rush through this step, as it can make a significant difference in the final result.
Step 4: Set the Recording Levels
Setting the recording levels is a crucial step in ensuring a clean and balanced sound in your music memo. By properly adjusting the recording levels, you can avoid issues such as clipping (distortion) or a low volume recording. Follow these steps to effectively set the recording levels:
1. Start by connecting your instrument or microphone to the audio interface or recording device you are using. Make sure that all the necessary cables are properly plugged in.
2. Open your recording software or app and navigate to the input settings. This is where you will be able to adjust the input gain or recording levels for your audio source.
3. Begin by setting the input gain to its default position. This will vary depending on your recording device, but is typically set to the middle or 0 dB mark.
4. Play or sing at your typical performance level while monitoring the recording levels in your software or app. Ideally, the recording levels should peak around -12 dB to -6 dB. This ensures that the signal is strong enough for a clean recording, but not so high that it distorts.
5. If the recording levels are too low, gradually increase the input gain until the peak levels reach the desired range. Be cautious not to increase the gain too much, as it may result in clipping and distortion.
6. If the recording levels consistently peak above -6 dB, lower the input gain slowly until the levels fall within the recommended range. This will prevent distortion and ensure a more balanced recording.
7. Remember to monitor the recording levels throughout the recording process. Adjust the input gain as needed to maintain consistent levels, especially if there are any significant changes in volume during your performance.
Setting the recording levels properly is crucial for capturing a high-quality music memo. By following these steps, you can avoid common recording issues and achieve a clean and well-balanced sound in your recordings.
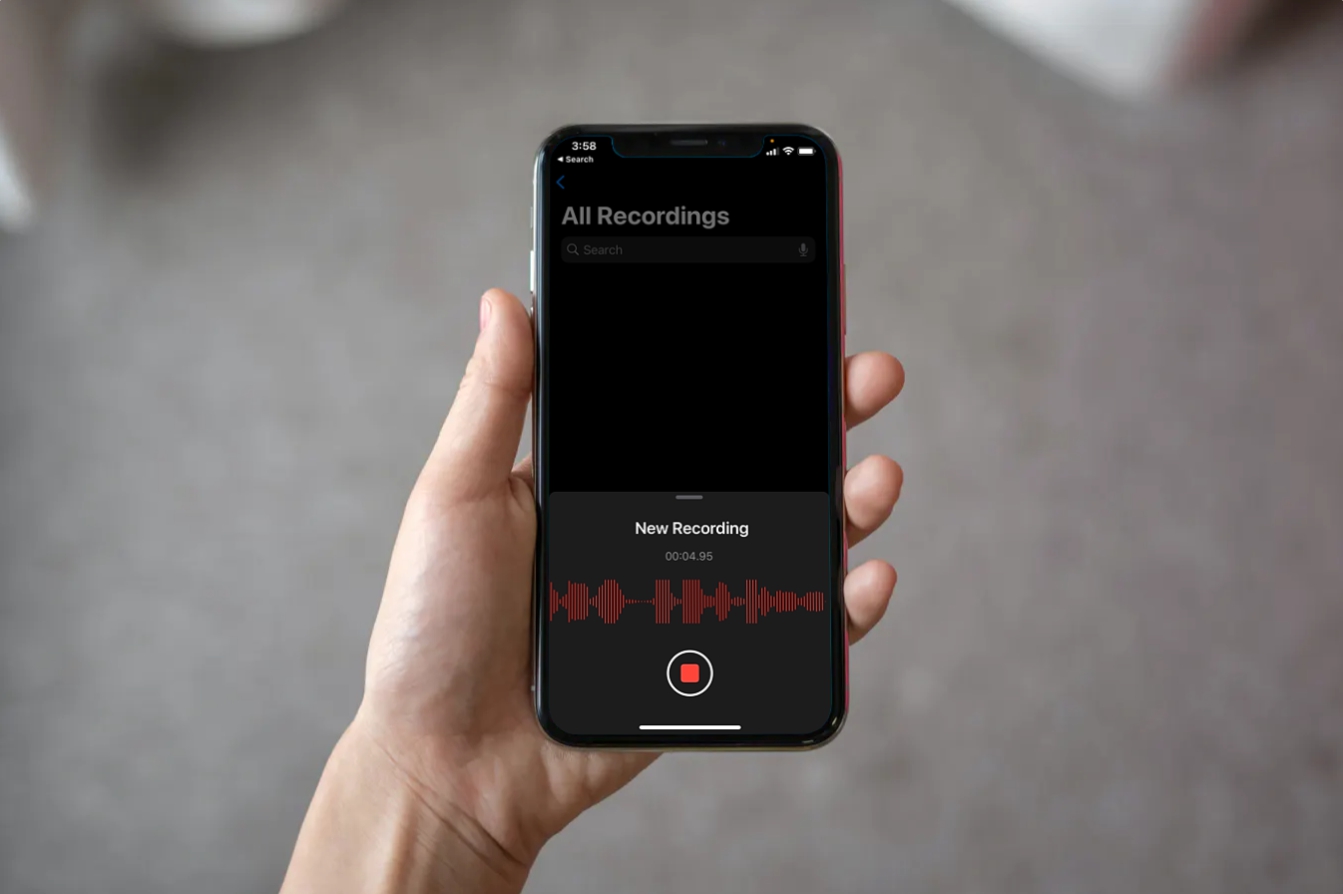
Step 5: Record the Music Memo
Now that you have set up your recording equipment, chosen a suitable location, and prepared your instrument or vocals, it’s time to start recording your music memo. This is where the magic happens, where your ideas come to life and are preserved for future reference.
Follow these steps to ensure a successful recording:
1. Position yourself comfortably in front of the microphone. Make sure you are at an appropriate distance to capture your instrument or vocals clearly.
2. Take a deep breath, relax, and mentally prepare yourself. Remember, this is your chance to capture your creative ideas, so be confident and enjoy the process.
3. When you’re ready, click the record button on your recording software or device. You want to make sure you capture the entire music memo from start to finish.
4. Start playing your instrument or singing your vocals. Pour your emotions into the performance and let your creativity flow. This is your opportunity to express yourself and create something unique.
5. Maintain a consistent tempo and rhythm throughout the recording. This will ensure that the music memo is cohesive and easy to work with during the editing process.
6. Pay attention to the dynamics of your performance. If certain sections require softer or louder playing, make sure to adjust your volume accordingly. This will add depth and emotion to your recording.
7. If you make a mistake during the recording, don’t worry. Keep playing and continue until you finish the music memo. You can always edit out any mistakes during the editing process.
8. Once you have finished recording the music memo, take a moment to reflect on your performance. Listen to the playback and evaluate the overall quality of the recording.
9. If you are satisfied with the recording, save it to your device or computer. Be sure to organize it in a folder or directory where you can easily access it later.
10. If you are not completely satisfied with the recording, don’t be discouraged. Remember, practice makes perfect. Take note of areas that can be improved and use them as an opportunity to enhance your skills.
Recording a music memo is an exciting and rewarding process. It’s a way to capture your musical ideas and preserve them for future inspiration. Whether you’re a professional musician or just starting out, following these steps will help you create high-quality recordings that you can be proud of.
Step 6: Review and Edit the Recording
After you have finished recording your music memo, the next step is to review and edit the recording. This is an important part of the process as it allows you to fine-tune your performance and make any necessary adjustments before finalizing the memo. Here are some steps to help you in reviewing and editing your recording:
1. Listen to the Recording: Start by listening to the entire recording from start to finish. Pay attention to the overall performance, the quality of the sound, and any mistakes or areas that need improvement.
2. Identify Issues: While listening, take note of any issues you come across, such as timing errors, pitch problems, background noise, or any other imperfections that might need to be addressed.
3. Make Corrections: Once you have identified the issues, you can begin making corrections. This may involve re-recording specific sections, adjusting the volume levels, or using audio editing software to fix minor flaws.
4. Enhance the Sound: Consider applying audio effects or processing techniques to enhance the sound of your recording. This could include adding reverb or delay to create a more spacious sound, or using compression to even out the dynamics of the performance.
5. Trim and Arrange: If needed, trim any unnecessary sections of the recording and arrange the different parts to create a cohesive music memo. This is particularly useful if you have recorded multiple takes or sections that you want to combine into one seamless piece.
6. Fine-Tune the Mix: Adjust the levels of each instrument or vocal track to create a balanced mix. This ensures that each element of your music memo can be heard clearly and contributes to the overall sonic quality of the recording.
7. Save and Export: Once you are satisfied with the edits and final mix, save your recording in a suitable audio format. This might be WAV, MP3, or any other format that works best for your intended use.
8. Listen Again: Finally, take a moment to listen to the edited version of your music memo to ensure that it meets your expectations. Make any additional tweaks or changes if necessary.
Conclusion
In conclusion, recording a music memo is a simple and effective way to capture your musical ideas on the go. With the advancement of technology, smartphones have become powerful tools that allow you to create high-quality recordings anytime, anywhere. Whether you are a professional musician or an aspiring songwriter, having the ability to record a music memo can be invaluable.
By following the steps outlined in this article, you can ensure that you maximize the potential of your mobile phone’s recording capabilities. Remember to find a quiet and suitable environment, use a quality recording app, and experiment with different settings to achieve the desired sound quality.
So, the next time inspiration strikes, grab your mobile phone and start capturing your musical ideas with a music memo. It can be the first step towards creating your next hit song or memorable composition.
FAQs
1. Why should I record a music memo?
Recording a music memo is an excellent way to capture creative ideas, melodies, lyrics, or musical arrangements on the go. You can use it as a reference for future compositions or share it with collaborators to develop and expand on your ideas.
2. How can I record a music memo on my mobile phone?
To record a music memo on your mobile phone, you can use various apps specifically designed for this purpose. Popular options include Voice Memos for iOS devices and Sound Recorder for Android phones. These apps enable you to easily record, save, and manage your music memos.
3. What are the key features to consider in a music memo app?
When selecting a music memo app, it’s important to consider features such as recording quality, ease of use, audio editing capabilities, file format support, and the ability to share and export your memos. Additionally, some apps offer features like automatic transcription or the ability to add tags and notes to your recordings for better organization.
4. Can I edit my music memos after recording them?
Yes, many music memo apps allow you to edit your recordings. You can trim or cut unwanted sections, adjust the volume, apply basic effects like reverb or echo, and even merge multiple memos together to create longer compositions. These editing options give you flexibility in refining and perfecting your ideas.
5. How can I optimize the audio quality when recording a music memo?
To optimize audio quality when recording a music memo, consider the following tips:
- Find a quiet environment with minimal background noise to ensure clarity.
- Position your mobile phone’s microphone close to the sound source for better capture.
- Avoid covering the microphone with your hand or any obstructions.
- Experiment with different microphone settings or use an external microphone for improved audio quality.
- Consider using headphones while recording to monitor the sound and make necessary adjustments.