
Sure, here's the introduction in HTML format:
html
Are you eager to capture those memorable moments on your iPhone 10? Recording videos on an iPhone 10 is a great way to preserve special events, create engaging content, or simply document everyday life. With its advanced camera features and user-friendly interface, the iPhone 10 offers a seamless recording experience. Whether you’re a vlogger, a social media enthusiast, or a casual user, knowing how to make the most of your iPhone 10’s recording capabilities can significantly enhance your digital storytelling. In this article, we’ll explore the various methods and tips for recording on an iPhone 10, empowering you to unleash your creativity and capture stunning footage with ease.
Inside This Article
- Setting up your recording environment
- Using the built-in Voice Memos app
- Using third-party recording apps
- Editing and sharing your recordings
- Conclusion
- FAQs
Setting up your recording environment
Before you start recording on your iPhone 10, it’s essential to ensure that your recording environment is optimized for the best results. Here are some key steps to set up your recording space:
1. Find a quiet location: Locate a space with minimal background noise to ensure that your recordings are clear and free from distractions. This could be a quiet room or a secluded outdoor area.
2. Position your iPhone: Place your iPhone on a stable surface or use a tripod to avoid any shakiness or instability during recording. This will help maintain a steady focus on the audio source.
3. Adjust the microphone: If you’re using the iPhone’s built-in microphone, position the device to capture the audio source clearly. Alternatively, if you have an external microphone, ensure that it’s connected properly and positioned for optimal sound capture.
4. Test the audio levels: Before you start recording, test the audio levels to ensure that the sound is neither too soft nor too loud. You can do this by conducting a short test recording and adjusting the levels as needed.
Using the built-in Voice Memos app
One of the most convenient ways to record on an iPhone 10 is by using the built-in Voice Memos app. This app comes pre-installed on your device, making it easily accessible for quick recording needs. To begin recording, simply locate the Voice Memos app on your home screen and tap to open it. Once inside the app, you’ll see a prominent red “Record” button at the center of the screen. Tap this button to start recording.
While recording, the app displays a timer to indicate the duration of your recording. You can also add a title to your recording to help you identify it later. Once you’ve finished recording, tap the red “Stop” button to end the recording. Your recording will then be saved within the Voice Memos app, allowing you to access it at any time.
Additionally, the Voice Memos app offers basic editing features, allowing you to trim the beginning or end of your recordings. This can be useful for removing any unwanted segments before sharing or saving your recording. Furthermore, the app provides options for sharing your recordings via various platforms, including Messages, Mail, or third-party apps such as WhatsApp or Dropbox.
Using third-party recording apps
While the built-in Voice Memos app is a handy tool for recording audio on your iPhone 10, there are several third-party apps available that offer additional features and customization options. These apps can cater to specific recording needs and provide advanced functionality beyond the capabilities of the native app.
One popular third-party recording app for iPhone is “Voice Recorder & Audio Editor,” which offers high-quality audio recording, customizable settings, and the ability to edit and enhance recordings directly within the app. It also provides options for sharing recordings across various platforms, making it a versatile choice for users with diverse recording requirements.
Another notable third-party app is “TapeACall: Call Recorder,” which specializes in recording phone conversations. This app allows users to easily capture and store both incoming and outgoing calls, making it a valuable tool for professionals who rely on accurate call recordings for business or legal purposes.
For musicians and music enthusiasts, “GarageBand” stands out as a powerful recording app that offers a wide range of instruments, effects, and editing tools. With GarageBand, users can create professional-grade recordings, experiment with different sounds, and produce music directly on their iPhone 10.
Additionally, “Just Press Record” is an intuitive app that seamlessly integrates with iCloud, enabling users to access their recordings across multiple devices. Its simplicity and synchronization capabilities make it a convenient choice for individuals who prioritize seamless cross-device accessibility and organization.
These third-party recording apps expand the recording capabilities of your iPhone 10, offering enhanced features, specialized functionalities, and seamless integration with other tools and platforms. Whether you’re a journalist, musician, business professional, or casual user, there’s a third-party recording app tailored to meet your specific recording needs.
Editing and sharing your recordings
Once you’ve captured an audio recording on your iPhone 10, you may want to edit and share it with others. Fortunately, the iPhone 10 offers several options for managing and distributing your recordings.
Firstly, the Voice Memos app on your iPhone 10 provides basic editing functionalities. You can trim the beginning or end of the recording to remove any unwanted sections. Simply open the Voice Memos app, select the recording you want to edit, tap “Edit,” and then use the trimming tool to adjust the start and end points of the recording. This feature allows you to refine your recordings before sharing them with others.
If you require more advanced editing capabilities, you can transfer the recording to a computer and utilize professional audio editing software. By exporting the recording from your iPhone 10 to a computer, you can take advantage of sophisticated editing tools to enhance the audio quality, add effects, or combine multiple recordings into a single file. Once you’ve completed the editing process, you can transfer the modified recording back to your iPhone 10 for sharing.
When it comes to sharing your recordings, the iPhone 10 offers various options. You can send the recording via email, upload it to a cloud storage service such as iCloud or Dropbox, or share it directly to social media platforms. Additionally, you can use AirDrop to transfer the recording to nearby iOS devices or Mac computers. This seamless sharing capability makes it easy to distribute your recordings to friends, colleagues, or collaborators.
Furthermore, consider converting your recordings into different formats to ensure compatibility with a wide range of devices and platforms. By exporting your recordings in popular audio formats such as MP3 or WAV, you can ensure that recipients can easily access and play the files on their preferred devices.
Overall, the iPhone 10 empowers you to edit and share your recordings with ease. Whether you need to make simple adjustments or perform more intricate editing tasks, the device offers the tools and flexibility to manage your recordings effectively.
Conclusion
Recording on your iPhone 10 opens up a world of possibilities, allowing you to capture and share memorable moments with ease. Whether you’re creating content for social media, preserving precious memories, or collaborating on professional projects, the built-in recording features offer convenience and high-quality results. With the ability to capture stunning 4K videos and crystal-clear audio, the iPhone 10 empowers you to unleash your creativity and storytelling prowess. By leveraging the native recording capabilities and exploring third-party apps, you can elevate your recordings to new heights. Embrace the versatility of your iPhone 10 and embark on a journey of visual and auditory expression, knowing that the power to record exceptional content is always at your fingertips.
FAQs
Q: Can I record my iPhone 10 screen without using any third-party apps?
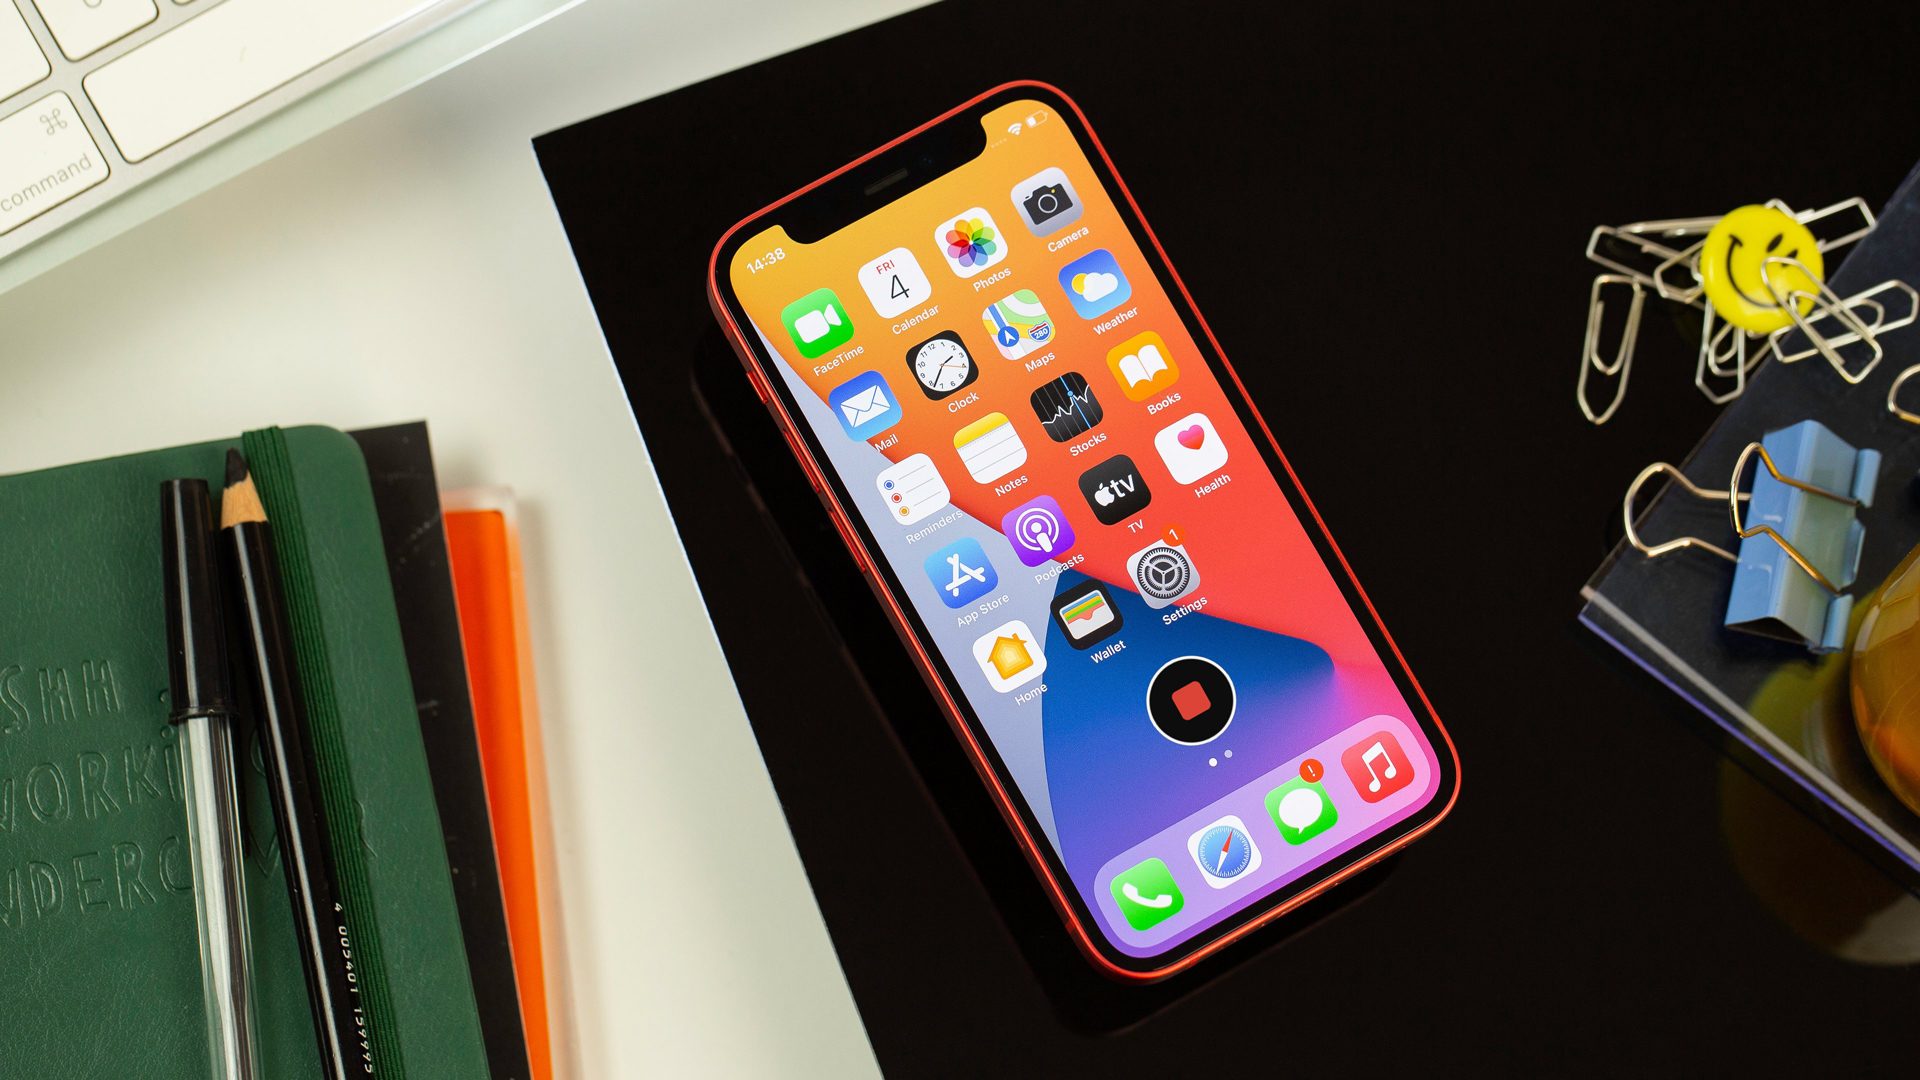
A: Yes, iPhone 10 comes with a built-in screen recording feature. You can easily access it from the Control Center and start recording your screen without the need for any additional apps.
Q: How much storage space does a screen recording typically consume on an iPhone 10?
A: The amount of storage space a screen recording consumes depends on the length and content of the recording. On average, a one-minute screen recording at standard settings may consume approximately 30-40 MB of storage.
Q: Can I record audio along with the screen on my iPhone 10?
A: Yes, you can enable microphone audio while recording your screen on iPhone 10. This feature allows you to capture both the on-screen visuals and any accompanying audio, such as commentary or sound effects.
Q: Are there any limitations to screen recording on iPhone 10?
A: While iPhone 10's built-in screen recording feature is versatile, it may have limitations when it comes to capturing certain types of content, such as DRM-protected media or restricted apps. Additionally, some apps may restrict screen recording within their interfaces.
Q: Can I edit my screen recordings directly on my iPhone 10?
A: Yes, iPhone 10 offers basic video editing capabilities through the Photos app. You can trim, crop, and make simple adjustments to your screen recordings without the need for third-party editing software.