
Are you wondering how to get voice memos off your iPhone? Well, you’ve come to the right place! Voice memos are a handy feature available on iPhones that allows you to record lectures, interviews, or simply capture your own thoughts on the go. However, once you’ve recorded those important voice memos, you may need to transfer them to another device, email them to someone, or simply free up space on your iPhone. In this article, we’ll guide you through the different methods and tools you can use to easily get your voice memos off your iPhone. Whether you want to save your voice memos on your computer, upload them to the cloud, or share them with others, we’ve got you covered. So let’s dive in and find out how to manage your voice memos efficiently!
Inside This Article
- Overview
- Method 1: Using iTunes
- Method 2: Using iCloud
- Method 3: Using a Third-Party App
- Conclusion
- FAQs
Overview
Have you ever wondered how to get voice memos off your iPhone? Voice memos are a convenient feature that allows you to record audio on your device. Whether you want to save an important meeting, capture a voice reminder, or keep a personal journal, voice memos come in handy. However, transferring the recorded voice memos from your iPhone to another device or computer can sometimes be a bit challenging.
Fortunately, there are several methods you can use to get your voice memos off your iPhone and onto another device. In this article, we will explore three different ways to accomplish this. You can choose the method that suits your needs and preferences. Let’s dive in and learn how to transfer your voice memos with ease!
Keep in mind that the methods outlined in this article require a computer or another device to transfer the voice memos. Make sure you have a compatible device and a reliable internet connection before proceeding. Now, let’s explore the three methods step by step.
Method 1: Using iTunes
If you want to get voice memos off your iPhone, one of the easiest ways is by using iTunes. iTunes is a multimedia software developed by Apple that allows you to manage your iPhone’s content, including voice memos.
Here’s a step-by-step guide on how to transfer voice memos from your iPhone using iTunes:
- Connect your iPhone to your computer using a USB cable.
- Open iTunes on your computer. If you don’t have iTunes installed, you can download it from the Apple website.
- In iTunes, click on the device icon that appears on the top left corner of the iTunes window.
- Go to the “Summary” tab in the left sidebar of the iTunes window.
- Scroll down to the “Options” section and check the box that says “Manually manage music and videos.”
- Click on the “Music” tab in the left sidebar of the iTunes window.
- Check the box that says “Sync Music” and select the option to include voice memos.
- Click on the “Apply” button at the bottom right corner of the iTunes window. This will sync your iPhone with iTunes and transfer the voice memos to your computer.
- Once the sync is complete, you can find the voice memos on your computer by going to the iTunes Media folder.
Using iTunes is a convenient way to transfer voice memos off your iPhone and onto your computer. It allows you to store and manage your voice memos on your computer’s hard drive, freeing up space on your iPhone.
Method 2: Using iCloud
If you prefer a hassle-free way to get your voice memos off your iPhone, using iCloud is the way to go. iCloud is Apple’s cloud storage service that allows you to sync your data across multiple devices. Here’s how you can use iCloud to retrieve your voice memos:
Step 1: Make sure iCloud is enabled on your iPhone. To do this, go to Settings and tap on your Apple ID at the top of the screen. From there, select iCloud and make sure the “Voice Memos” toggle is turned on. This will ensure that your voice memos are synced to iCloud.
Step 2: Open the Voice Memos app on your iPhone and locate the memo you want to get off your device. Tap on the memo to open it, and then tap on the three-dot menu icon in the lower-right corner of the screen.
Step 3: In the menu that appears, select “Save to Files”. This will allow you to save the voice memo as a file in your iCloud Drive.
Step 4: Choose the location in your iCloud Drive where you want to save the voice memo file. You can create a new folder or select an existing one.
Step 5: After selecting the location, tap on “Save” to begin the upload process. Once the upload is complete, your voice memo will be stored in iCloud and accessible from any device that is linked to your iCloud account.
To access your voice memos on another device, simply open the Files app, navigate to the location where you saved the voice memo, and you will be able to play it or share it as needed.
Using iCloud to retrieve voice memos from your iPhone gives you the convenience of accessing your recordings from any device with an internet connection. It provides a seamless syncing experience, ensuring that your voice memos are always backed up and readily available for future use.
Method 3: Using a Third-Party App
If you’re looking for an alternative method to get voice memos off your iPhone, using a third-party app can be a great option. There are various apps available on the App Store that offer features specifically designed for managing and transferring voice memos.
One such app is “iExplorer,” a popular choice among iPhone users. It allows you to easily access and transfer voice memos from your device to your computer. To use this app, follow these simple steps:
- Download and install “iExplorer” from the App Store onto your iPhone.
- Launch the app and connect your iPhone to your computer using a USB cable.
- On your iPhone, navigate to the “Voice Memos” section within the “iExplorer” app.
- Select the voice memos you want to transfer and click on the “Export” button.
- Choose the destination folder on your computer where you want to save the voice memos.
- Wait for the transfer to complete, and then you can disconnect your iPhone from the computer.
Another popular third-party app for managing voice memos is “iMazing.” It offers a range of functions, including the ability to export voice memos from your iPhone to your computer. Here’s how to use “iMazing” to transfer voice memos:
- Download and install the “iMazing” app from the App Store on your iPhone.
- Connect your iPhone to your computer using a USB cable and launch the “iMazing” app.
- Click on the “Voice Memos” tab in the app’s interface to view your recorded voice memos.
- Select the voice memos you want to transfer and click on the “Export to Folder” option.
- Choose the folder on your computer where you want to save the voice memos and click “Export.”
- Wait for the transfer to finish, and then you can disconnect your iPhone from the computer.
Using a third-party app provides you with more flexibility and control over your voice memos. You can easily transfer them to your computer and even perform additional tasks like organizing, renaming, or sharing them with others.
Remember to choose a reputable app from the App Store and read user reviews to ensure its reliability and security. With the right third-party app, you can efficiently manage your voice memos and keep them safe and accessible.
Conclusion
In conclusion, getting voice memos off your iPhone is a simple and straightforward process. By following the methods outlined in this article, you can easily transfer and manage your voice memos with ease. Whether you choose to use iCloud, iTunes, or third-party apps, there are options available to suit your needs and preferences.
Voice memos are a valuable tool for recording important information, capturing ideas on the go, and preserving memories. Being able to access and transfer these recordings from your iPhone ensures that you can keep them safe and easily share them with others if needed.
Remember to regularly back up your voice memos to prevent any loss of data. With the convenience and versatility that your iPhone offers, you can enjoy the convenience of having your voice memos accessible across various devices.
So, go ahead and explore the different methods mentioned in this article. Have fun organizing and sharing your voice memos from your iPhone!
FAQs
1. How do I transfer voice memos from my iPhone to my computer?
To transfer voice memos from your iPhone to your computer, you can use either iTunes or iCloud.
- If you’re using iTunes:
- Connect your iPhone to your computer using a USB cable.
- Launch iTunes on your computer.
- Select your iPhone from the list of devices in iTunes.
- Go to the “Music” or “File Sharing” tab.
- Select the voice memos you want to transfer.
- Click on the “Export” or “Save” button to save the voice memos to your computer.
- If you’re using iCloud:
- Ensure that you have iCloud enabled on your iPhone.
- Open the “Voice Memos” app on your iPhone.
- Select the voice memo you want to transfer.
- Tap on the “Share” button.
- Choose the option to save the voice memo to iCloud Drive or another cloud storage service.
- Access the voice memo on your computer by signing in to the cloud storage service and downloading it.
2. Can I convert voice memos to MP3 on my iPhone?
Unfortunately, the Voice Memos app on the iPhone does not have a built-in option to convert voice memos to MP3 format. However, you can use third-party apps or software on your computer to convert the voice memos to MP3 after transferring them from your iPhone. There are several free and paid converters available online that can perform this task efficiently. Simply search for “voice memo to MP3 converter” on your preferred search engine and choose a reliable option that suits your needs.
3. How do I delete voice memos from my iPhone?
To delete voice memos from your iPhone, follow these steps:
- Open the “Voice Memos” app on your iPhone.
- Select the voice memos you want to delete.
- Tap on the “Delete” button or the trash bin icon.
- Confirm the deletion when prompted.
Alternatively, you can also delete voice memos directly from your iPhone’s “Settings” app.
- Go to “Settings” on your iPhone.
- Scroll down and tap on “General”.
- Select “iPhone Storage” or “Storage & iCloud Usage”.
- Tap on “Manage Storage”.
- Find the “Voice Memos” app and tap on it.
- Select the voice memos you want to delete.
- Tap on the “Delete App” option to remove the voice memos.
4. How do I recover deleted voice memos on my iPhone?
If you have accidentally deleted voice memos on your iPhone and you have a backup available, you can recover them using iTunes or iCloud.
- If you have a backup in iTunes:
- Connect your iPhone to your computer and open iTunes.
- Select your iPhone from the device list.
- Click on “Restore Backup”.
- Choose the most recent backup that contains the voice memos you want to recover.
- Click “Restore” and wait for the process to complete.
- Your iPhone will restart, and the deleted voice memos should be restored.
- If you have a backup in iCloud:
- Erase all content and settings on your iPhone by going to “Settings” > “General” > “Reset” > “Erase All Content and Settings”.
- Follow the on-screen instructions to set up your iPhone.
- Select “Restore from iCloud Backup” during the setup process.
- Sign in to your iCloud account and choose the backup that contains the deleted voice memos.
- Wait for the restore process to complete.
- Your iPhone will restart, and the deleted voice memos should be recovered.
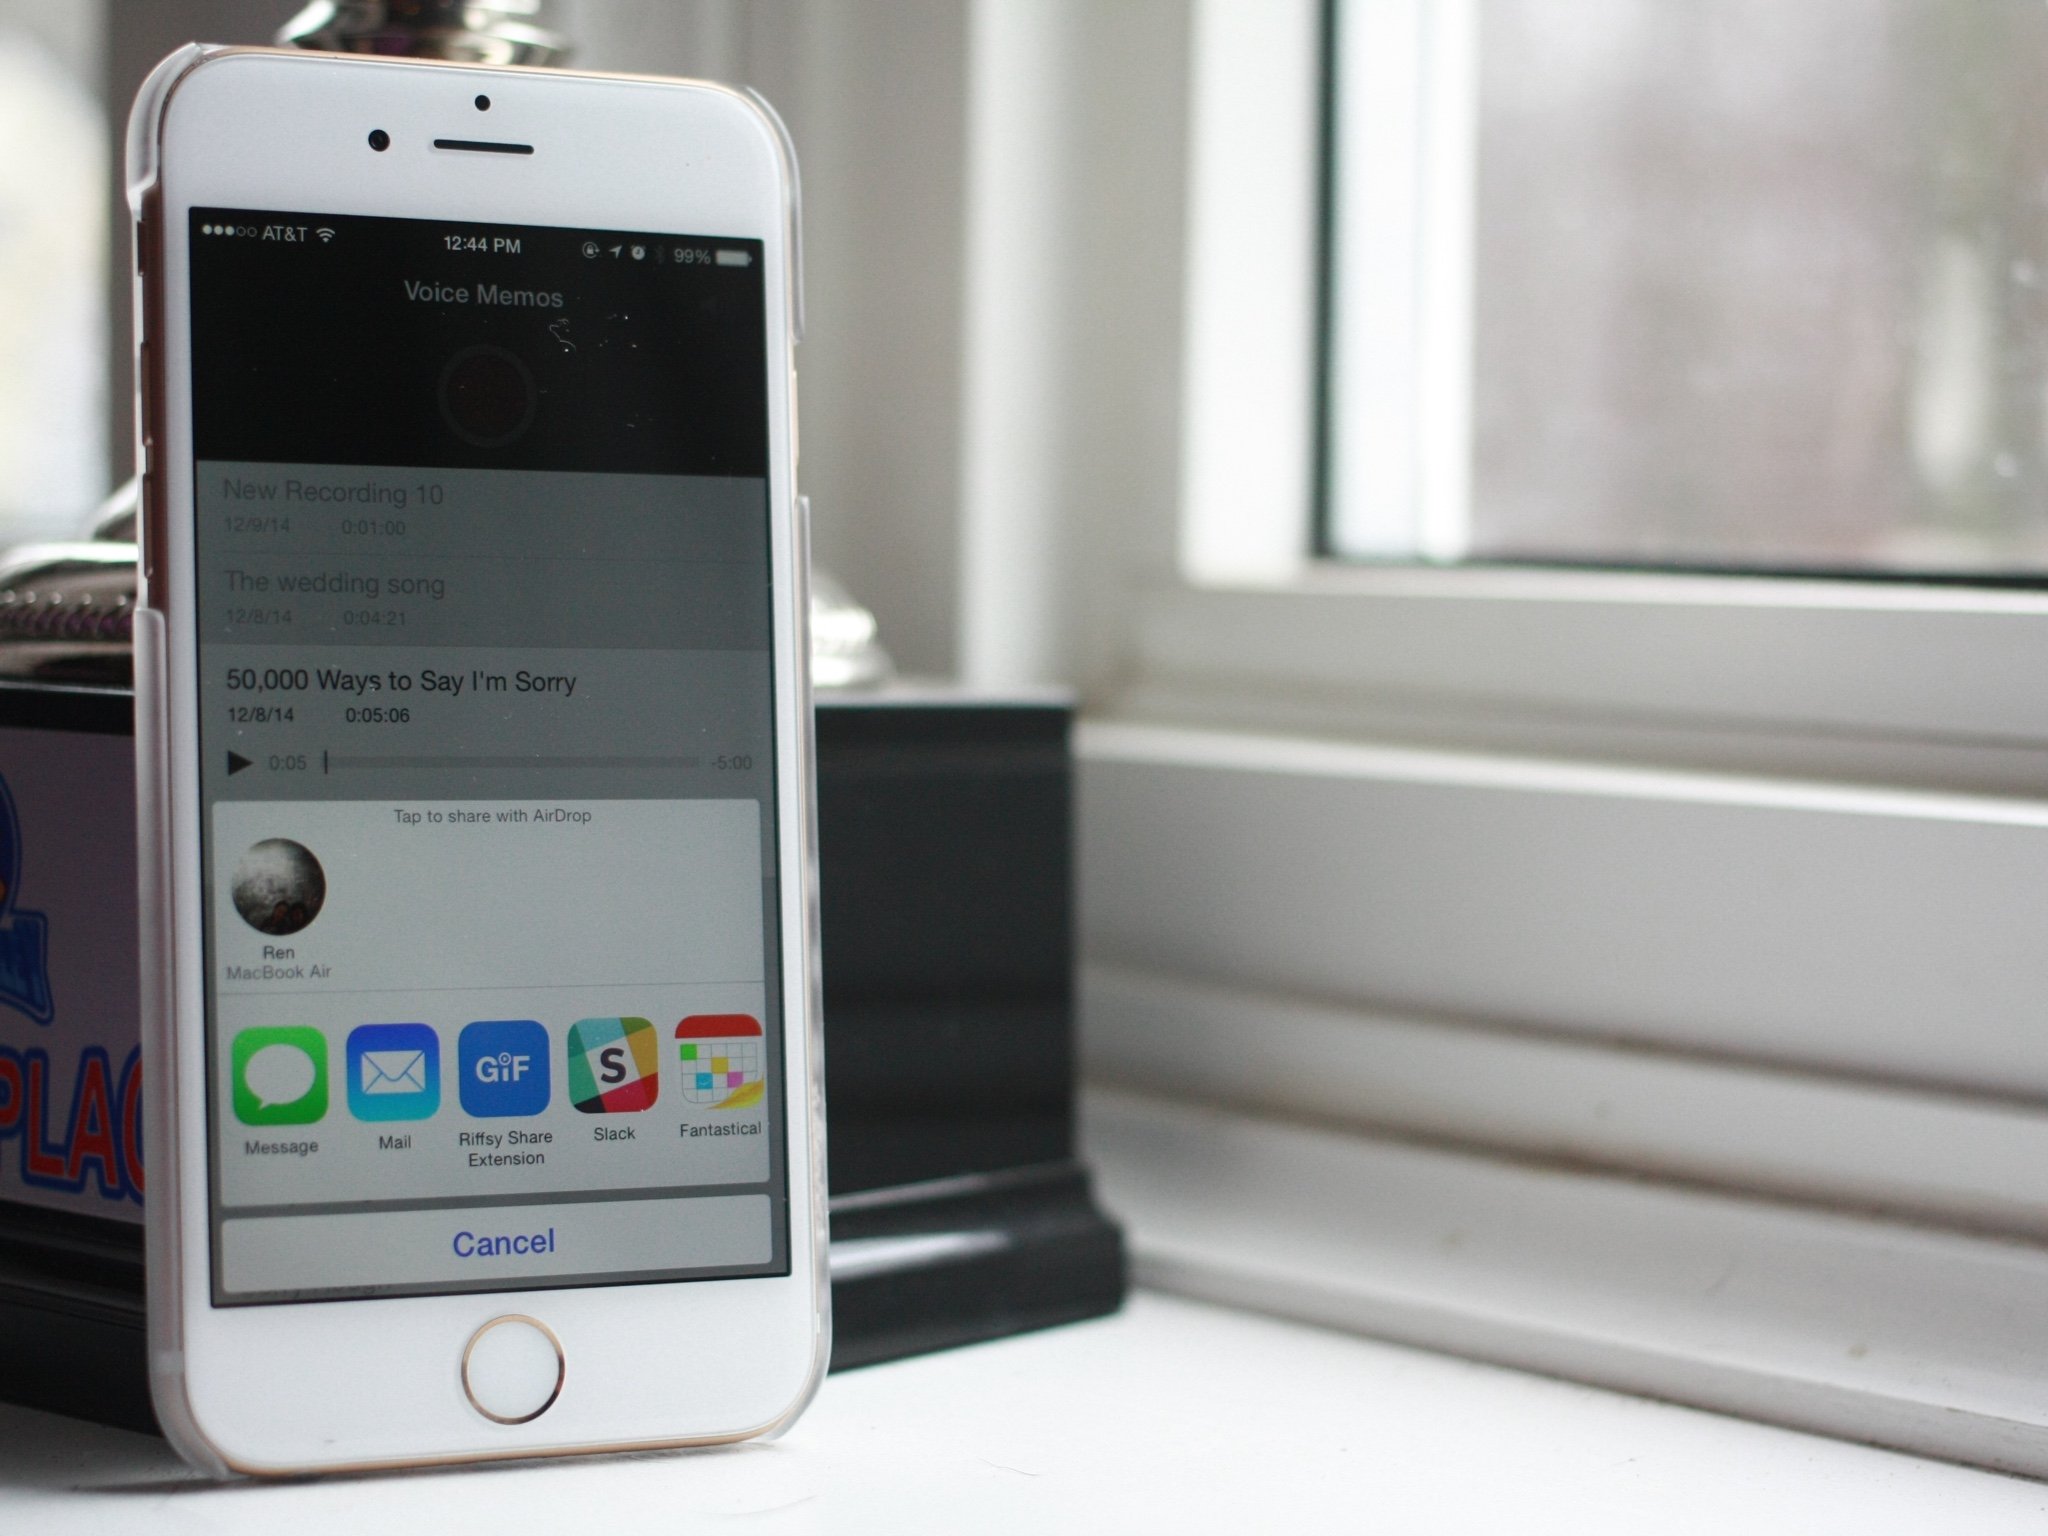
5. How do I share voice memos from my iPhone?
To share voice memos from your iPhone, do the following:
- Open the “Voice Memos” app on your iPhone.
- Select the voice memo you want to share.
- Tap on the “Share” button (the square with an arrow pointing upwards).
- Choose the app or option you want to use to share the voice memo, such as Messages, Mail, WhatsApp, or AirDrop.
- Follow the prompts to send or share the voice memo through your chosen method.
- If you want to share multiple voice memos at once, tap on the “Select” button in the top right corner of the “Voice Memos” app, select the memos you want to share, and then tap on the “Share” button.