
Are you an aspiring musician or someone who simply enjoys creating music? Well, you’ll be happy to know that you can record a song directly on your iPhone! With the advancements in technology, mobile phones have become powerful tools for both professional and amateur musicians. Whether you’re on the go or in the comfort of your own home, your iPhone offers a convenient way to capture your musical ideas and create high-quality recordings. In this article, we will walk you through the steps of recording a song on your iPhone, from selecting the right recording app to optimizing your audio settings. So get ready to unleash your creativity and start recording your very own masterpiece!
Inside This Article
- # How To Record A Song On iPhone
- Choosing the Right App
- Setting Up Your Recording Space
- Adjusting Recording Settings
- Recording and Editing Your Song.
- Conclusion
- FAQs
# How To Record A Song On iPhone
Recording your own song can be an incredibly rewarding creative process. With the advancements in technology, you don’t need a professional recording studio to bring your musical ideas to life. Your iPhone is a powerful tool that can be utilized to record high-quality audio right at your fingertips. In this article, we will guide you through the process of recording a song on your iPhone, from choosing the right app to editing your masterpiece.
Choosing the Right App
The first step in recording a song on your iPhone is to choose the right app for the job. There are several recording apps available on the App Store, each with its own unique features and interface. Some popular options include GarageBand, Voice Memos, and FL Studio Mobile. Consider your specific needs and preferences when selecting an app that suits you best.
GarageBand, for example, is a comprehensive music creation tool that offers a wide range of virtual instruments, effects, and recording capabilities. On the other hand, Voice Memos is a simple yet effective app for quick and easy audio recording. Depending on your level of expertise and the complexity of your project, choose an app that aligns with your requirements.
Setting Up Your Recording Space
The next step is to set up your recording space. Find a quiet room or area where you won’t be interrupted by external noise. Consider using soundproofing materials or blankets to minimize echo and unwanted background sounds. Remember, the quality of your recording environment plays a crucial role in achieving professional-sounding results.
Additionally, position your iPhone at a suitable distance from your instrument or voice to capture the best audio quality. Experiment with different microphone placements to find the sweet spot that captures the true essence of your performance.
Adjusting Recording Settings
Before diving into the recording process, make sure to adjust the recording settings on your iPhone for optimal results. Access the settings of your chosen recording app and customize the audio quality, file format, and other relevant parameters according to your preferences.
Ensure that your device is set to record in a high-quality format, such as WAV or AIFF, to preserve the integrity of your audio. Additionally, consider enabling features like background noise reduction or auto-gain control to enhance the overall recording quality.
Recording and Editing Your Song
Now that you have chosen the app, set up your recording space, and adjusted the settings, it’s time to hit the record button and let your creativity flow. Perform your song, whether it’s playing an instrument, singing, or both, and capture every beautiful moment.
Once you have finished recording, take advantage of the editing capabilities of your chosen app. Trim any unwanted parts, adjust volume levels, and apply effects if desired. This is your chance to refine and polish your song to make it truly shine.
Remember to save your project regularly to prevent any data loss and to have multiple versions of your song in case you want to try different arrangements or mix variations.
Recording a song on your iPhone is a fun and accessible way to express your musical creativity. With the right app, a suitable recording space, and attention to detail in adjusting settings and editing, you can create remarkable music right from the palm of your hand. So grab your iPhone, unleash your talent, and start recording your next masterpiece!
Choosing the Right App
When it comes to recording songs on your iPhone, choosing the right app is crucial. With so many options available on the App Store, it can be overwhelming to find the perfect one. However, with a little research and consideration of your specific needs, you can find an app that suits your music recording goals.
Firstly, identify whether you are a beginner or an experienced musician. If you’re just starting out, look for apps that offer a user-friendly interface and step-by-step instructions. These apps typically have pre-set settings and effects that can help you get started quickly.
If you’re more experienced and have a good understanding of the recording process, you may want to look for apps that offer more advanced features. These apps often have a wider range of audio editing tools, allowing you to fine-tune your recordings and mix tracks with precision.
Consider the type of music you’ll be recording. Different apps cater to different genres, so finding one that aligns with your musical style can greatly enhance your recording experience. Whether you’re into rock, pop, hip-hop, or classical music, there’s an app out there for you.
It’s also important to consider your budget. While many recording apps are available for free, they may come with limitations or in-app purchases for additional features. If you’re serious about recording, investing in a paid app may provide you with a more professional experience and access to a broader range of functions and effects.
Lastly, read user reviews and ratings to get a sense of the app’s performance and reliability. Look for apps that have positive feedback and a high number of downloads, as this indicates that they are well-liked and trusted by users in the music community.
By taking your time to research and select the right app, you can ensure a seamless and enjoyable recording experience on your iPhone. Remember, the app you choose will be the foundation of your music recording journey, so choose wisely.
Setting Up Your Recording Space
When it comes to recording a song on your iPhone, setting up the right recording space is crucial. Creating an environment that is conducive to high-quality audio can make a significant difference in the final outcome of your recording. Here are some tips to help you set up your recording space:
1. Find a quiet location: Look for a room or area in your home where you can minimize background noise as much as possible. Choose a spot away from busy streets, appliances, or other sources of unwanted sound.
2. Use soundproofing materials: If you have the means, consider using soundproofing materials to minimize echoes and external noise. These may include acoustic panels, foam pads, or even blankets hung on the walls to absorb sound reflections.
3. Clear the clutter: Clear away any unnecessary items or objects in the recording space. Not only will this help prevent unwanted noises or distractions, but it will also give you more room to move around and set up your equipment.
4. Optimize your furniture layout: Arrange furniture in a way that promotes good acoustics. Experiment with the placement of your recording equipment, instruments, and seating to achieve the best sound quality.
5. Control the lighting: Proper lighting can contribute to a comfortable and inspiring recording environment. Make sure to have adequate lighting options, whether it’s natural light from windows or artificial lighting sources, so you can see your equipment and make adjustments easily.
6. Create a comfortable space: The more comfortable you feel, the better your performance will be. Consider adding cushions, chairs, or other elements to make your recording space pleasant and inviting.
Remember, the goal is to create a space that allows you to focus on your music and minimize any potential distractions or disturbances. Taking the time to set up your recording space properly will ensure that you can capture the best possible sound while recording your song on your iPhone.
Adjusting Recording Settings
When it comes to recording a song on your iPhone, adjusting the recording settings is crucial to achieving the best possible sound quality. By taking the time to fine-tune these settings, you can ensure that your recorded song sounds professional and polished. Here are some key settings you should consider adjusting:
1. Mic Sensitivity: The microphone sensitivity determines how well your iPhone picks up sound. To adjust the mic sensitivity, go to the Settings app on your iPhone, select “Sounds & Haptics,” and then tap on “Microphone.” From here, you can adjust the sensitivity level to your preference. Keep in mind that a higher sensitivity level will pick up more ambient noise, while a lower sensitivity level may result in a quieter recording.
2. Audio Format: The audio format determines the file type and quality of the recorded song. To adjust the audio format, open the Voice Memos app on your iPhone, tap on the “More” (three-dot) icon, and go to “Settings.” Here, you can select the desired audio format, such as AAC or Lossless. Higher-quality formats will result in larger file sizes, so consider the balance between audio quality and storage space.
3. Sample Rate and Bit Depth: Sample rate and bit depth impact the resolution and fidelity of the recorded audio. To adjust these settings, you’ll need a third-party recording app that offers more advanced options. Look for apps that allow you to customize the sample rate (measured in kHz) and bit depth (measured in bits per sample). Higher values generally result in better audio quality, but also larger file sizes.
4. Background Noise Reduction: Background noise can greatly impact the overall quality of your recorded song. Many recording apps offer background noise reduction features that can help filter out unwanted noise. Explore the settings of your chosen recording app to see if it offers this feature and adjust it accordingly to minimize any unwanted background noise.
5. Gain Control: Gain control allows you to adjust the input level of your microphone. Most recording apps provide a gain control slider or knob that you can use to increase or decrease the input level. Make sure to set the gain level properly to avoid distortion or clipping, especially if you’re recording vocals or instruments with varying loudness.
By taking the time to adjust these recording settings, you can optimize the audio recording quality and create a professional-sounding song using your iPhone. Experiment with different settings and techniques to find the perfect balance that suits your artistic vision and preferences.
Recording and Editing Your Song.
Now that you’ve set up your recording space and adjusted the necessary settings, it’s time to get down to the actual process of recording and editing your song on your iPhone. Here are some steps to follow:
- Prepare Yourself: Before you start recording, make sure you are mentally and creatively prepared. Take a few moments to set the mood and get into the right headspace for your performance.
- Select Your Instrument: If you are recording a song that requires an instrument, choose the appropriate one. Whether it’s a guitar, piano, or any other instrument, make sure it’s in tune and ready to go.
- Position Your iPhone: Place your iPhone in a secure and stable position. You can use a tripod or a phone mount to avoid any shaking or movement during the recording process.
- Start Recording: Open the recording app you previously installed and tap on the record button. Begin your performance and give it your all. Remember to record multiple takes to have options during the editing process.
- Edit Your Recording: Once you are satisfied with your takes, it’s time to edit your recording. Use the editing features of your recording app to trim any unwanted sections, adjust the volume levels, and apply any necessary effects.
- Add Overdubs and Layers: If you want to add more depth and complexity to your song, consider recording overdubs or additional layers. This can involve adding harmonies, backing vocals, or additional instrument tracks to enhance the overall sound.
- Mix and Master: The final step is to mix and master your song. This involves adjusting the levels, EQ, and effects to achieve a balanced and professional sound. Experiment with different settings and techniques until you are satisfied with the final result.
Remember, recording and editing a song on your iPhone may take some practice and experimentation to achieve the desired outcome. Don’t be afraid to explore different techniques and learn from the process. With time and dedication, you can create high-quality recordings right from the palm of your hand.
In conclusion, recording a song on your iPhone has never been easier. With the advancement of technology, our smartphones have become powerful tools for music production. From the convenience of your own home or anywhere you go, you can capture your musical ideas and turn them into polished tracks.
Whether you are an aspiring musician, singer-songwriter, or a seasoned professional, the iPhone offers a range of features and apps that cater to your recording needs. From the built-in Voice Memos app for quick recordings to more advanced apps like GarageBand, you have the flexibility to create high-quality recordings with minimal equipment.
Remember to optimize your recording setup by investing in a good-quality microphone and headphones. Additionally, using a variety of recording techniques and experimenting with different apps and effects can add depth and creativity to your songs.
So, unleash your creativity, and let your iPhone be your personal recording studio. With the right tools and a passion for music, you have everything you need to bring your musical ideas to life.
FAQs
1. Can I record a song on my iPhone?
Yes, you can record a song on your iPhone using the built-in Voice Memos app or by using third-party apps specifically designed for recording music.
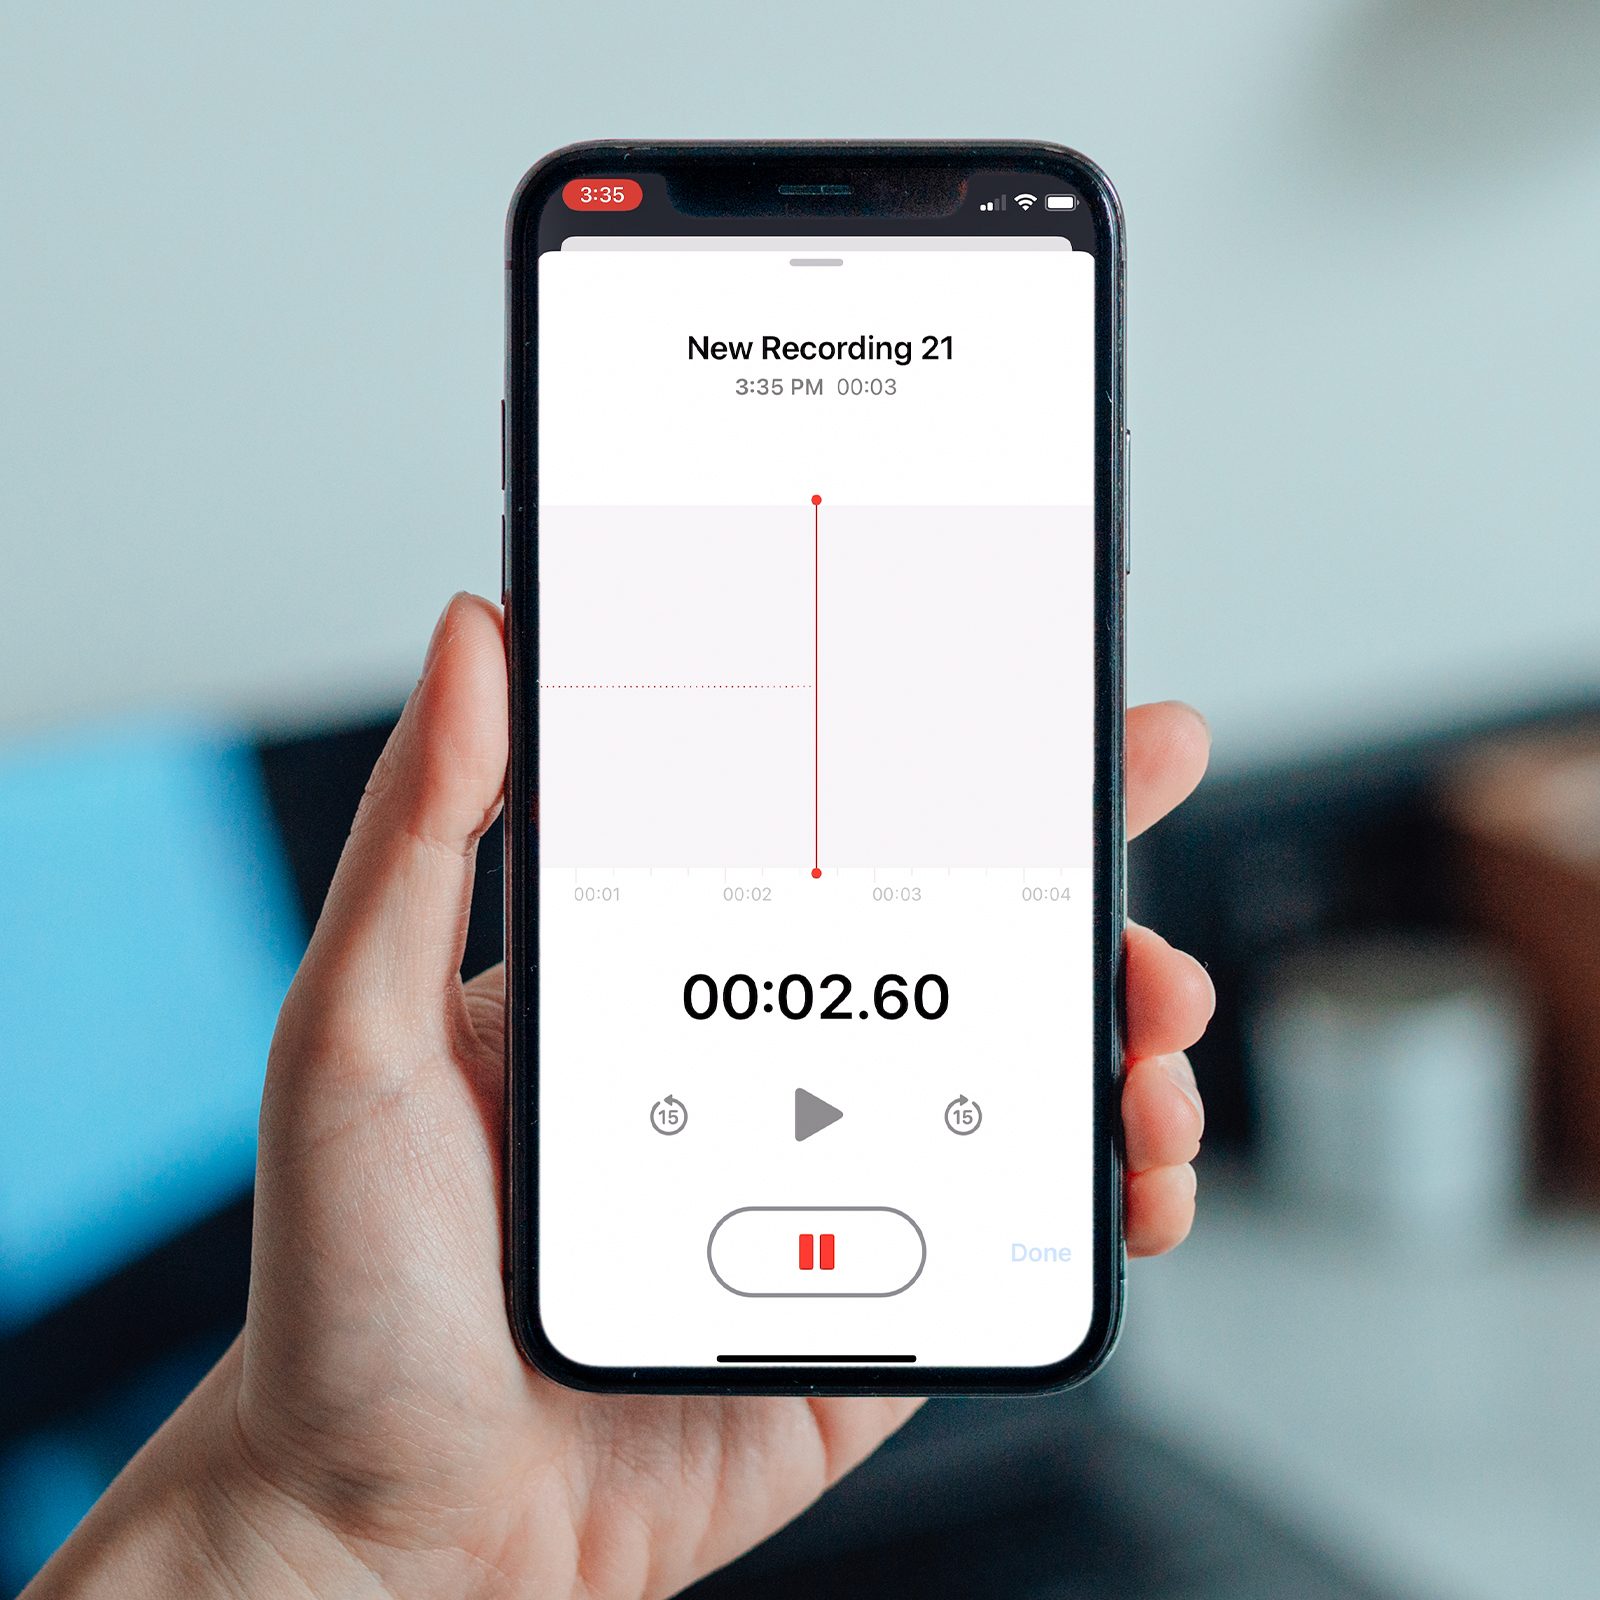
2. How do I record a song on my iPhone using Voice Memos?
To record a song using the Voice Memos app on your iPhone, simply open the app, tap the red record button, and start singing or playing your instrument. When you’re done recording, tap the stop button to finish. You can then preview, trim, and share your recorded song.
3. Are there any third-party apps for recording songs on the iPhone?
Yes, there are several third-party apps available on the App Store that offer advanced features for recording songs on your iPhone. Some popular options include GarageBand, Music Memos, and MultiTrack DAW. These apps provide additional functionalities such as multi-track recording, audio effects, and editing tools.
4. Can I connect external microphones to my iPhone for better audio quality?
Absolutely! You can connect external microphones to your iPhone to enhance the audio quality of your song recordings. There are various types of microphones available, such as USB mics, XLR mics, and lavalier mics, that can be connected to your iPhone using adapters or compatible interfaces.
5. Can I edit and mix my recorded songs on my iPhone?
Yes, you can edit and mix your recorded songs on your iPhone using music production apps like GarageBand. These apps provide a range of editing tools, effects, and virtual instruments to help refine your recorded songs. You can trim, rearrange, add effects, and adjust audio levels to create professional-sounding tracks.