
Excel is a powerful tool that helps us organize and analyze data efficiently. One common task we often encounter is sorting data. Manually sorting data in Excel can be time-consuming, especially when the data changes frequently. However, with the right techniques, we can automate the sorting process and save ourselves valuable time and effort.
In this article, we will explore how to automatically sort data in Excel when changes occur. We will delve into various methods and functions that allow us to dynamically sort our data based on specific criteria. Whether you are dealing with a list of names, sales figures, or any other type of data, these techniques will help you keep your data organized and updated automatically.
So, if you are interested in streamlining your Excel workflow and improving efficiency, keep reading to discover how you can effortlessly sort your data with minimal effort.
Inside This Article
- Overview
- Step 1: Enable Excel’s automatic sorting feature
- Step 2: Select the range to sort
- Step 3: Specify sort criteria
- Step 4: Apply automatic sorting on data changes
- Additional considerations
- Conclusion
- FAQs
Overview
When working with large sets of data in Excel, it can be time-consuming and tedious to manually sort the data whenever changes occur. However, there are ways to automate this process and ensure that your data is always sorted correctly. In this article, we will explore two methods for automatically sorting data in Excel when changes occur: using the SORT function and applying a VBA code.
The SORT function in Excel is a powerful tool that allows you to sort data dynamically. It works by specifying the range of cells you want to sort and the criteria for sorting. Once the data changes, the SORT function automatically rearranges the data according to the specified criteria. This method is simple to set up and does not require any programming knowledge.
If you need more advanced sorting options or want to customize the sorting process further, you can utilize VBA (Visual Basic for Applications) code in Excel. VBA is a programming language that allows you to automate tasks and perform complex operations in Excel. By writing a VBA code, you can create a macro that will automatically sort the data whenever changes occur. This method provides greater control and flexibility, but it requires some programming skills.
In addition to using the SORT function and VBA code, you can also set up conditional formatting in Excel to trigger automatic sorting. Conditional formatting allows you to apply specific formatting rules to cells based on certain criteria. By setting up a conditional formatting rule that detects changes in your data, you can configure it to trigger the sorting process automatically.
Whether you choose to use the SORT function, VBA code, or conditional formatting, automating the sorting process in Excel can save you valuable time and effort. By ensuring that your data is always sorted correctly, you can streamline your workflow and make data analysis more efficient.
Step 1: Enable Excel’s automatic sorting feature
If you frequently work with large sets of data in Excel, you may find it time-consuming to manually sort the data every time it changes. Fortunately, Excel offers a built-in feature that allows you to automate the sorting process. By enabling Excel’s automatic sorting feature, you can ensure that your data is always arranged in the desired order without any manual intervention.
To enable this feature, follow these simple steps:
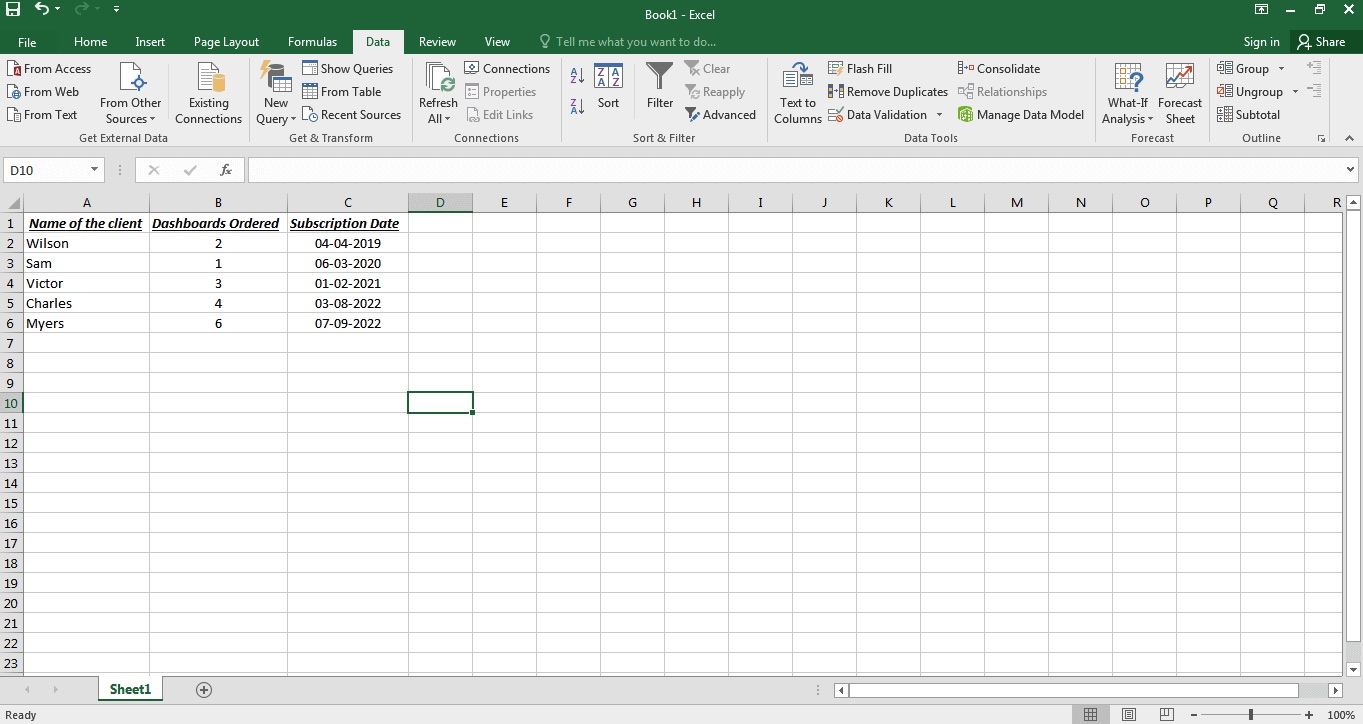
- Open your Excel workbook and navigate to the worksheet containing the data you want to automatically sort.
- Select the range of cells that you want to include in the sorting process.
- Click on the “Data” tab at the top of the Excel window.
- In the “Sort & Filter” group, click on the “Sort” button.
- A dialog box will appear. Make sure the “My data has headers” option is checked if your data contains headers.
- In the “Sort by” drop-down list, choose the column by which you want to sort your data.
- In the “Order” drop-down list, select whether you want to sort in ascending or descending order.
- Click on the “Add Level” button if you want to sort by multiple columns.
- Repeat steps 6 and 7 for each additional column you want to include in the sorting process.
- Click on the “OK” button to apply the sorting settings.
Once you have enabled Excel’s automatic sorting feature, any changes made to the data within the selected range will automatically trigger the sorting process. This means that if new data is added or existing data is modified, Excel will automatically rearrange the rows according to the specified sorting order.
Step 2: Select the range to sort
After determining the criteria for sorting your data, the next step is to select the range of cells that you want to sort in Excel. This range includes the column or columns that contain the data you want to sort. Here’s how you can do it:
1. Click and drag your mouse to select the range of cells that you want to sort. You can click on the header of the column to select the entire column or use the Shift key to select multiple columns.
2. Alternatively, you can manually input the range of cells in the “Sort Range” field in the “Sort” dialog box.
3. Ensure that your range selection includes all the necessary data that you want to sort. If you only select a portion of your data, Excel might not rearrange the data correctly.
4. Double-check that you have included any column headers or labels in your selected range. Excel will use these headers to identify the data and sort it properly.
By selecting the appropriate range, you ensure that Excel knows the specific area where the data is located, making it easier for the program to sort the information accurately. This step plays a crucial role in automating the sorting process in Excel.
Step 3: Specify sort criteria
Once you have selected the range of data to be sorted and chosen the sorting method, the next step is to specify the sorting criteria. In Excel, you can sort by one or multiple columns.
To specify the sort criteria, follow these steps:
- With the data range still selected, click on the “Data” tab in the Excel ribbon.
- In the “Sort & Filter” group, click on the “Sort” button. A dialog box will appear.
- In the dialog box, you can see the “Sort by” dropdown list. This list will display the column headers of your selected data range.
- Choose the column by which you want to sort your data. You can select one or multiple columns as sort criteria.
- For each column, you can choose either “Values” or “Cell Color” as the sort criteria. “Values” will sort the data based on the actual values in the cells, while “Cell Color” will sort the data based on the cell background color.
- Specify the sort order for each column. You can choose either “Ascending” or “Descending” order.
- If you have selected multiple columns, you can choose the priority order of the columns by using the “Add Level” button. This allows you to sort the data in a specific sequence.
- Click on the “OK” button to apply the specified sort criteria and sort your data accordingly.
By specifying the sort criteria, you can ensure that your data is sorted in the desired order, giving you more control over how your information is organized.
Step 4: Apply automatic sorting on data changes
Once you have set up conditional formatting to highlight the changes in your data, the next step is to apply automatic sorting based on those changes. This will ensure that your data remains organized and sorted correctly without manual intervention.
To apply automatic sorting, you will need to use a VBA code. VBA stands for Visual Basic for Applications and is a programming language used in Excel to automate tasks. Here’s how you can write a VBA code to automatically sort your data:
1. Press ALT + F11 to open the Visual Basic for Applications editor.
2. In the editor, click on “Insert” and select “Module” to insert a new module.
3. In the module, write the following code:
Private Sub Worksheet_Change(ByVal Target As Range)
    If Not Intersect(Target, Range("A1:D10")) Is Nothing Then
        Range("A1:D10").Sort Key1:=Range("A1:D1"), Order1:=xlAscending, Header:=xlYes
    End If
End Sub
In the above code, “A1:D10” represents the range of cells that you want to sort. Change it to the appropriate range for your data. Also, change “A1:D1” to the column range that you want to use as the sort key.
4. Close the VBA editor and go back to your worksheet.
Now, every time a change is made within the specified range (“A1:D10” in this example), the worksheet will automatically sort the data based on the specified sort key.
Remember that the above code is just an example, and you may need to customize it according to your specific requirements. If you’re not familiar with VBA coding, it’s a good idea to seek assistance from someone with programming knowledge.
With automatic sorting in place, your Excel worksheet will stay organized and sorted, saving you time and effort.
Additional considerations
When using the SORT function in Excel, there are a few additional considerations to keep in mind:
1. Range selection: Make sure you select the correct range of data to sort. If you select only a portion of the data, the sorting will only be applied to that selected range, and the rest of the data will remain unaffected.
2. Column headers: If your data has column headers, it is important to include them in the selected range. This ensures that the headers are not sorted along with the data, preserving the structure of your table.
3. Dynamic range: The SORT function works best with a static range of data. If your data is constantly changing and expanding, it may be more suitable to use other methods like VBA coding or conditional formatting for automatic sorting.
4. Manual calculations: If your Excel settings are set to manual calculation mode, the SORT function may not update automatically when the data changes. To avoid this issue, switch your calculations to automatic mode by going to the “Formula” tab and selecting “Calculation Options” – “Automatic”.
5. Performance considerations: Depending on the size of your data set, using the SORT function in Excel may not be the most efficient method for automatic sorting. In such cases, it is recommended to explore VBA coding or other advanced techniques to enhance the performance and speed of sorting.
By considering these additional factors, you can effectively utilize the SORT function in Excel for automatic sorting of your data. Enjoy the convenience of having your data dynamically sorted whenever changes occur!
Conclusion
Automatic sorting in Excel can be incredibly useful when dealing with large datasets that frequently change. By utilizing the SORT function and applying it to a dynamic range, you can ensure that your data is always organized and up to date.
Not only does automatic sorting save you time and effort, but it also helps to keep your data accurate and easy to analyze. Whether you’re working with financial records, sales data, or any other type of information, the ability to automatically sort can greatly enhance your productivity and decision-making process.
Remember to consider any potential issues or limitations with automatic sorting, such as the need for unique identifiers or careful attention to formulas. By understanding the ins and outs of Excel’s sorting capabilities, you can make the most of this powerful tool and streamline your data management tasks.
So go ahead and harness the power of automatic sorting in Excel to optimize your workflow and improve the efficiency of your data management tasks. With a little knowledge and some practice, you’ll be able to sort your data effortlessly whenever changes occur.
FAQs
1. How can I automatically sort data in Excel when it changes?
To automatically sort data in Excel when it changes, you can use a combination of a formula and a sorting feature. Here are the steps:
- Start by selecting the range of data you want to sort.
- In the Formula bar, enter a formula that will act as a sorting key. For example, if you want to sort by the values in column B, you can enter “=B1” in an empty column next to your data.
- Once you have entered the formula for the entire range, select both the formula column and the data range column.
- Go to the Data tab, click on the Sort button, and choose the desired sorting order (ascending or descending).
- Finally, make sure to check the “My data has headers” option if your data has headers, and click OK.
Now, whenever your data changes, the formula column will be updated automatically, and your data will be sorted accordingly.
2. Can I set up Excel to automatically sort data as soon as I enter it?
Yes, you can set up Excel to automatically sort data as soon as you enter it. Follow these steps:
- Open your Excel worksheet and select the range of data you want to sort.
- Go to the Data tab and click on the Sort button.
- In the Sort dialog box, choose the sorting options you want, such as the column to sort by and the sorting order.
- Enable the checkbox that says “Sort automatically every time data changes”.
- Click OK to confirm and apply the setting.
Now, whenever you enter new data or modify existing data in the selected range, Excel will automatically sort it based on your chosen criteria.
3. Is there a way to undo automatic sorting in Excel?
Yes, you can undo automatic sorting in Excel by following these steps:
- Click on the “Sort” button in the Data tab.
- In the Sort dialog box, select the option “Custom Sort”.
- In the “Sort by” drop-down menu, choose the column you want to sort by.
- Click on the “Sort On” drop-down menu and select “Original order”.
- Finally, click OK to apply the changes and undo the automatic sorting.
This will revert the data to its original order and disable the automatic sorting feature.
4. Can I apply multiple sorting criteria in Excel?
Yes, you can apply multiple sorting criteria in Excel to sort your data more precisely. Here’s how you can do it:
- Select the range of data you want to sort.
- Go to the Data tab and click on the Sort button.
- In the Sort dialog box, click on the “Add Level” button to add another sorting level.
- Specify the criteria for the second sorting level, such as the column to sort by and the sorting order.
- Repeat steps 3 and 4 to add additional sorting levels if needed.
- Click OK to confirm and apply the multiple sorting criteria.
Excel will then sort the data based on the specified criteria in the order they were added.
5. Can I sort data in a table automatically in Excel?
Yes, you can sort data in a table automatically in Excel. Here’s what you need to do:
- Select any cell in the table that contains the data you want to sort.
- Go to the Table Tools Design tab.
- In the Sort & Filter group, click on the “Sort” button.
- In the Sort dialog box, specify the column to sort by and the sorting order.
- Click OK to confirm and apply the sorting to the table.
Now, whenever you add or modify data within the table, Excel will automatically sort it based on your chosen criteria.