
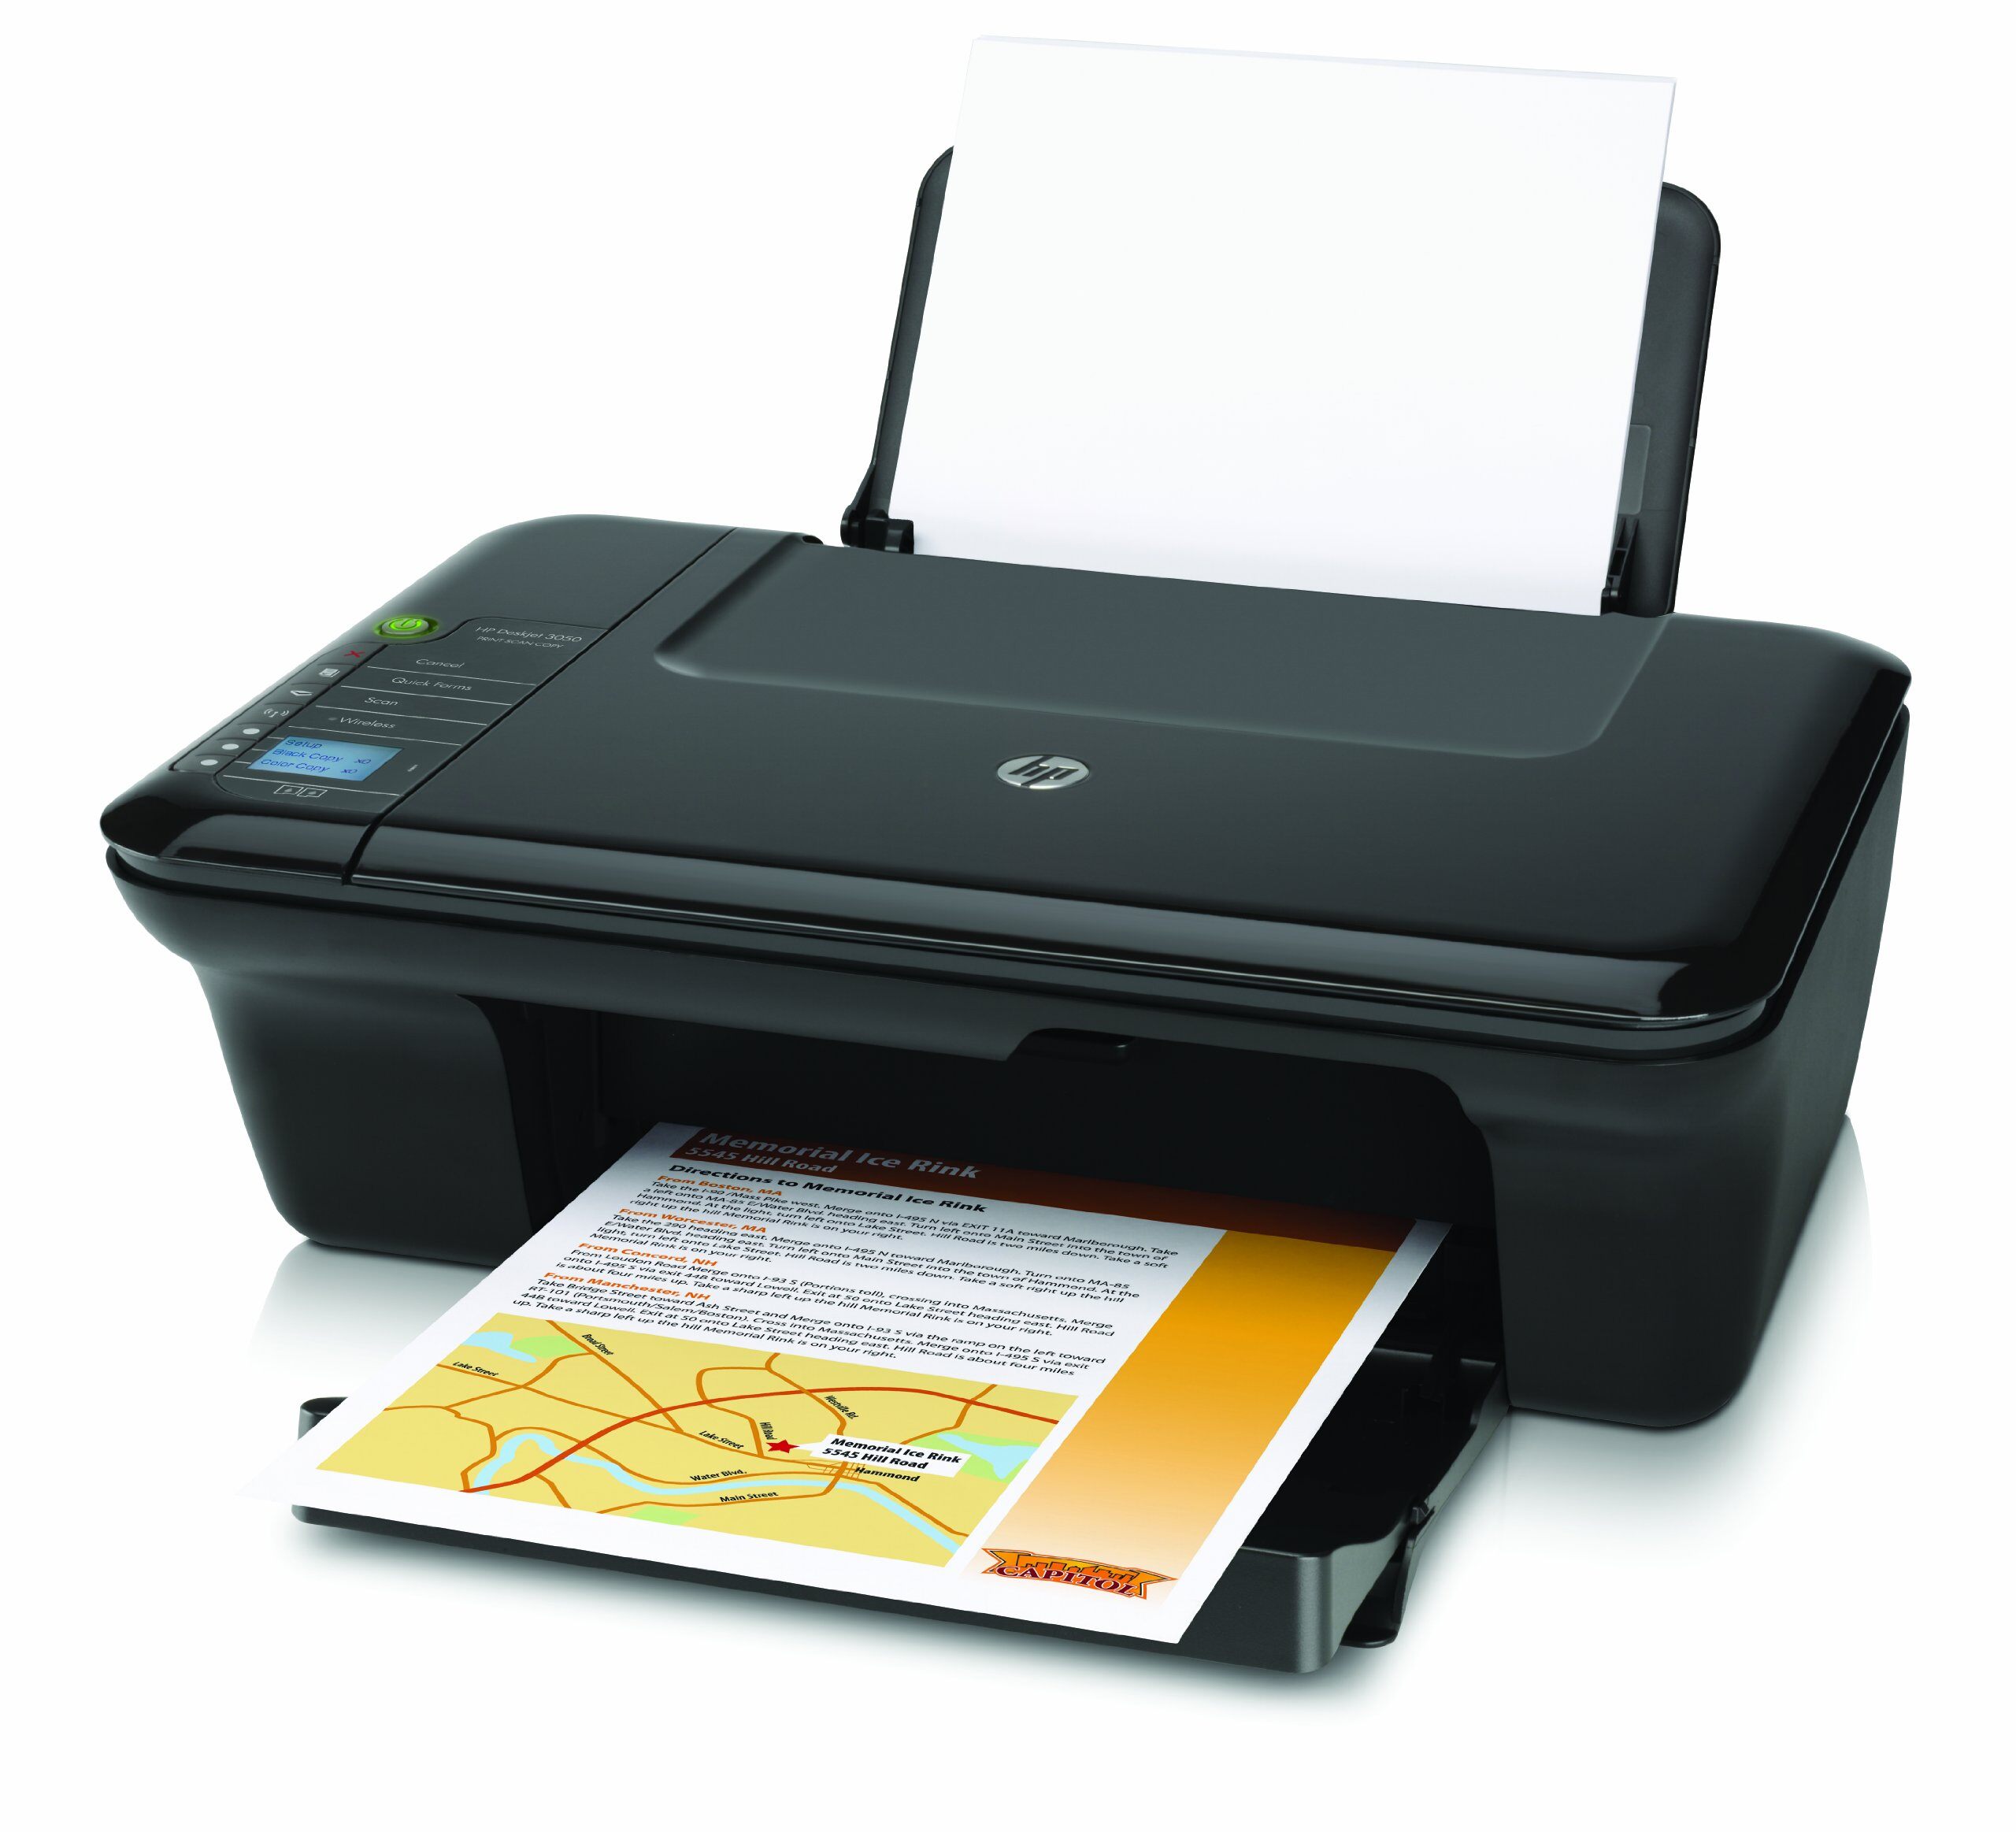
Welcome to our guide on how to set up the HP Deskjet 3050 wireless printer. If you’ve recently purchased this printer or are thinking about getting one, you’ve made a great choice. The HP Deskjet 3050 is a versatile and reliable printer that allows you to print, scan, and copy documents wirelessly. With its easy setup process, you’ll have your printer up and running in no time, whether you are using it for personal or business purposes. In this article, we will walk you through the step-by-step process of setting up your HP Deskjet 3050 wirelessly, from connecting it to your network to installing the necessary drivers on your computer. So let’s get started and enjoy the convenience of wireless printing with the HP Deskjet 3050!
Inside This Article
- System Requirements
- Wireless Setup: Connecting the printer to Wi-Fi, Configuring network settings, Troubleshooting wireless connection issues
- Installing Printer Software: Downloading and installing the printer driver, Setting up the printer on Windows and Mac, Troubleshooting software installation problems
- Printing and Scanning
- Conclusion
- FAQs
System Requirements
Before setting up your HP Deskjet 3050 wireless printer, it’s important to ensure that your system meets the necessary requirements. This will ensure a smooth and hassle-free setup process. Here are the key system requirements you need to consider:
Checking compatibility
Firstly, check the compatibility of your operating system with the HP Deskjet 3050 printer. The printer is compatible with Windows XP, Windows Vista, Windows 7, and Mac OS X 10.5 or later versions. Make sure your computer meets these requirements to avoid any potential compatibility issues.
Required software and drivers
Next, you’ll need to have the necessary software and drivers installed on your computer. Visit the official HP website and search for the drivers specific to the HP Deskjet 3050 wireless printer model. Download and install the drivers according to your operating system. This will enable your computer to communicate with the printer seamlessly.
Network requirements
In order to set up the wireless functionality of your HP Deskjet 3050 printer, you need to have a stable and reliable wireless network. Make sure you have a wireless router that supports WPA or WPA2 security protocols. Also, ensure that your computer is connected to the same wireless network that you want to connect your printer to.
Additionally, it’s essential that your printer is within range of your wireless network. Keep in mind that the signal strength may vary depending on your location, so try to place the printer closer to your router for a stronger and more stable connection.
By checking the compatibility of your operating system, installing the required software and drivers, and ensuring the availability of a compatible wireless network, you’ll be well-prepared to set up your HP Deskjet 3050 wireless printer with ease.
Wireless Setup: Connecting the printer to Wi-Fi, Configuring network settings, Troubleshooting wireless connection issues
Setting up a wireless printer is a convenient way to print documents from anywhere in your home or office. The HP Deskjet 3050 wireless printer offers wireless connectivity, allowing you to print seamlessly without the need for any physical connections. In this guide, we will walk you through the process of connecting your HP Deskjet 3050 printer to Wi-Fi, configuring network settings, and troubleshooting common wireless connection issues.
Step 1: Connecting the printer to Wi-Fi
To connect your HP Deskjet 3050 printer to Wi-Fi, follow these steps:
- Make sure your printer is in range of your Wi-Fi network.
- Press the “Wireless” button on your printer until the wireless light starts blinking.
- On your computer or mobile device, go to the Wi-Fi settings and select the network name (SSID) of your printer.
- Enter the Wi-Fi password when prompted.
- Once connected, the wireless light on your printer will stop blinking and remain solid, indicating a successful connection.
Step 2: Configuring network settings
After connecting your printer to Wi-Fi, you may need to configure the network settings to ensure smooth printing. To do this, follow these steps:
- On your computer, open a web browser and enter the IP address of your printer.
- On the printer’s web interface, navigate to the “Network” or “Wireless” settings.
- Check if the IP address and subnet mask are correct for your network.
- If necessary, update the network settings and click “Apply” to save the changes.
Step 3: Troubleshooting wireless connection issues
If you encounter any issues with the wireless connection of your HP Deskjet 3050 printer, try these troubleshooting steps:
- Ensure that your printer and computer are connected to the same Wi-Fi network.
- Restart your printer, Wi-Fi router, and computer.
- Check if the Wi-Fi signal is strong where the printer is located.
- Verify that the printer’s firmware is up to date.
- Disable any VPN or firewall software that might be blocking the printer’s communication.
- If all else fails, you can also try resetting the printer’s network settings and reconnecting to Wi-Fi.
By following these steps, you should be able to successfully set up your HP Deskjet 3050 wireless printer, configure the network settings, and troubleshoot any wireless connection issues that may arise. Enjoy the convenience of wireless printing and make your tasks more efficient.
For further assistance, refer to the HP Deskjet 3050 user manual or contact the HP customer support team.
Installing Printer Software: Downloading and installing the printer driver, Setting up the printer on Windows and Mac, Troubleshooting software installation problems
When setting up a new printer, one of the first steps you’ll need to take is installing the printer software. This includes downloading and installing the printer driver, which is a crucial component that allows your computer to communicate with the printer. In this guide, we’ll walk you through the process of installing printer software, setting up the printer on both Windows and Mac operating systems, as well as troubleshooting common software installation problems.
Step 1: Downloading the Printer Driver
The first step is to download the printer driver from the manufacturer’s website. This driver is specific to your printer model and the operating system you are using. Visit the manufacturer’s website and navigate to the “Support” or “Downloads” section. Locate your printer model and select the appropriate driver for your operating system. Click on the download link and save the driver file to your computer.
Step 2: Installing the Printer Driver on Windows
Once the driver is downloaded, locate the driver file on your computer and double-click on it to start the installation process. Follow the on-screen instructions to complete the installation. After the driver is installed, connect your printer to your computer using a USB cable. Windows will automatically detect the printer and install the necessary drivers. Once the installation is complete, you can disconnect the USB cable and proceed with the wireless setup if desired.
Step 3: Installing the Printer Driver on Mac
On a Mac, double-click on the downloaded driver file to mount the disk image. A new window will open with the printer driver package. Double-click on the package file and follow the on-screen instructions to install the driver. Once the installation is complete, connect your printer to your computer using a USB cable. The Mac operating system will automatically detect the printer and install the necessary drivers. After the installation is finished, you can disconnect the USB cable and continue with the wireless setup process.
Step 4: Troubleshooting Software Installation Problems
If you encounter any issues during the software installation process, there are a few troubleshooting steps you can try. First, ensure that you have downloaded the correct driver for your printer model and operating system. If the driver is not compatible, it may cause installation problems. Additionally, check for any antivirus or firewall settings that may be blocking the installation process. Temporarily disable these settings and try installing the driver again. If the issue persists, you can try uninstalling any previously installed printer software and then reinstalling the driver. This can help resolve any conflicting software issues.
Printing and Scanning
Printing and scanning are essential functions of any printer, allowing you to efficiently transfer documents and photos from your computer to physical copies. With the advancement of technology, wireless printing and scanning have become incredibly convenient and user-friendly. In this guide, we will cover the basics of printing wirelessly from your computer, scanning documents and photos, as well as troubleshooting common issues that may arise during the process.
Printing Wirelessly from Your Computer
Gone are the days when you had to connect your printer to your computer using cumbersome cables. With wireless printing, you can now easily send print jobs to your printer from any device connected to the same network. To get started, follow these steps:
- Check compatibility: Ensure that your printer supports wireless printing. Most modern printers come with built-in Wi-Fi capabilities, but it’s always a good idea to double-check.
- Connect your printer to the network: Use the printer’s control panel or software to connect it to your Wi-Fi network. Refer to your printer’s manual for specific instructions.
- Install printer drivers: Visit the printer manufacturer’s website and download the latest drivers for your printer model. Install the drivers on your computer.
- Select your printer: Open the document or photo you want to print and select the printer from the drop-down list in the print dialog box. Make sure the printer is turned on and connected to the network.
- Adjust print settings: Customize the print settings according to your preferences, such as paper size, print quality, and number of copies.
- Start the print job: Click the “Print” button and wait for your document or photo to be printed wirelessly.
Scanning Documents and Photos
Scanning documents and photos is a useful feature that allows you to digitize physical copies for archiving or sharing purposes. To scan using your printer, follow these steps:
- Open the scanning software: Depending on your printer model, you may have a dedicated scanning software installed on your computer. Open the software to begin the scanning process.
- Place the document or photo: Position the document or photo face-down on the scanner glass. Make sure that it is aligned properly.
- Select the scanning settings: Choose the desired scanning settings, such as resolution, file format, and destination folder.
- Preview and adjust: Before scanning the entire document or photo, preview the image to make any necessary adjustments, such as cropping or rotating.
- Start the scan: Once you are satisfied with the settings, click the “Scan” button to initiate the scanning process. Wait for the scanning to complete.
- Save and access the scanned file: After the scan is complete, save the scanned file to your desired location on your computer. You can now access and use the digital copy as needed.
Troubleshooting Printing and Scanning Issues
While wireless printing and scanning are generally seamless, you may encounter occasional issues. Here are some common problems you might encounter and how to troubleshoot them:
- Connection issues: If your printer is not connecting to your computer or network, ensure that both devices are connected to the same Wi-Fi network. Restart your printer and computer if necessary.
- Print quality problems: If your prints are blurry or faded, check the printer settings for print quality and adjust as needed. Make sure you are using the appropriate paper and ink cartridges.
- Scanning errors: If you encounter errors during the scanning process, ensure that your scanner drivers are up to date. Restart the scanner software and double-check the connections.
- Paper jams: Paper jams are a common issue with printers. Follow the printer’s instructions to clear the paper jam, and make sure to use the correct paper size and type.
- Software conflicts: If you experience issues with the printer software or driver, uninstall and reinstall the software. Make sure you download the correct drivers from the manufacturer’s website.
By following these tips and troubleshooting steps, you can ensure smooth printing and scanning operations with your wireless printer. Remember to consult your printer’s manual or contact customer support for model-specific guidance.
Conclusion
Setting up the HP Deskjet 3050 wireless printer is a breeze with the right knowledge and steps. By following the instructions provided in this article, you can quickly connect your printer to your wireless network and start printing wirelessly from any device within range. The convenience and flexibility offered by wireless printing make it a must-have feature for any modern office or home setup.
Remember to carefully read the user manual and refer to the manufacturer’s website for additional troubleshooting tips or firmware updates, if necessary. With the HP Deskjet 3050, you can enjoy high-quality printing, scanning, and copying functions without the hassle of messy wires. So, go ahead and set up your wireless printer today to experience the true convenience of wireless printing.
FAQs
1. How do I set up my HP Deskjet 3050 wireless printer?
Setting up your HP Deskjet 3050 wireless printer is a straightforward process. First, ensure that your printer and computer are connected to the same wireless network. Next, power on your printer and computer. Insert the installation CD that came with your printer, or download the latest driver software from the official HP website. Follow the on-screen instructions to complete the installation. Once the setup is complete, your printer will be ready to use wirelessly.
2. Can I connect my HP Deskjet 3050 printer to multiple devices?
Yes, you can connect your HP Deskjet 3050 printer to multiple devices. Once your printer is set up on a wireless network, other devices on the same network can discover and connect to the printer. The printer is designed to handle multiple connections, allowing you to print from different devices such as computers, laptops, smartphones, and tablets.
3. How do I print wirelessly from my mobile device?
To print wirelessly from your mobile device, you will need to have the necessary printing app installed. Most mobile devices have built-in printing support, but you can also download dedicated printing apps from the app store. Ensure that your mobile device is connected to the same wireless network as your HP Deskjet 3050 printer. Open the document or photo you wish to print, select the print option, choose your printer from the list of available devices, and adjust any print settings as needed. Then, tap the print button to start printing.
4. Can I use my HP Deskjet 3050 printer without a computer?
Yes, you can use your HP Deskjet 3050 printer without a computer. The printer has standalone capabilities that allow you to print directly from a USB flash drive or memory card. Simply insert the USB drive or memory card into the appropriate slot on the printer and use the printer’s built-in menu to navigate and select the files you want to print. This feature is especially handy when you want to quickly print photos or documents without the need for a computer.
5. How do I troubleshoot common issues with my HP Deskjet 3050 printer?
If you experience any issues with your HP Deskjet 3050 printer, there are a few troubleshooting steps you can try. First, make sure that your printer is connected to a stable and working wireless network. Check that the printer’s firmware is up to date by visiting the official HP website and downloading any available updates. If you are experiencing print quality issues, try cleaning the print heads or replacing the ink cartridges. For more specific troubleshooting tips, refer to the printer’s user manual or visit the HP support website for detailed instructions.